Creating a PAD map allows you to design flexible layouts representing specific areas of your restaurant, such as the main dining room, patio, or bar. Unlike Tabit Guest, the PAD supports multiple maps and lets staff easily switch between them during service.
Follow the steps below to create a map for the PAD:
First steps
-
In Tabit Office, go to Back Office > Restaurant Map
-
Select the Plus icon
-
Type in the Map name, and Save
Map layout
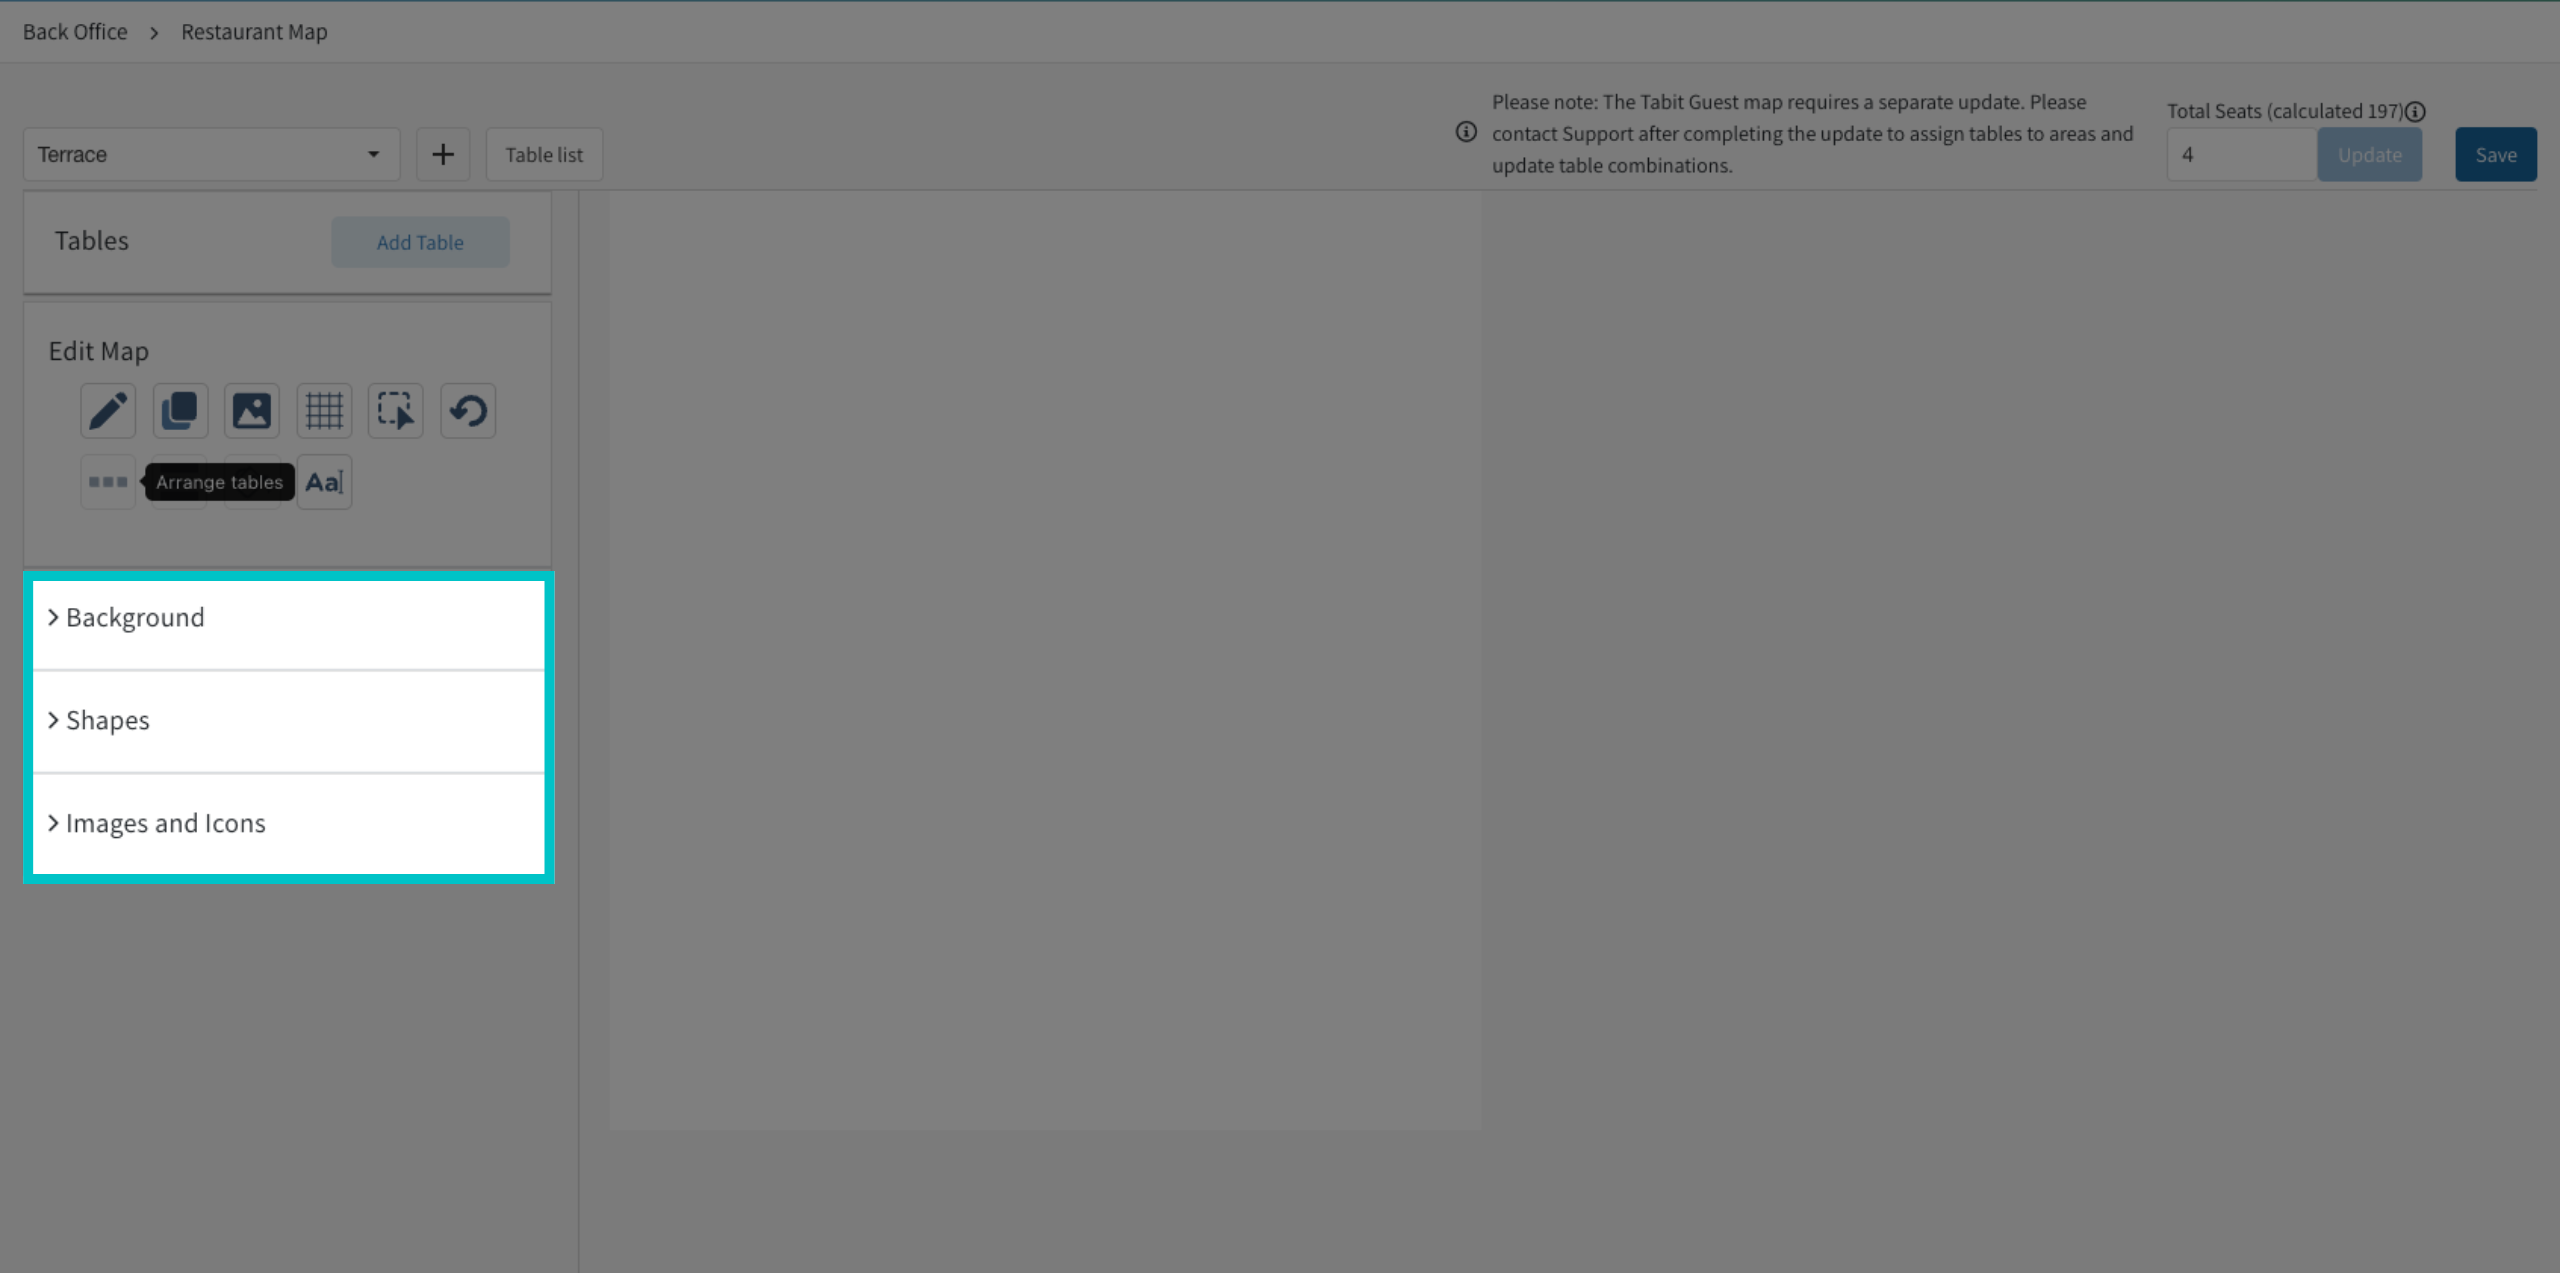
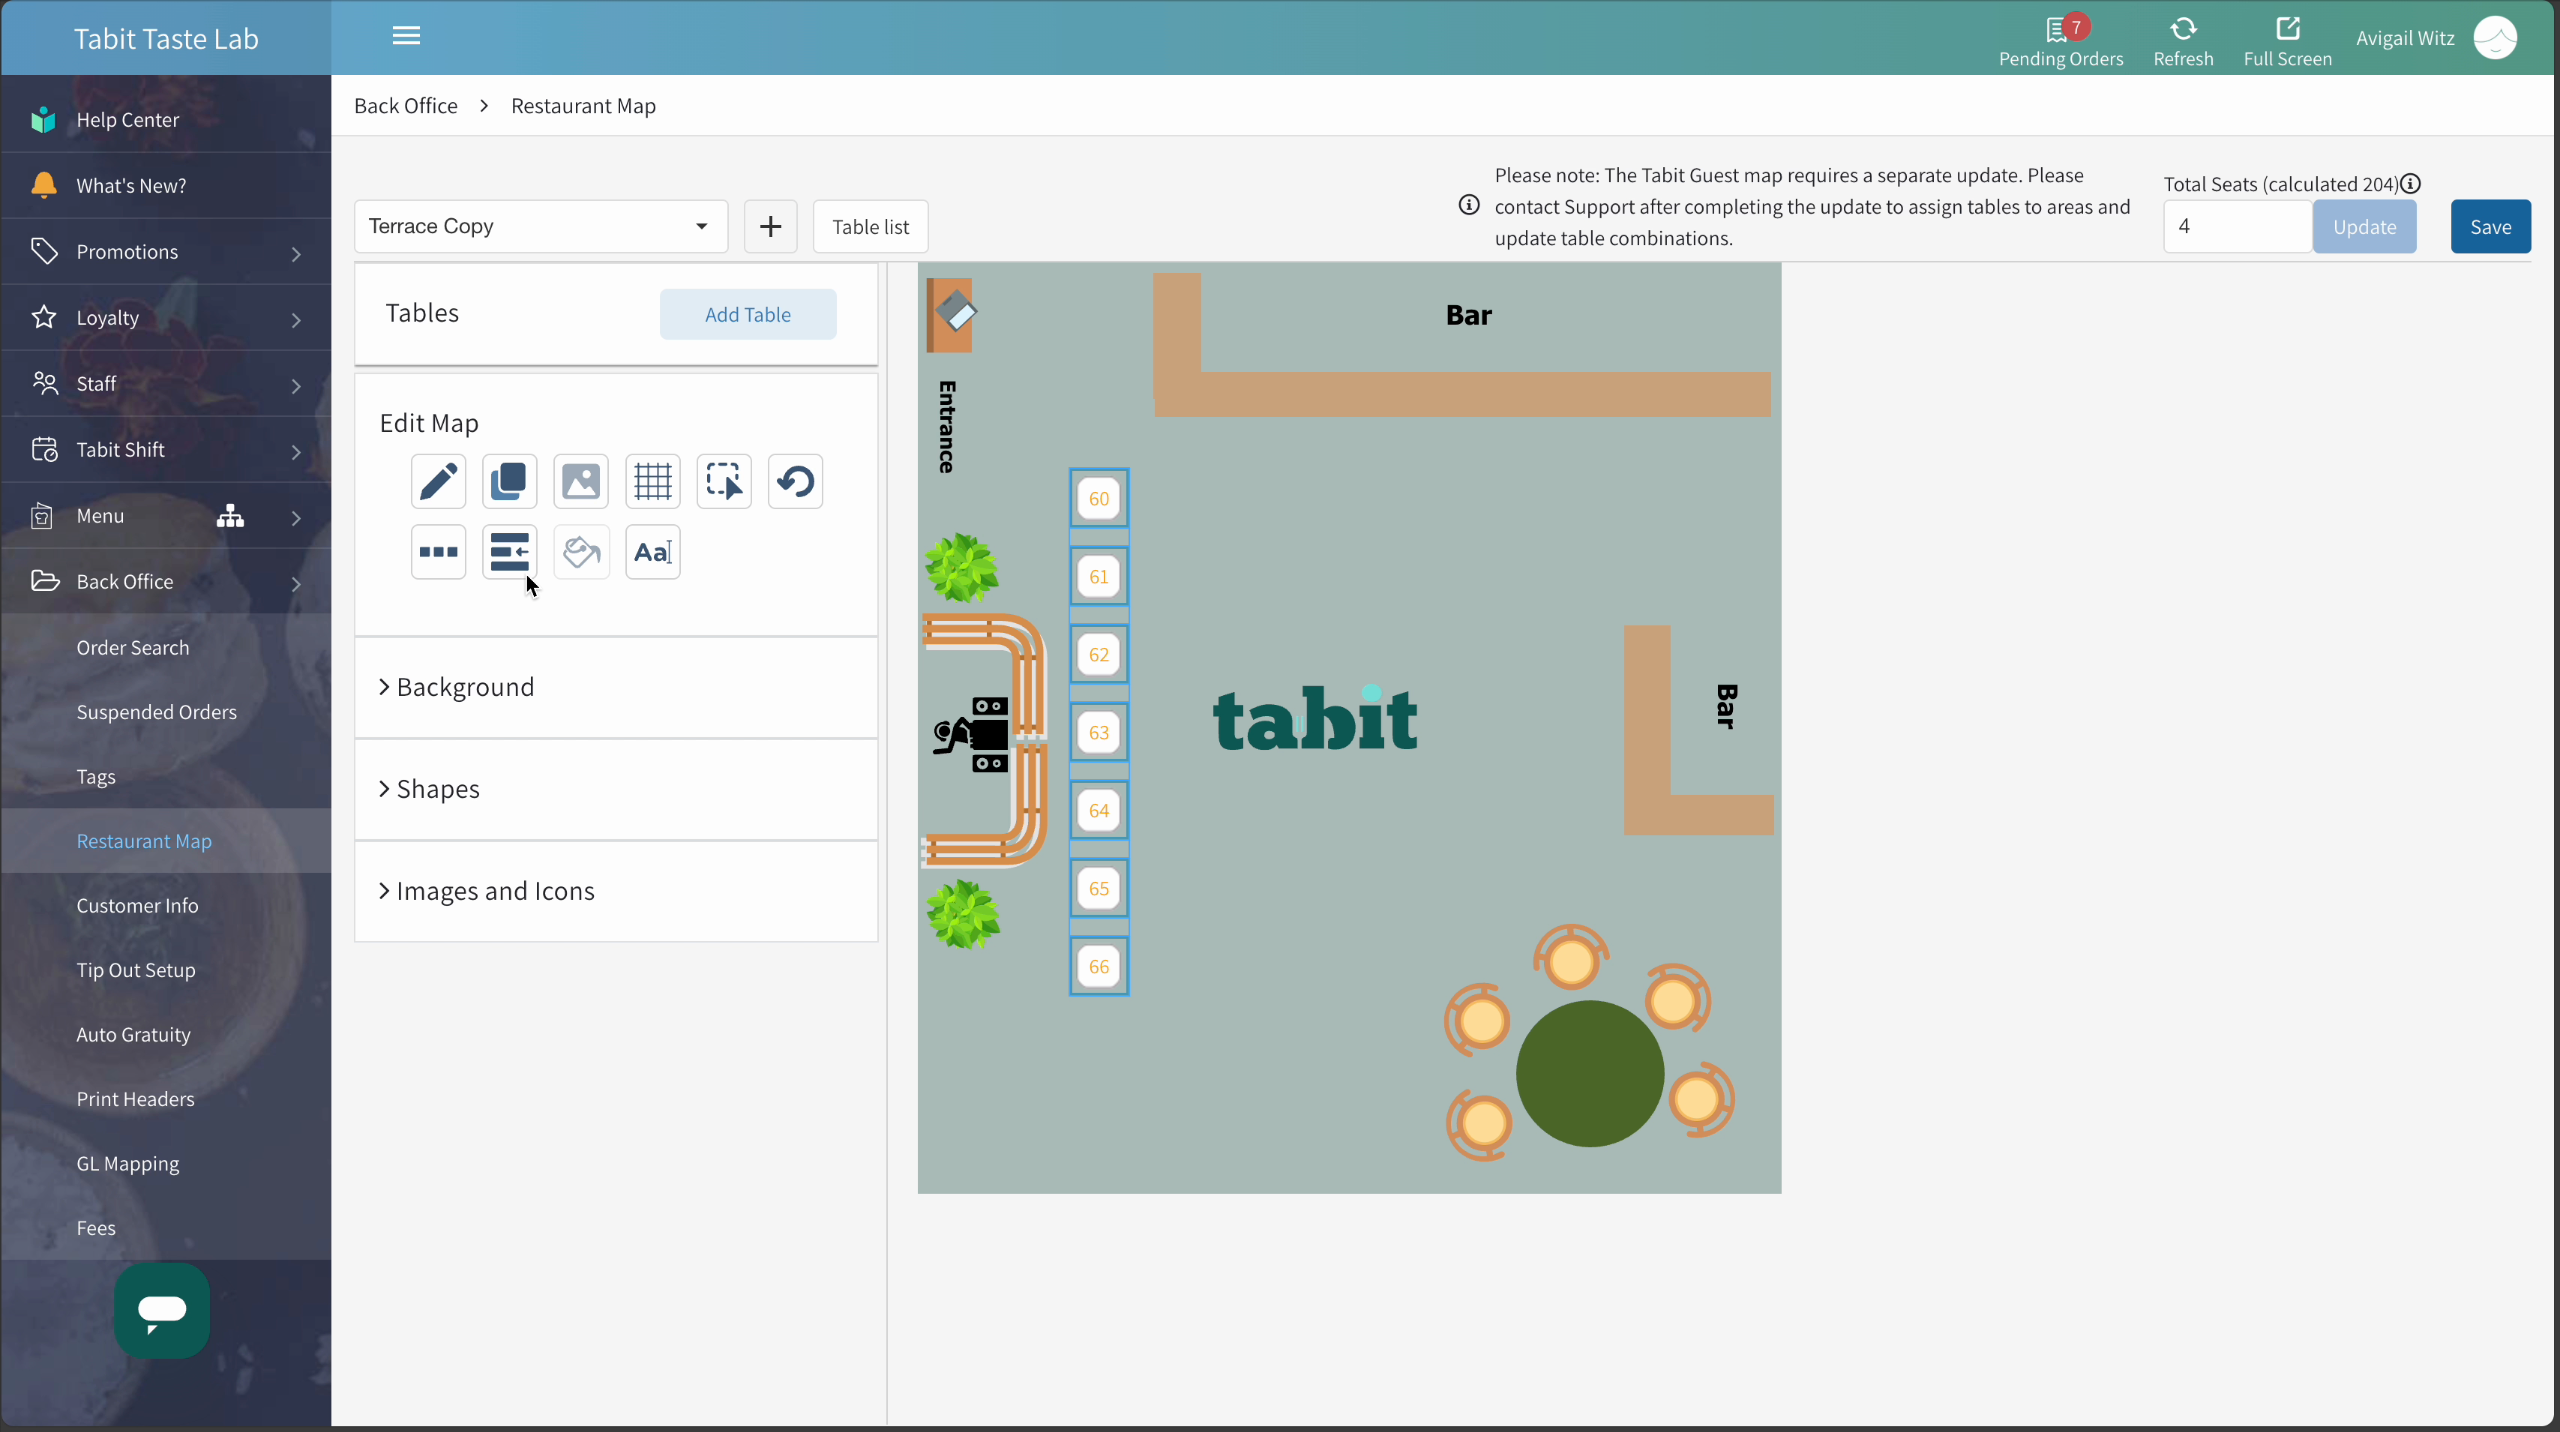
Now, create the map's layout. Use a combination of backgrounds, shapes, images, and icons to create a similar layout to your restaurant
-
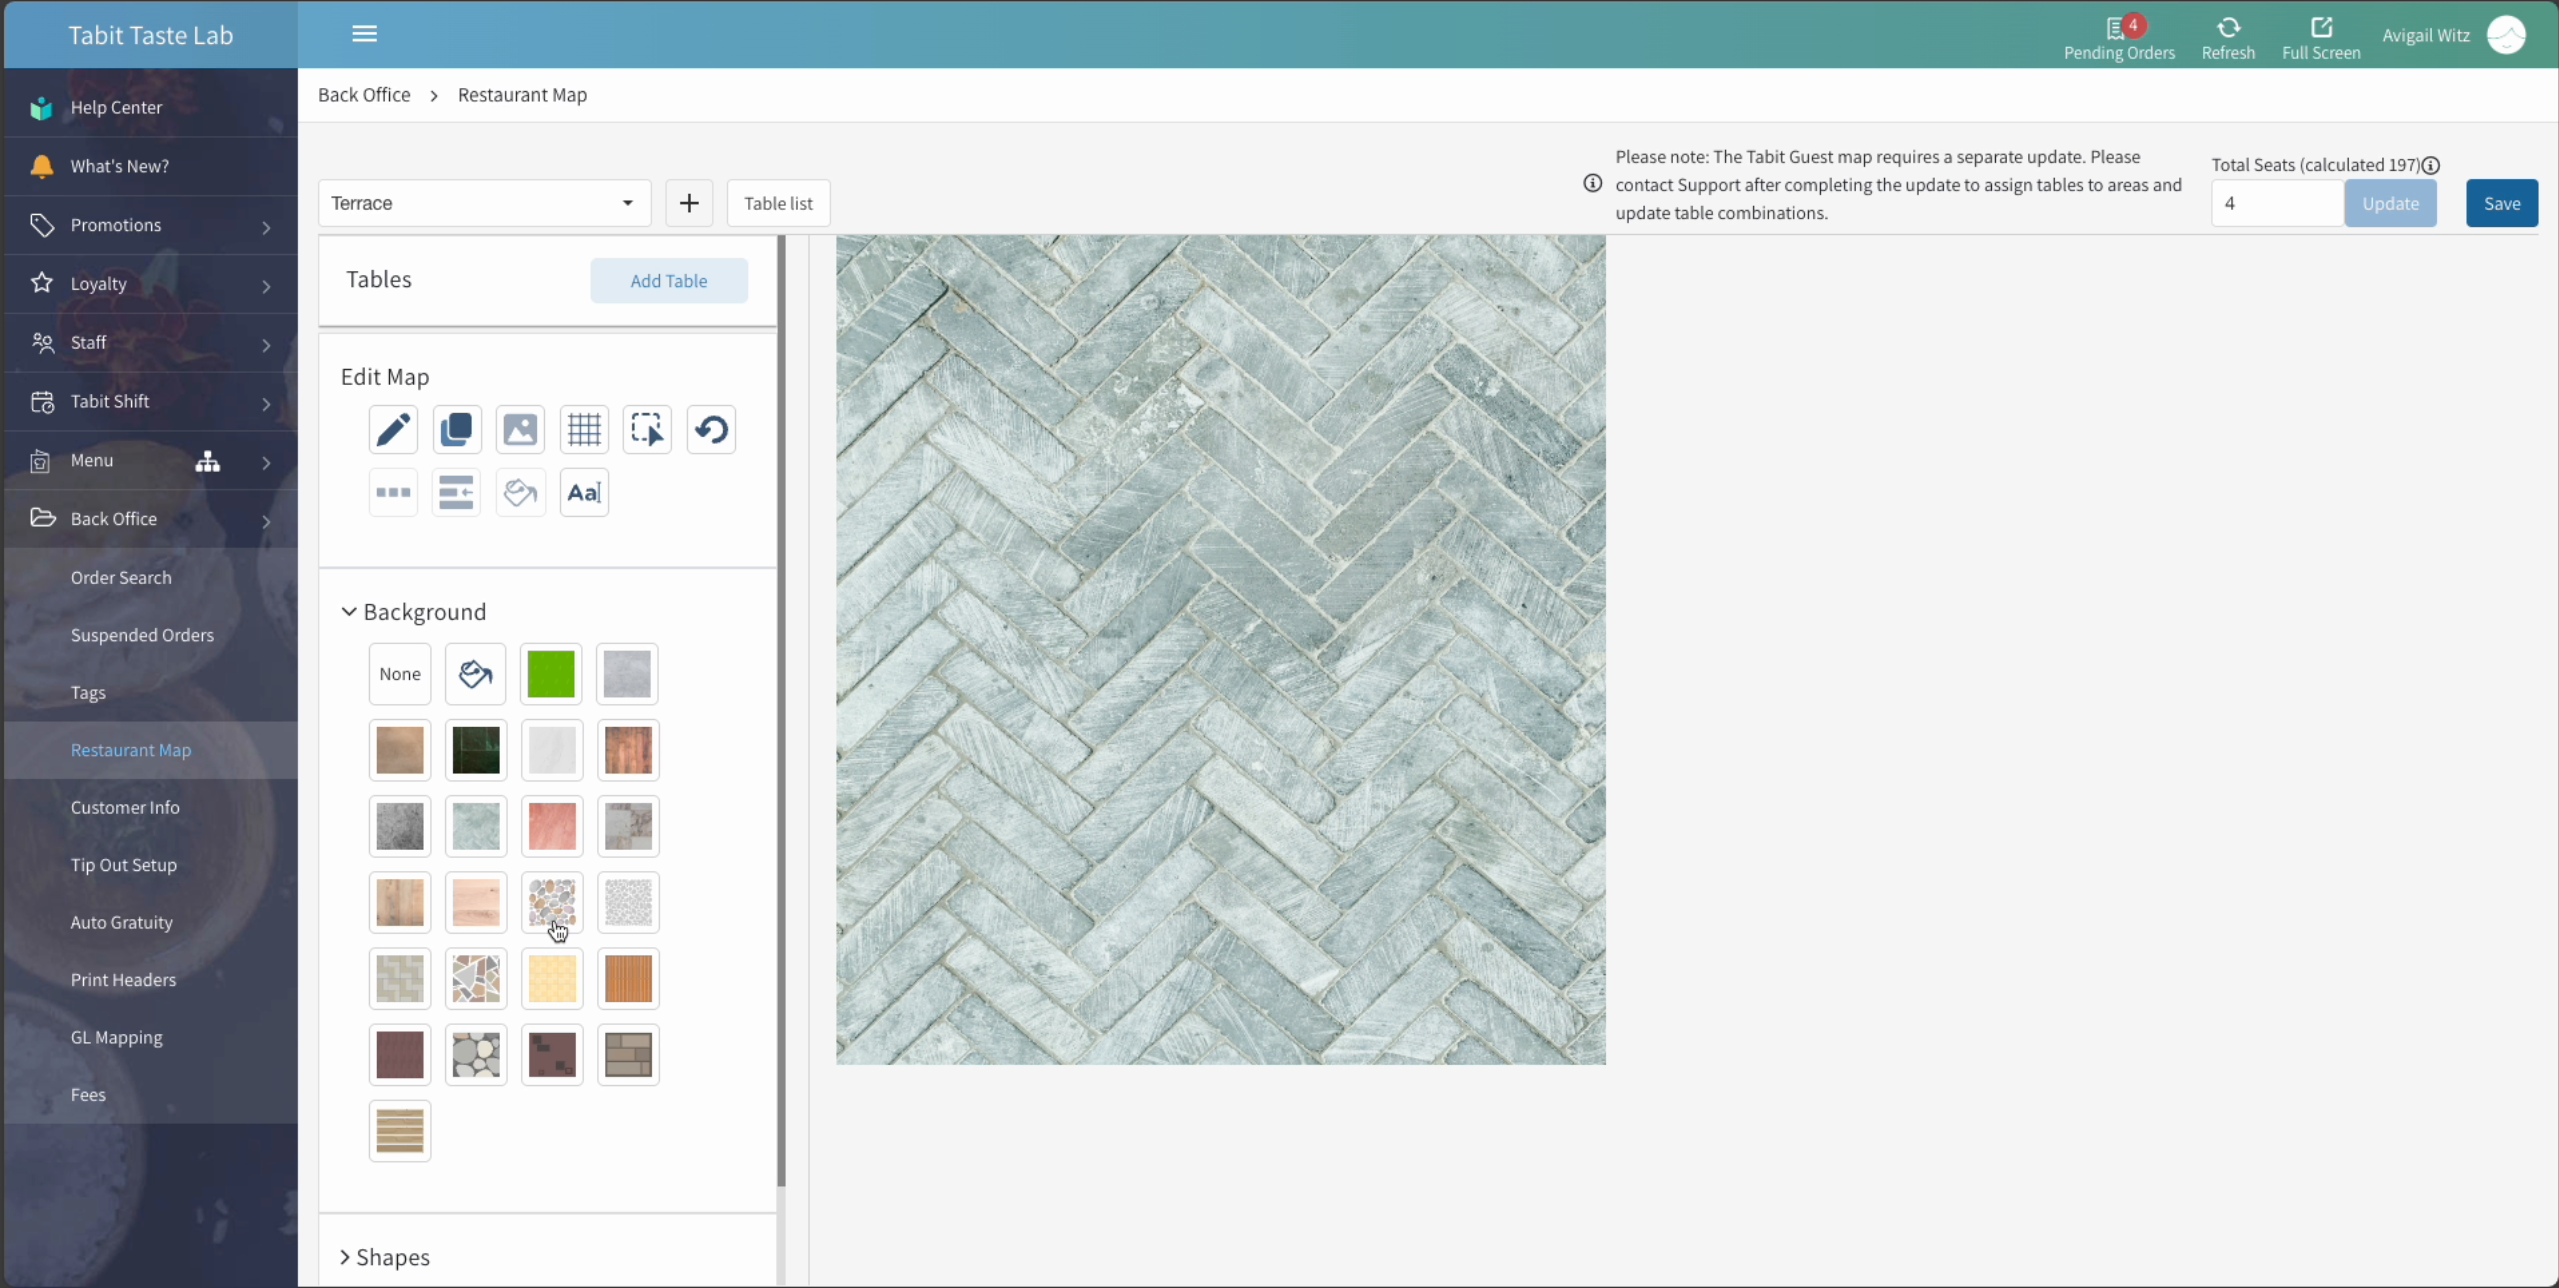
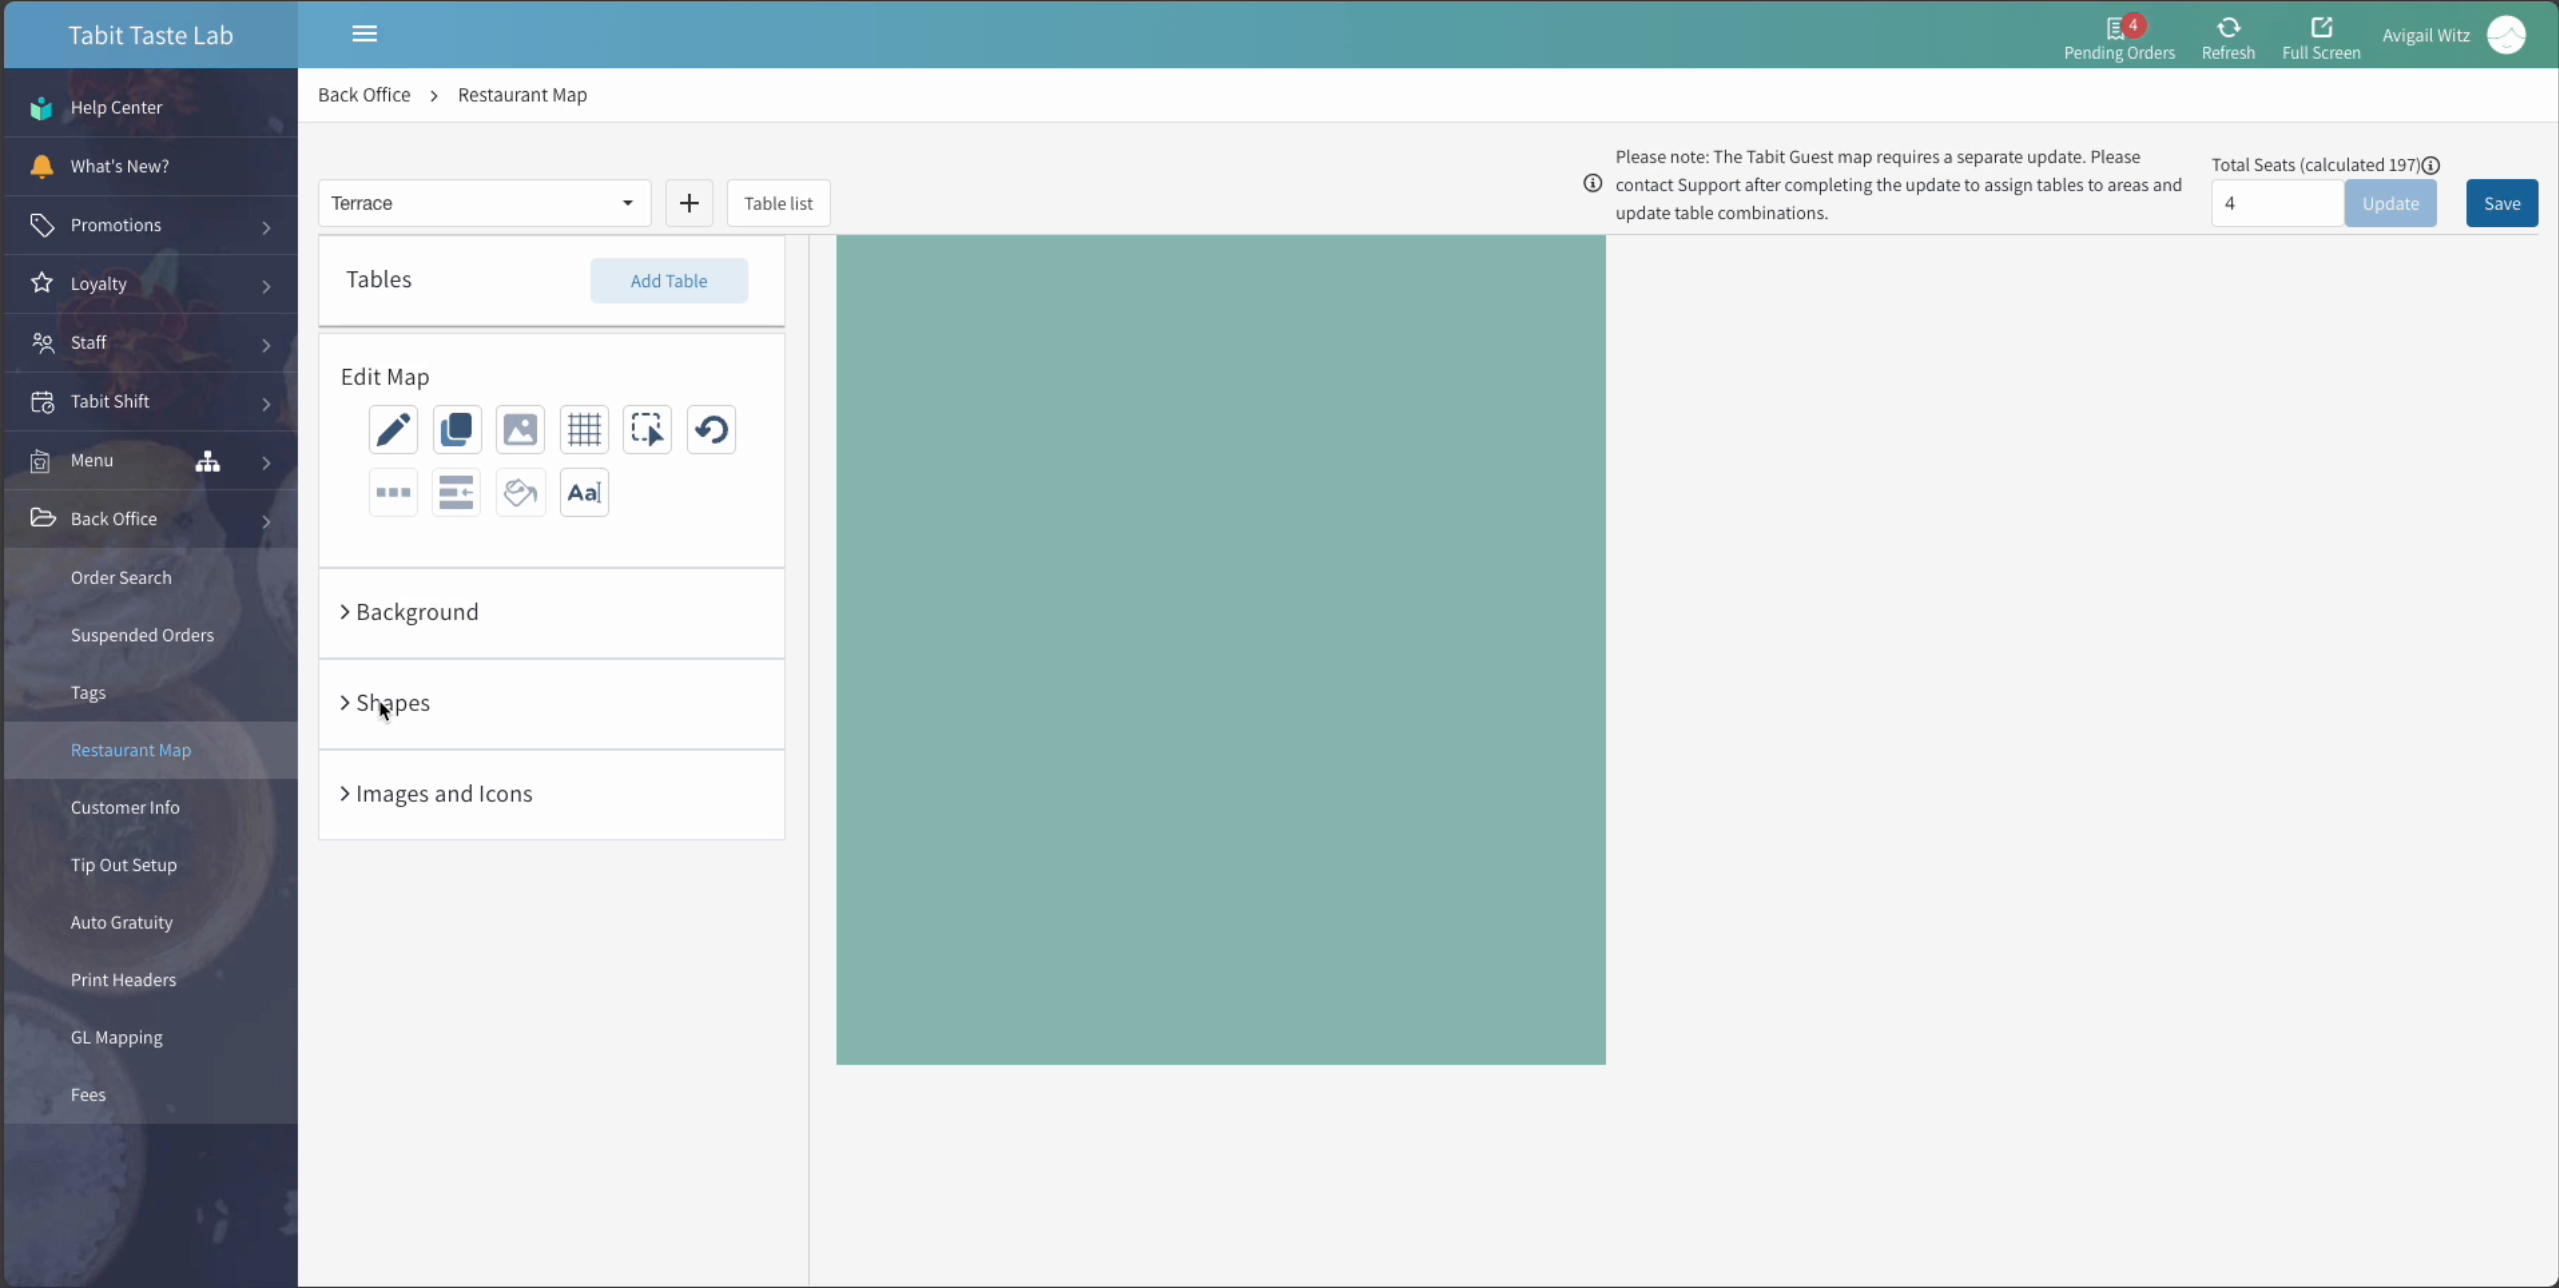
For the background, use the built-in background patterns or select a custom color
-
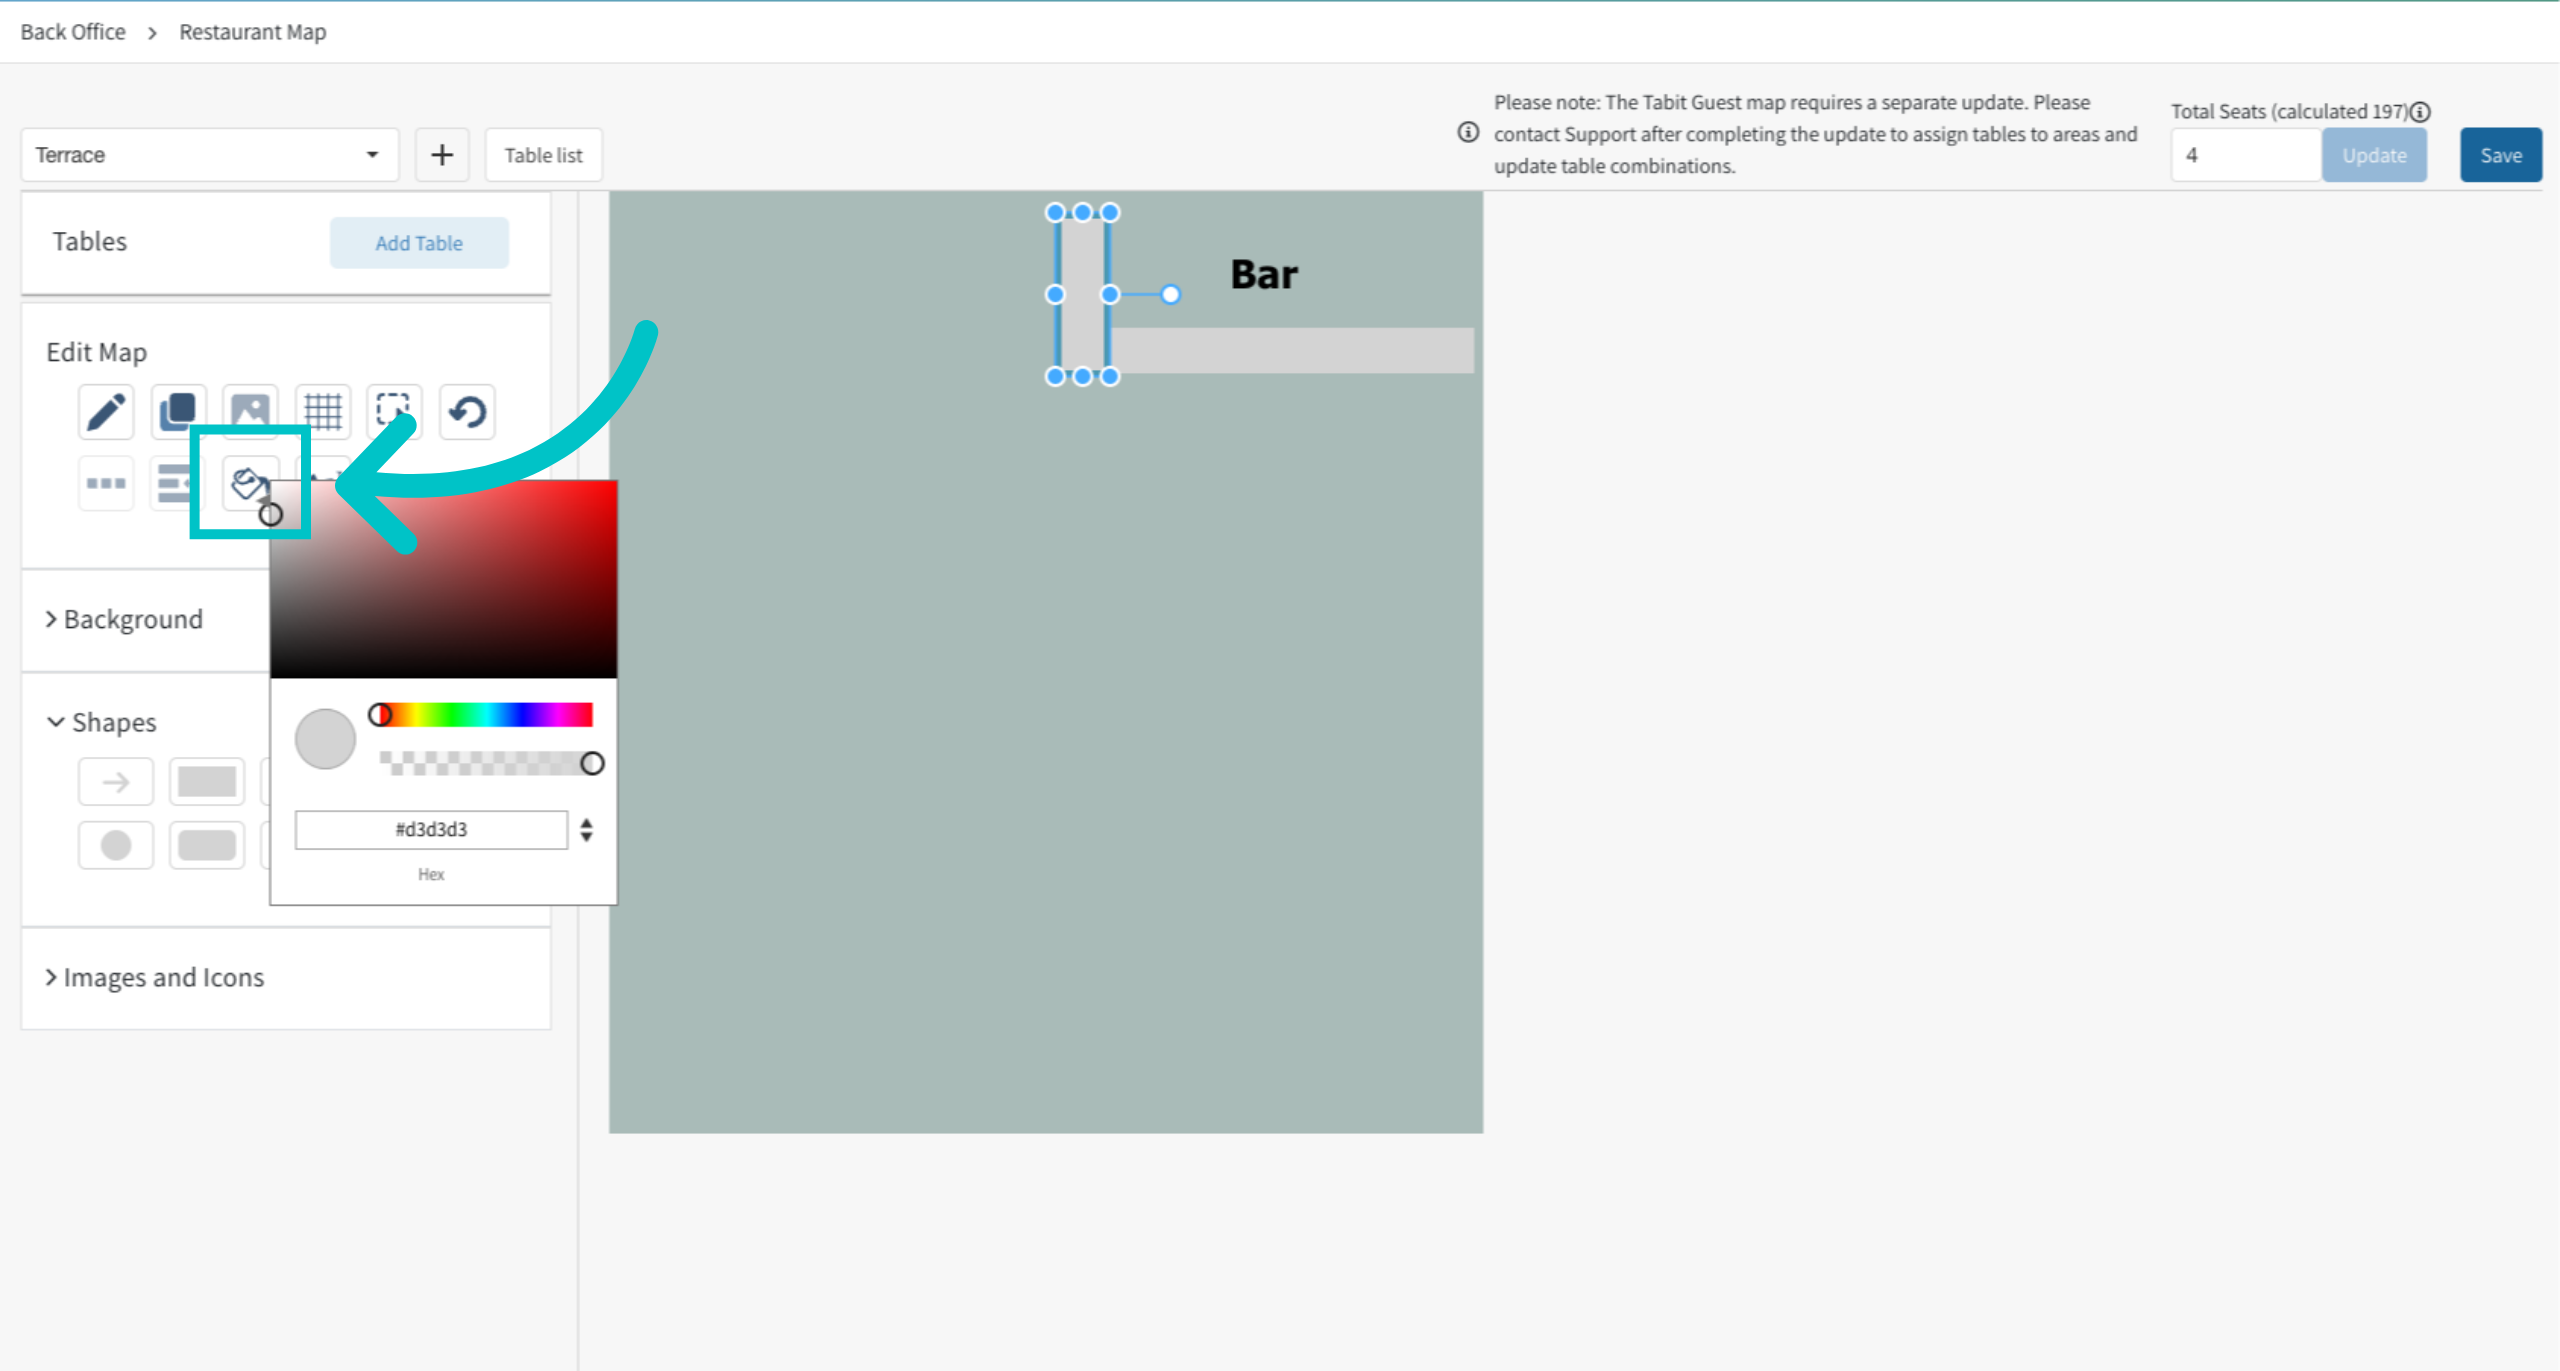
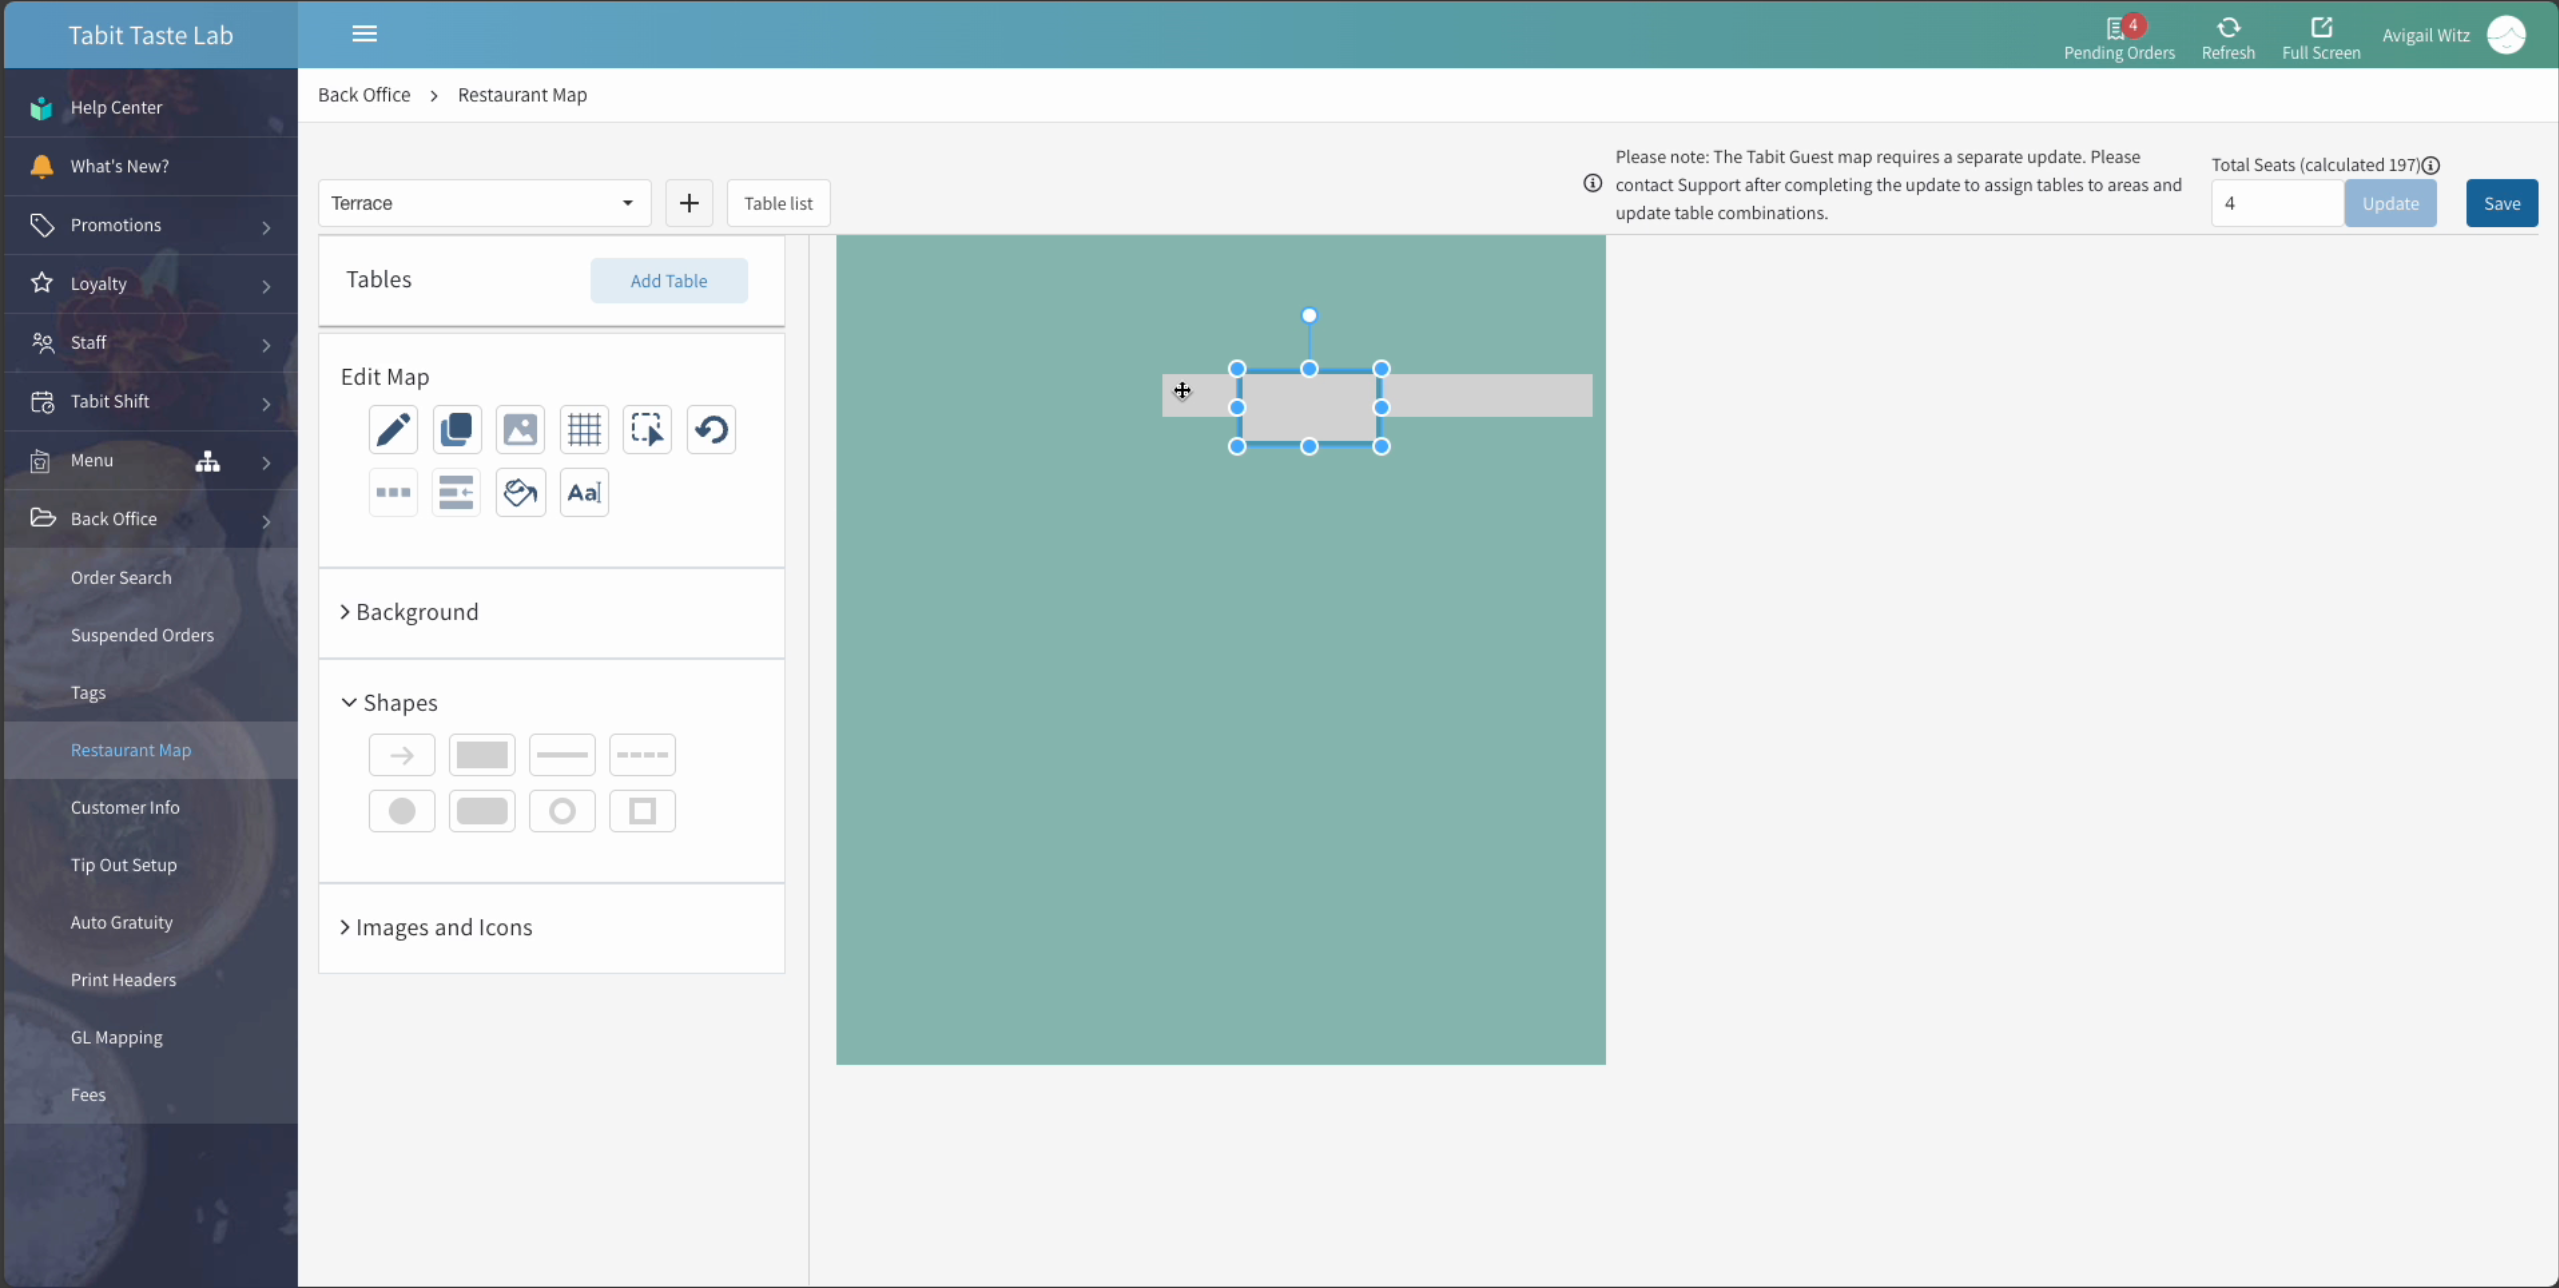
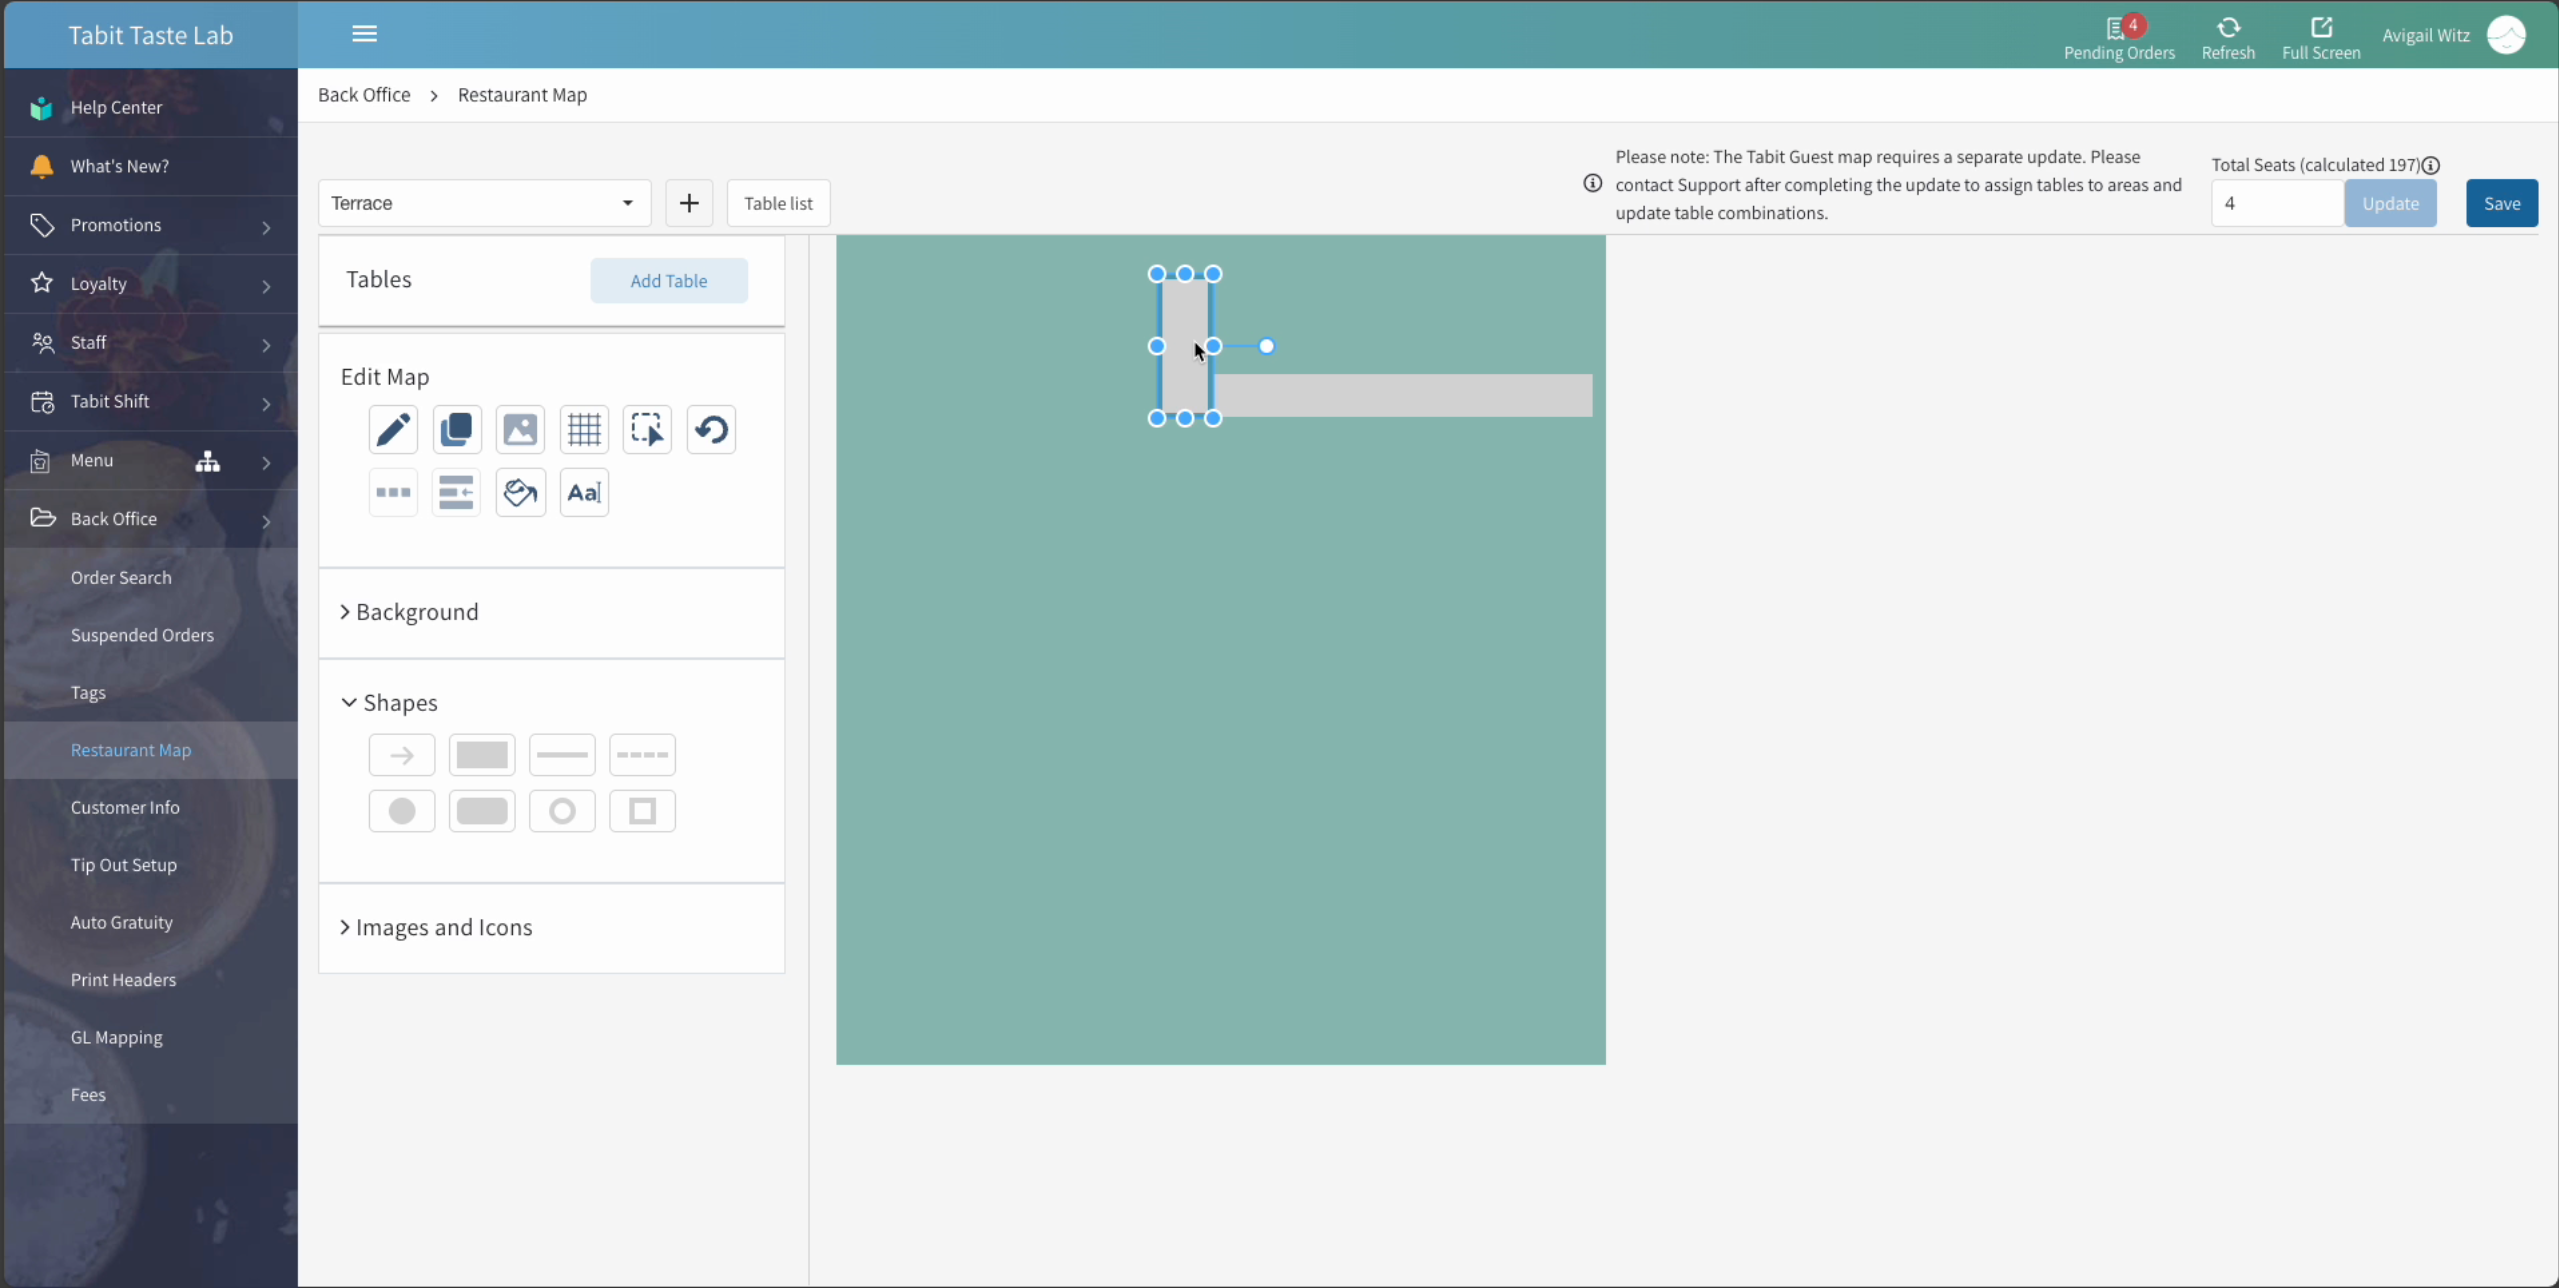
Now use the Shapes to create areas in the map
-
For example, a bar. Place the shapes accordingly and add text if needed
-
Use the Paint icon to change the shape's color
-
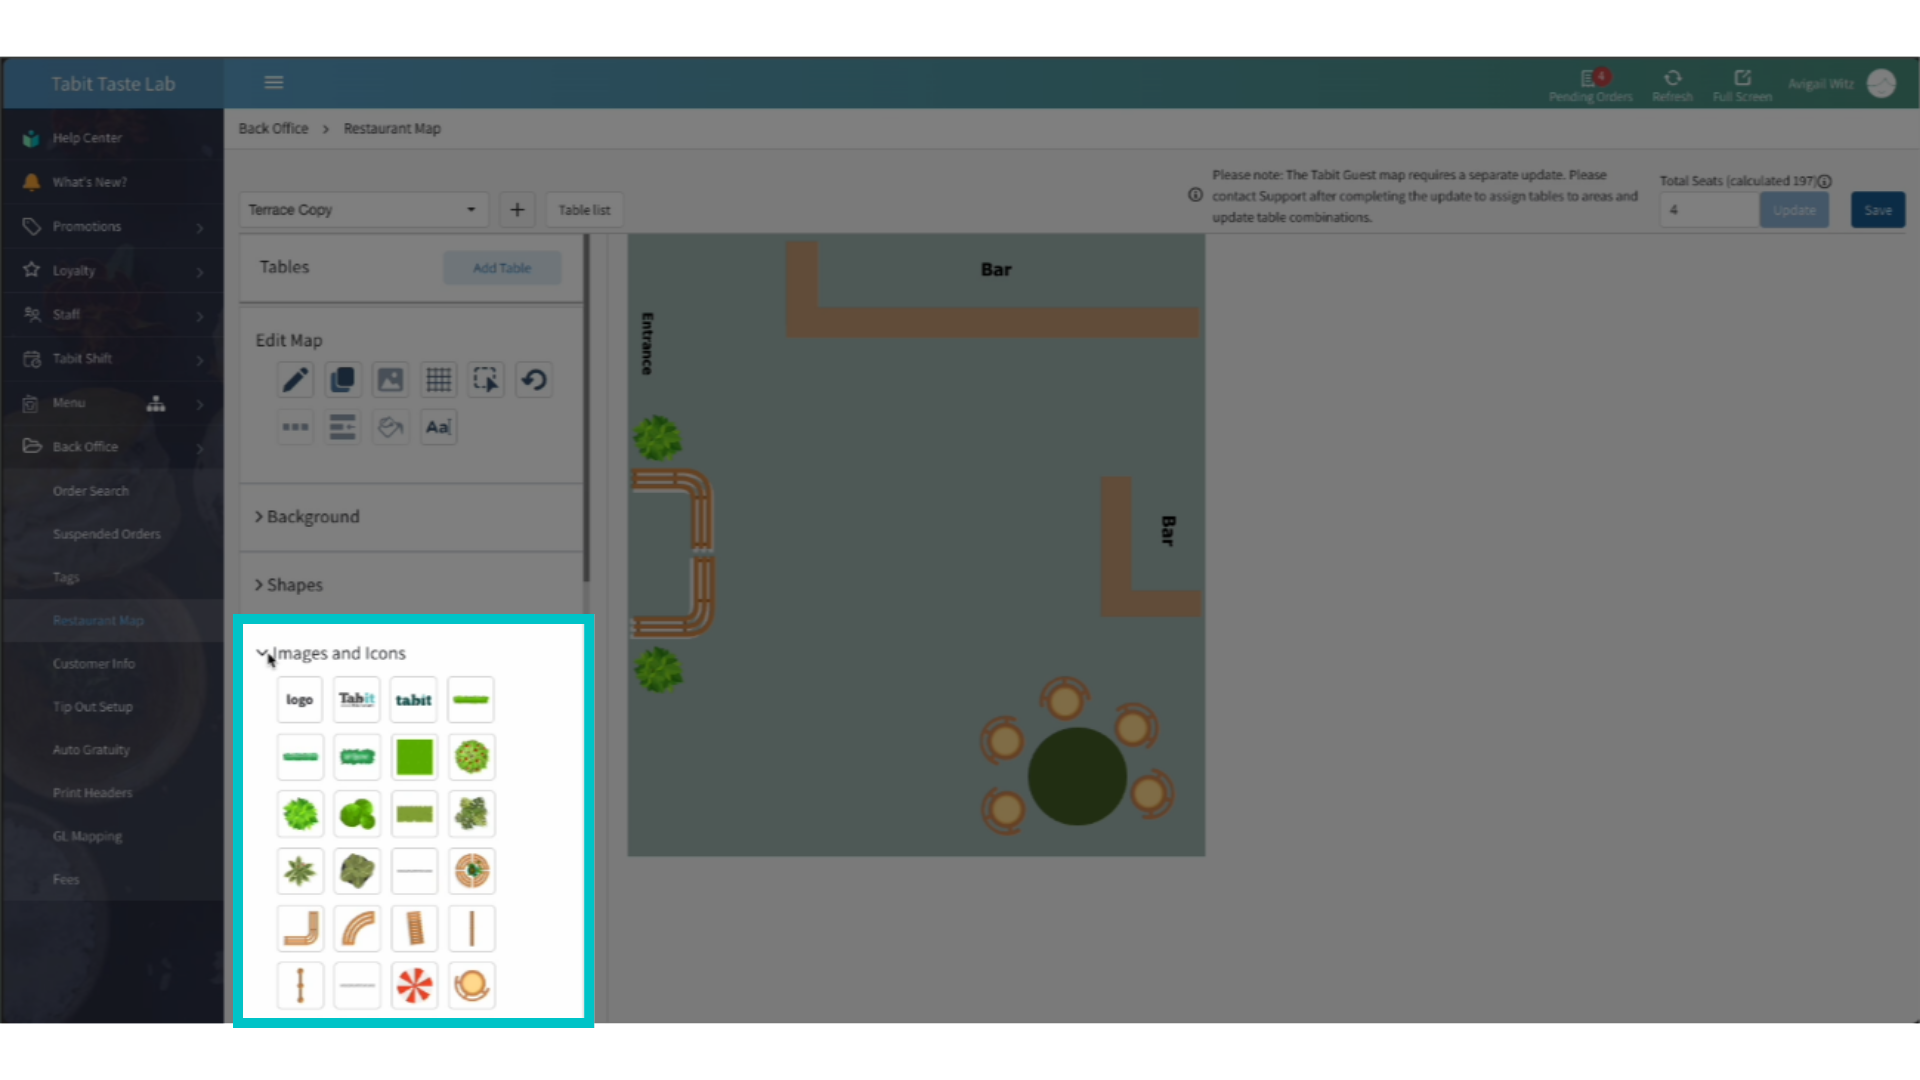
Continue to the Images and Icons section, and add more elements to the map. You can use them to indicate where the entrance is, the kitchen or any other option to help describe the space better
Add tables
-
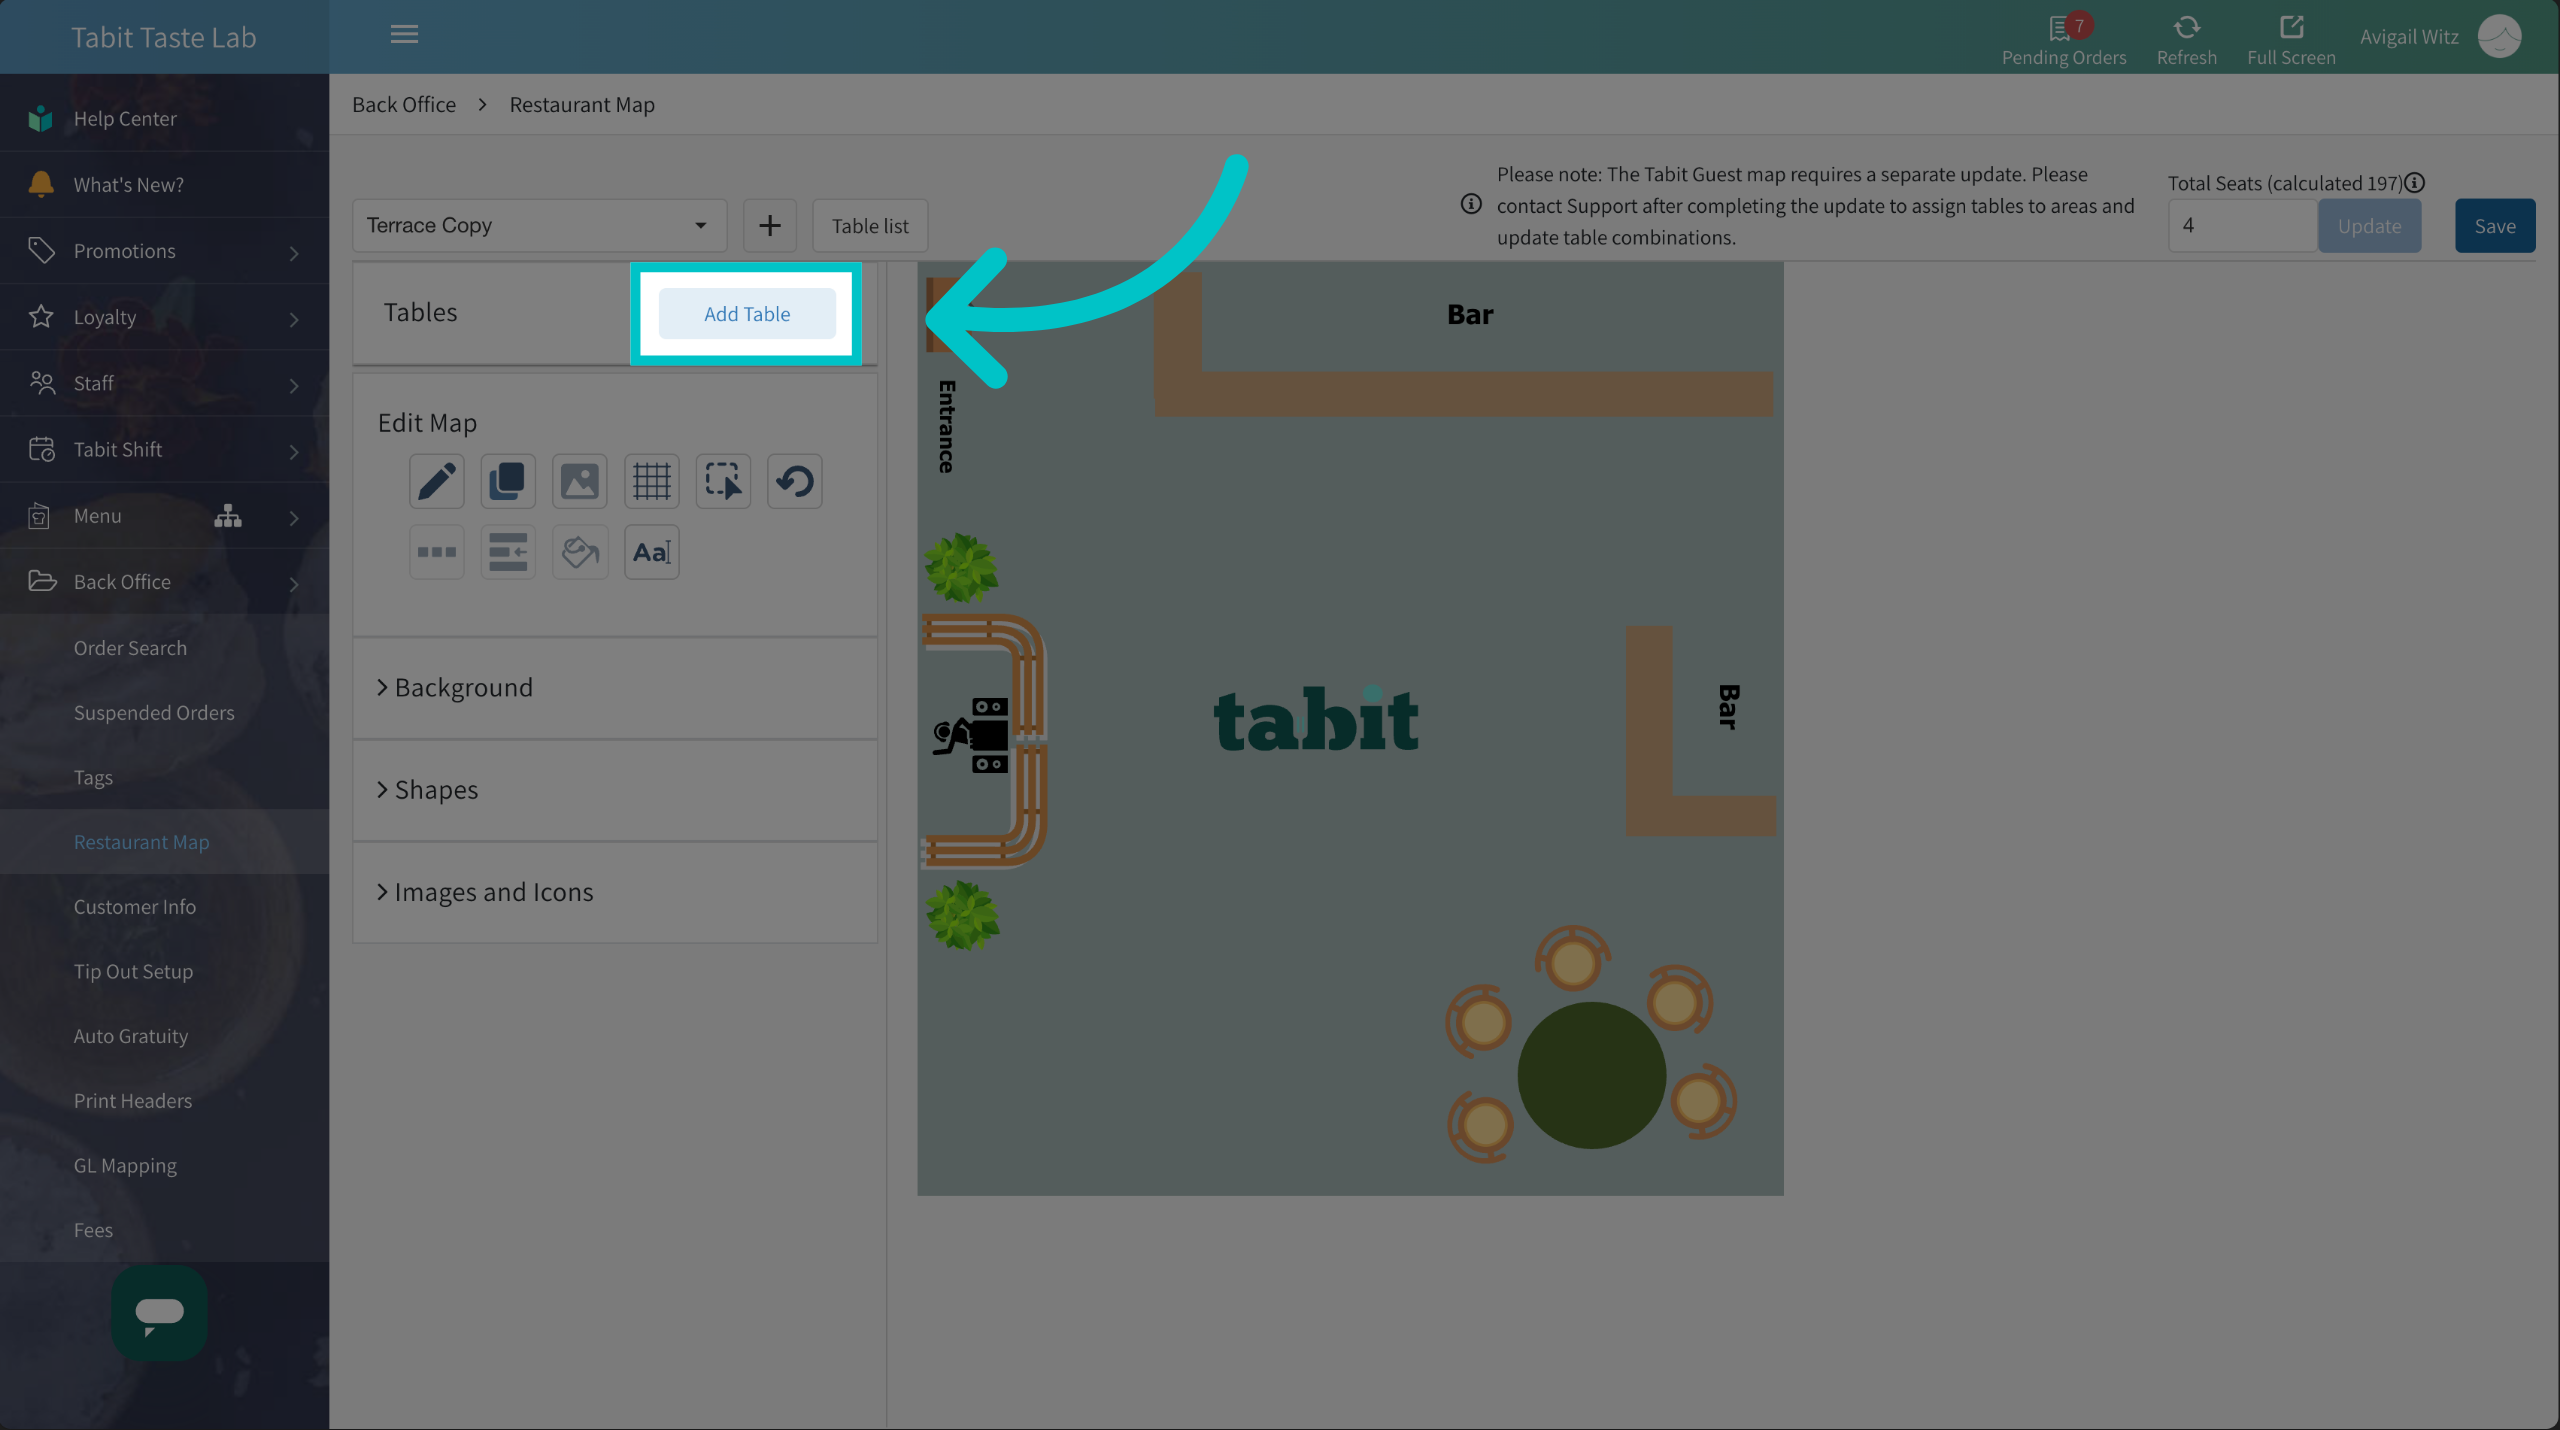
Let's continue to the tables. Select Add Table
-
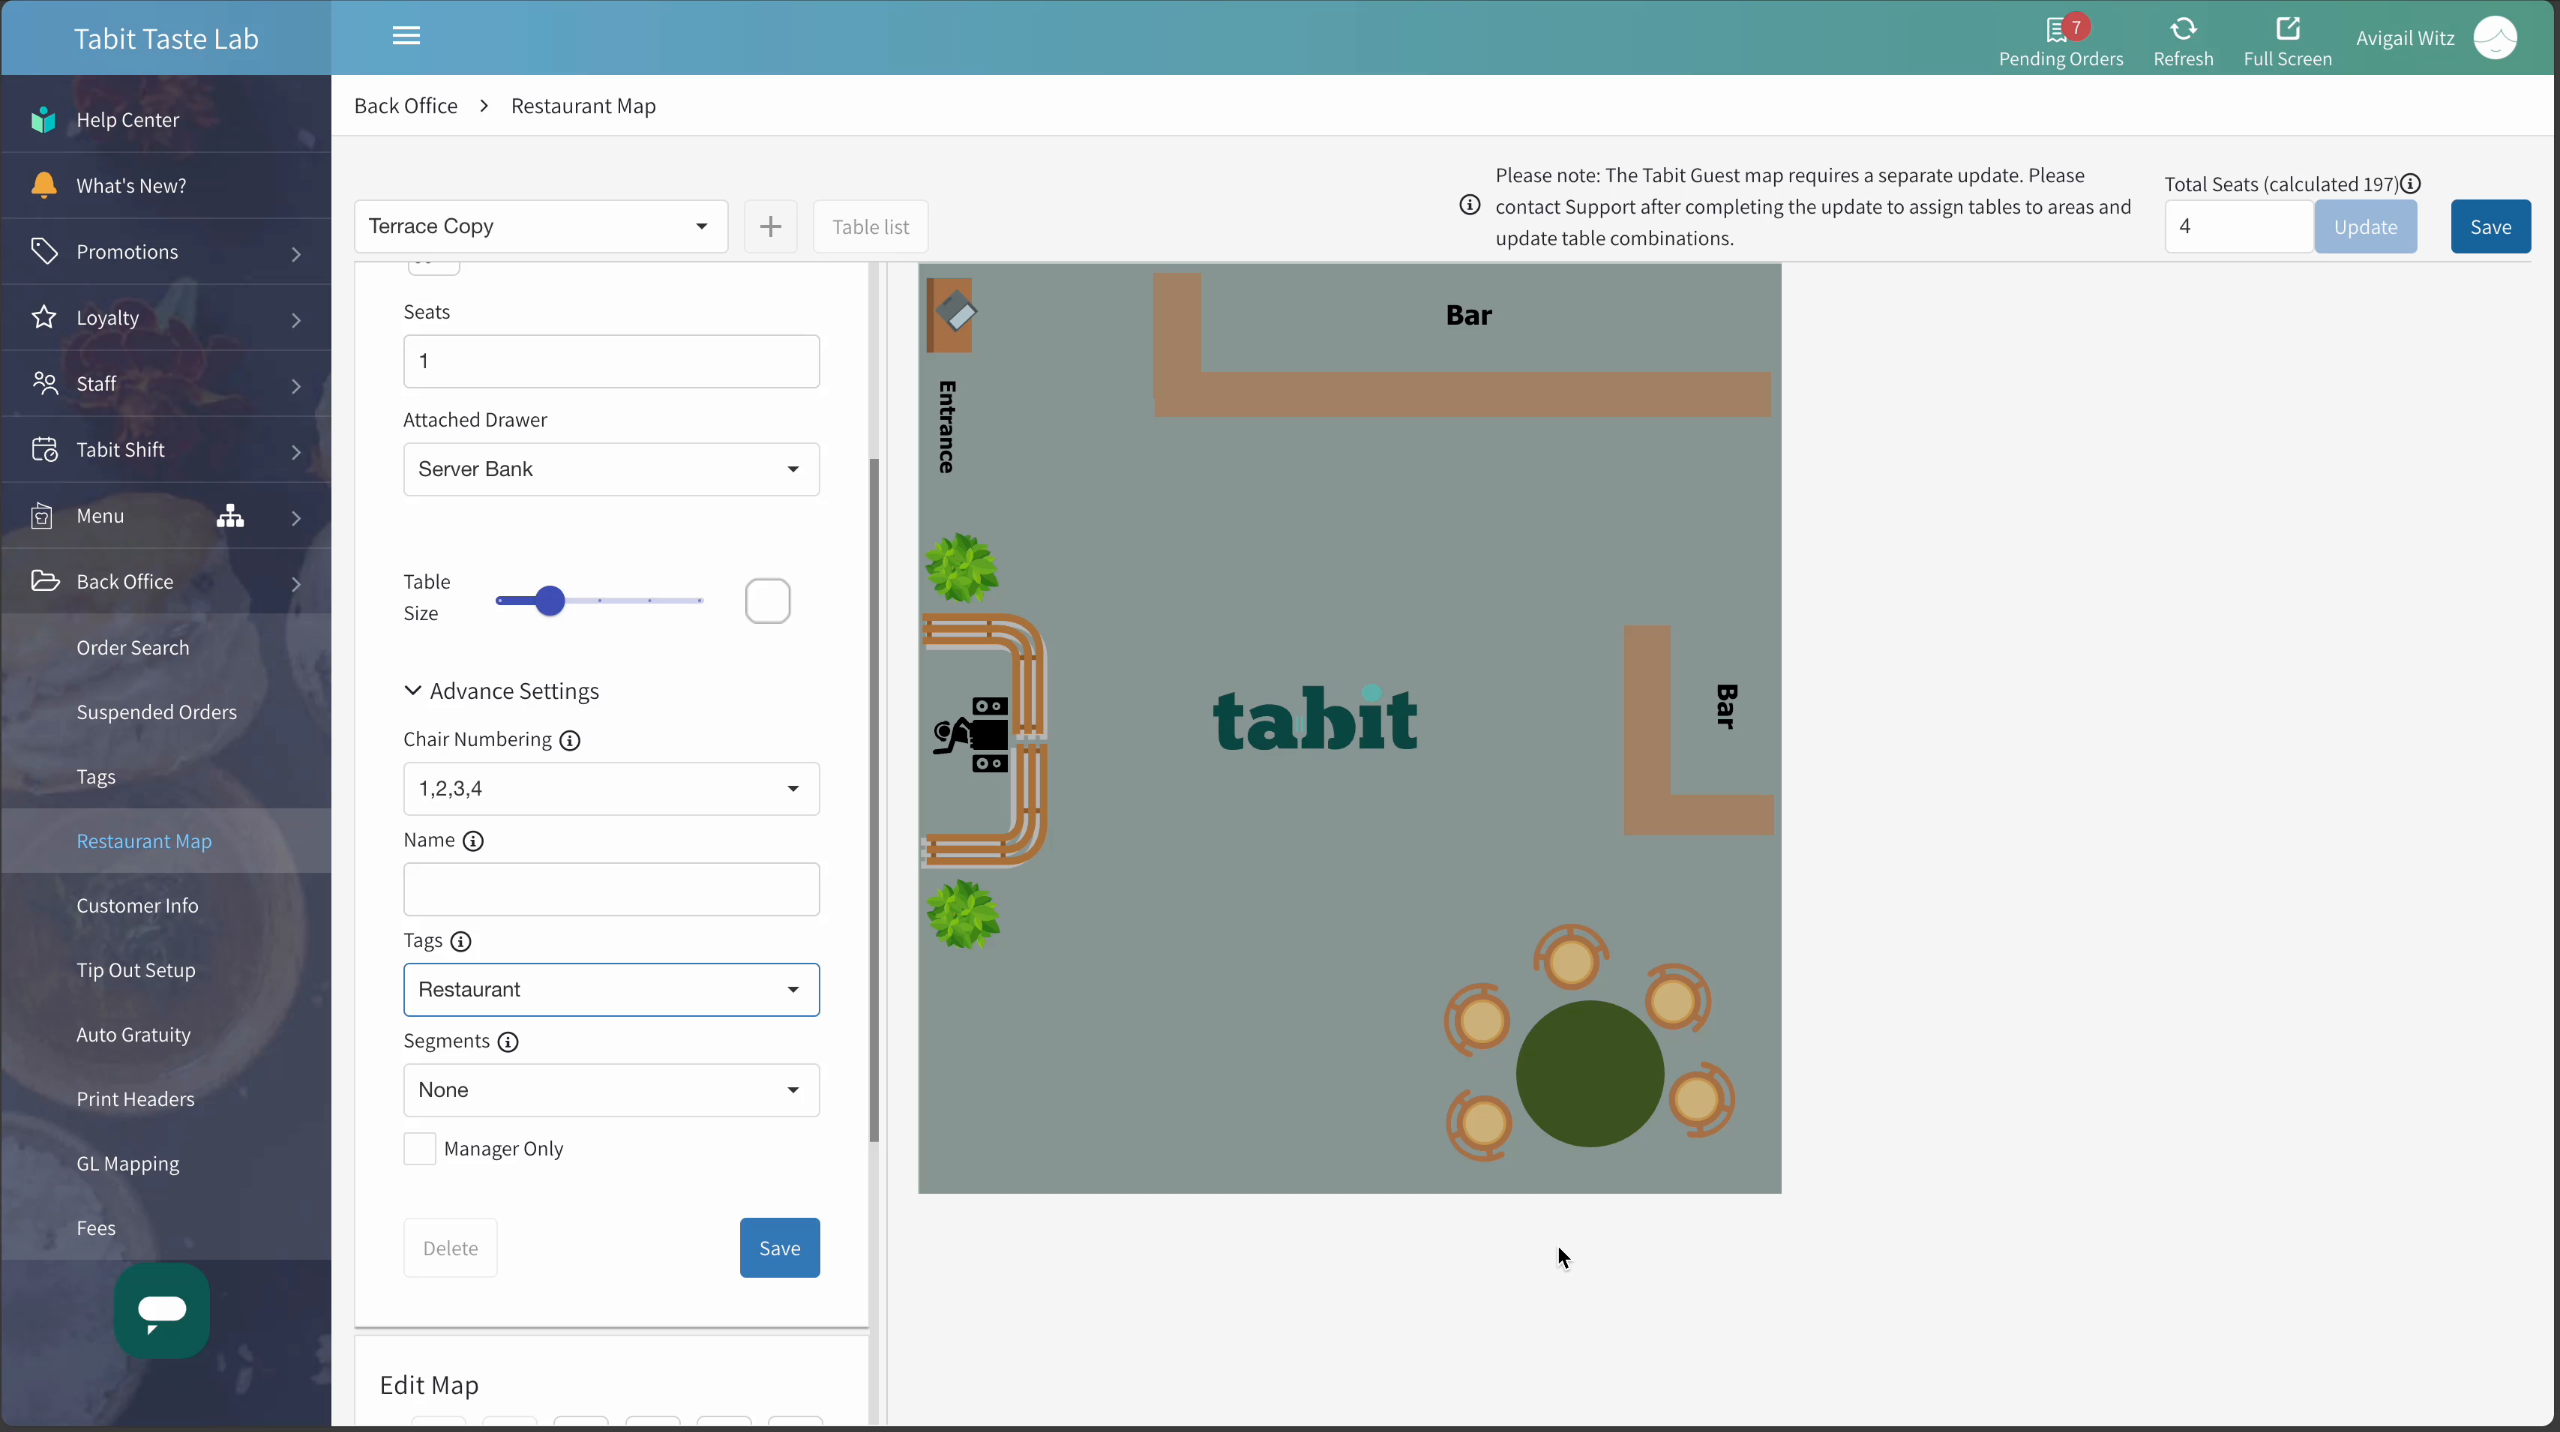
And fill in the details
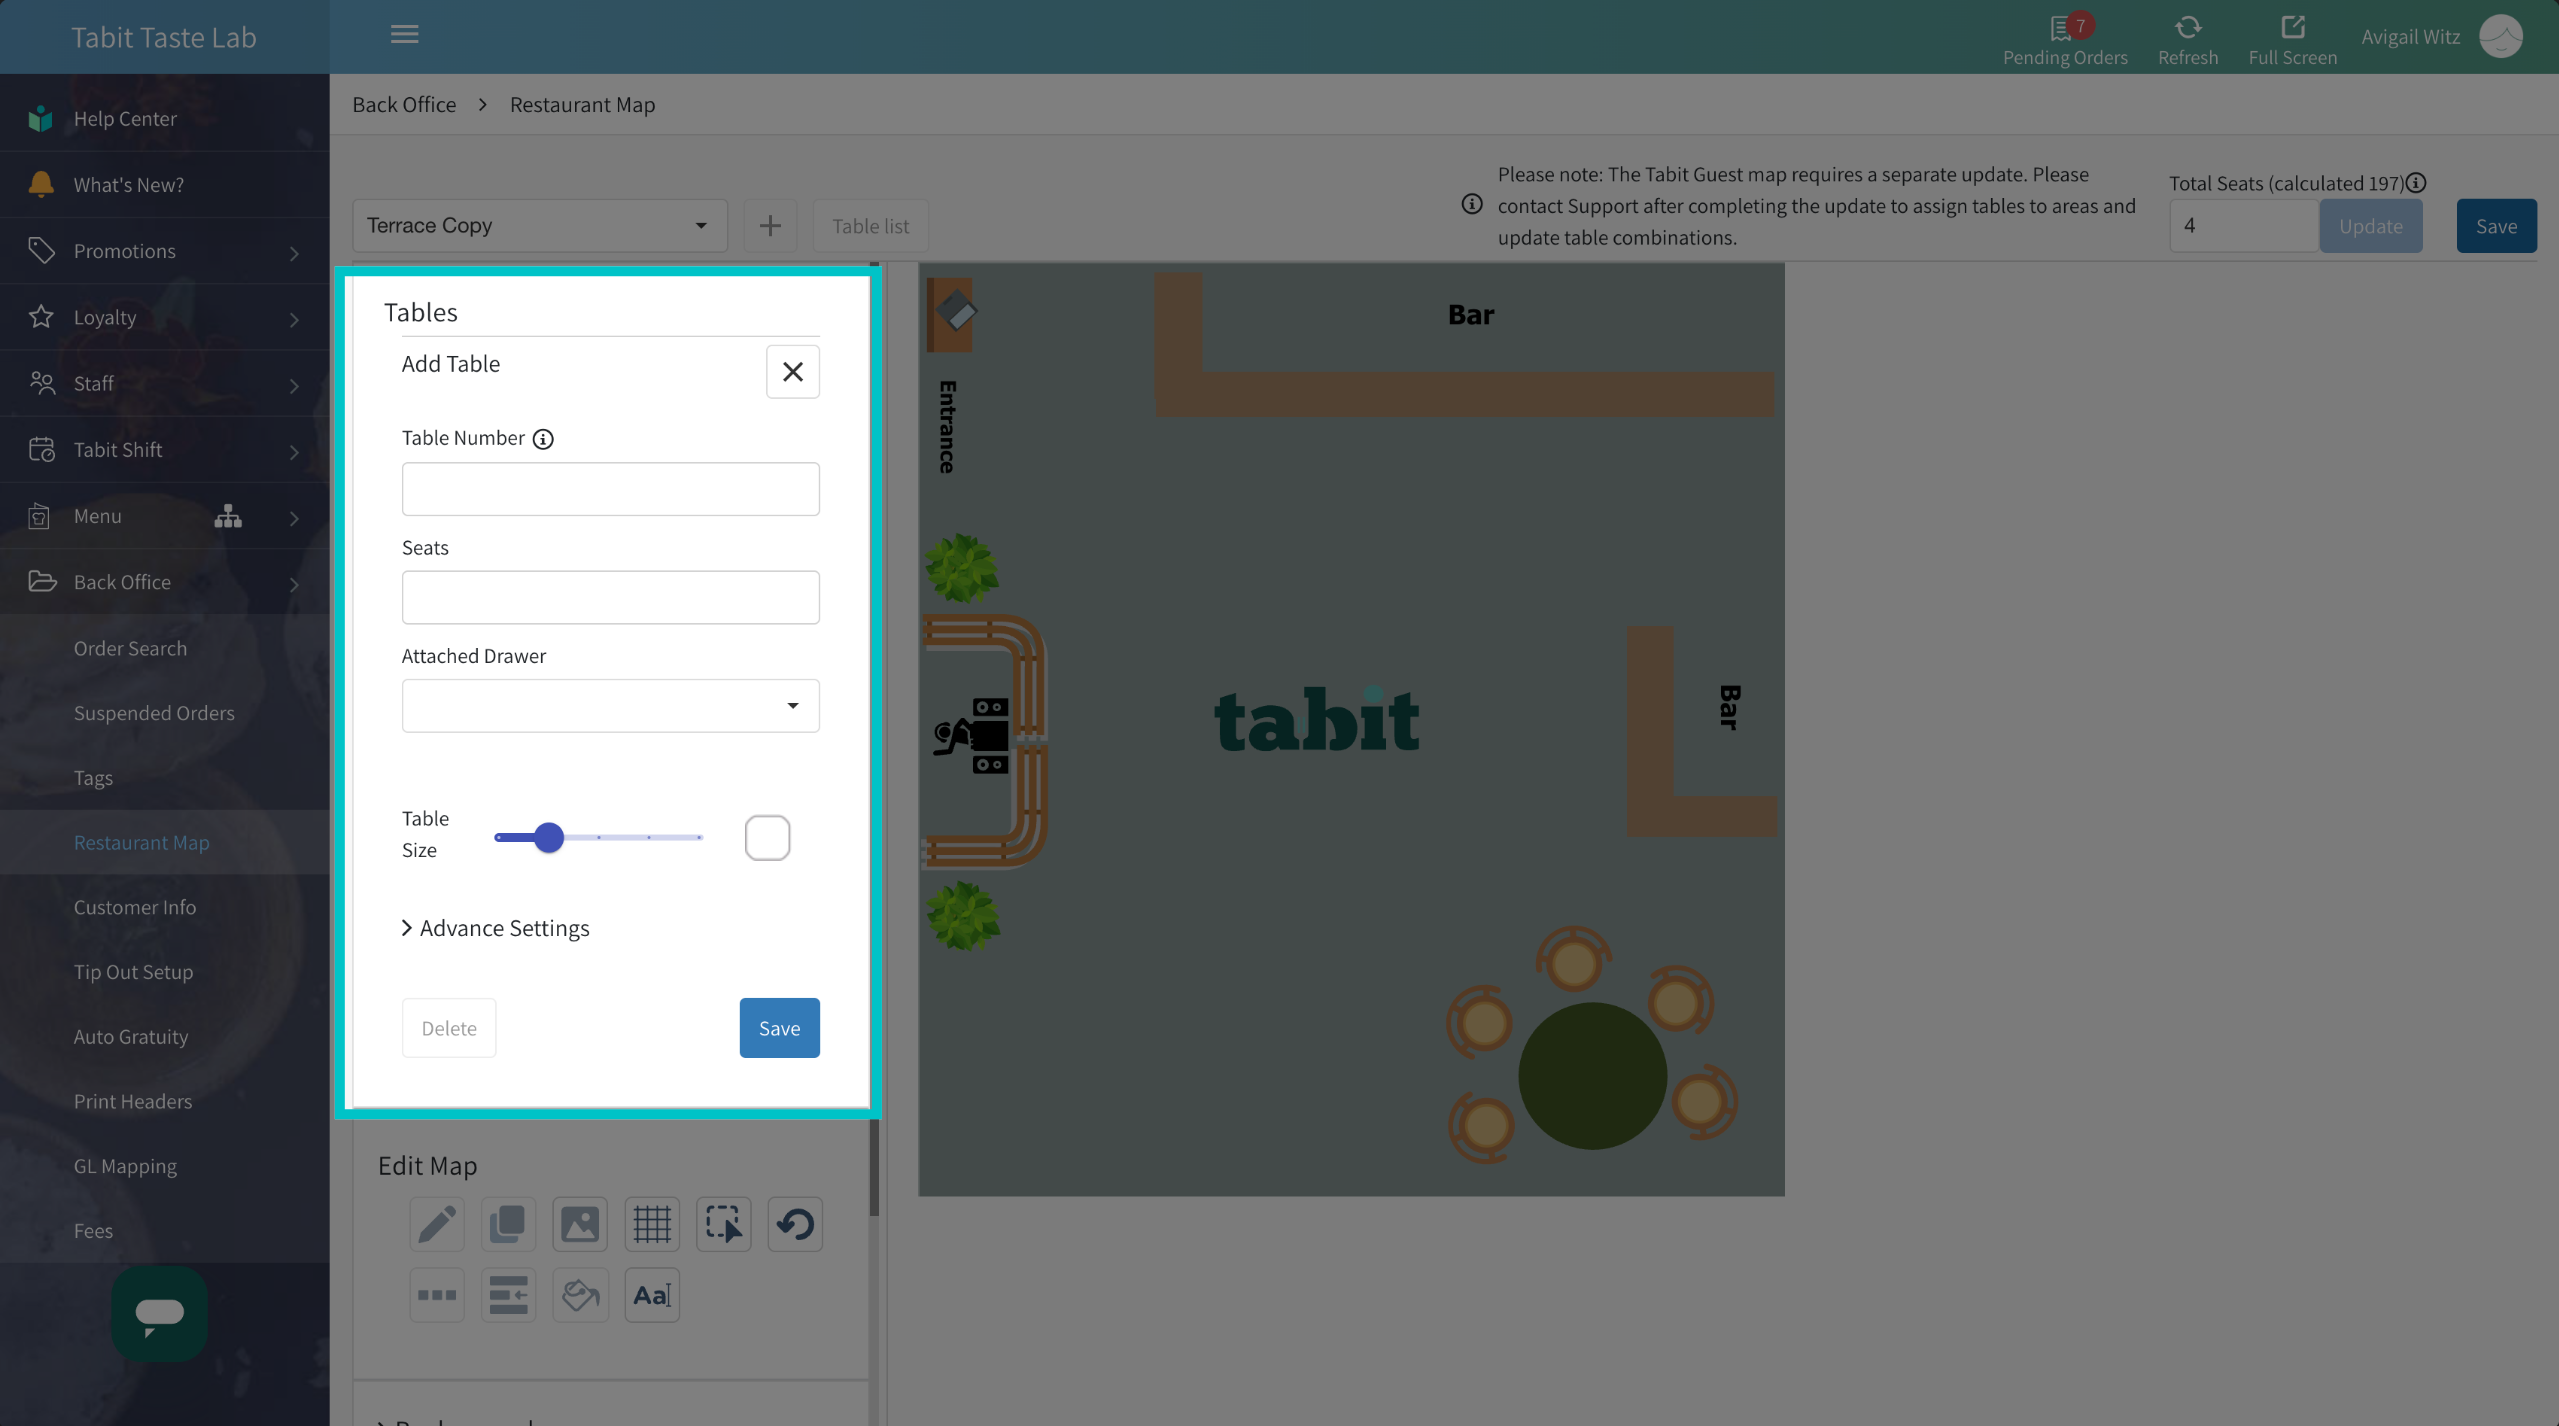
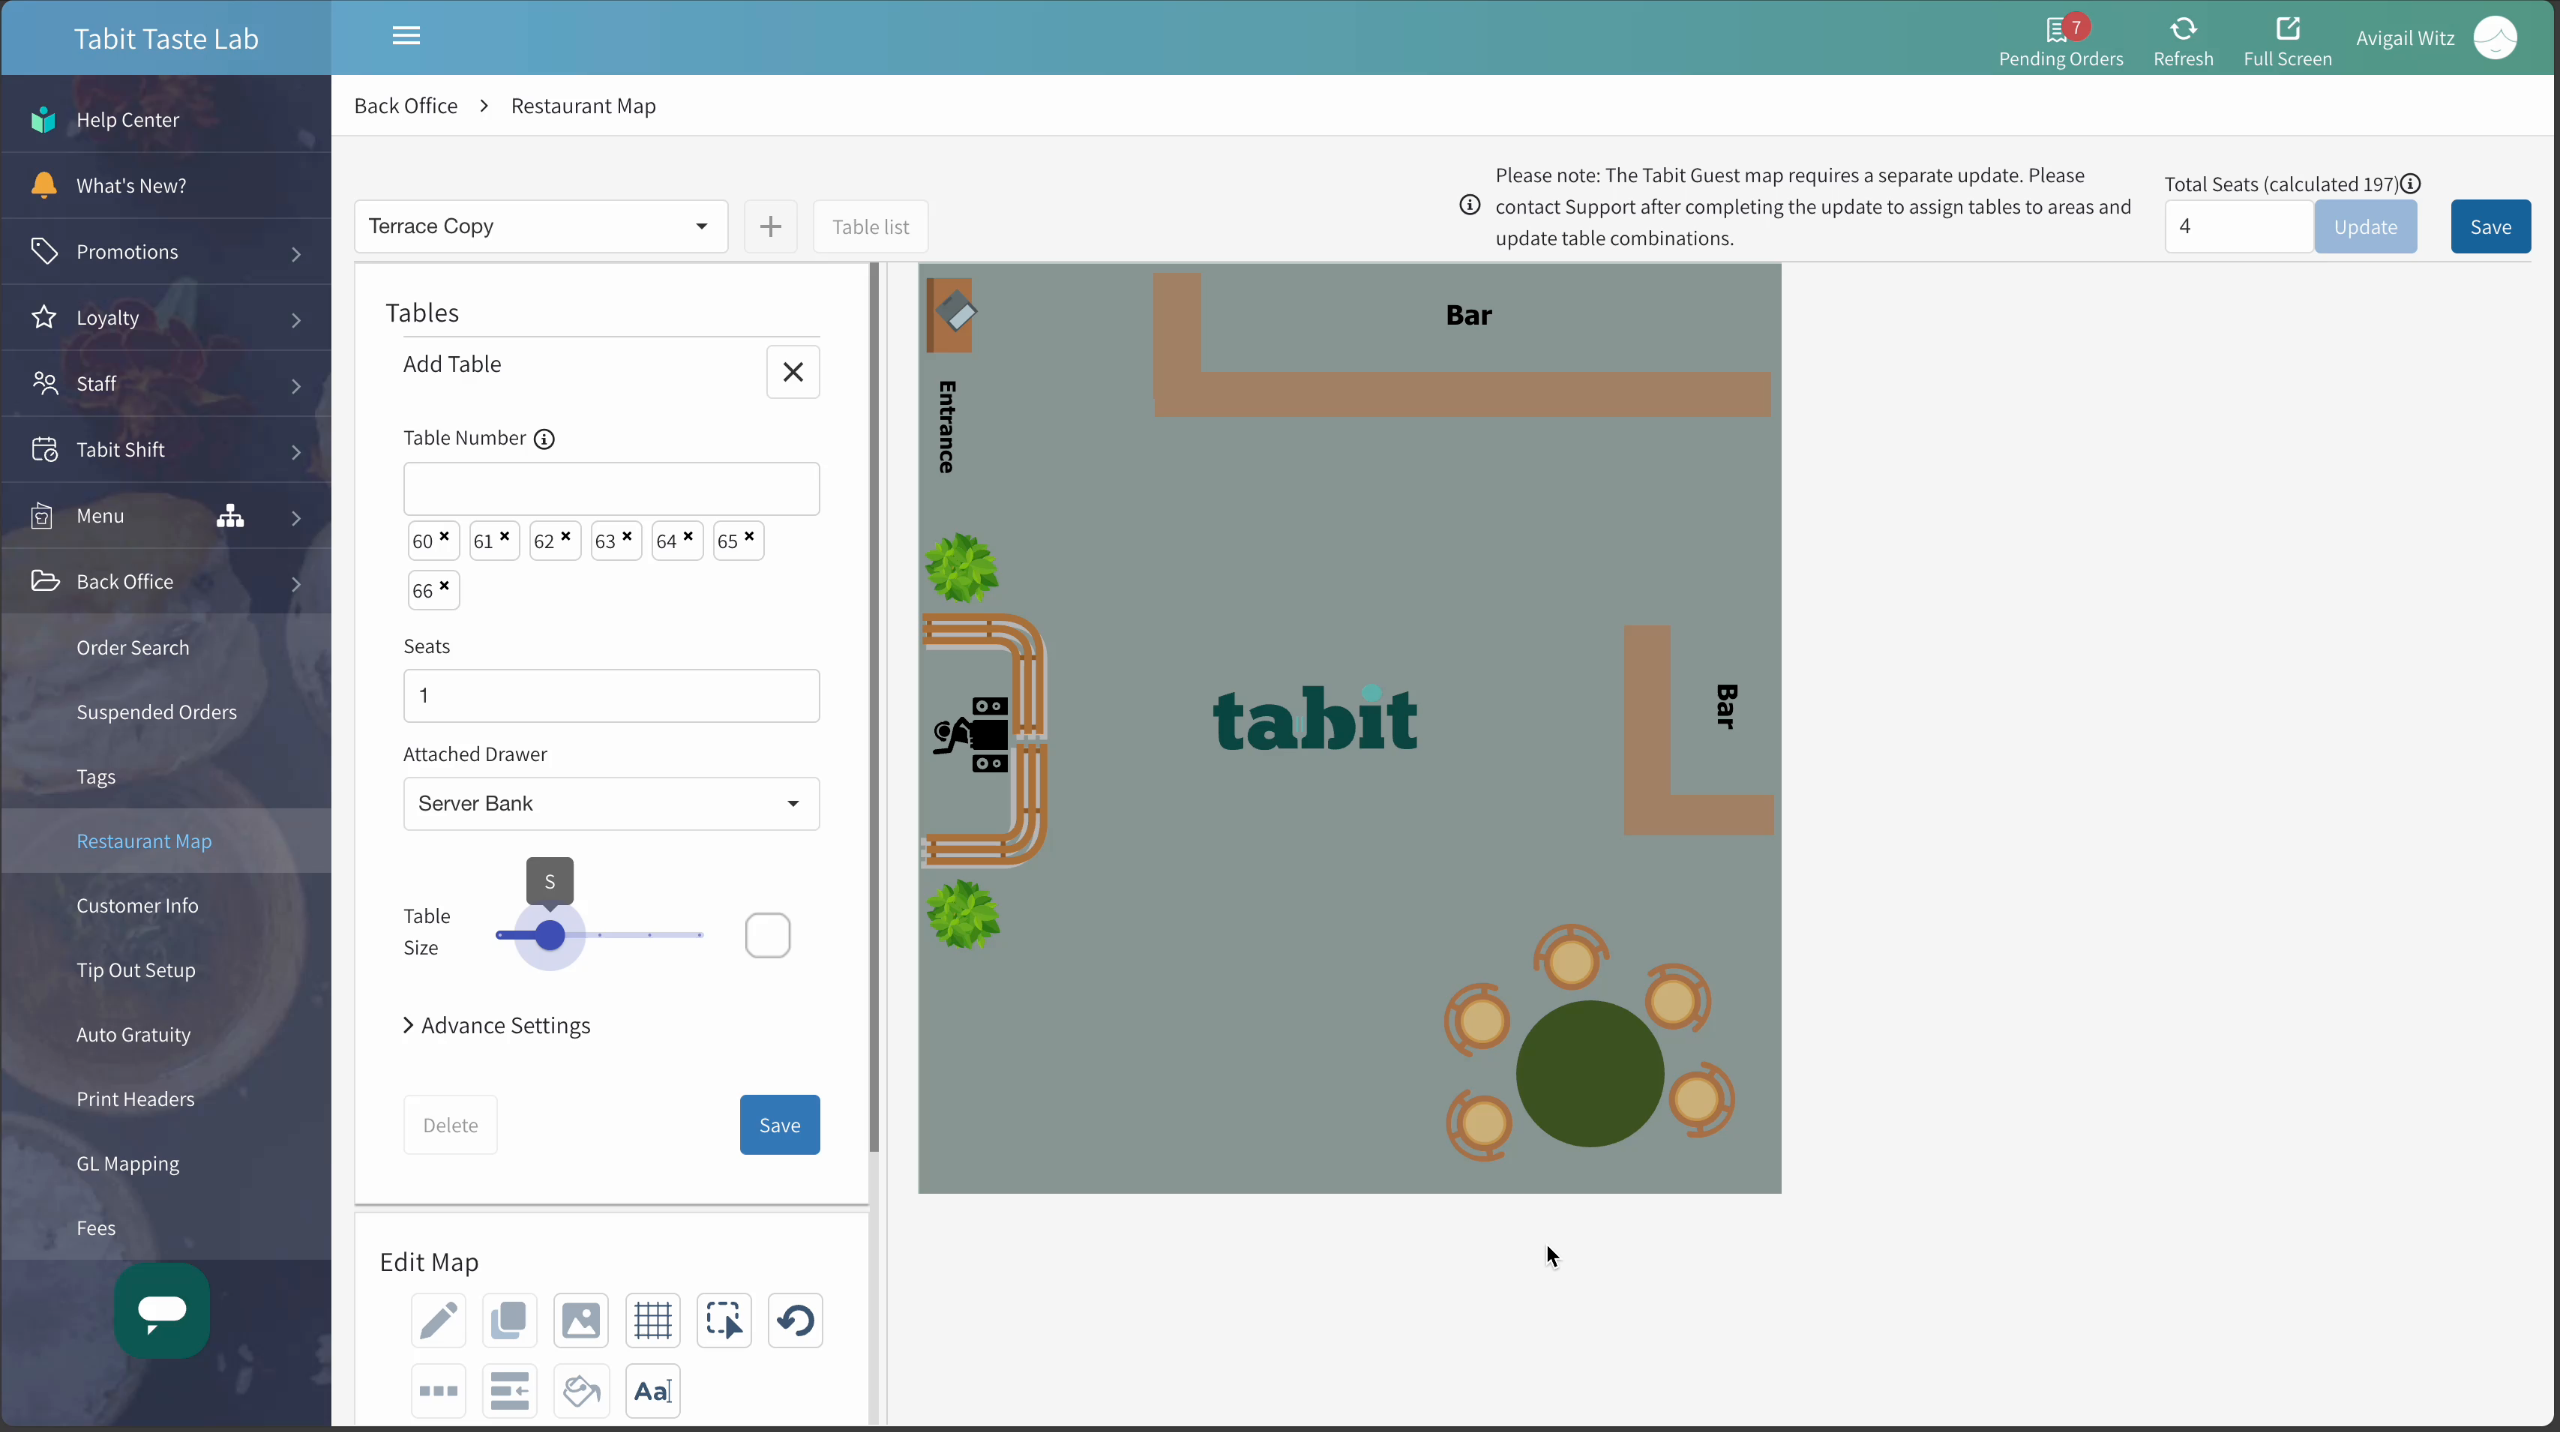
- Table number: Add the table number and press enter on your keypad. Repeat the process to add multiple tables with the same settings, such as bar tables
- Seats: Enter the number of people who can sit at each table
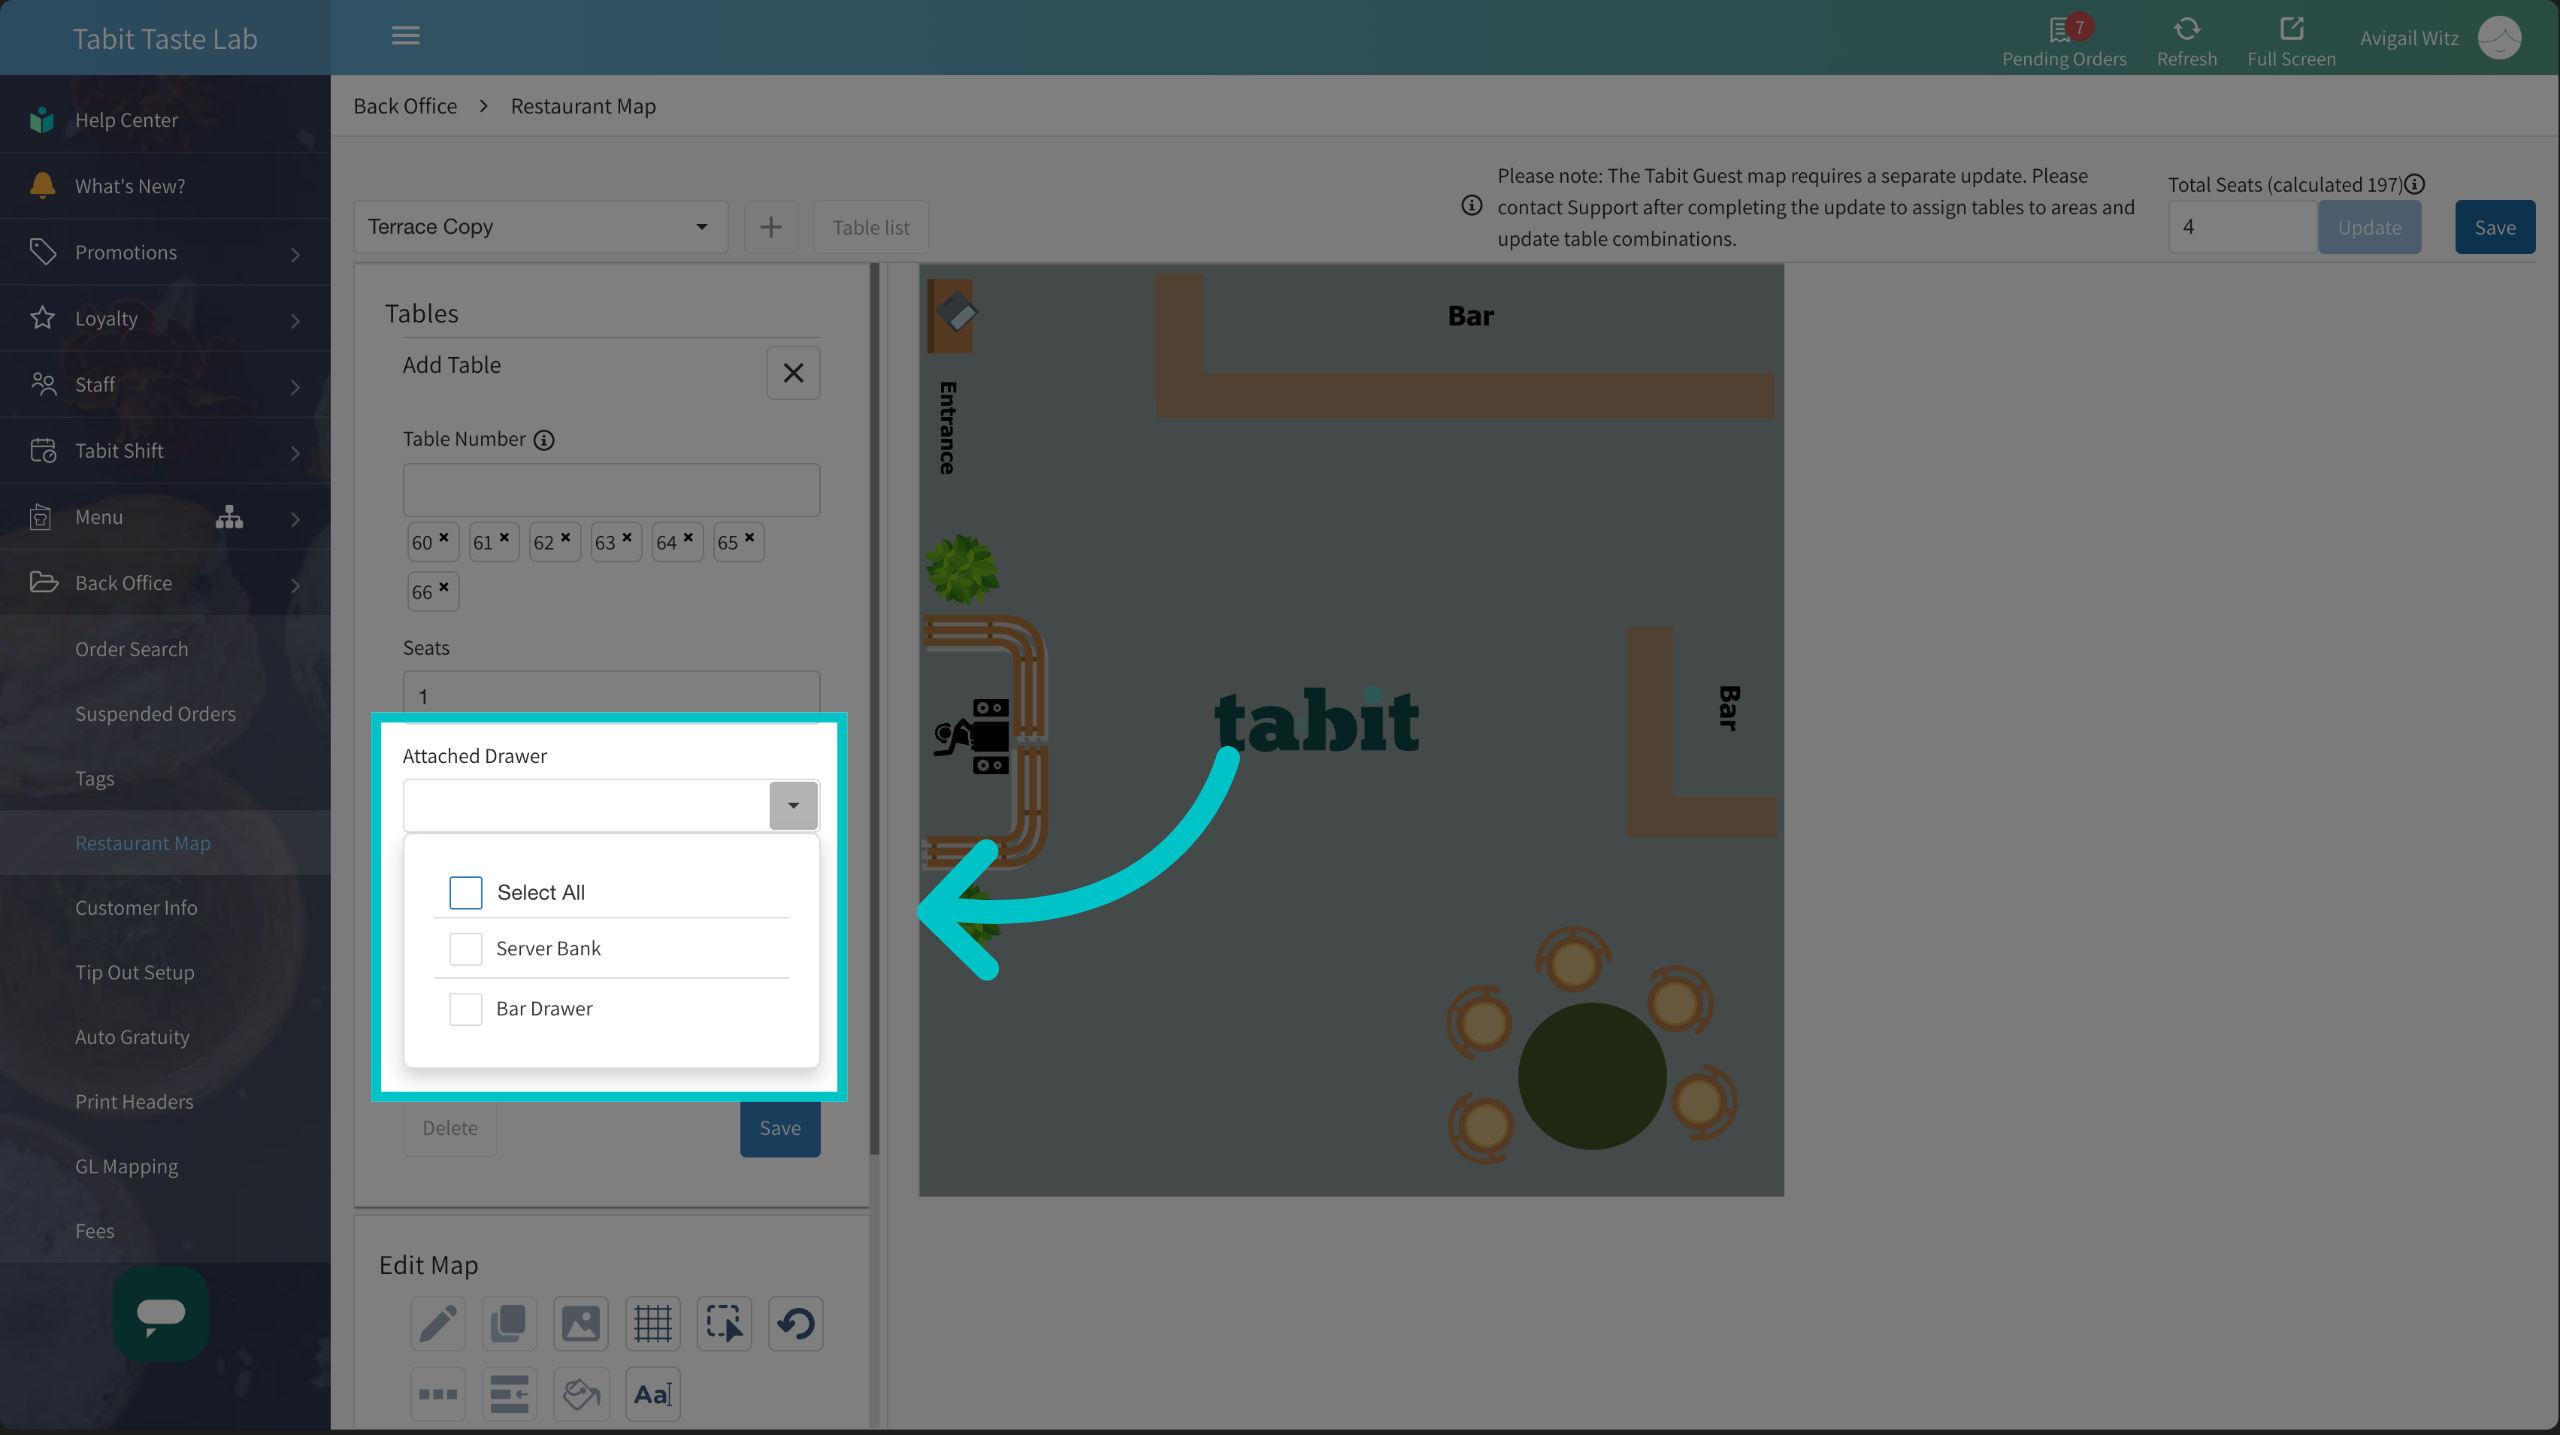
- Attached Drawer: This step determines which drawers servers can deposit cash payments into for these tables. If nothing is selected, servers will not be able to receive cash payments for these tables
- Table size: determine the table's size: extra small, small, medium, large or extra large
Advanced settings
Note that these settings are not necessarily relevant to everyone
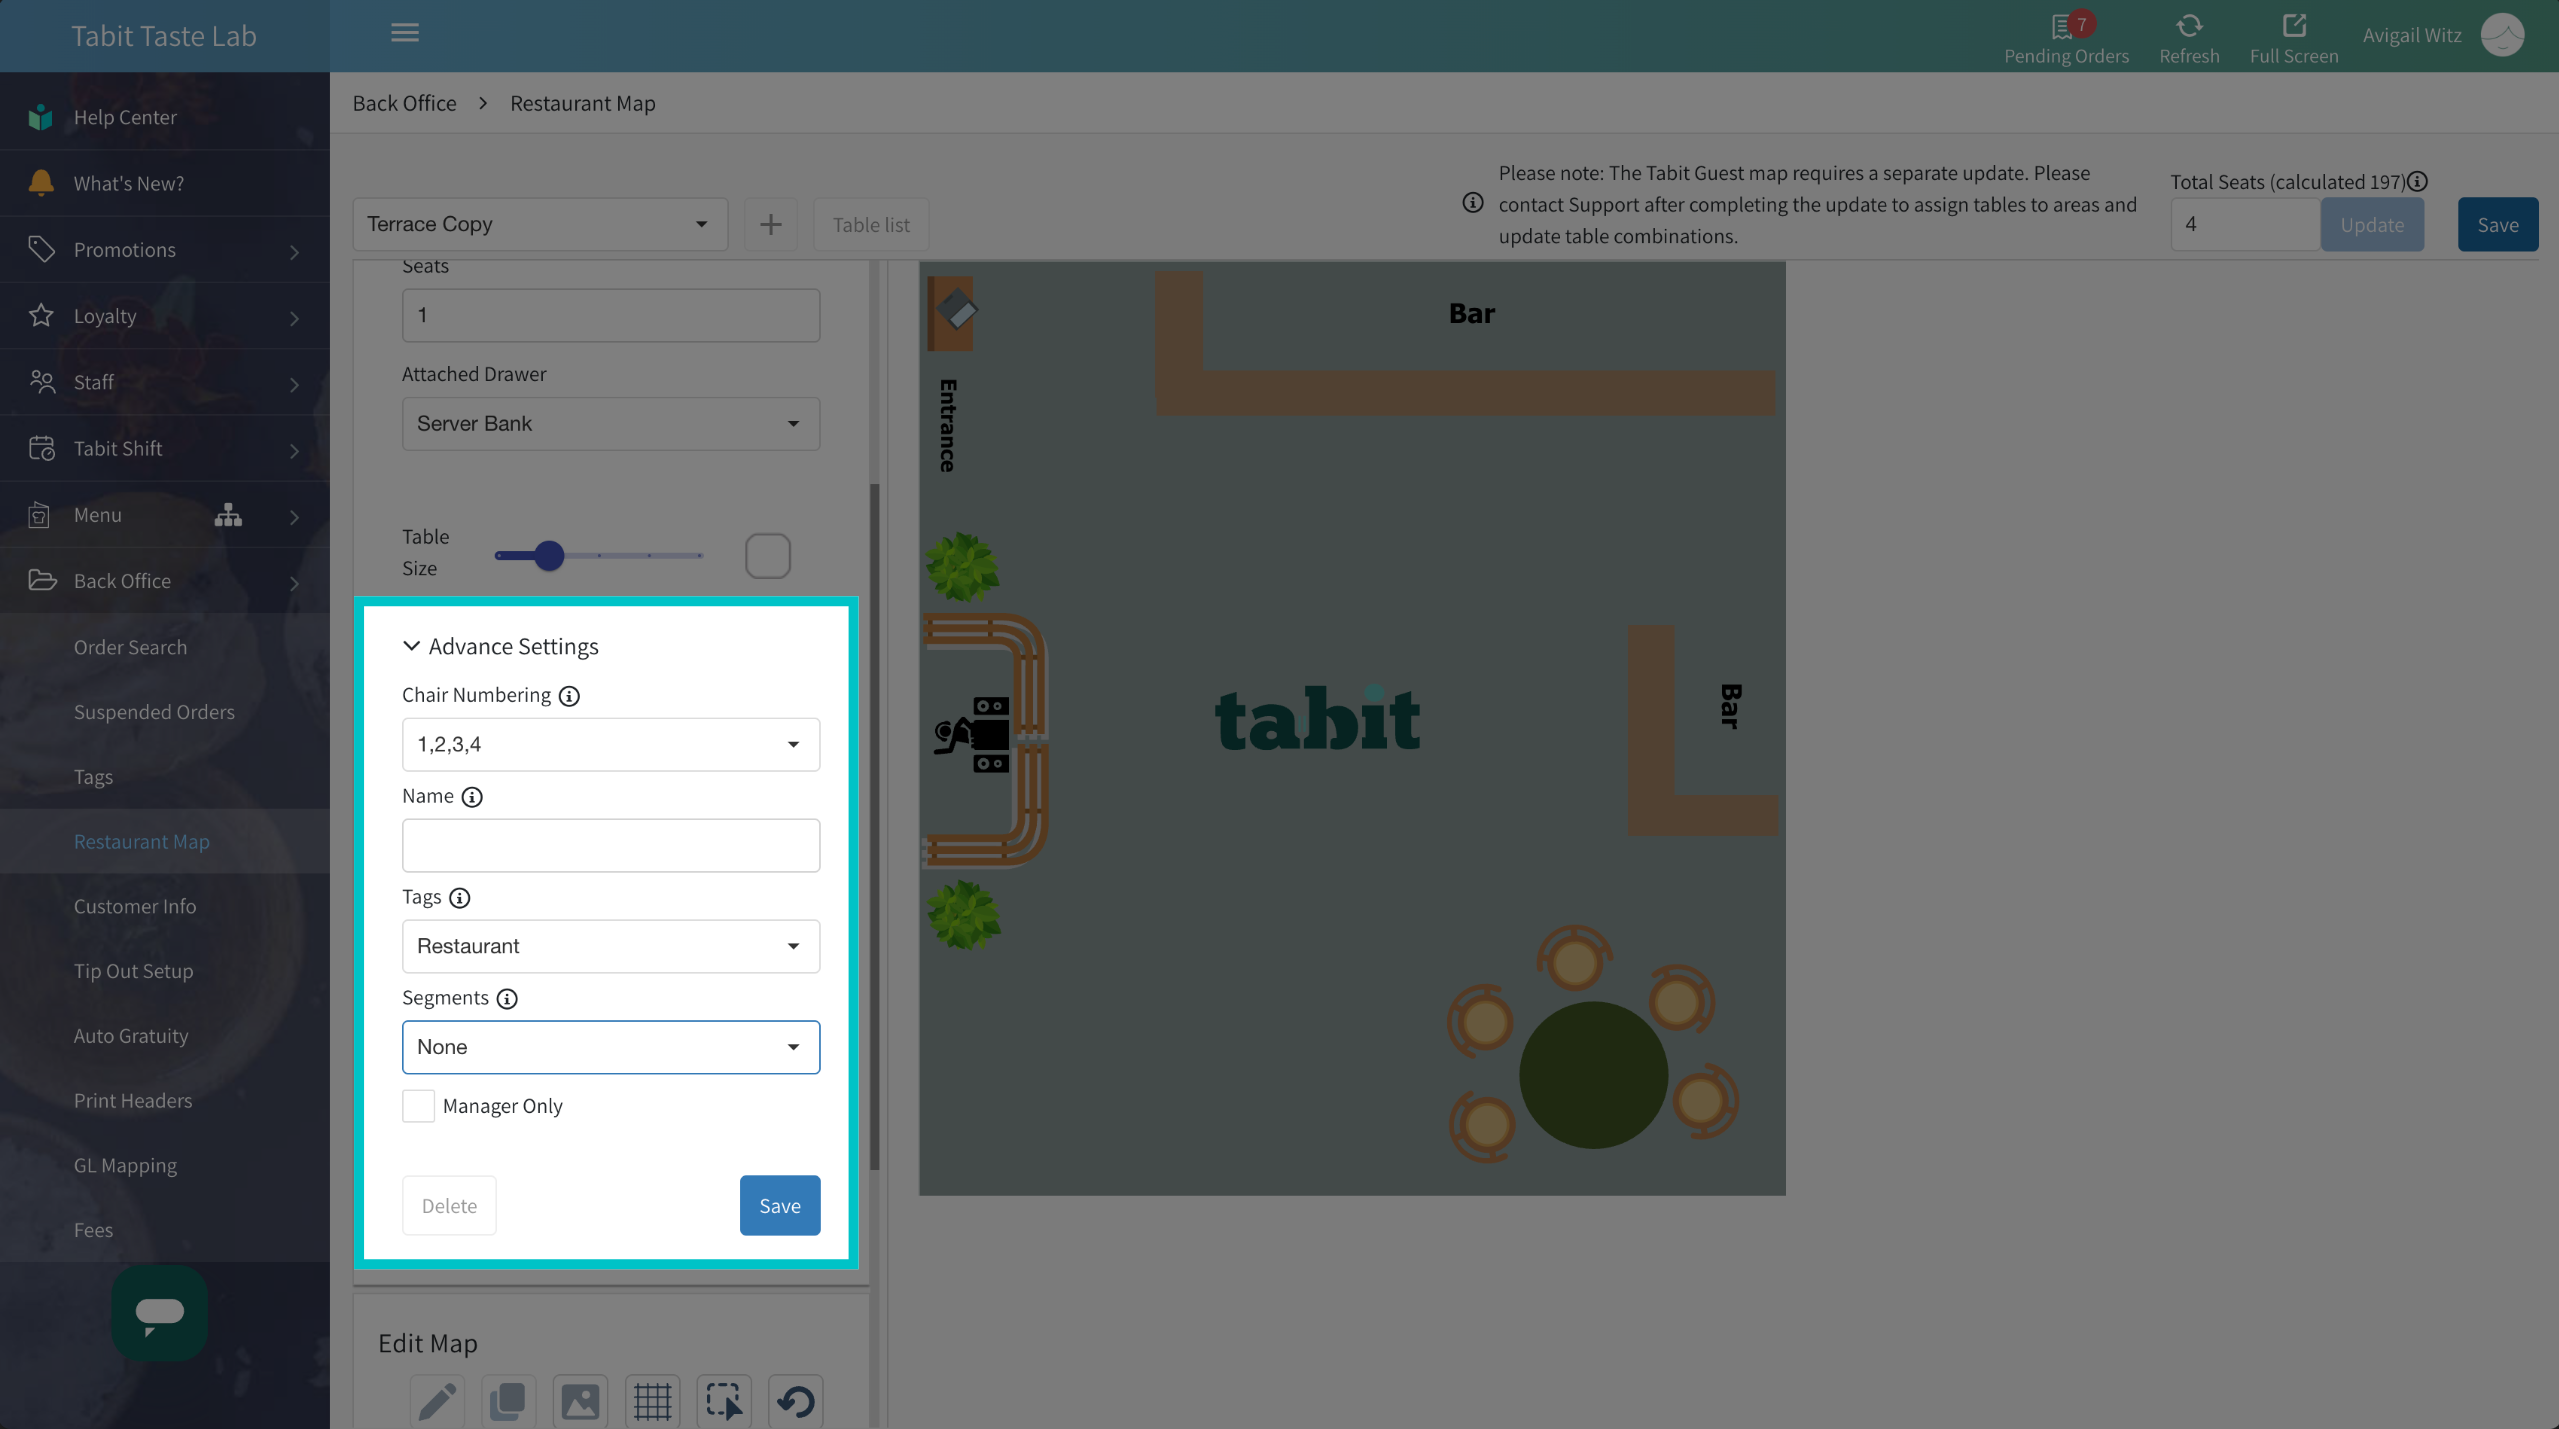
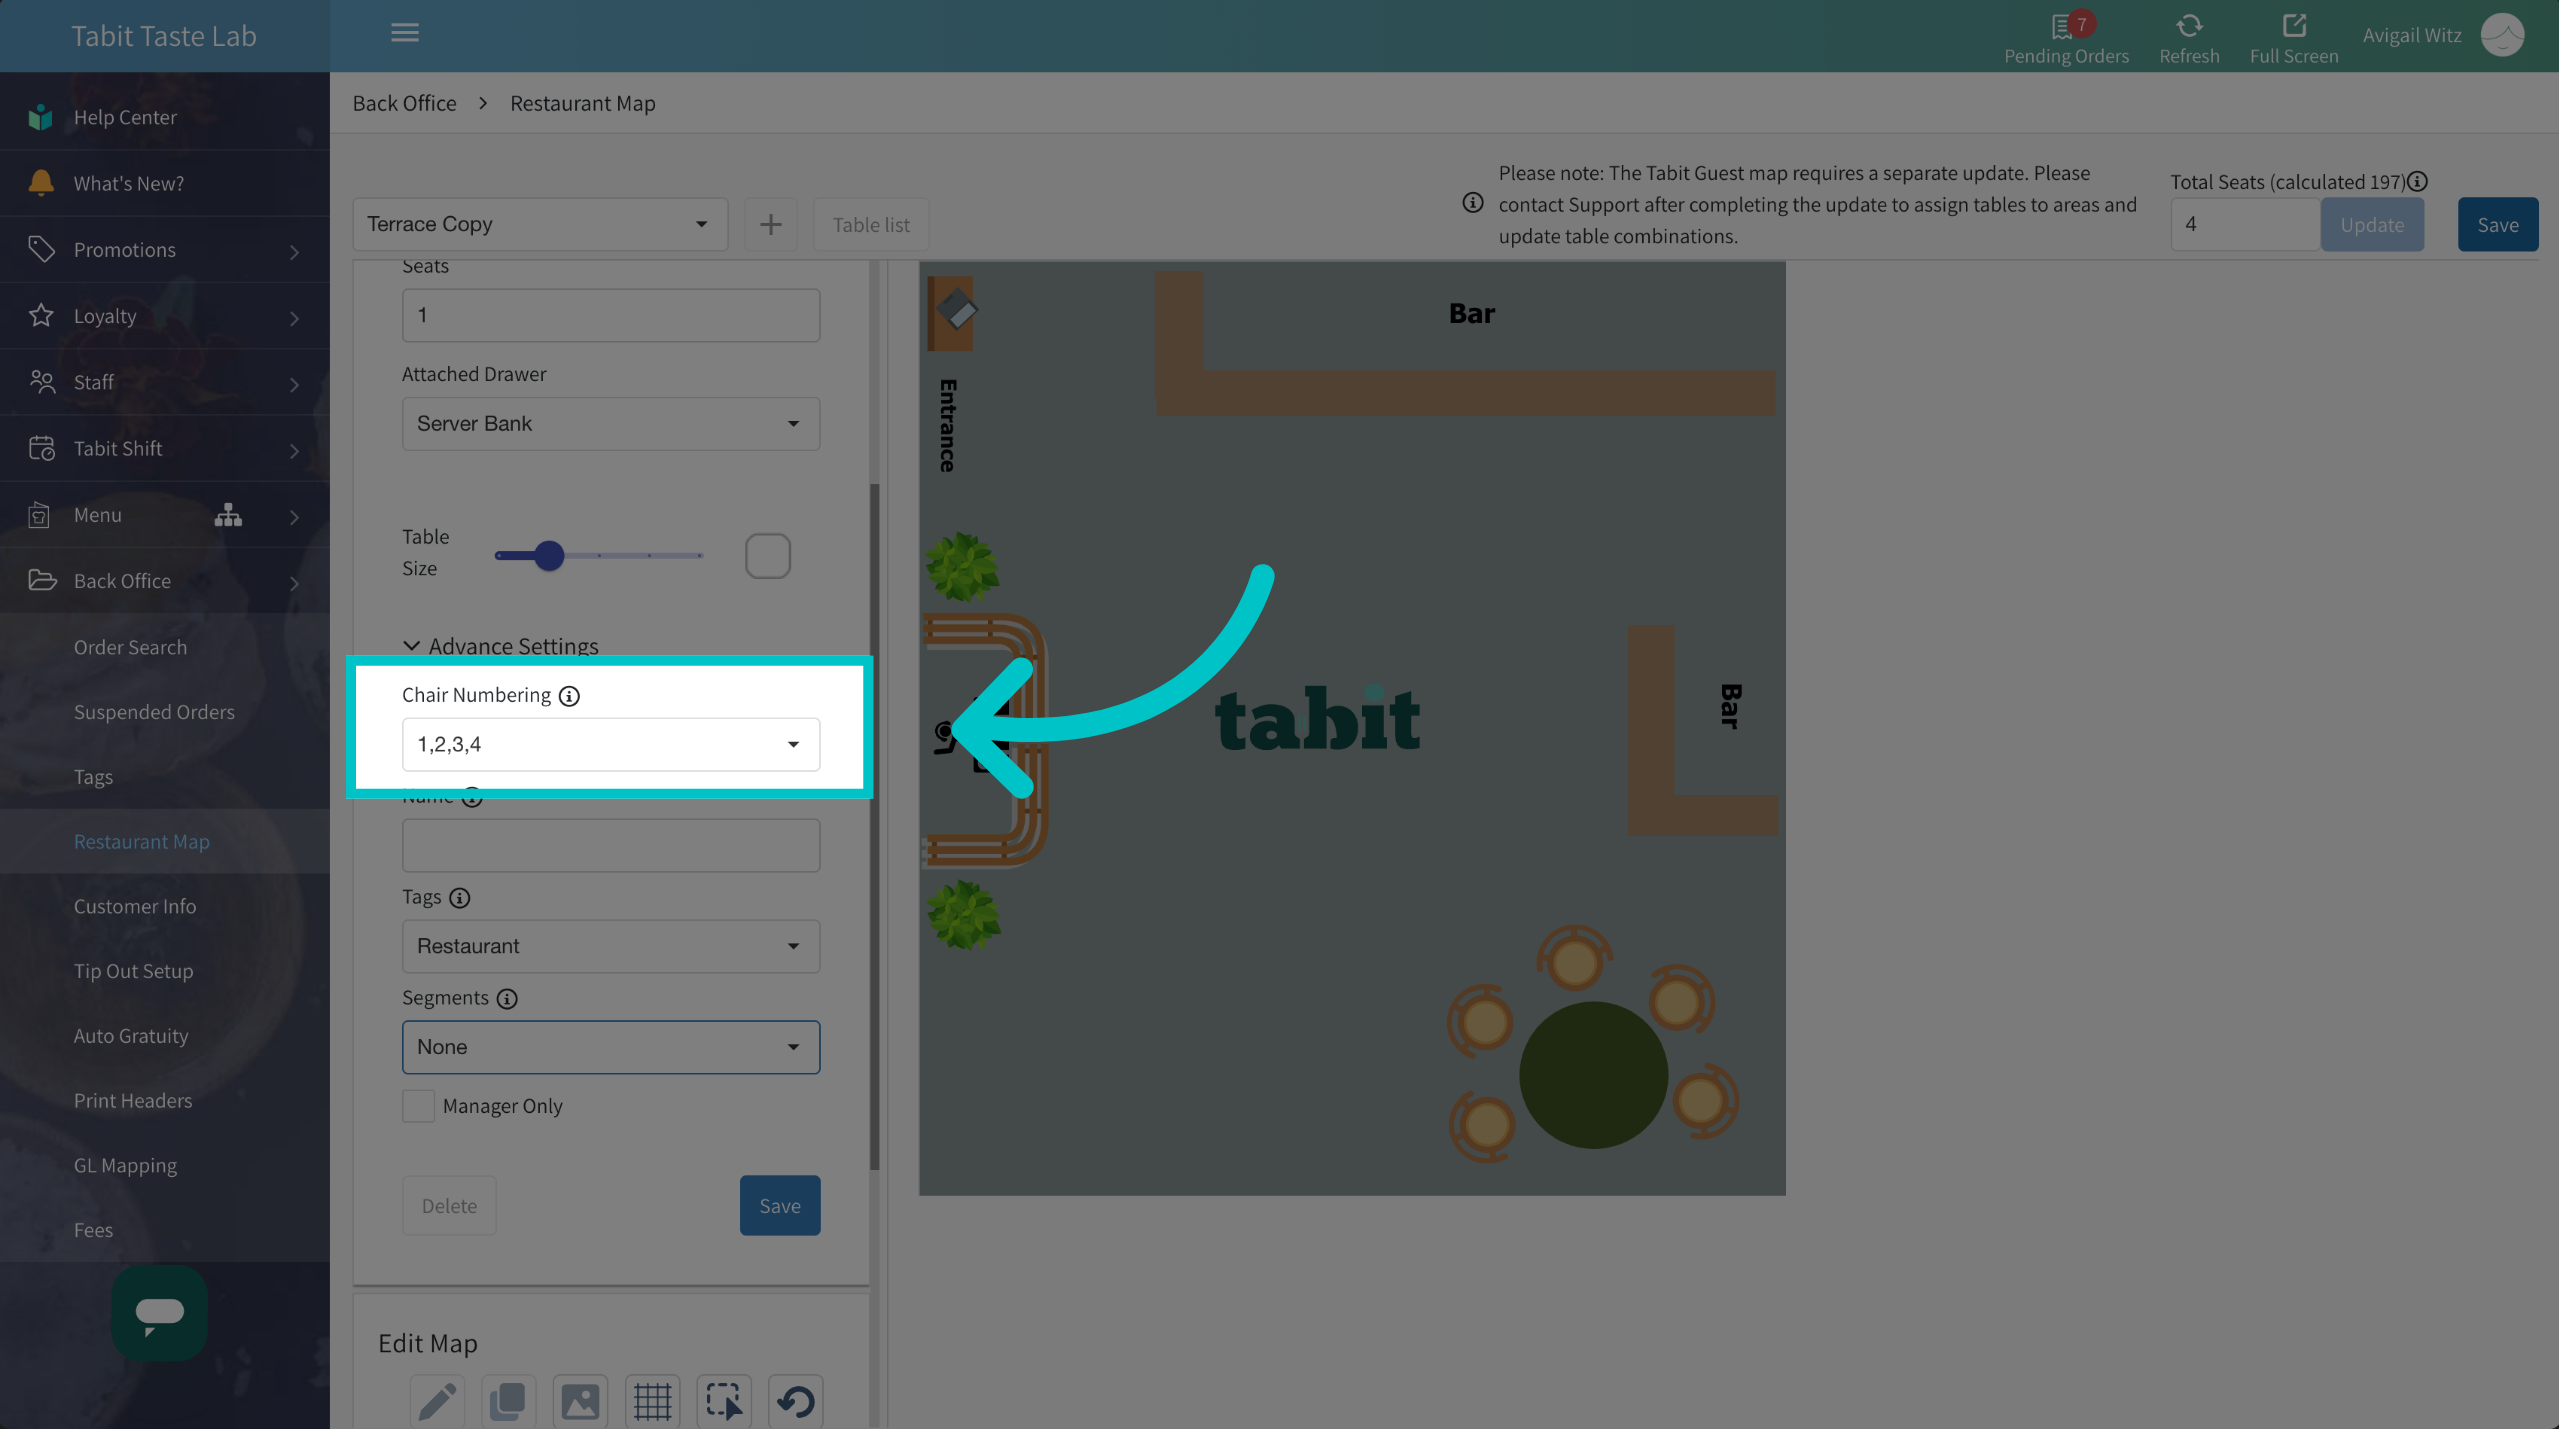
- Chair Numbering: Refers to the seat numbering method used at the site
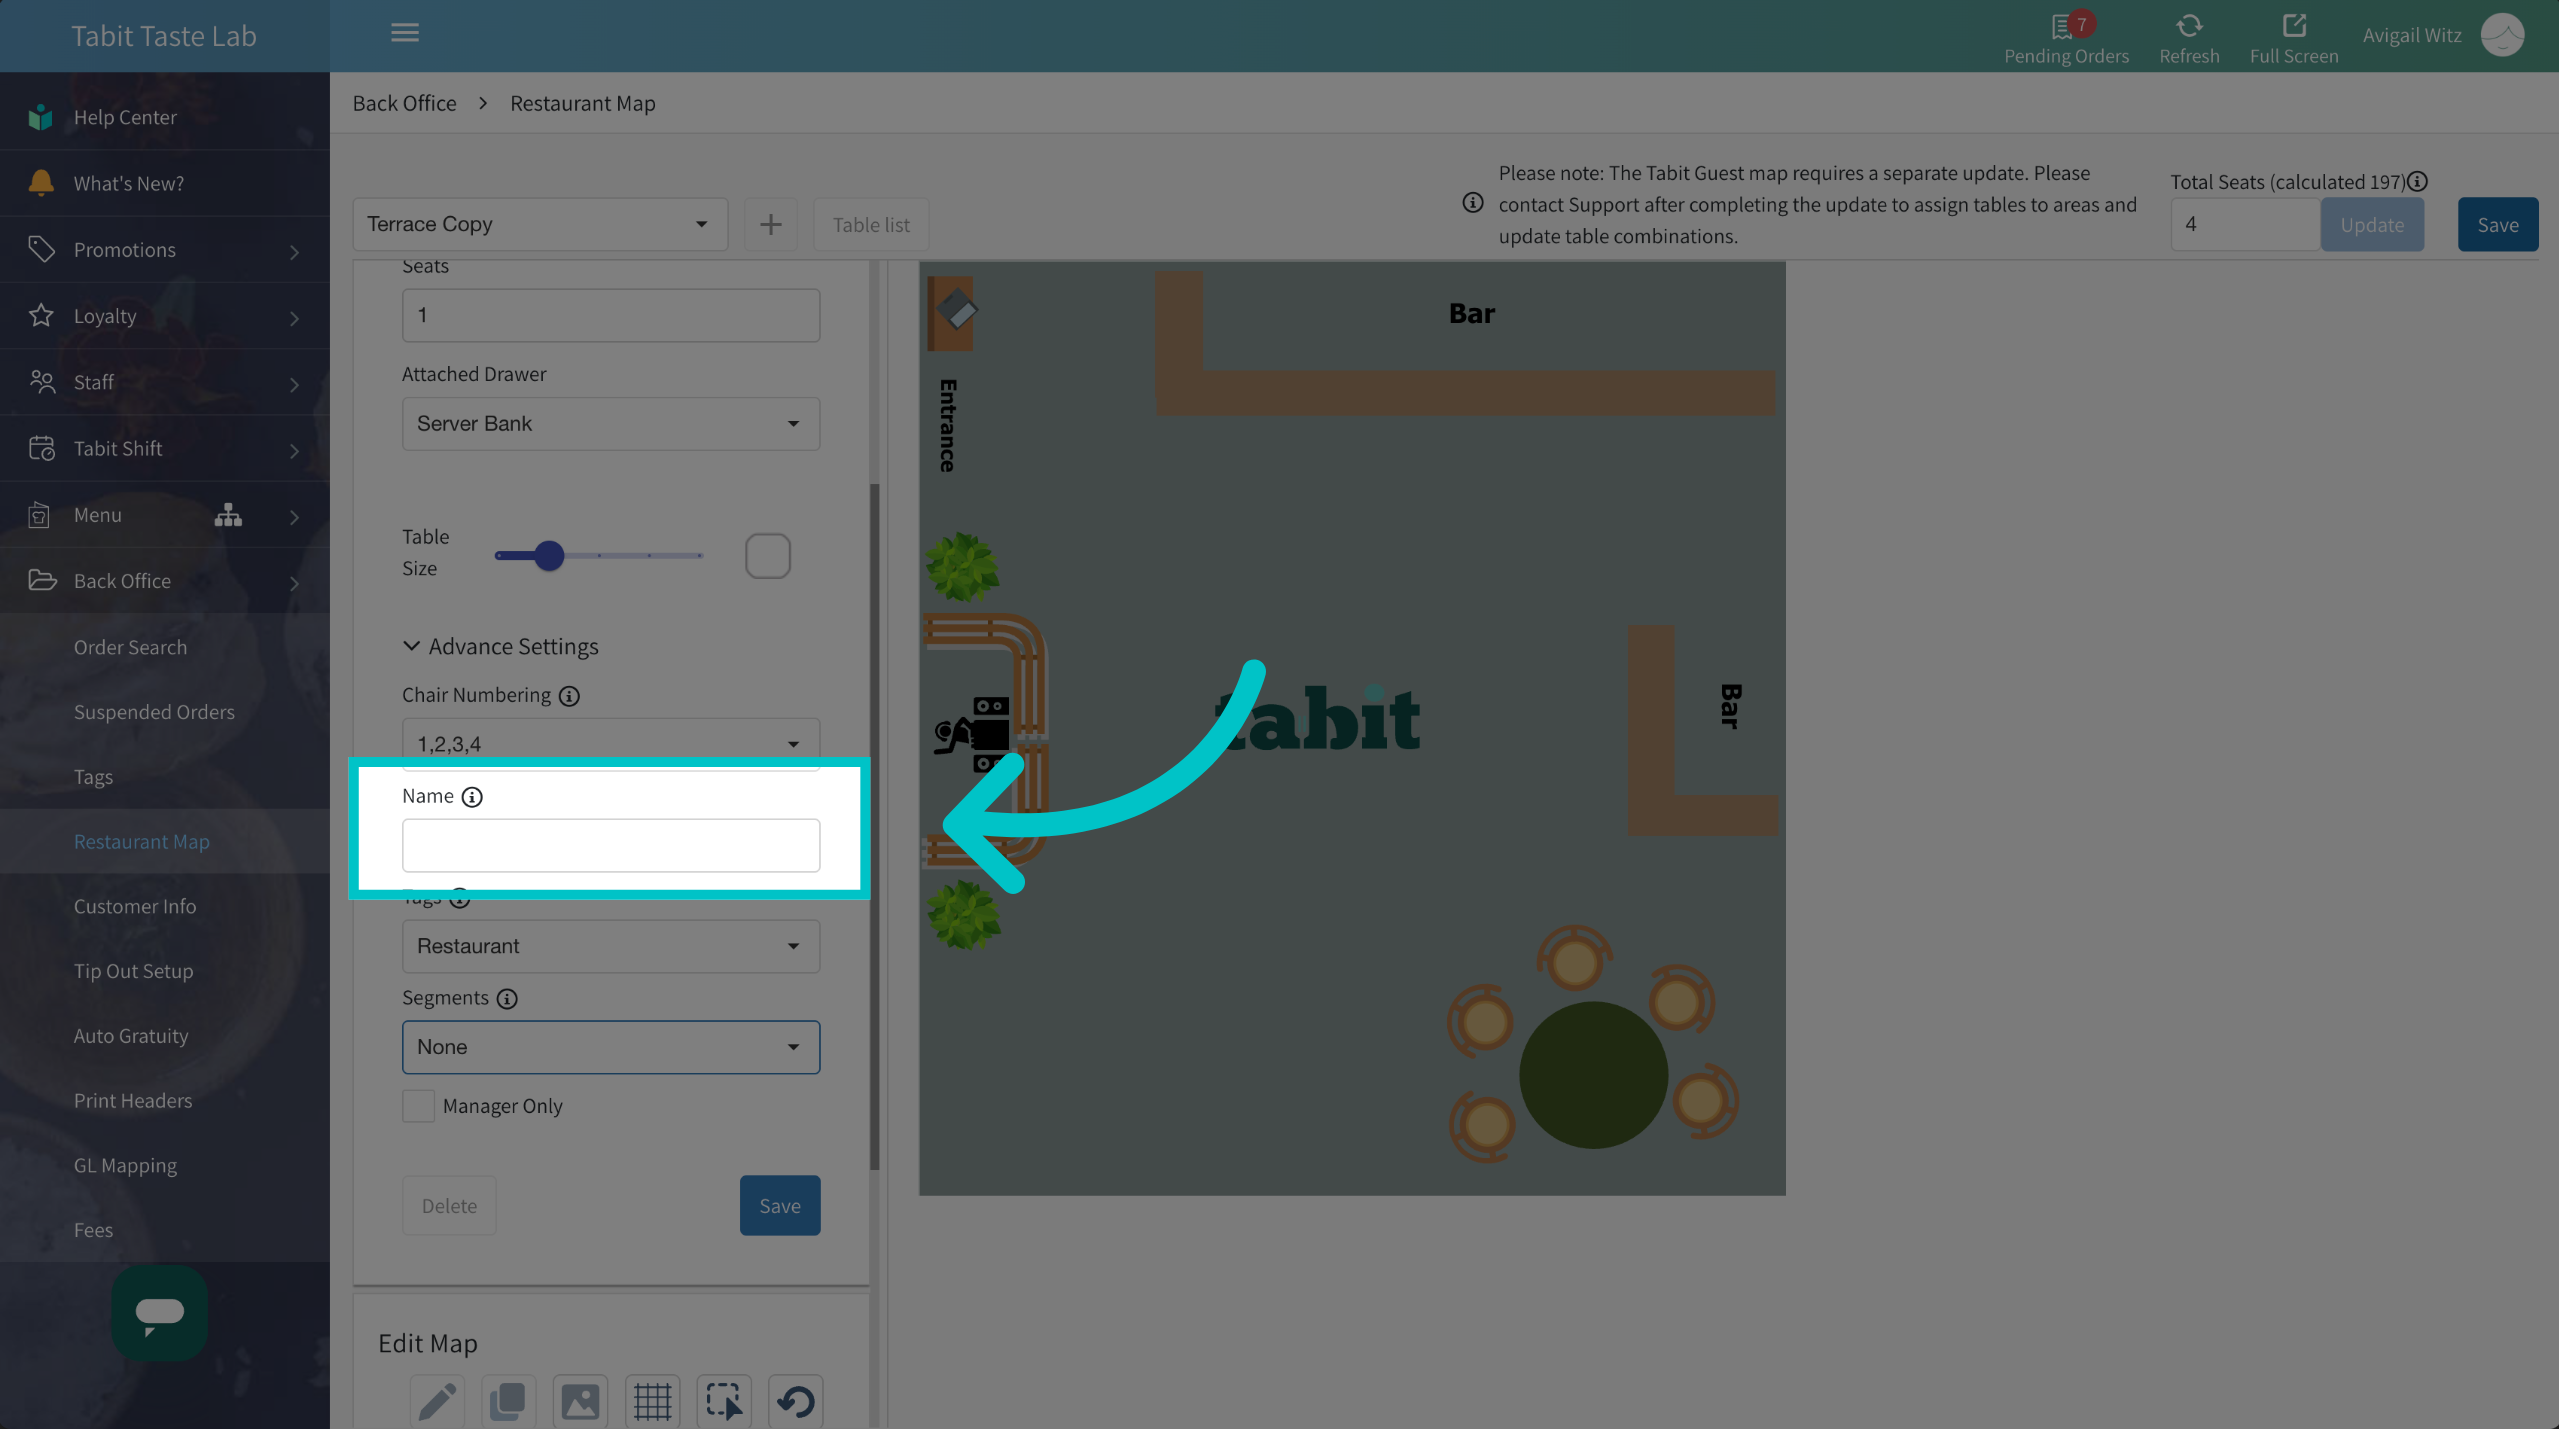
- Name: This table name will display next to the table number in each order. It appears on kitchen tickets and reports (depending on configuration). Table names can also be used to group multiple tables together in reports
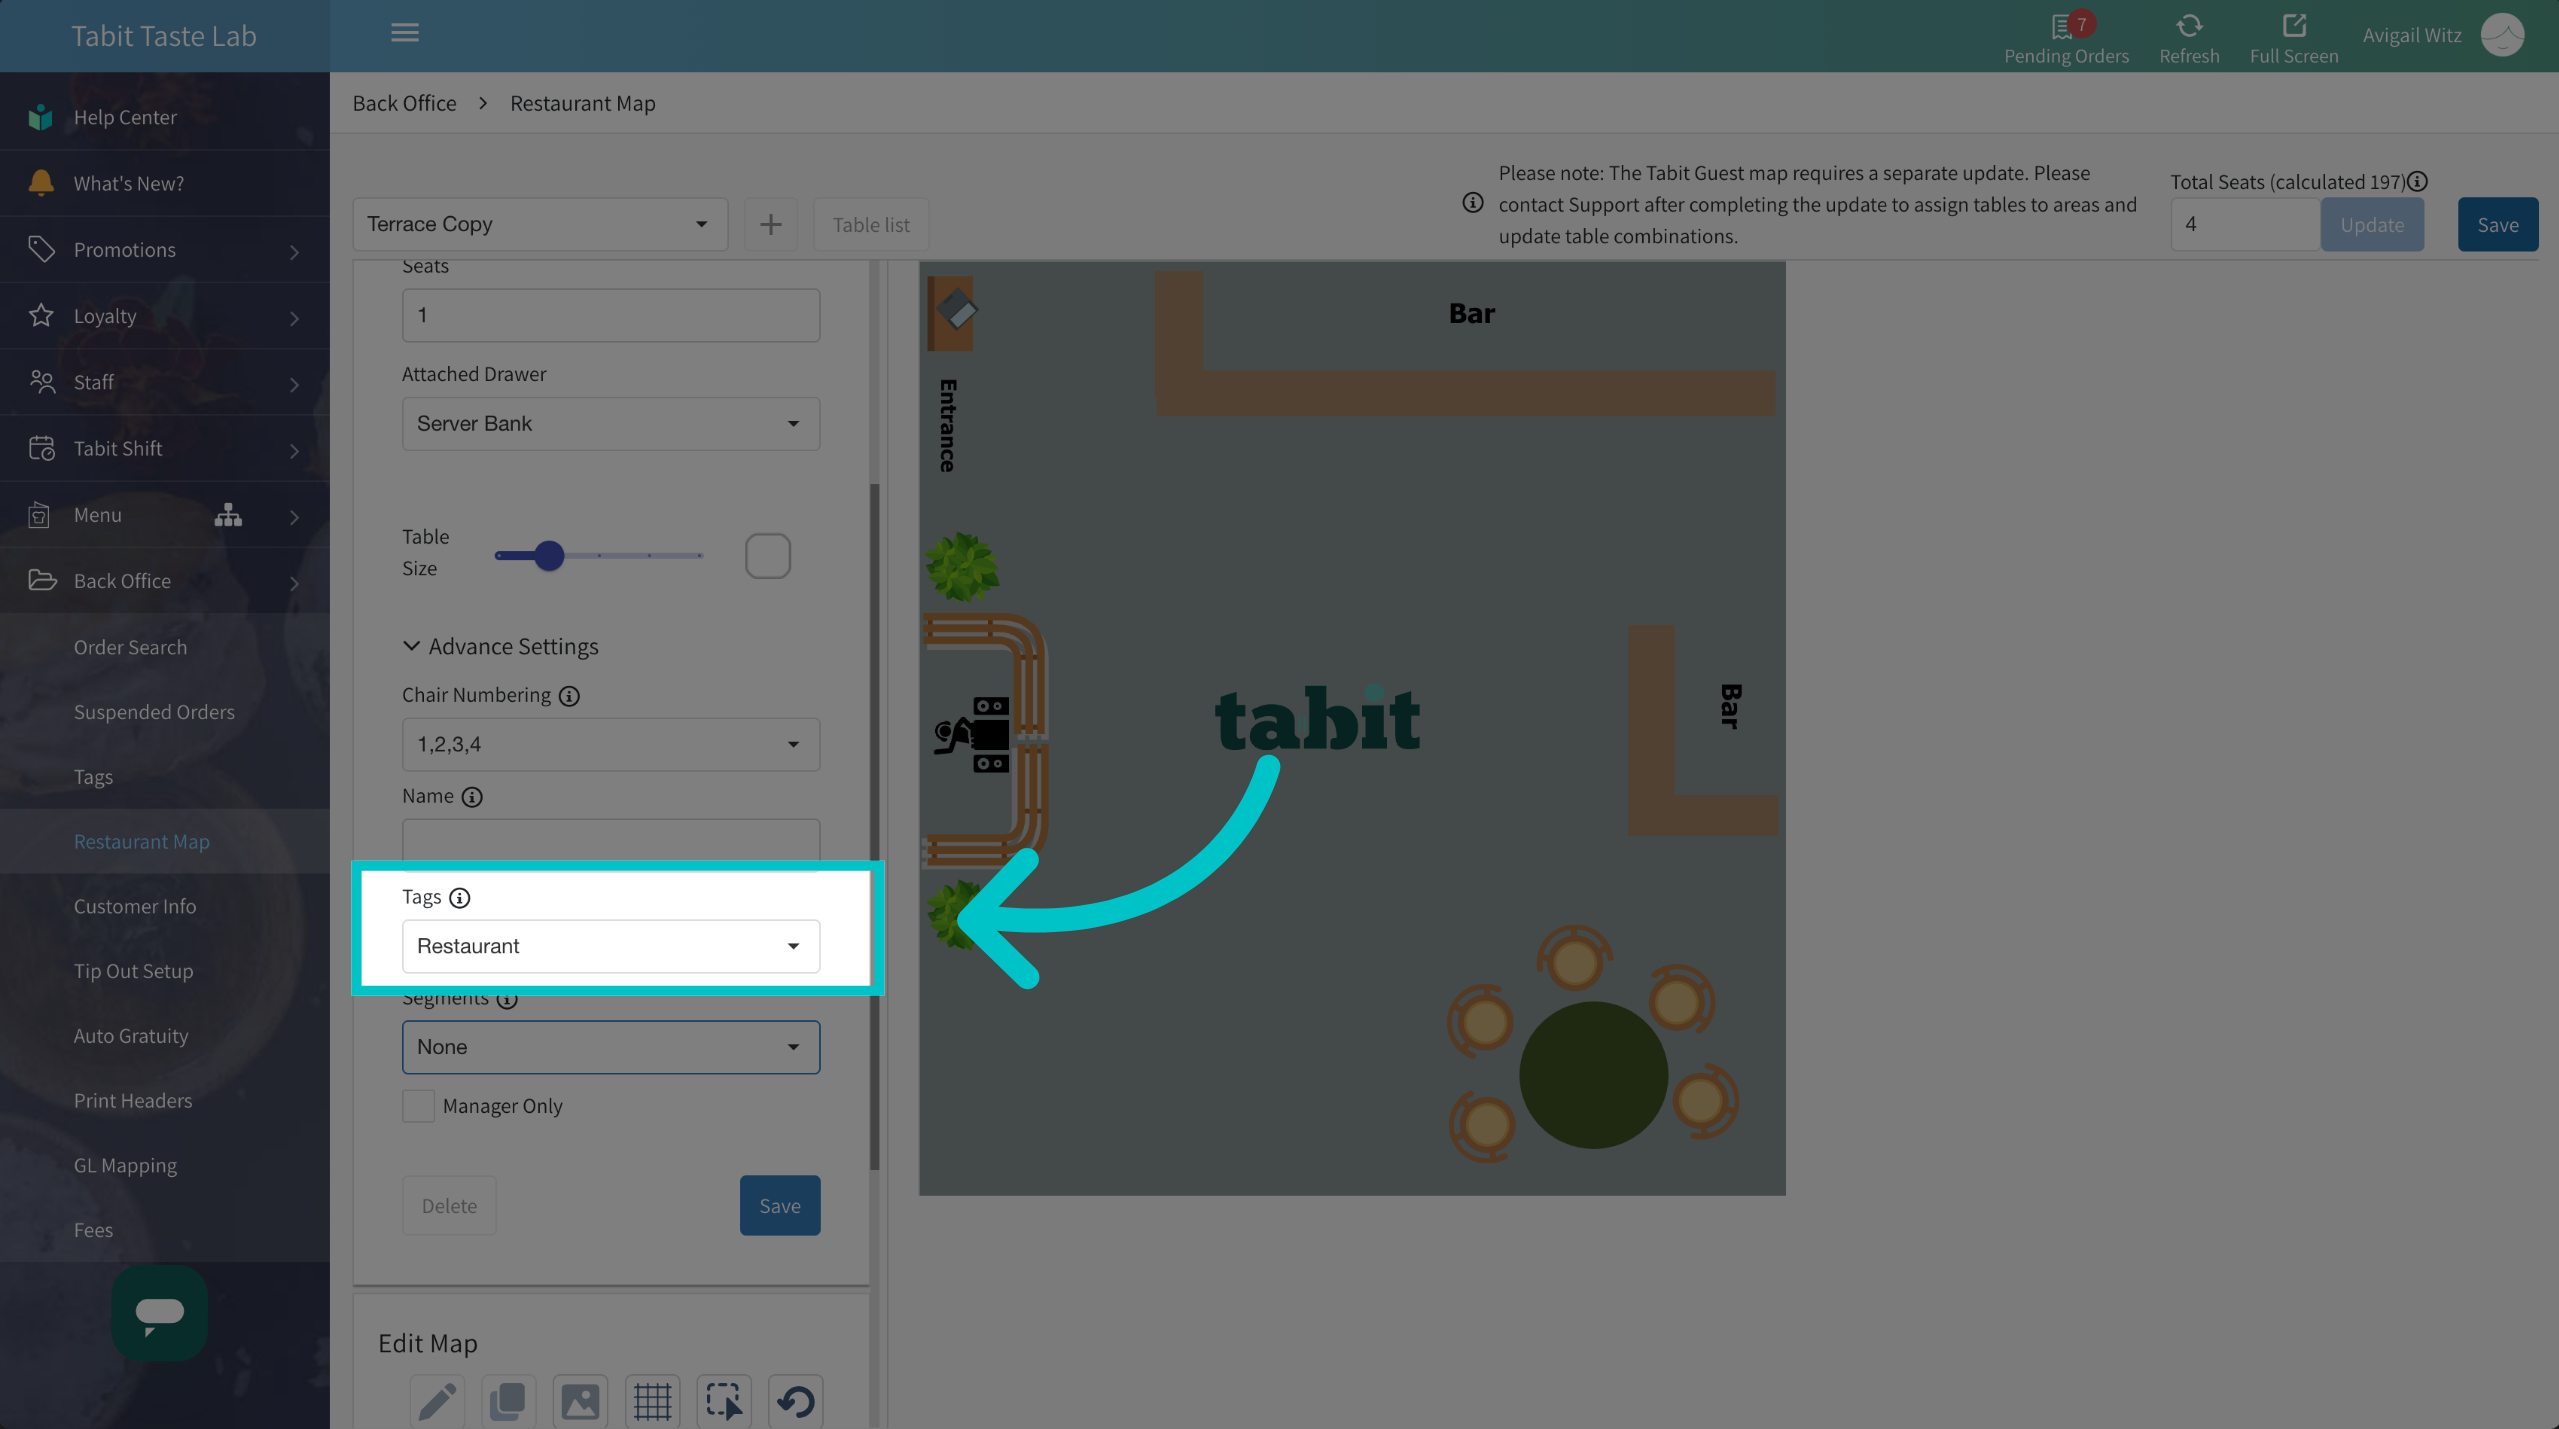
- Tags: Maps the restaurant activity (for example, sales, tips, cancellations, discounts) to be reflected in the reports according to the tag (restaurant, bar or employees)
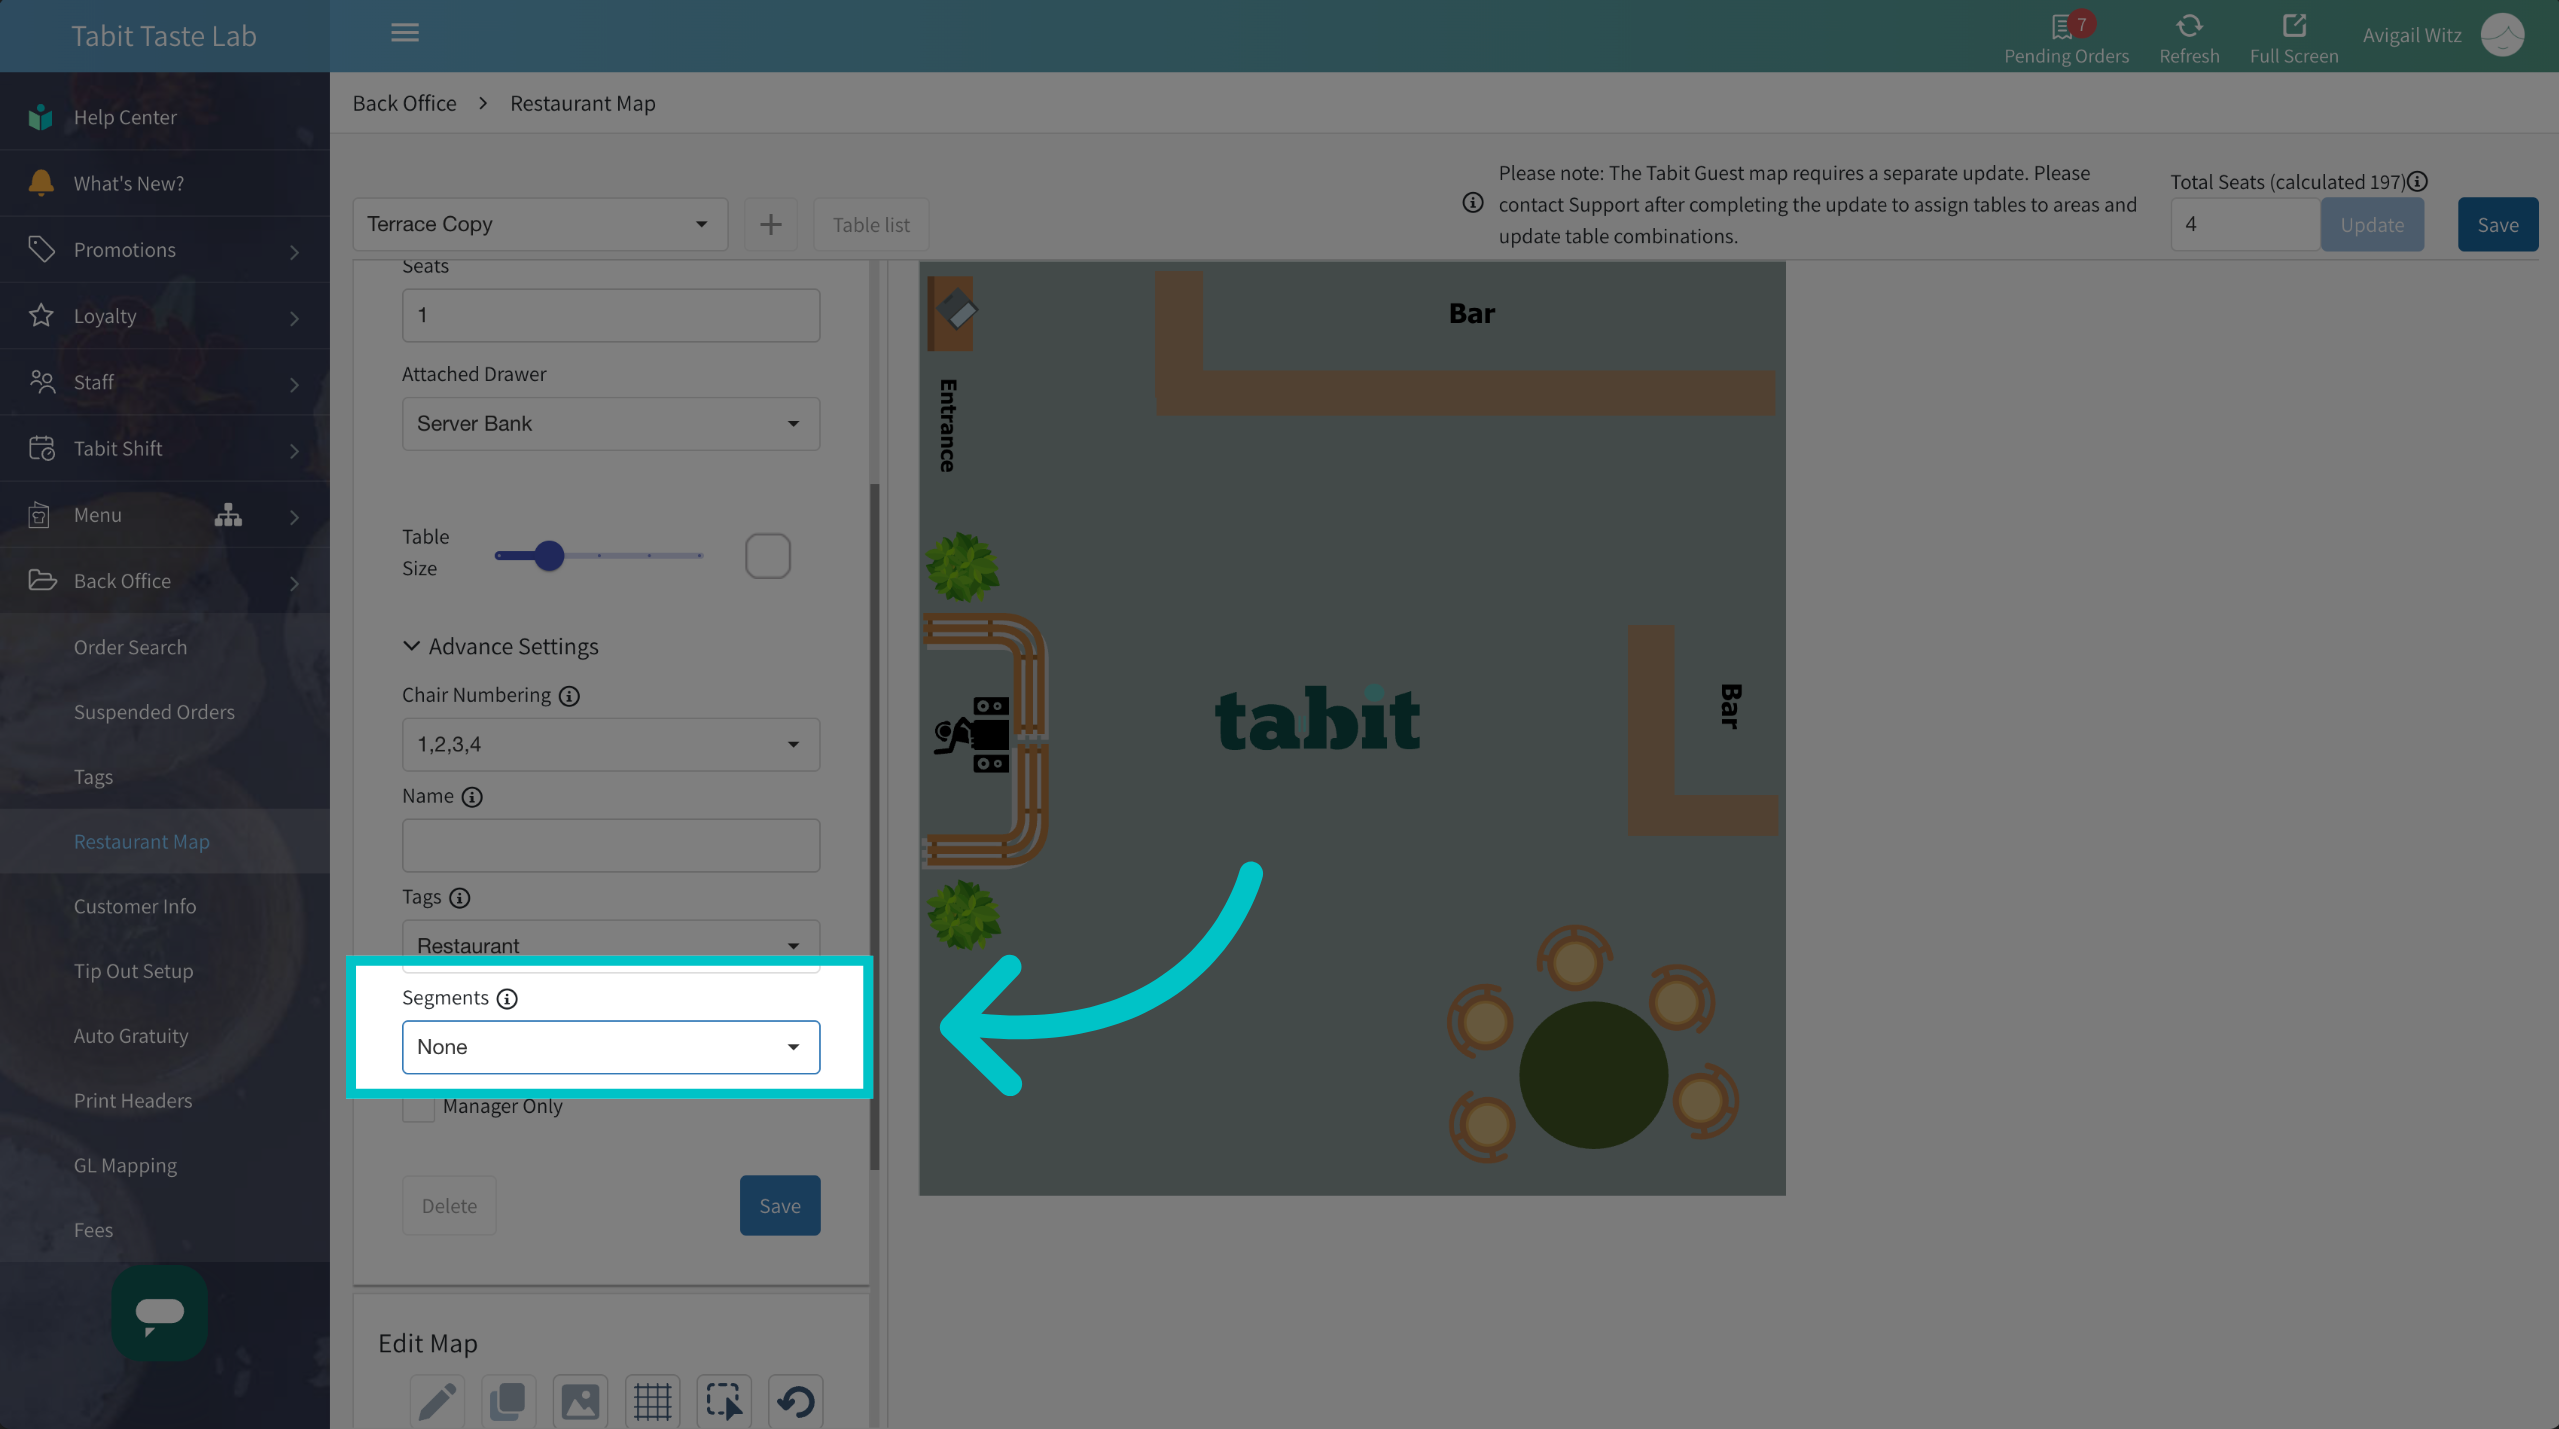
- Segments: A permanent tag that triggers the promotion associated with the table
- Manager Only: If this is "on" only a Manager will be able to access this table
Final Steps
-
Once you finish the setup, select Save, and place the tables as you desire
-
Repeat the process to create more tables and complete the map
-
Once you're finished, select Save on top right
Reach out to your Tabit representative to provide server access to the map