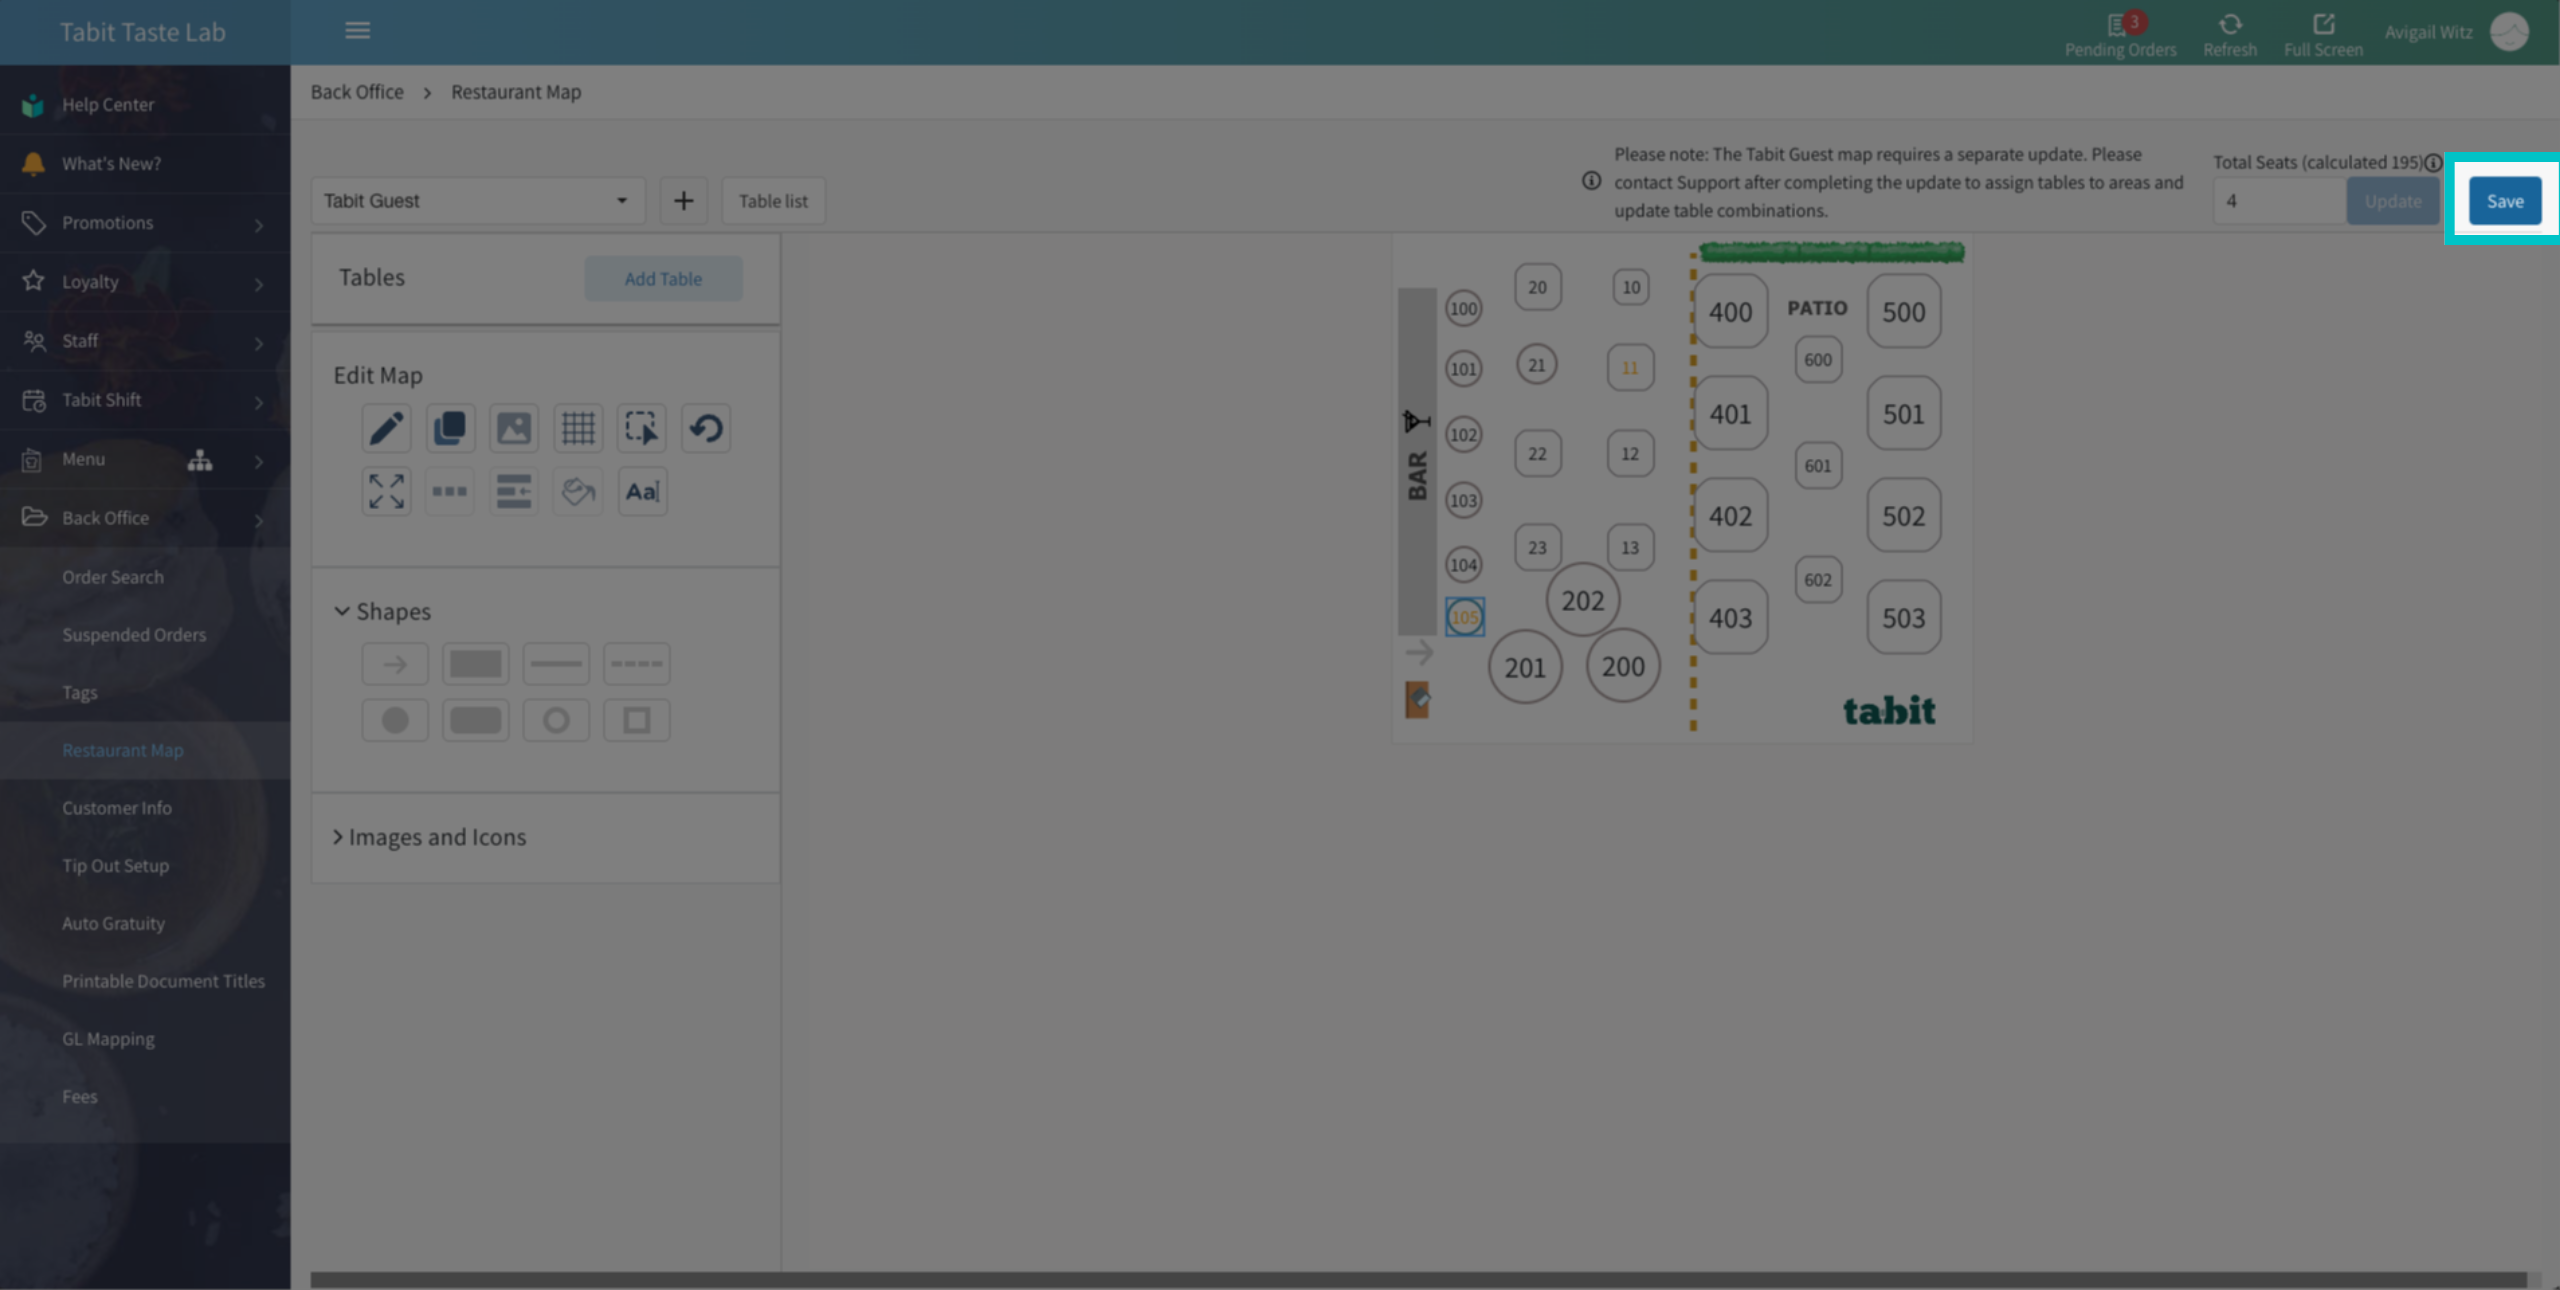
Creating a Tabit Guest map allows you to design a full restaurant layout, similar to how maps are built for the PAD. However, unlike the PAD, Tabit Guest supports only one map and does not allow switching between multiple areas. Remember this as you build your layout to include the entire space.
Once you complete the map, contact your Tabit representative to link it to your Tabit Guest
Follow the steps below to create a map for Tabit Guest:
First steps
-
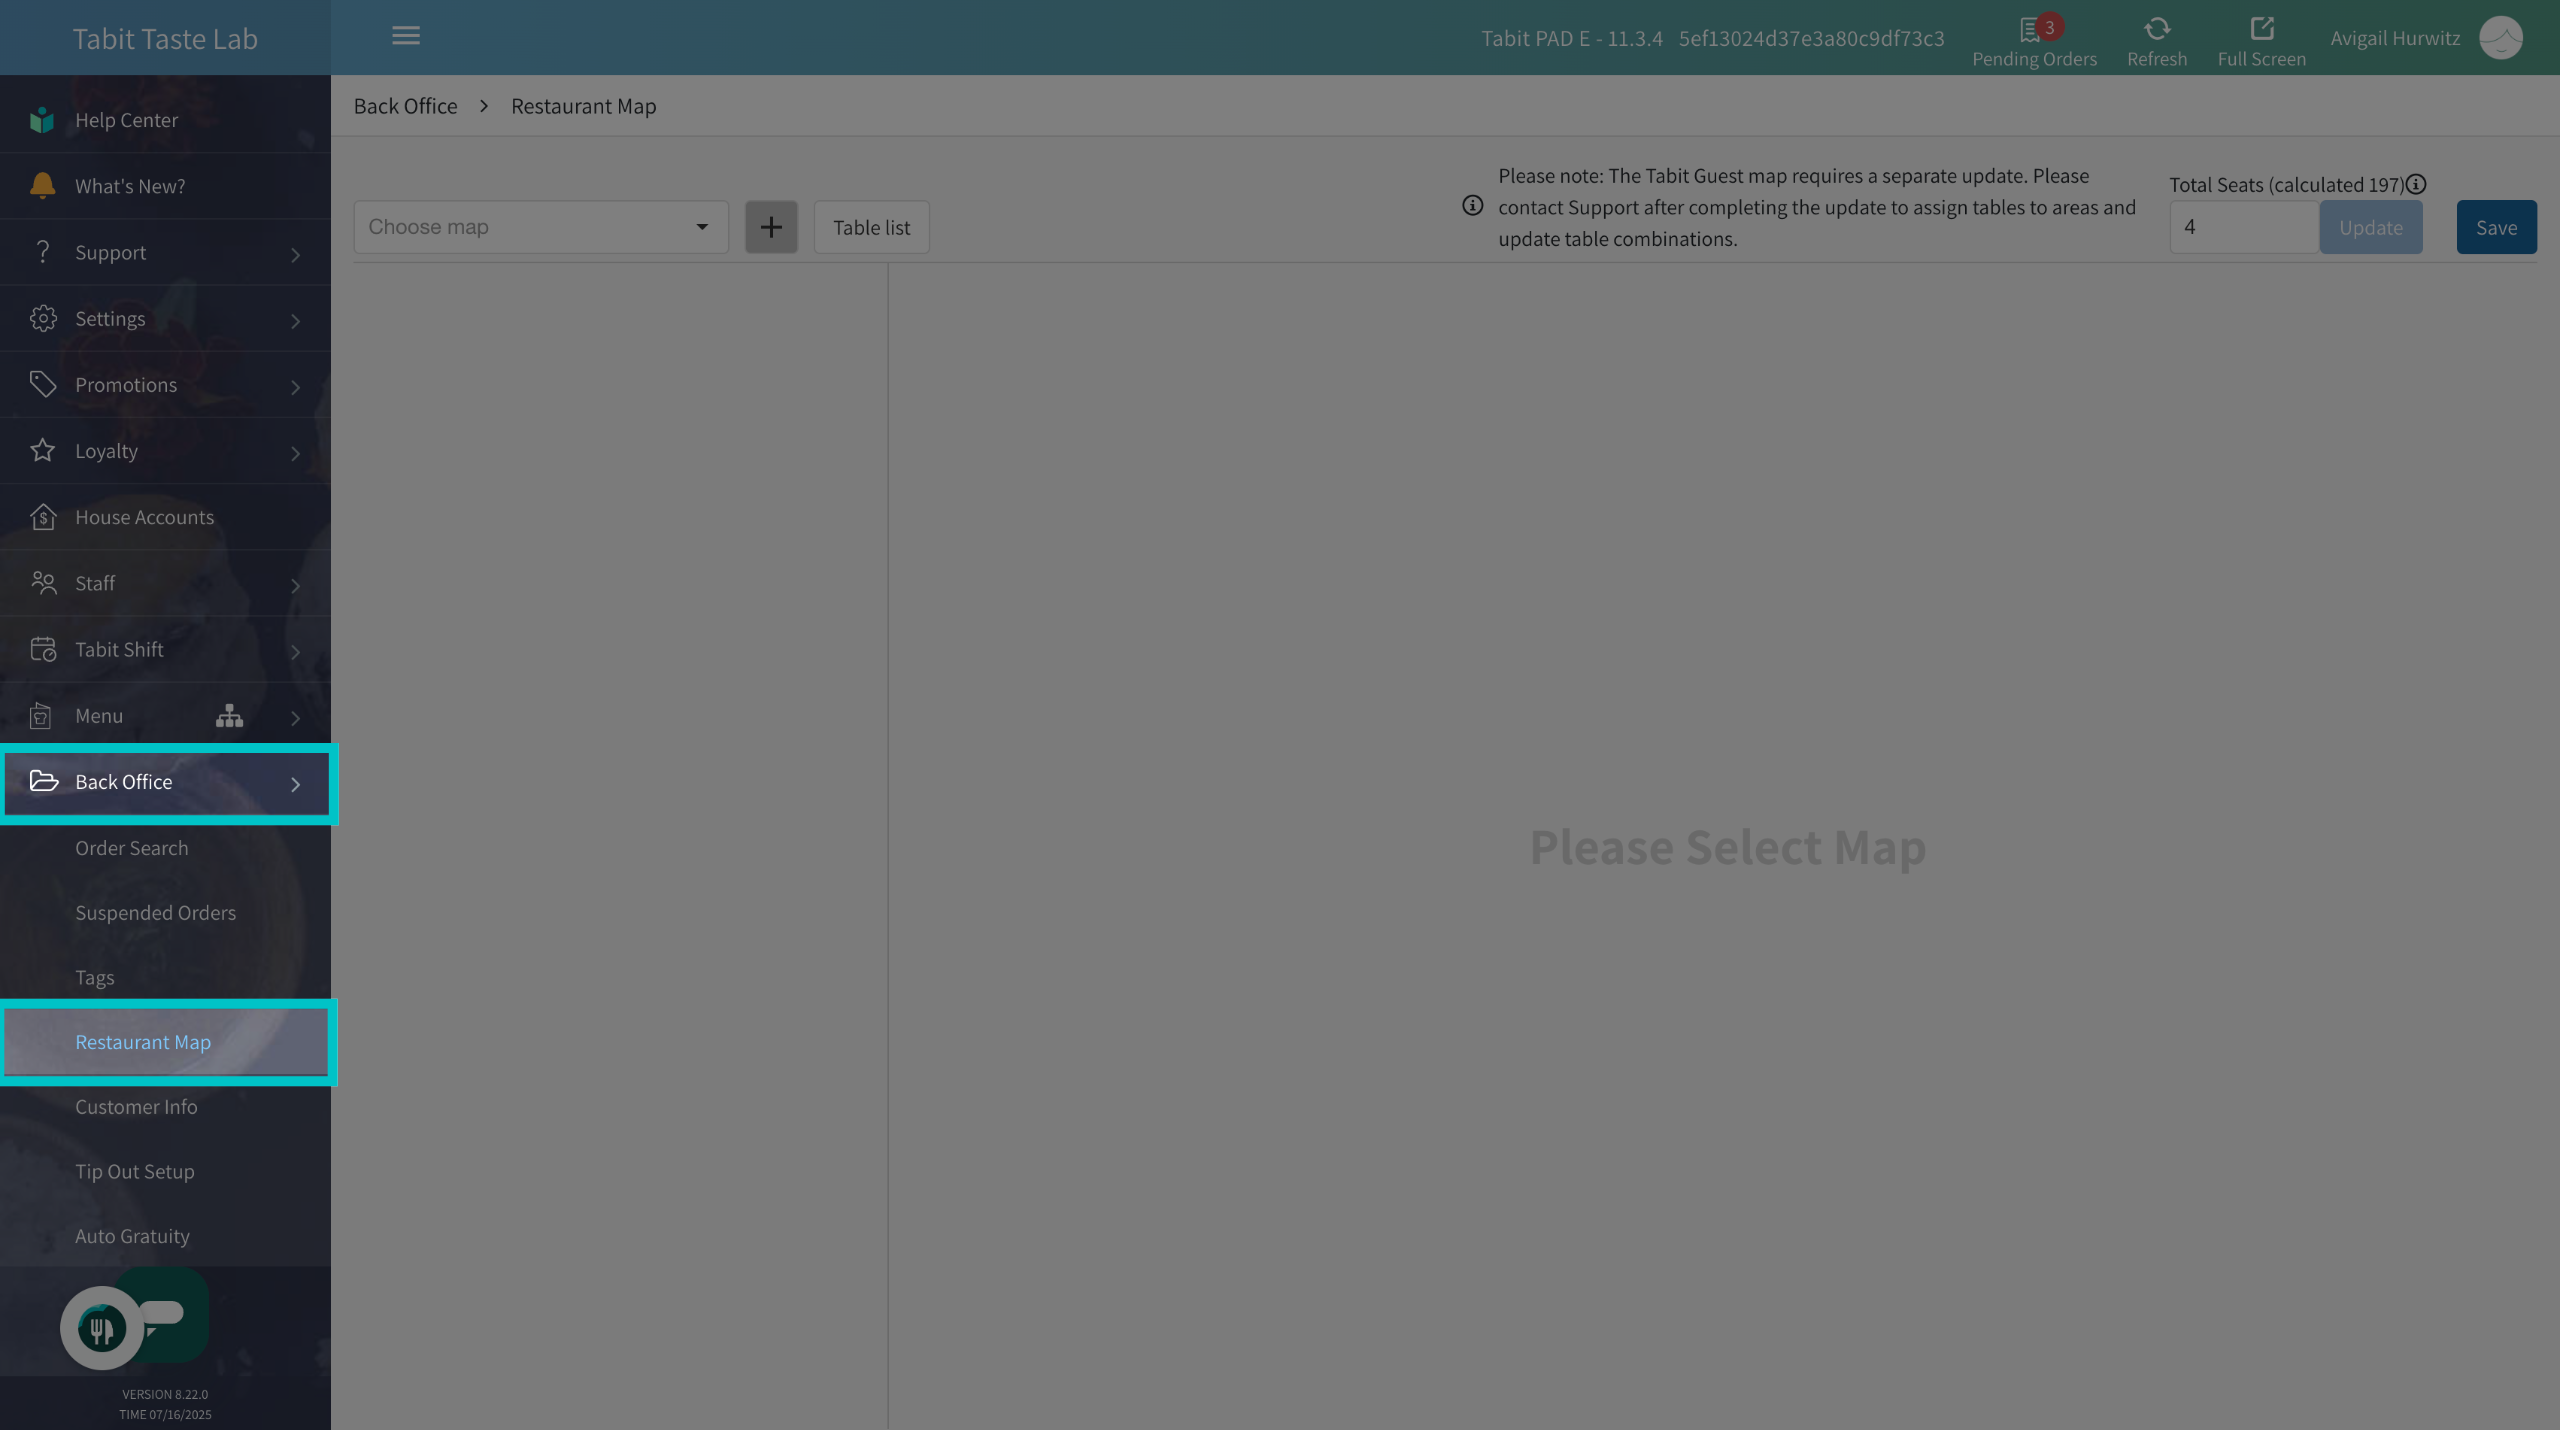
In Tabit Office, go to Back Office > Restaurant Map
-
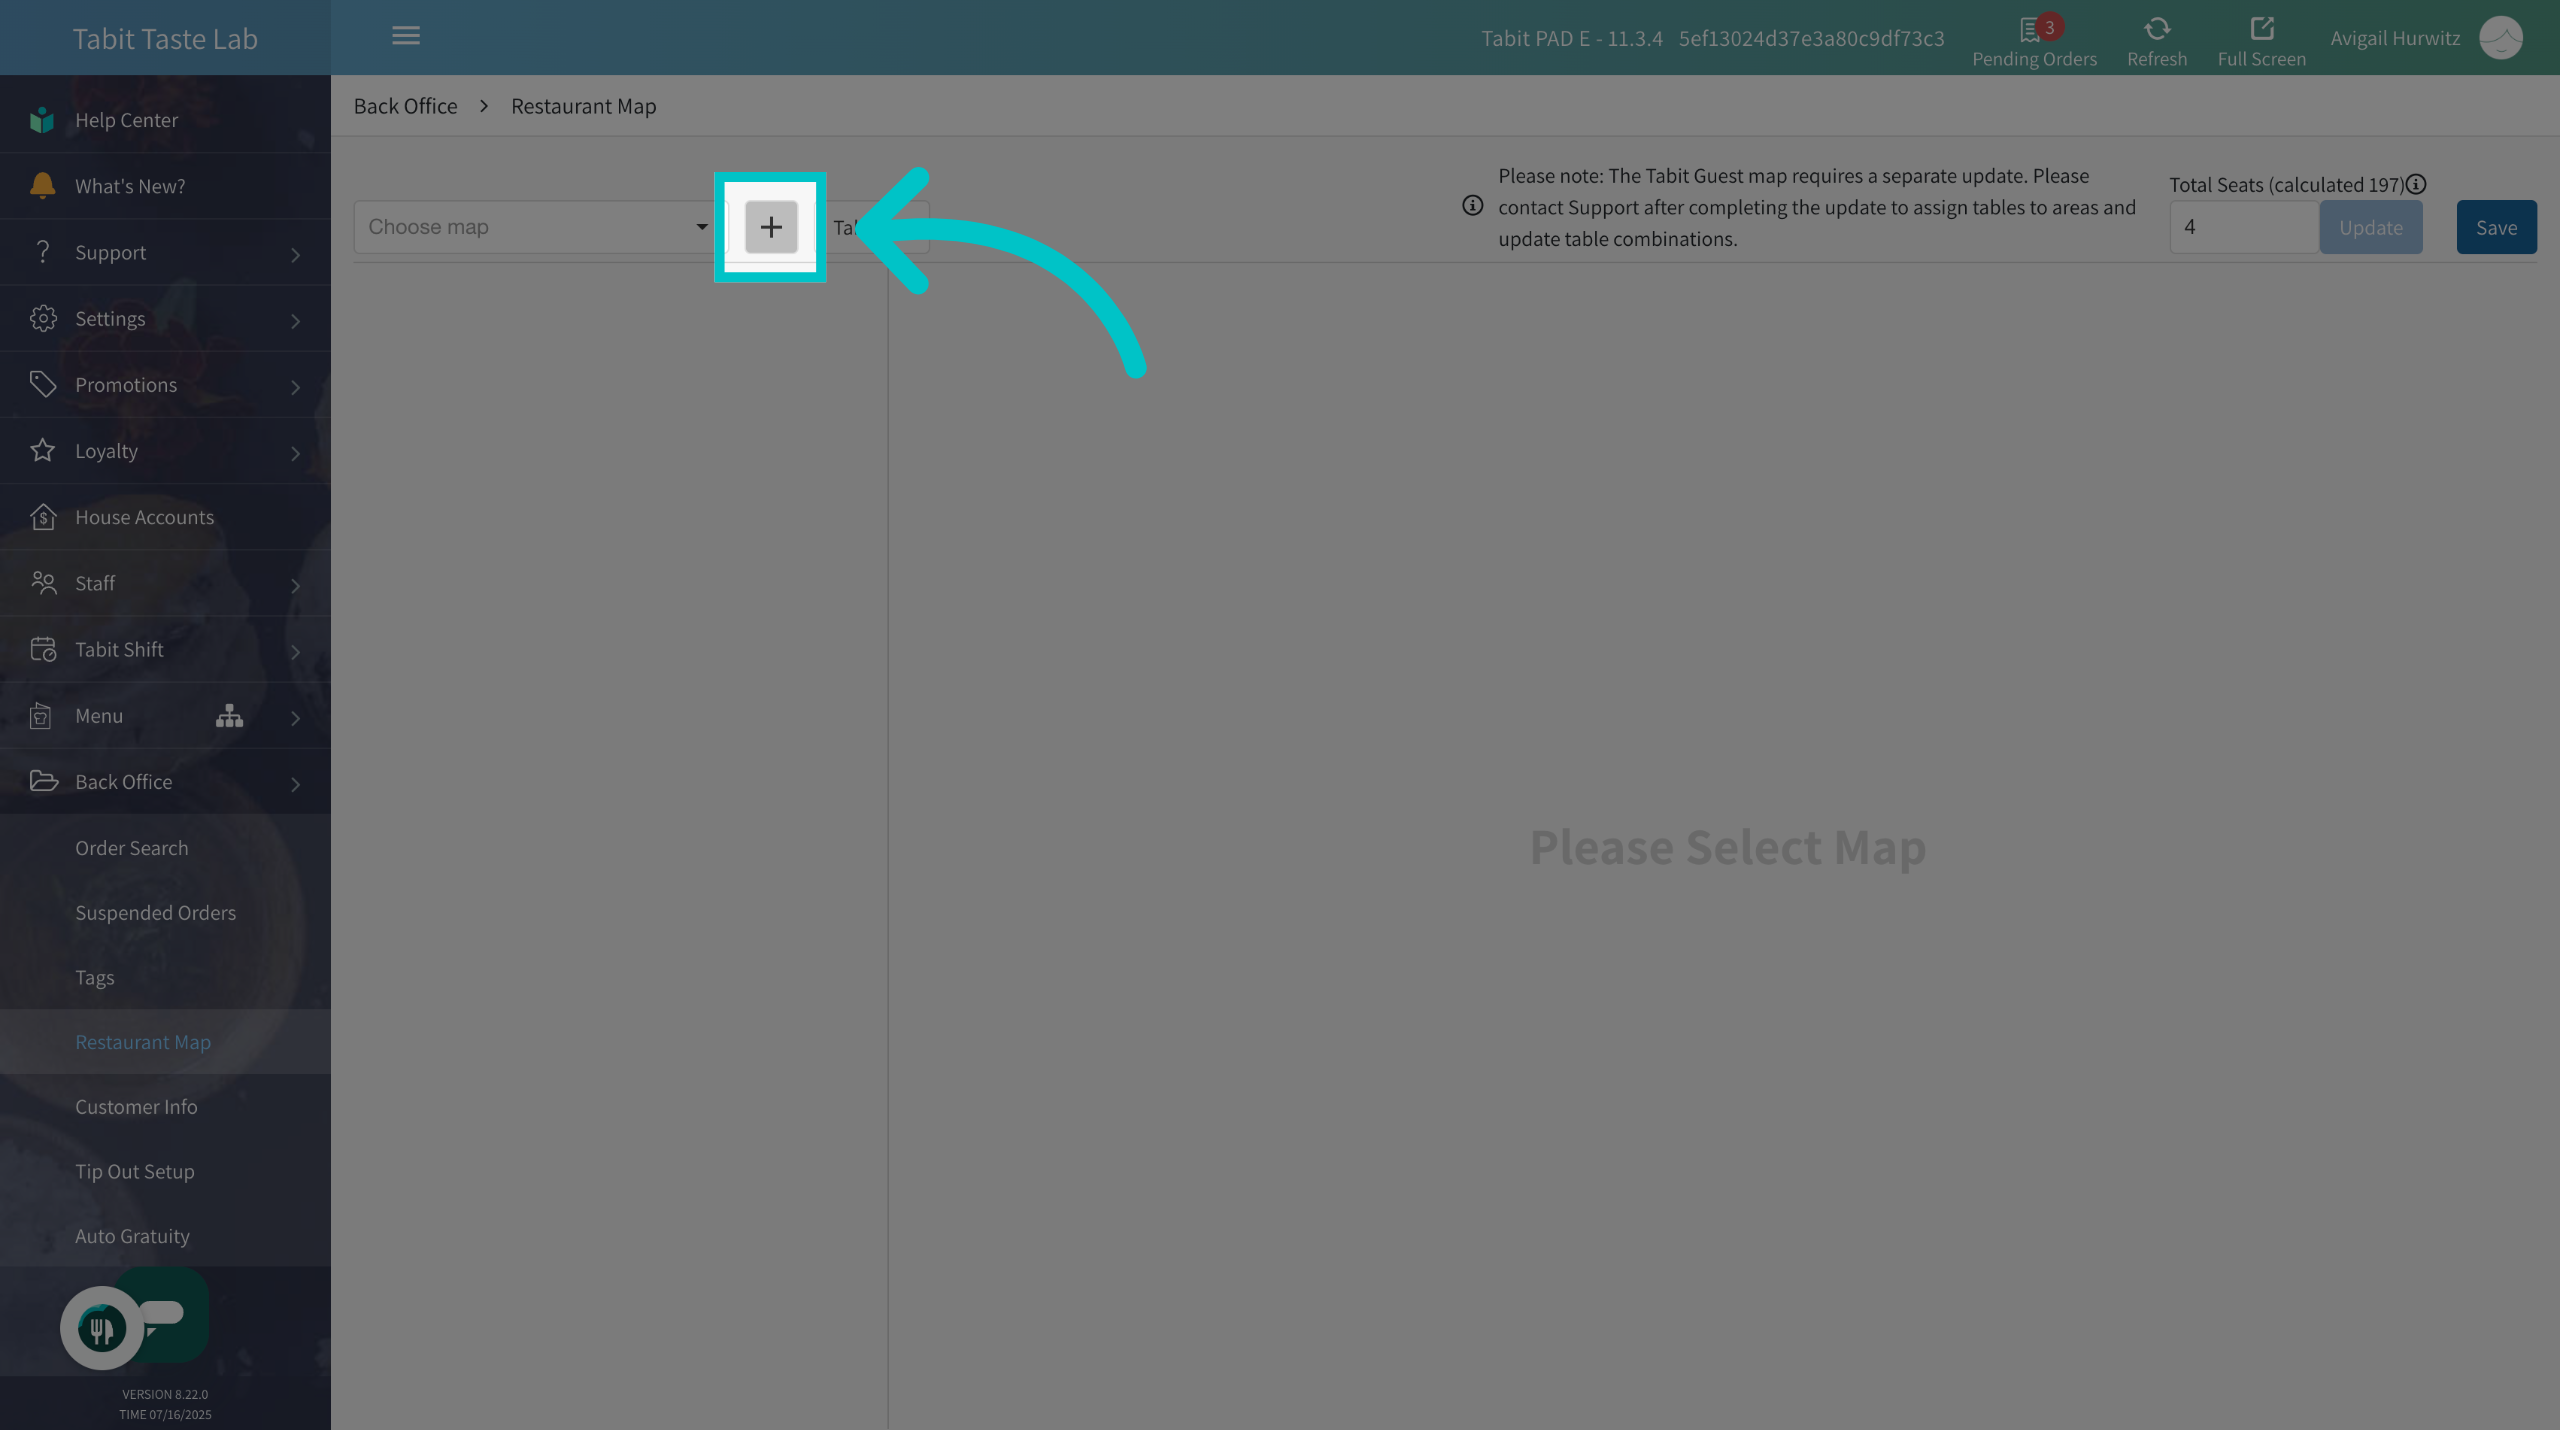
Select the Plus icon to create a new map
-
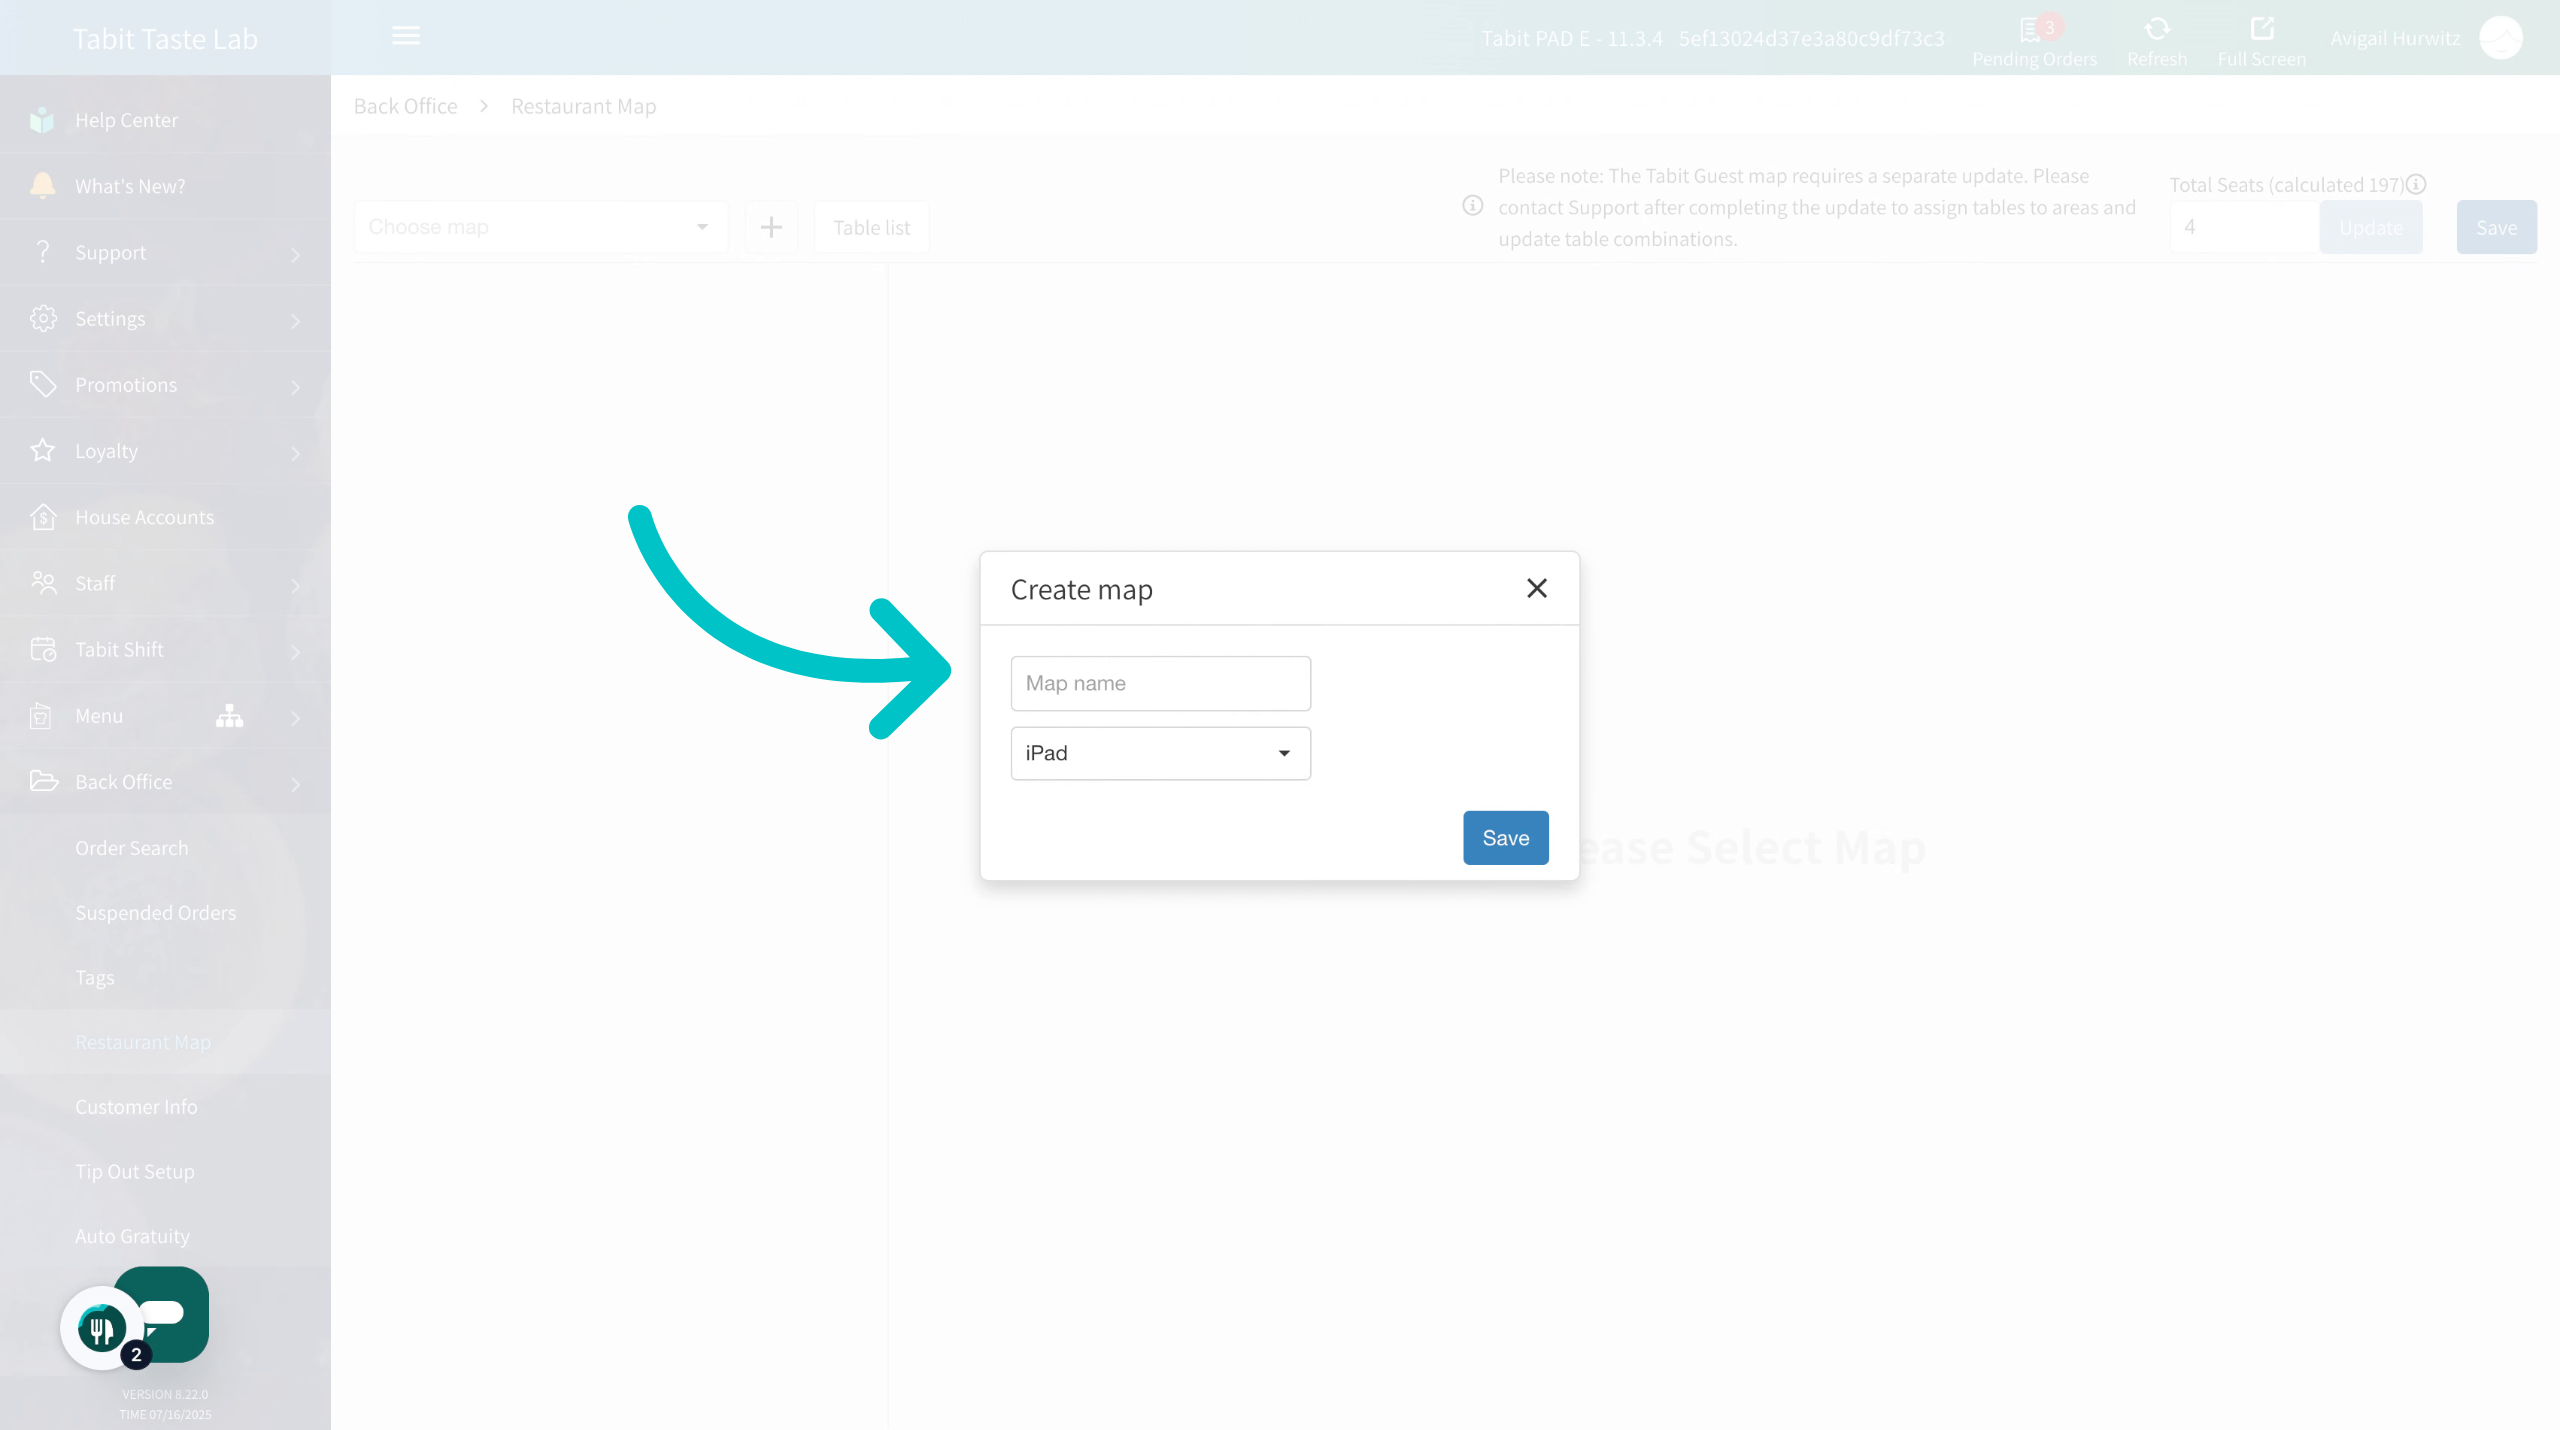
Enter the name for the map
-
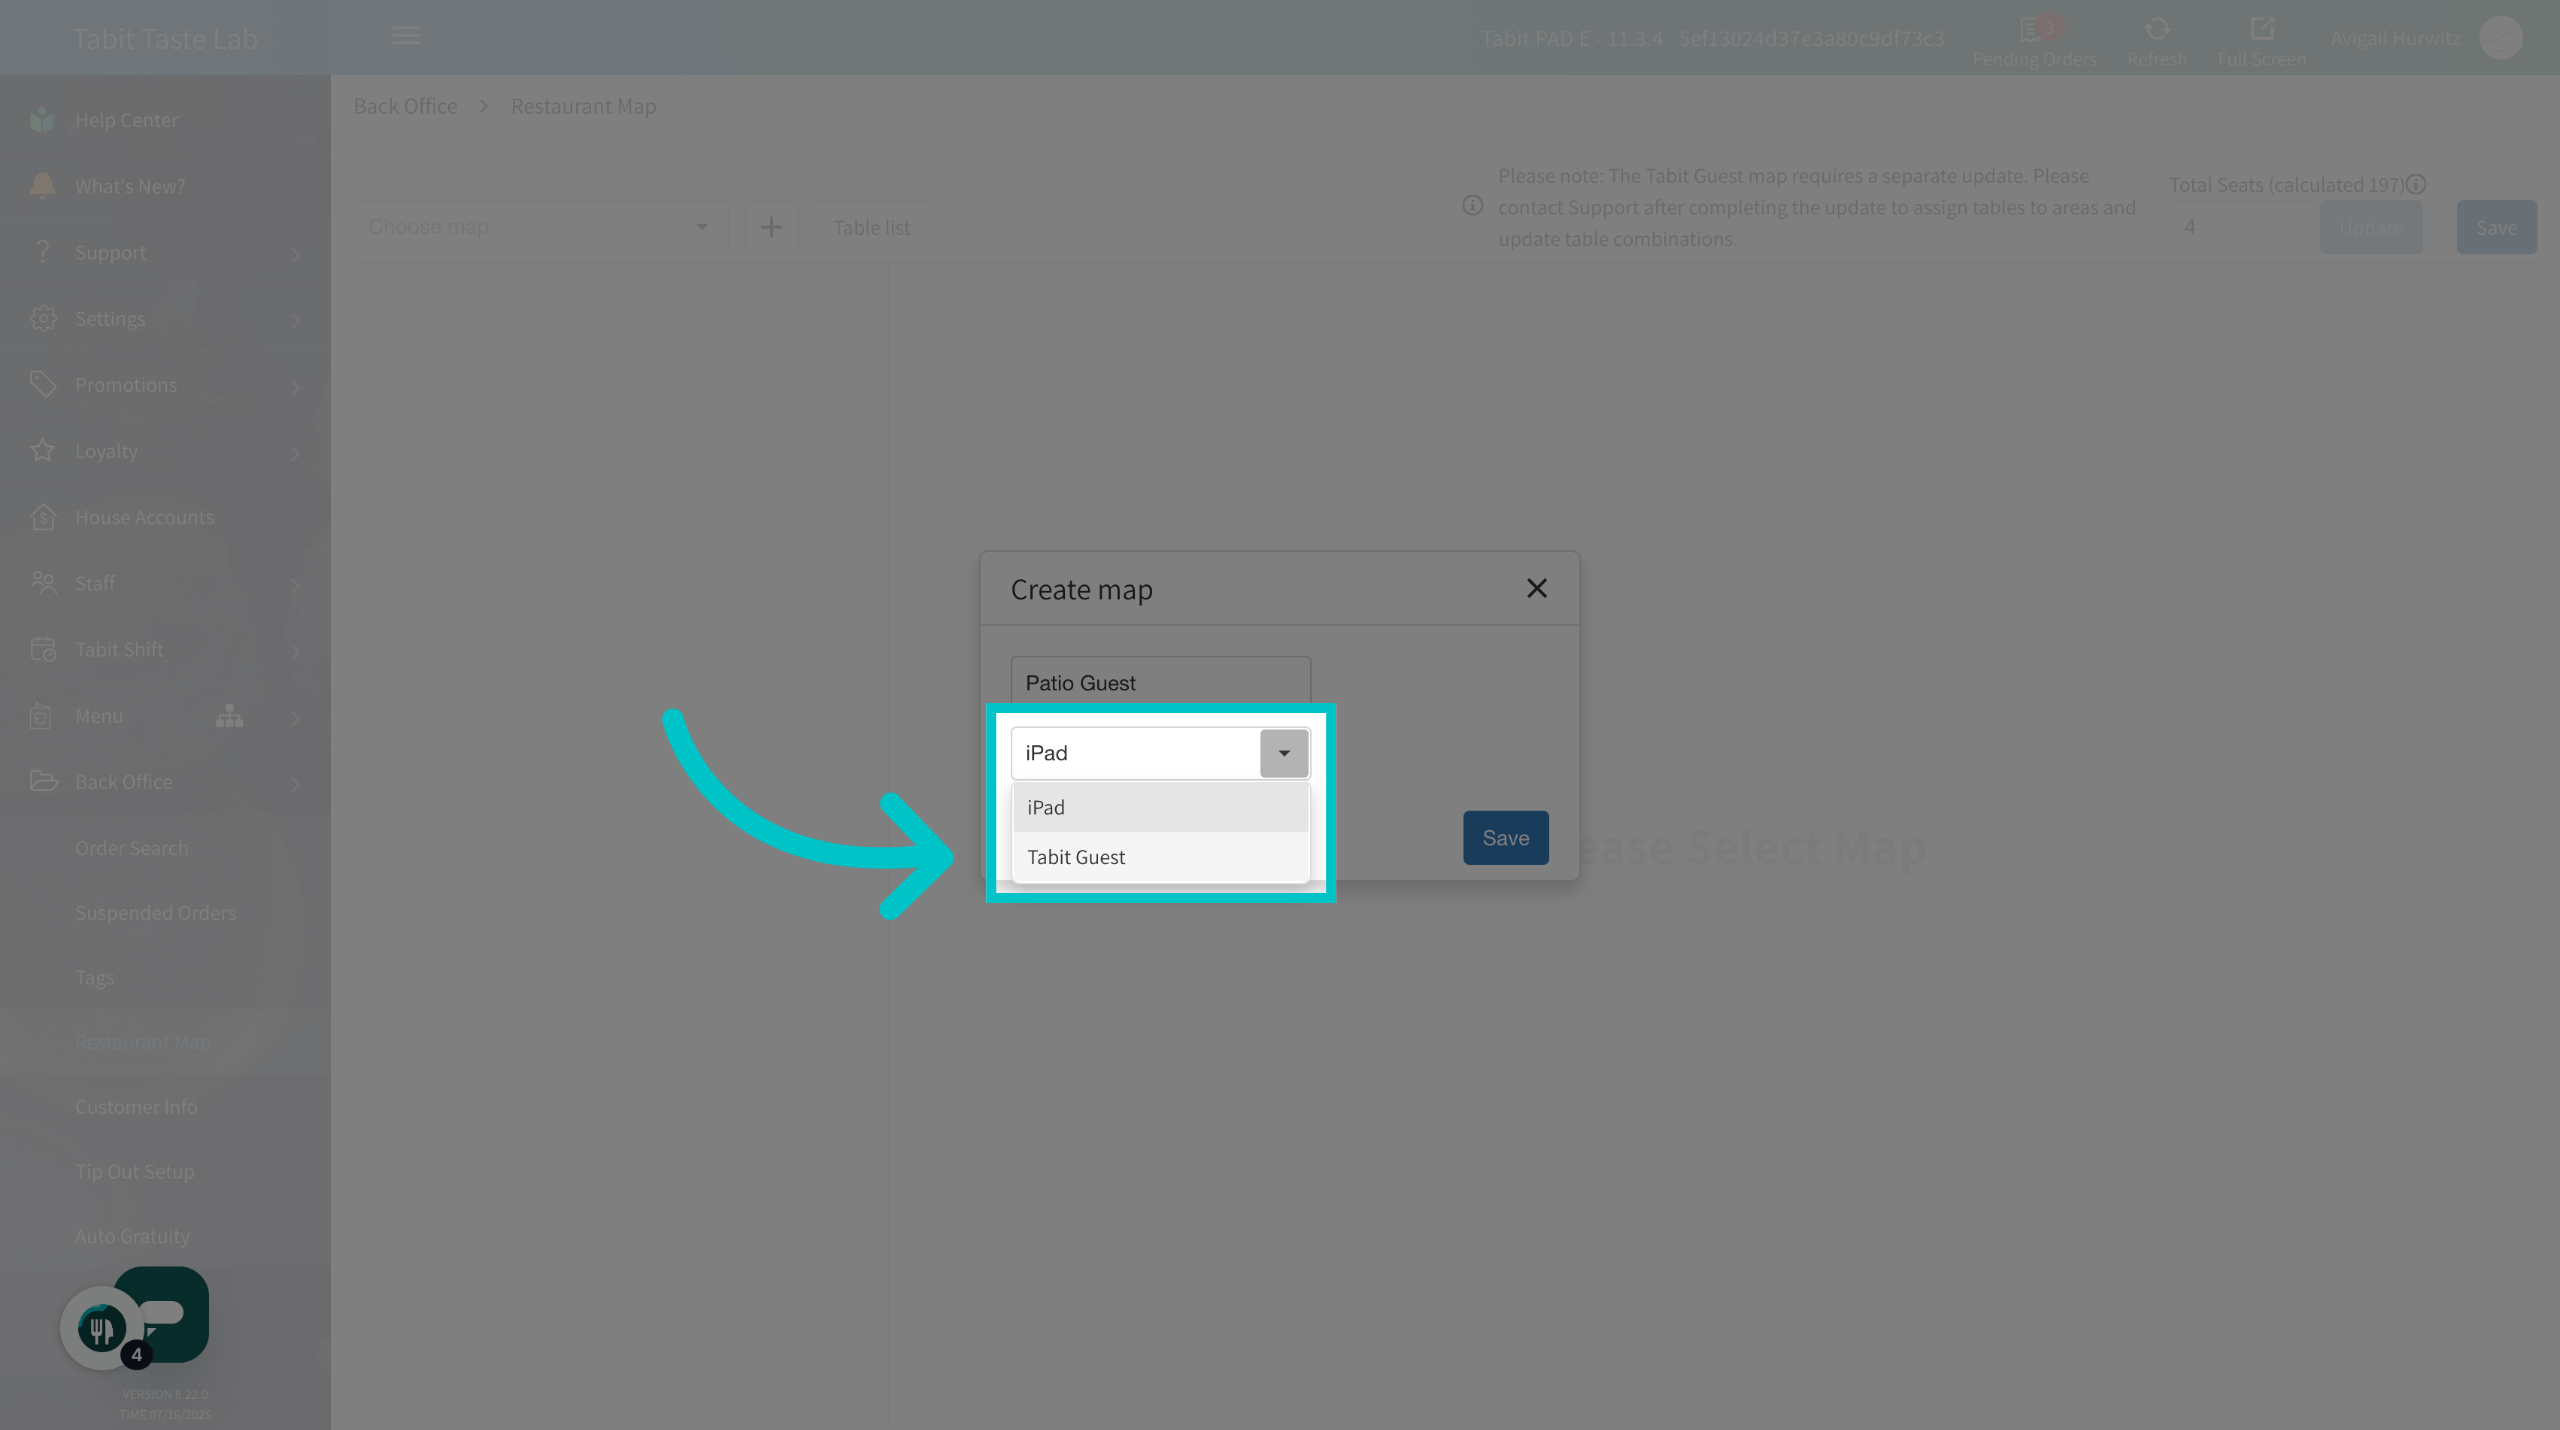
Select Tabit Guest as the map type
-
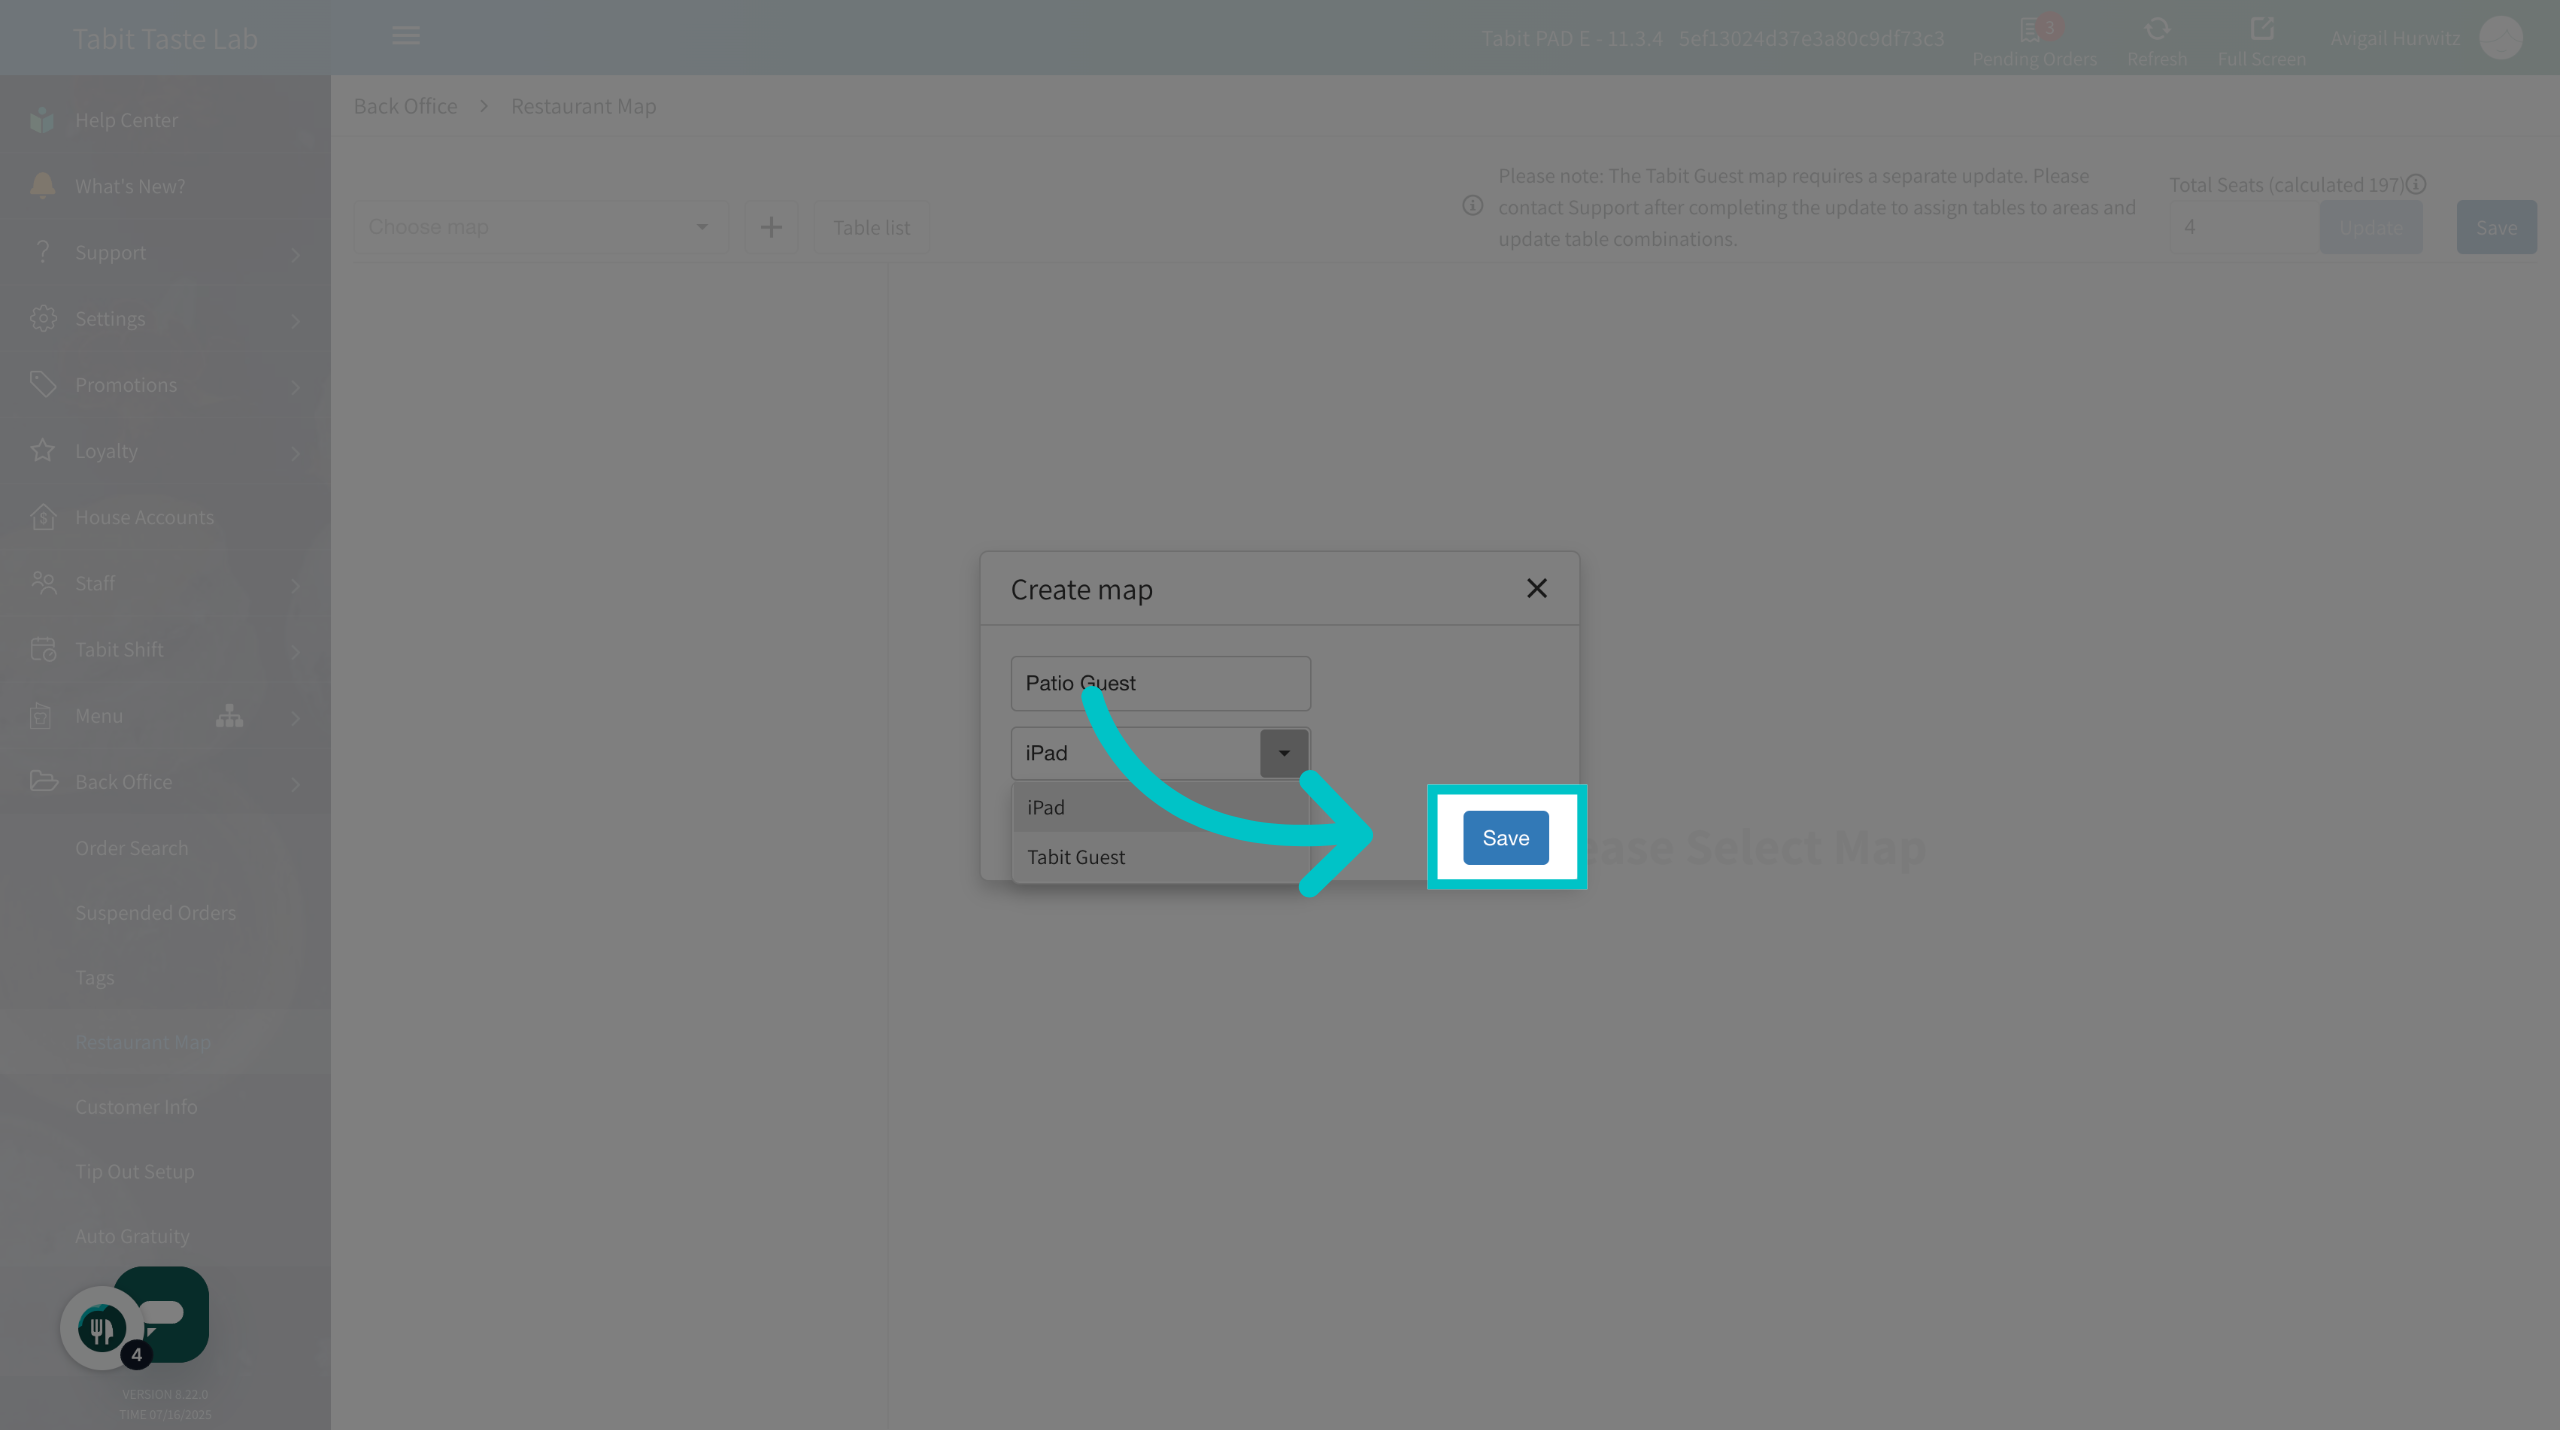
And Save the map
-
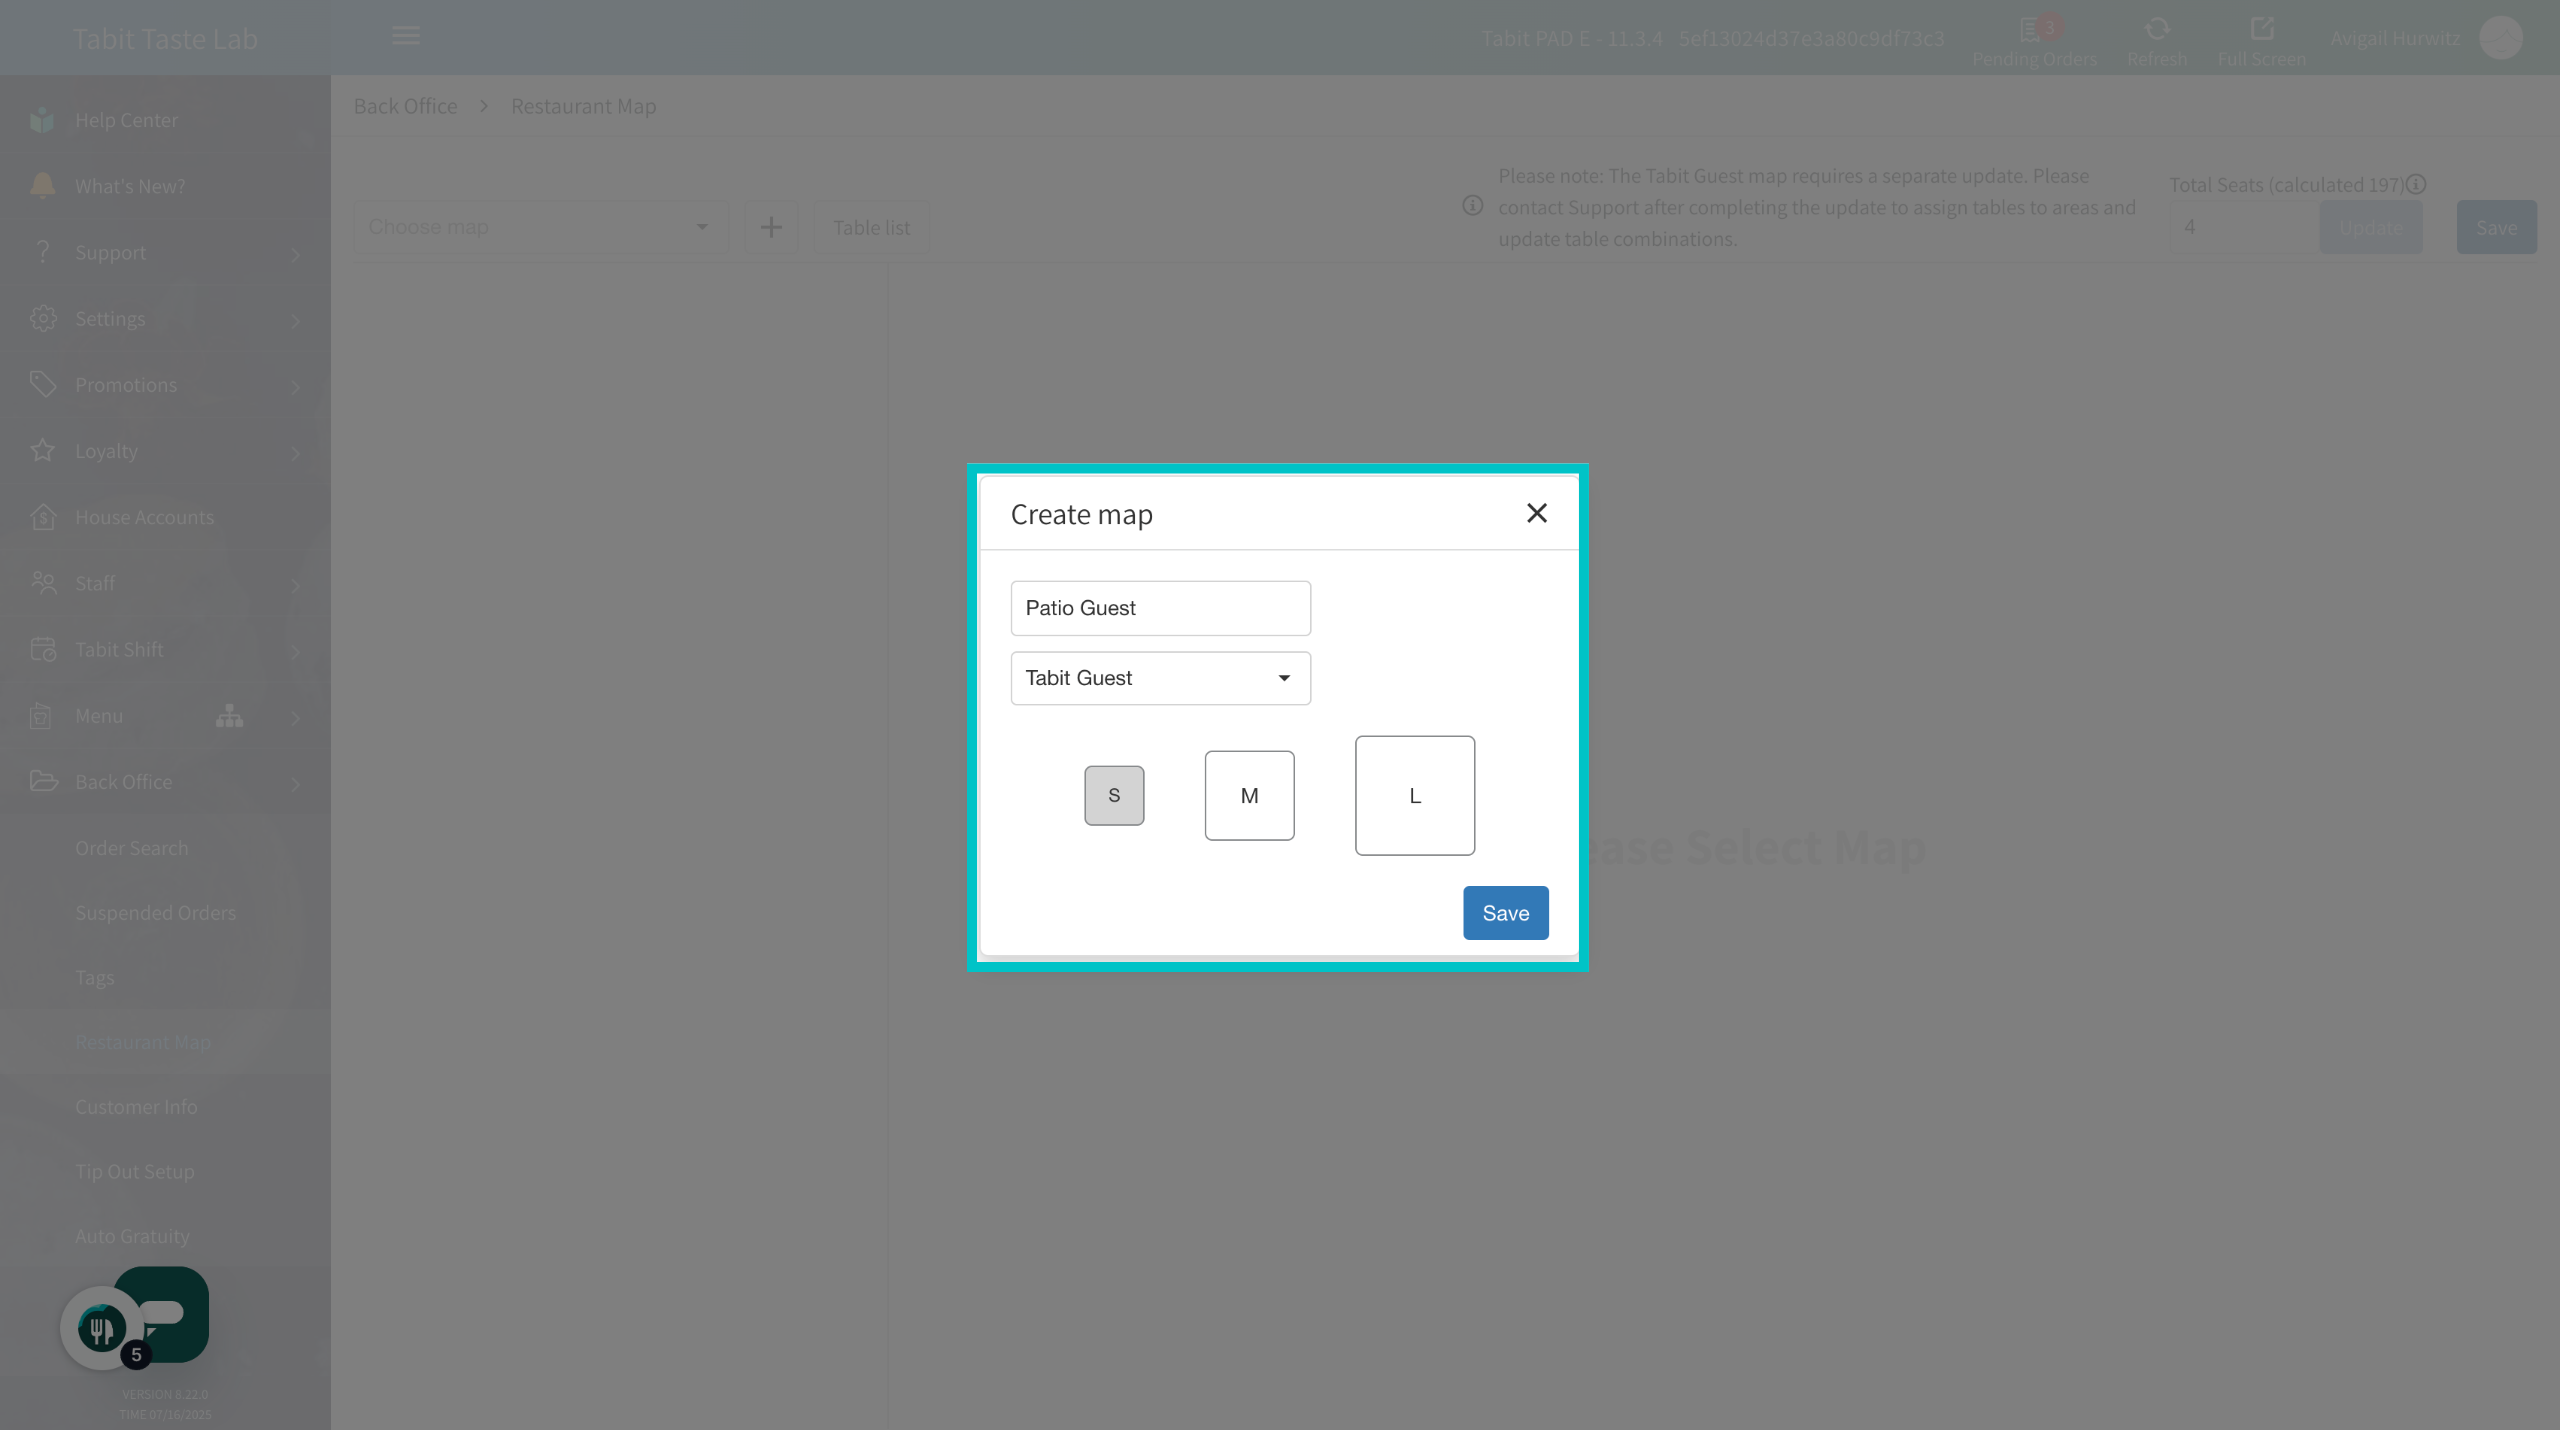
Determine the map's size: small, medium or large
When setting the map size, keep in mind that it should represent the full layout of the restaurant, not just a specific area
-
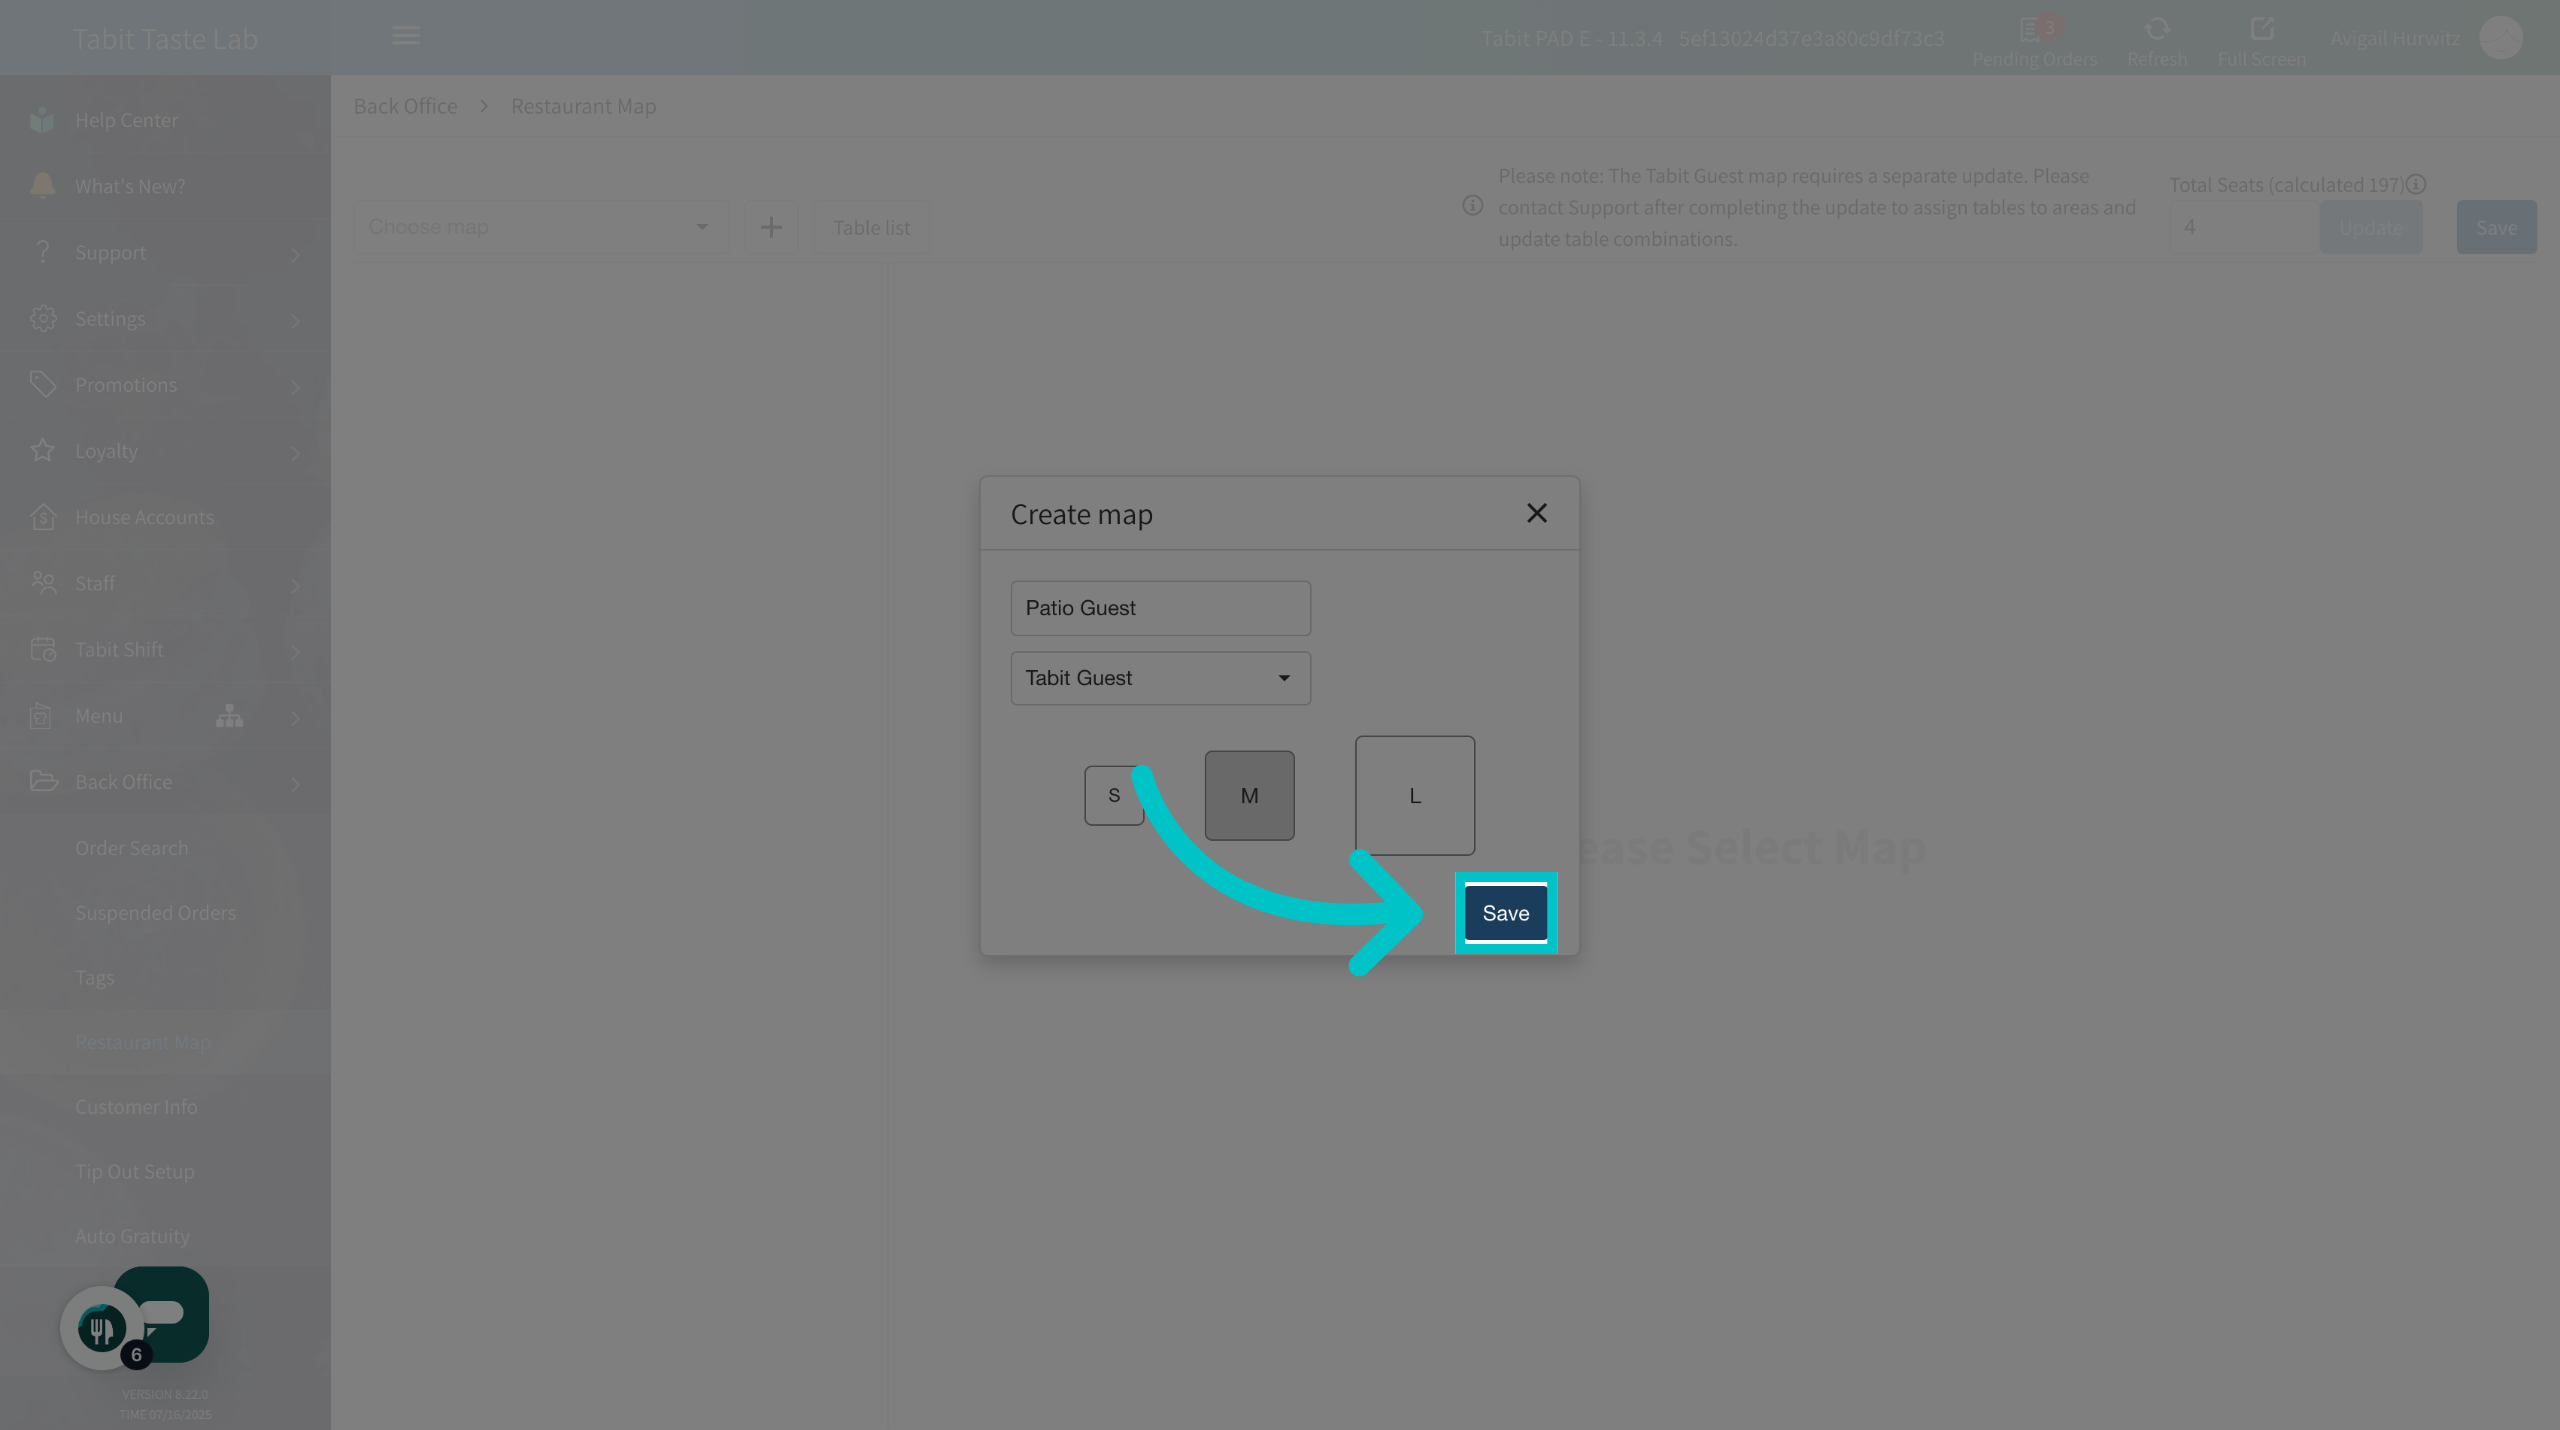
Now Save
-
You can adjust the map size later using the Expand icon and your keyboard arrows
Map layout
-
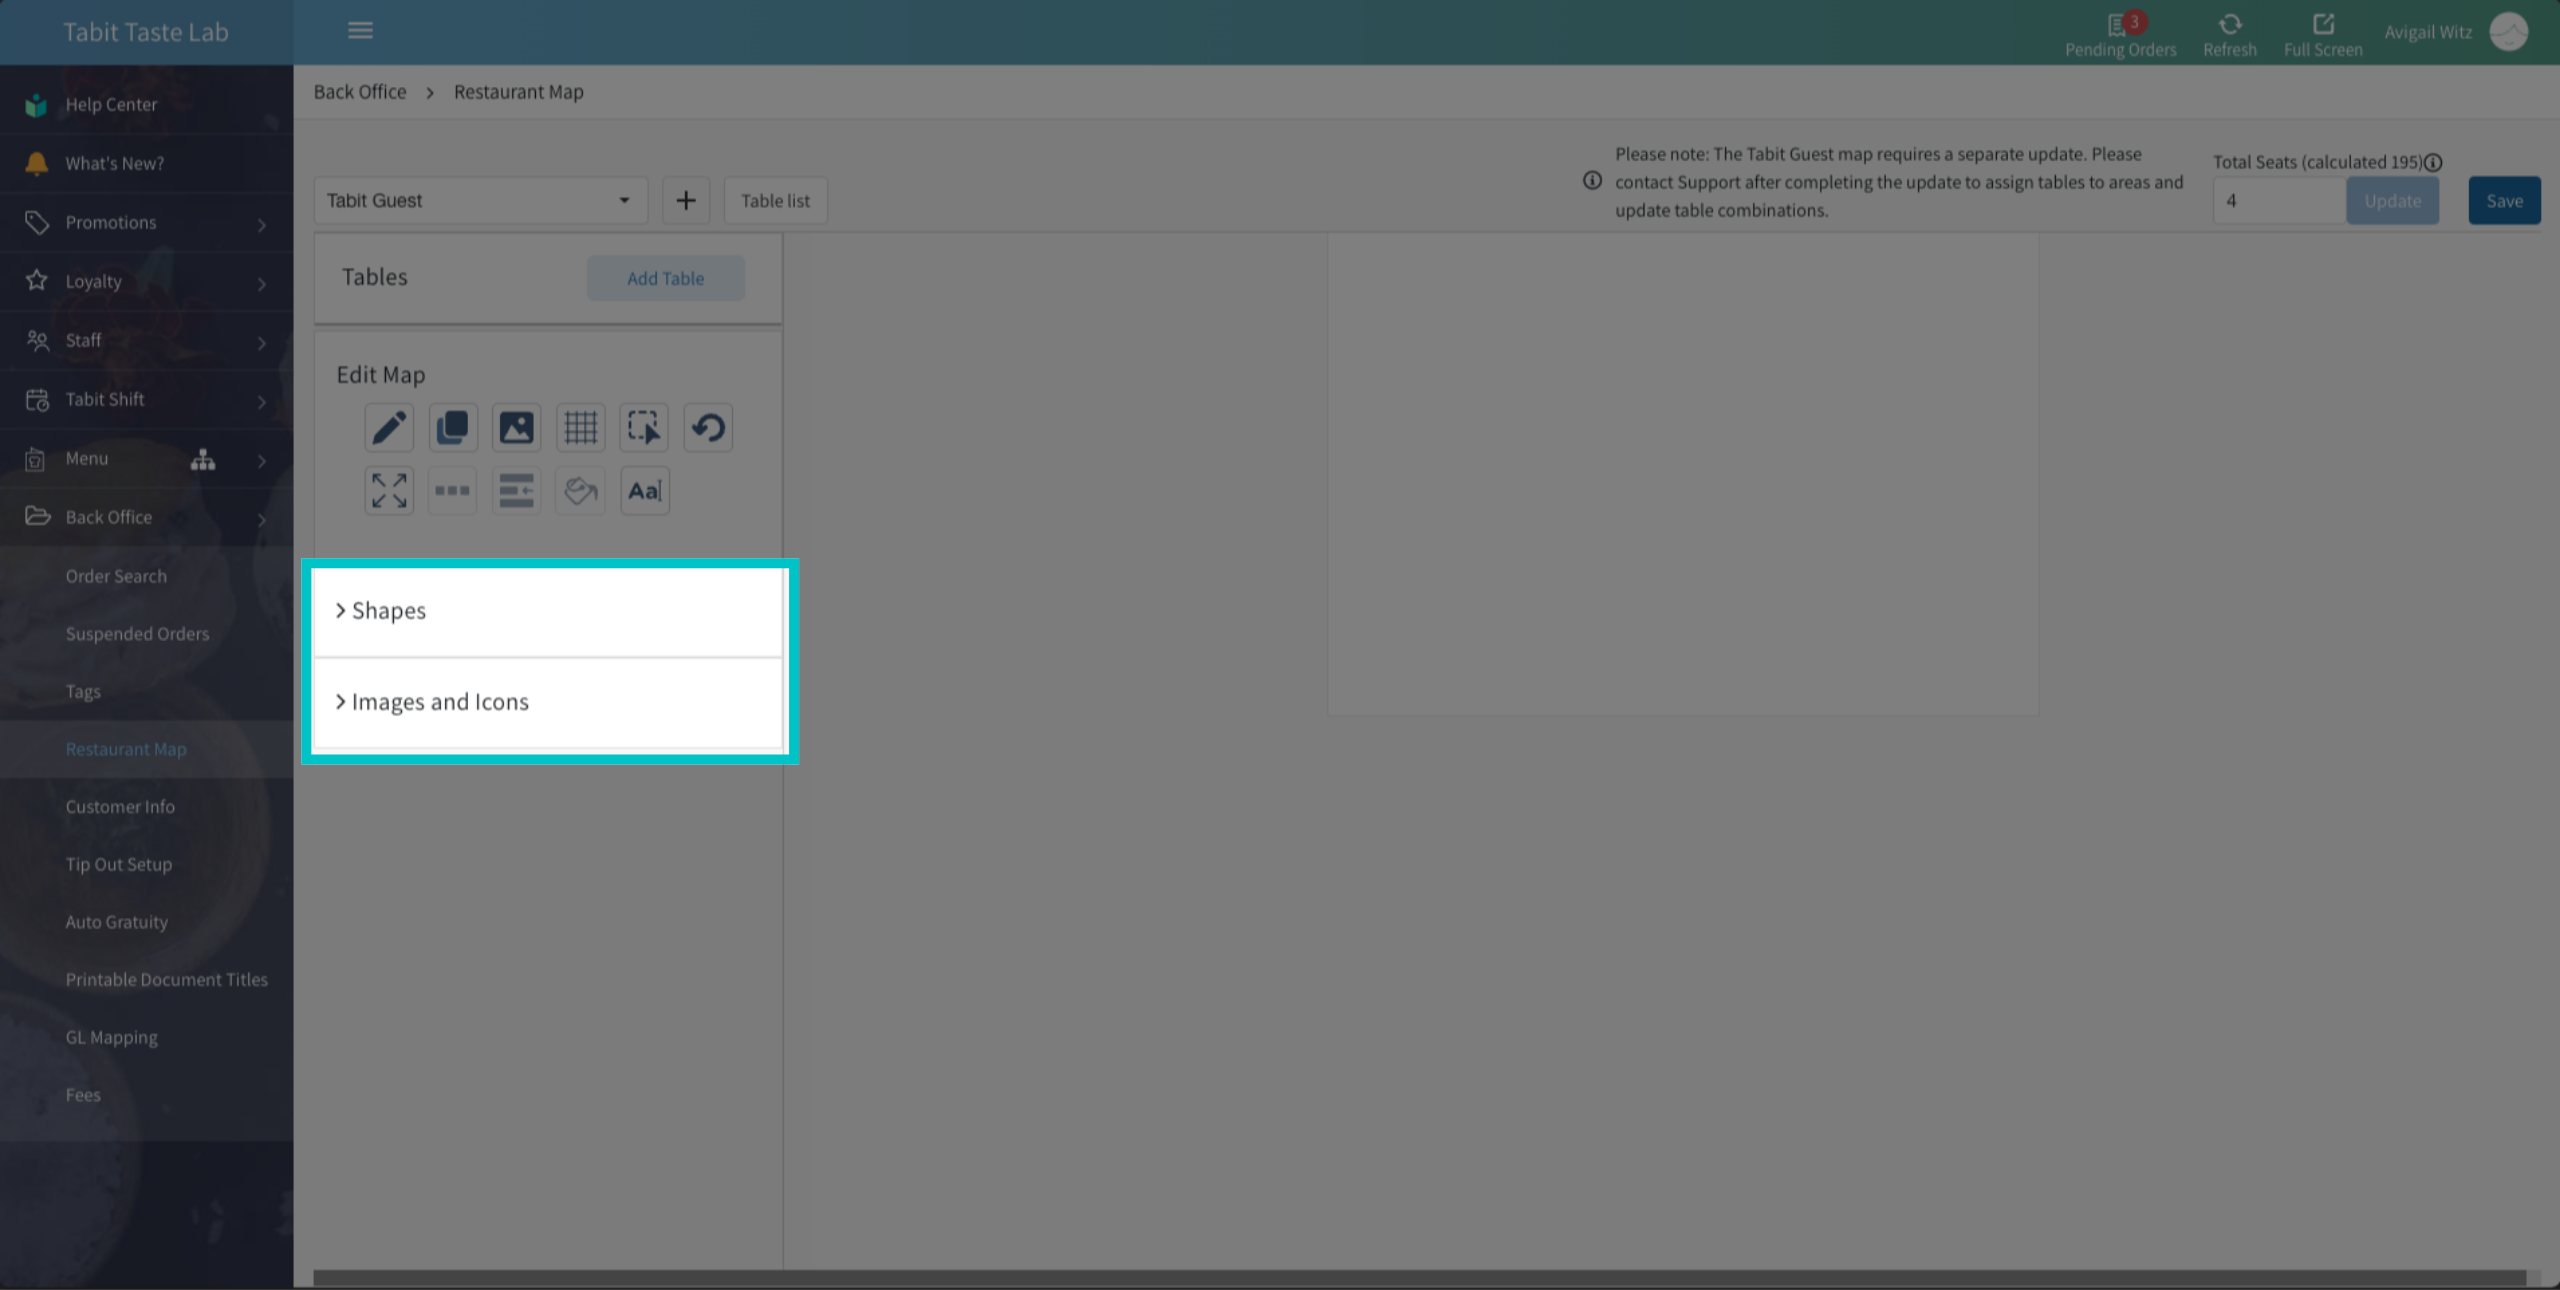
Begin designing the map layout using shapes, images, and icons
-
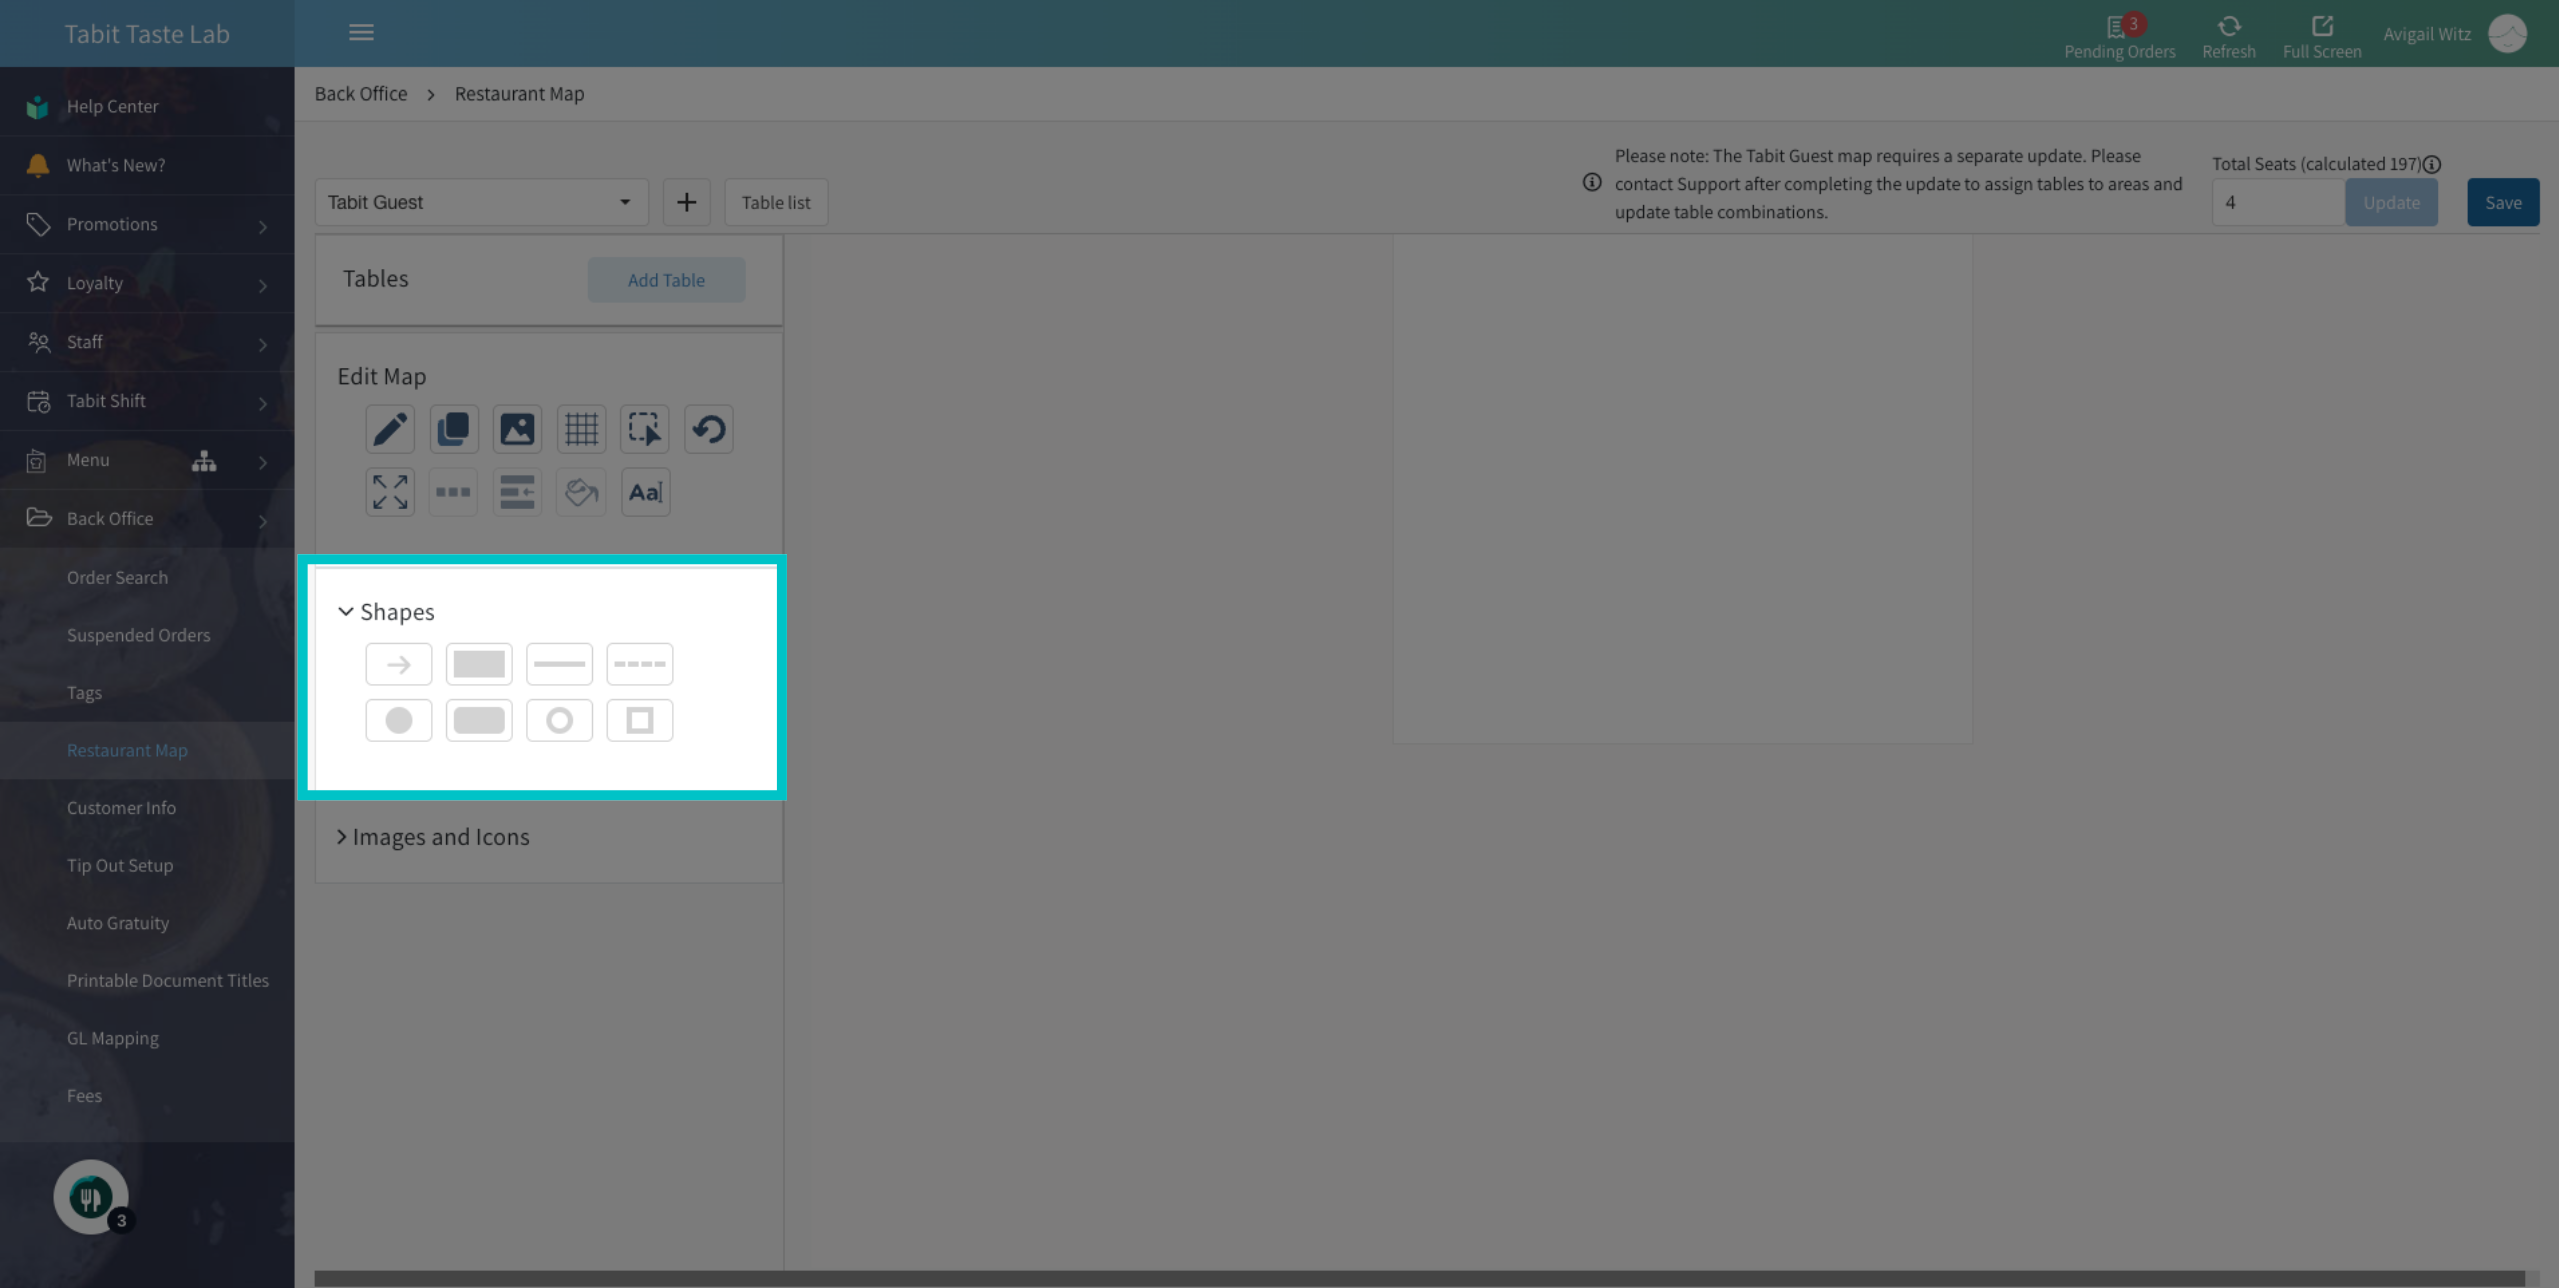
Use the Shapes tool to to outline key areas
-
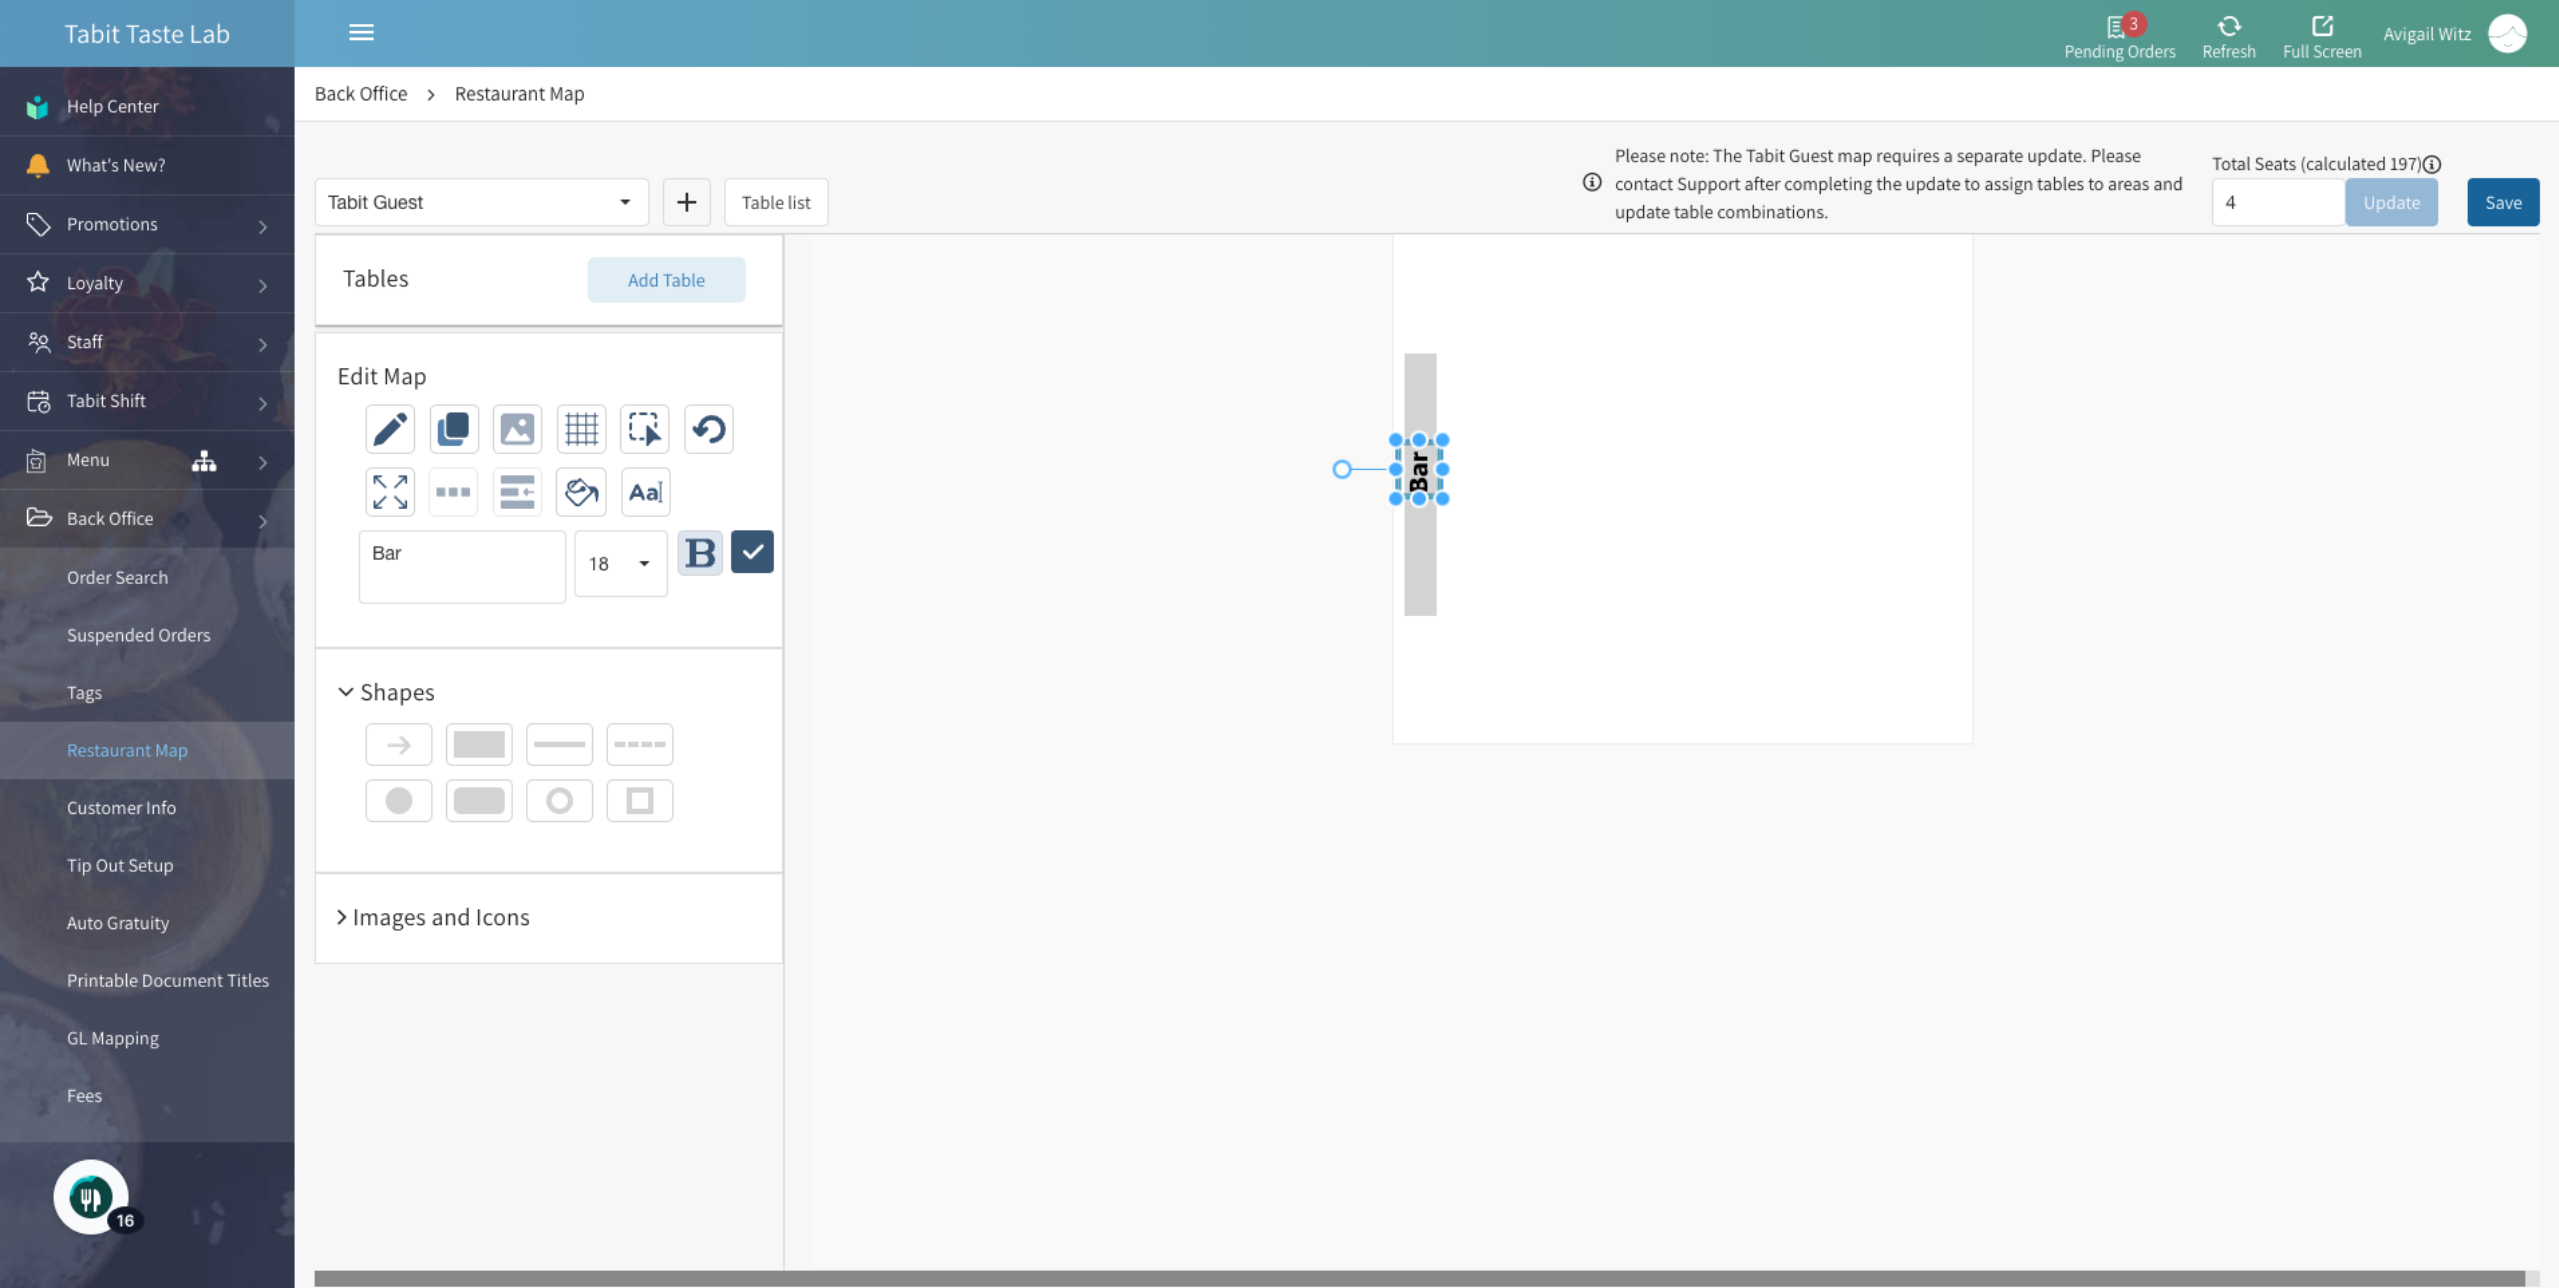
For example, a bar. Place the shapes accordingly
-
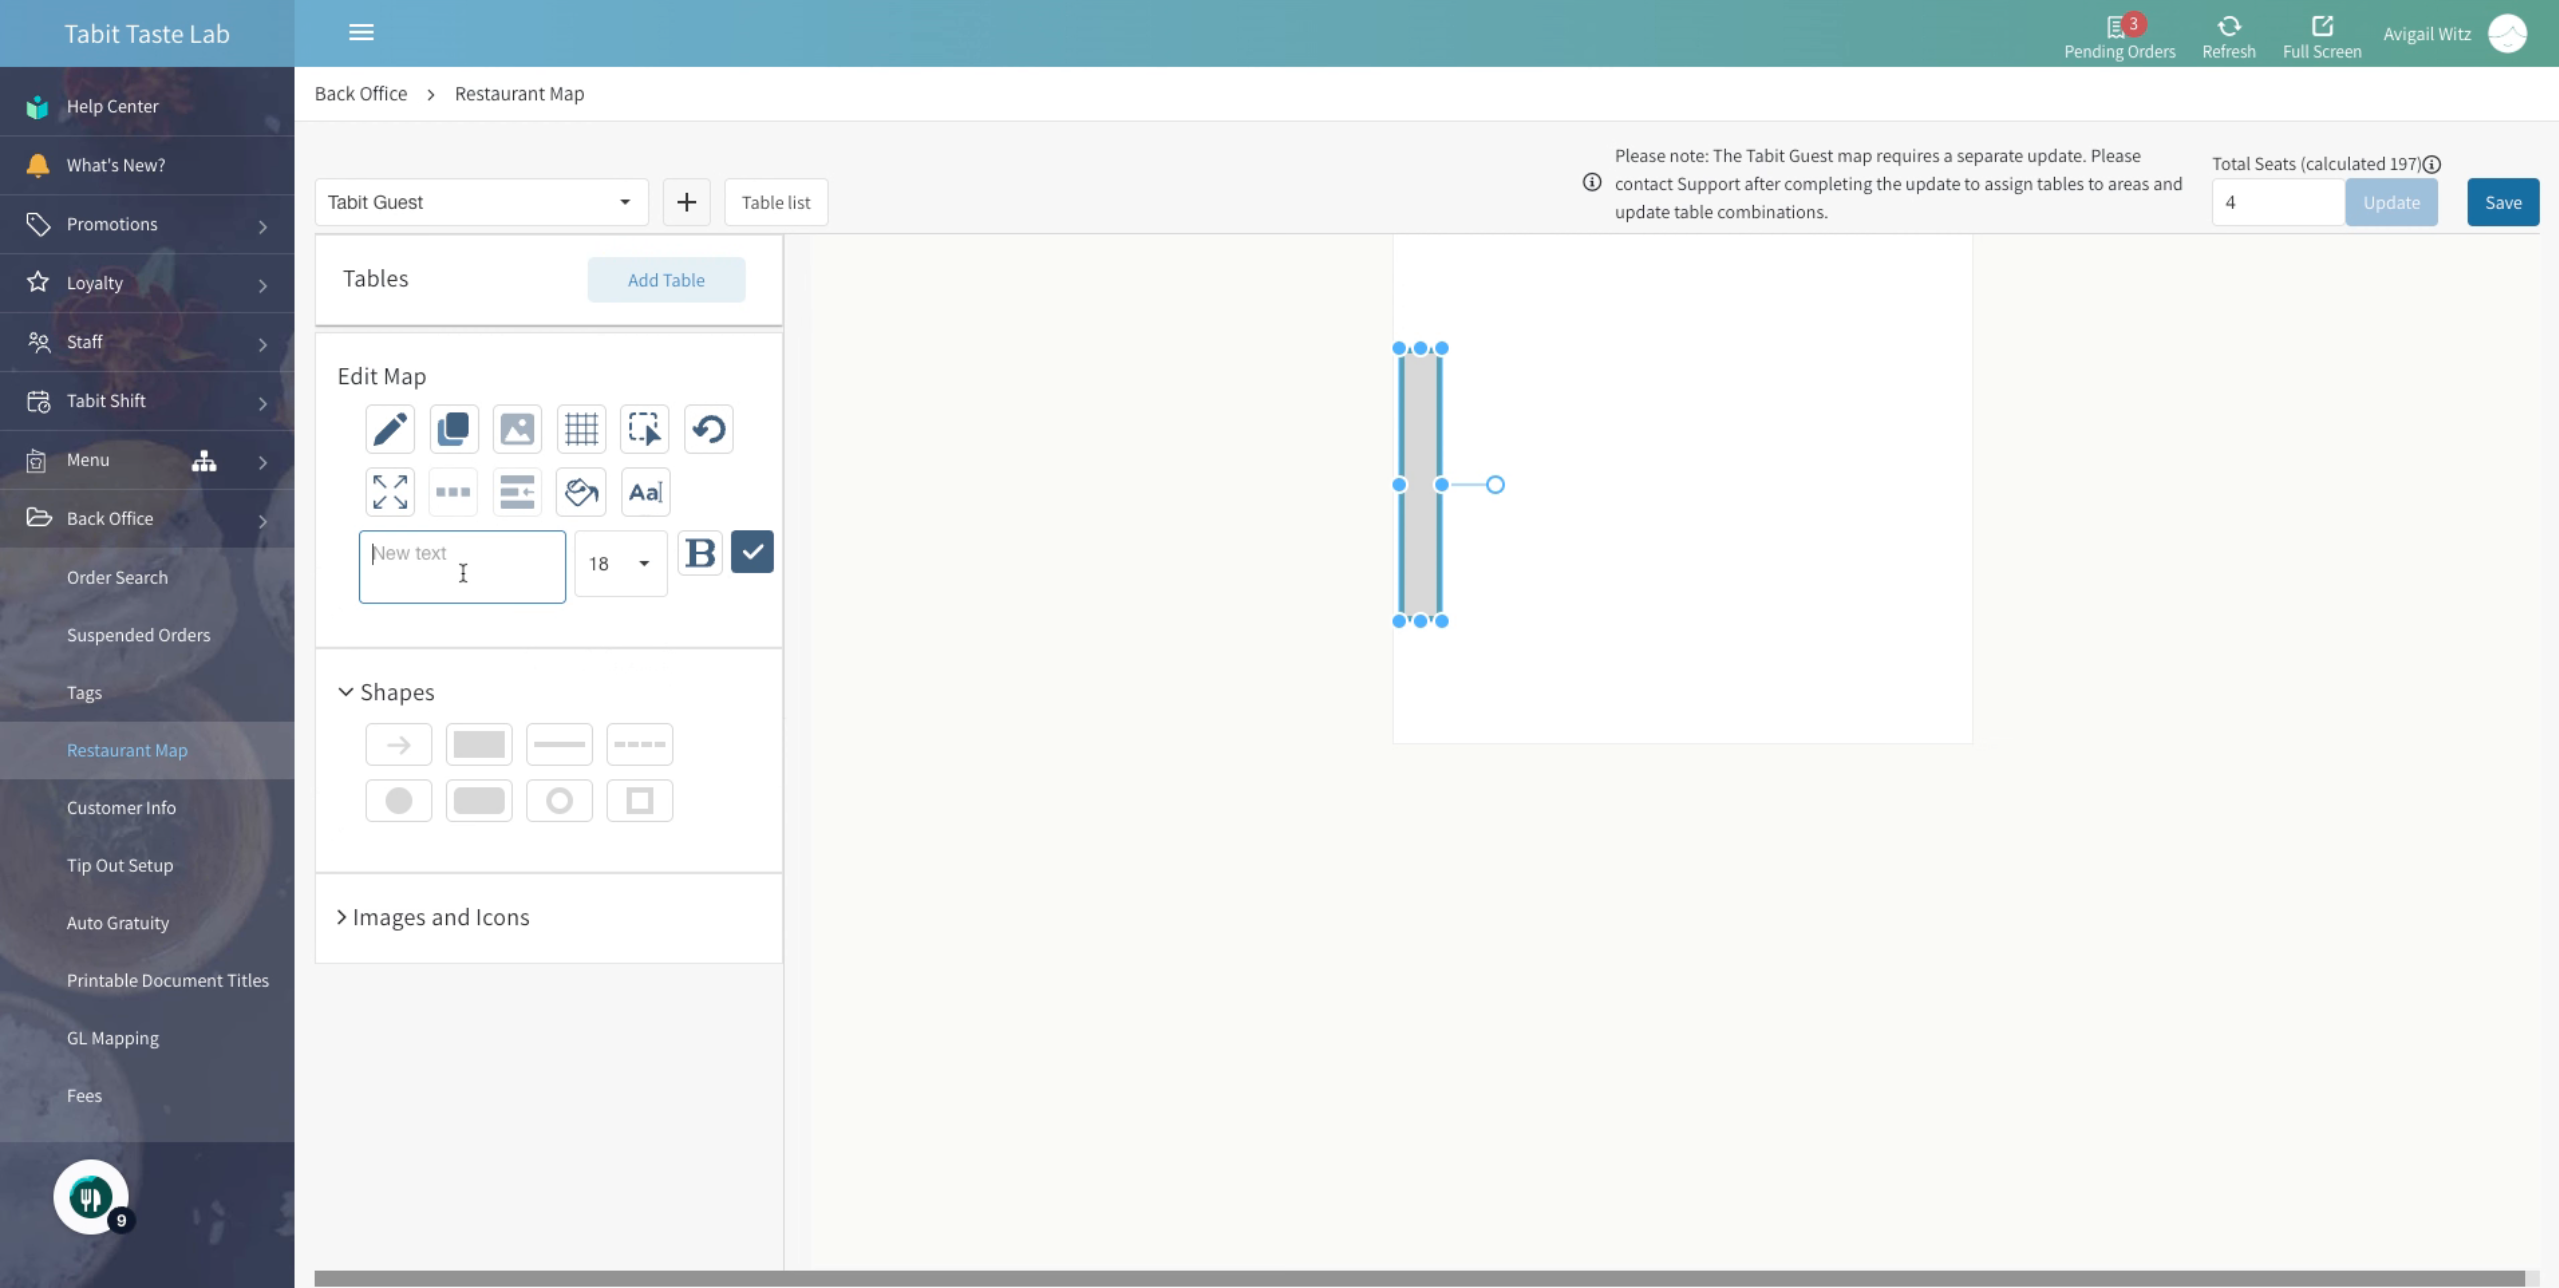
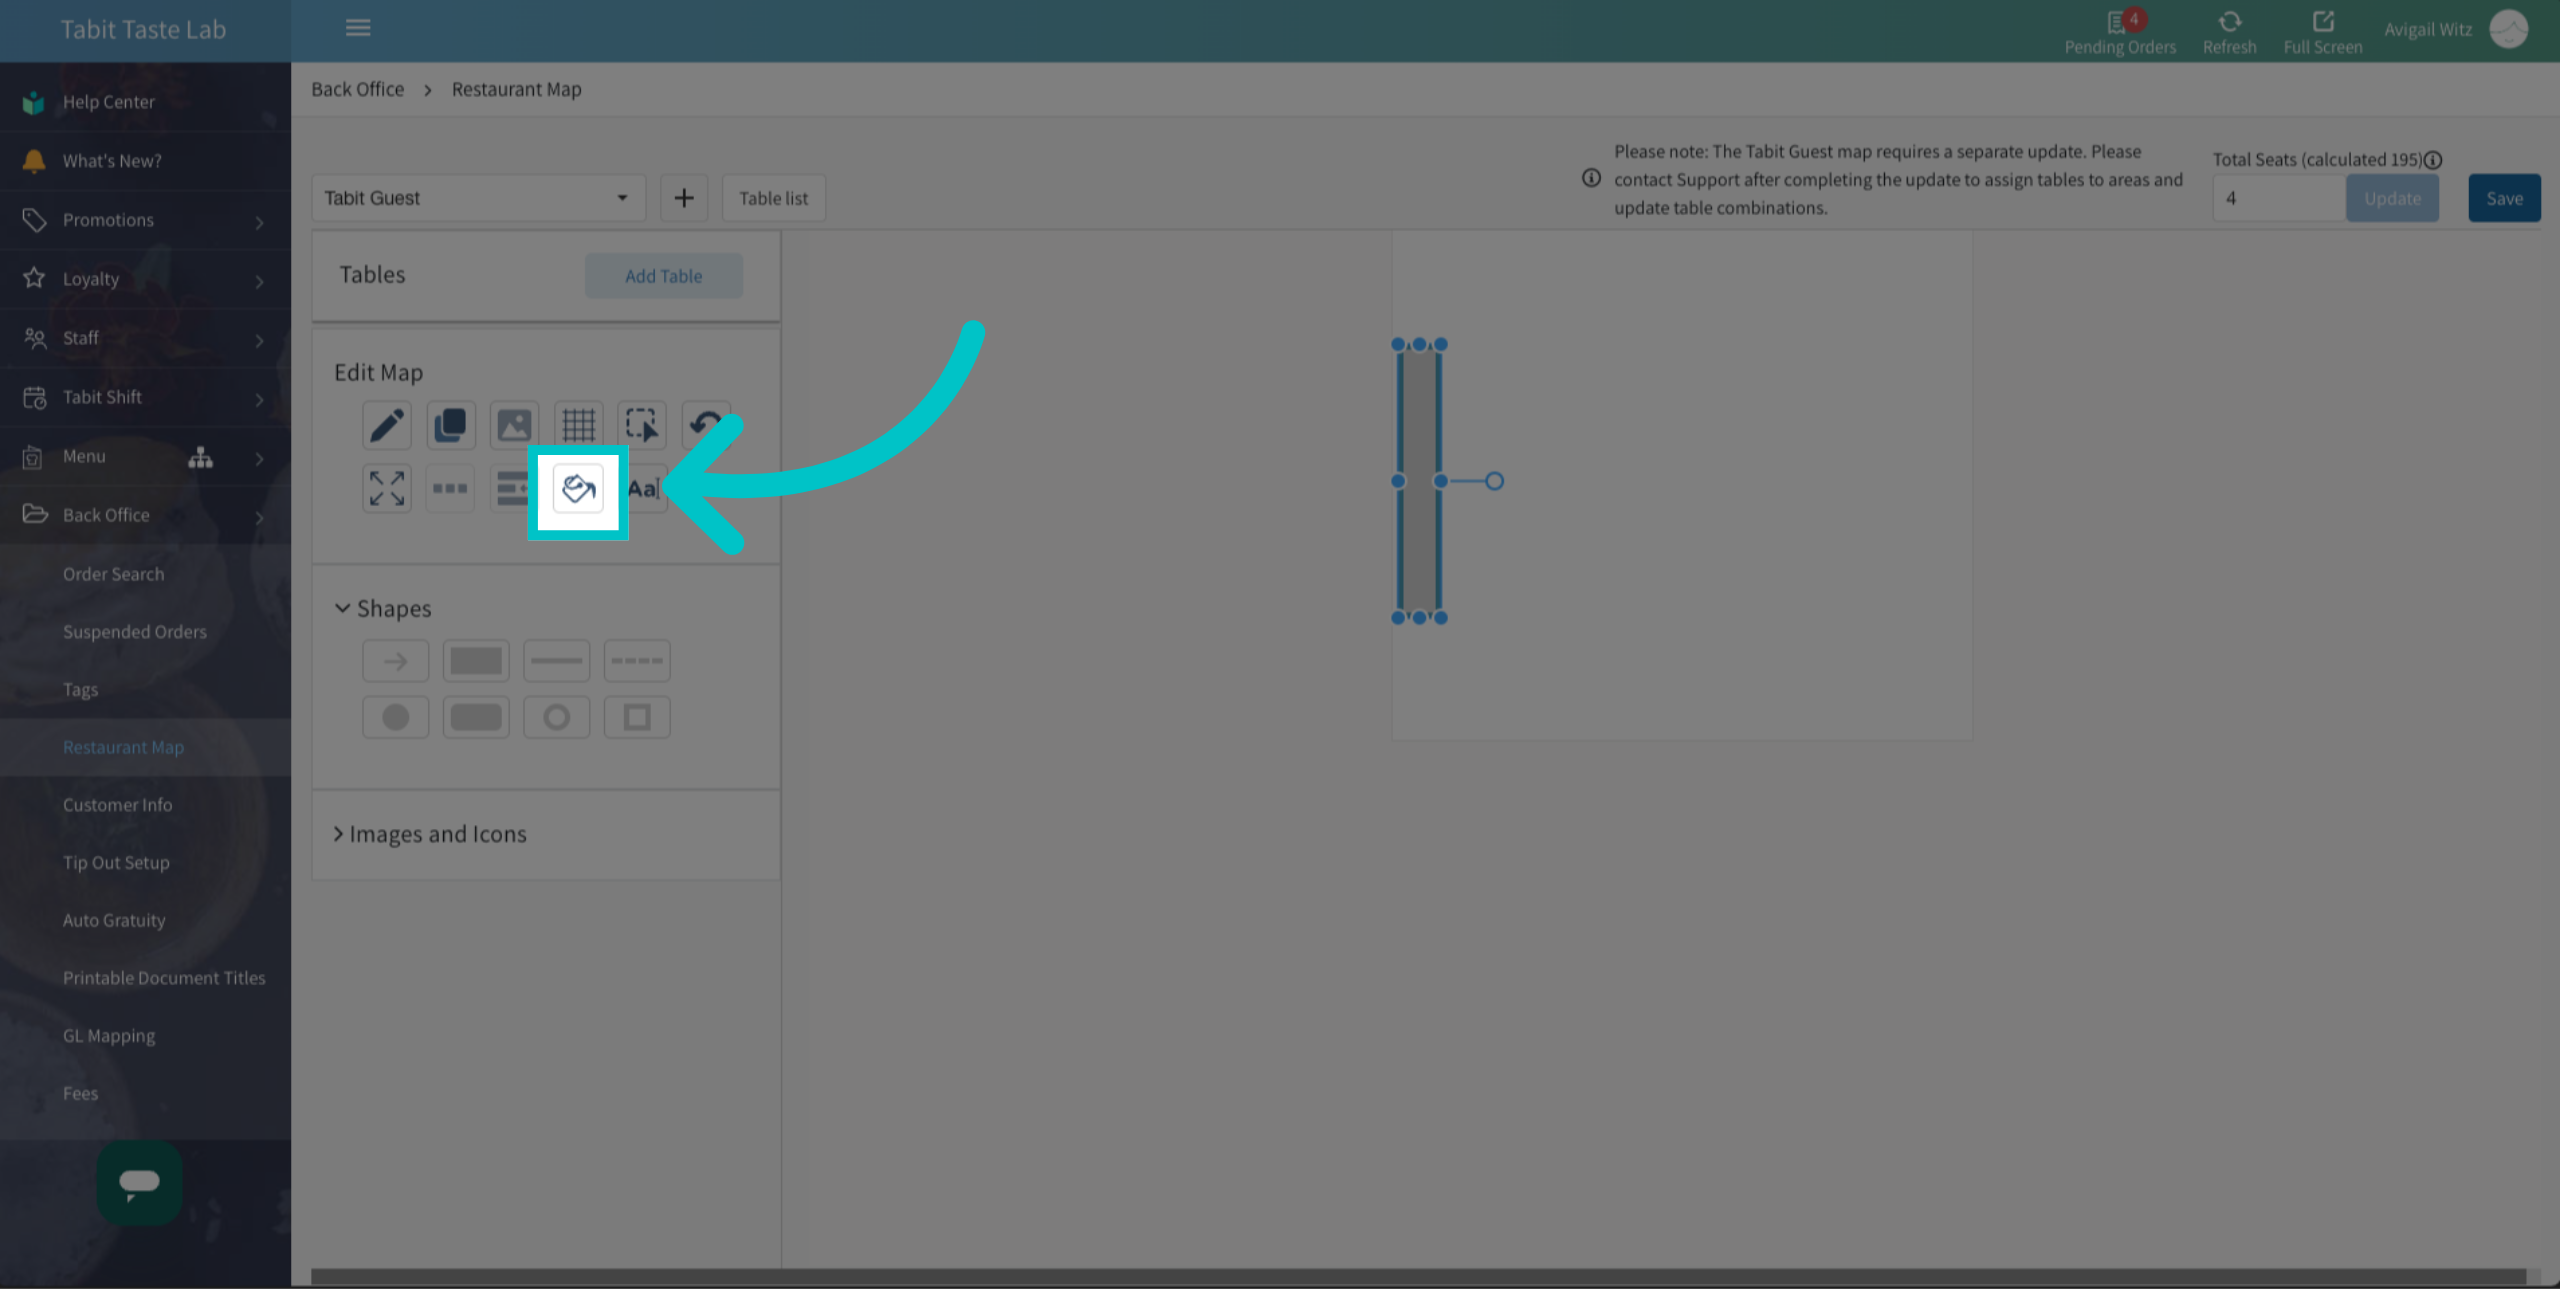
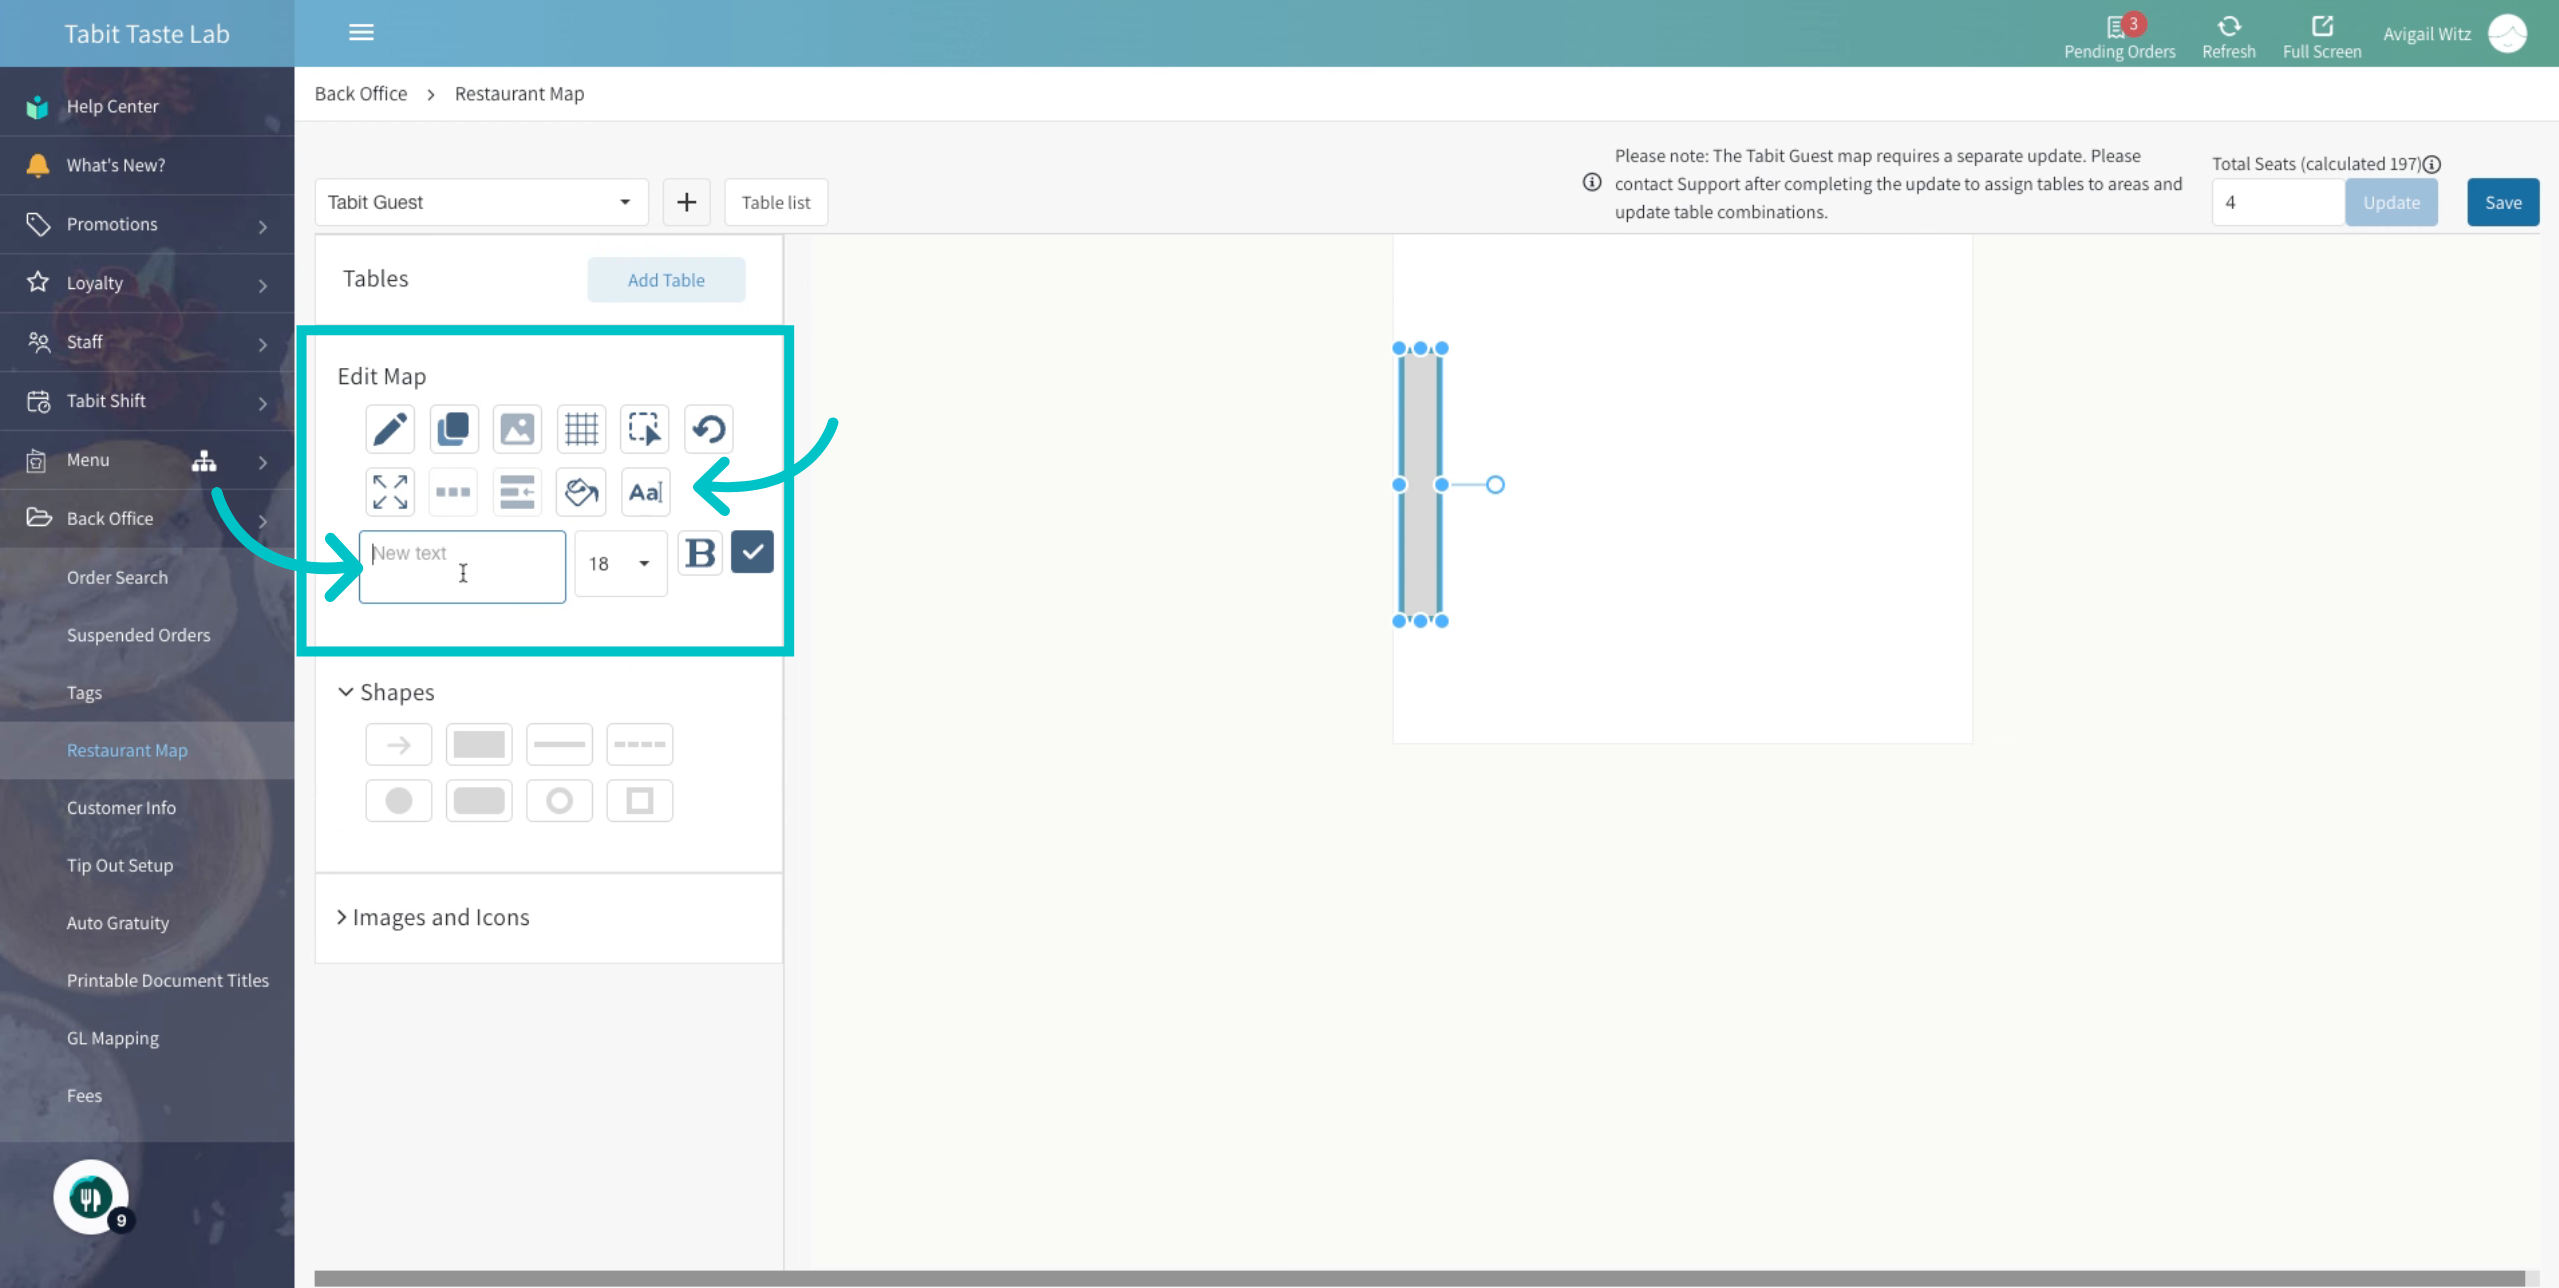
Use the Paint icon to change the shape colors
-
And add the word 'Bar' by selecting the Aa icon, adding the details, and selecting the check mark
-
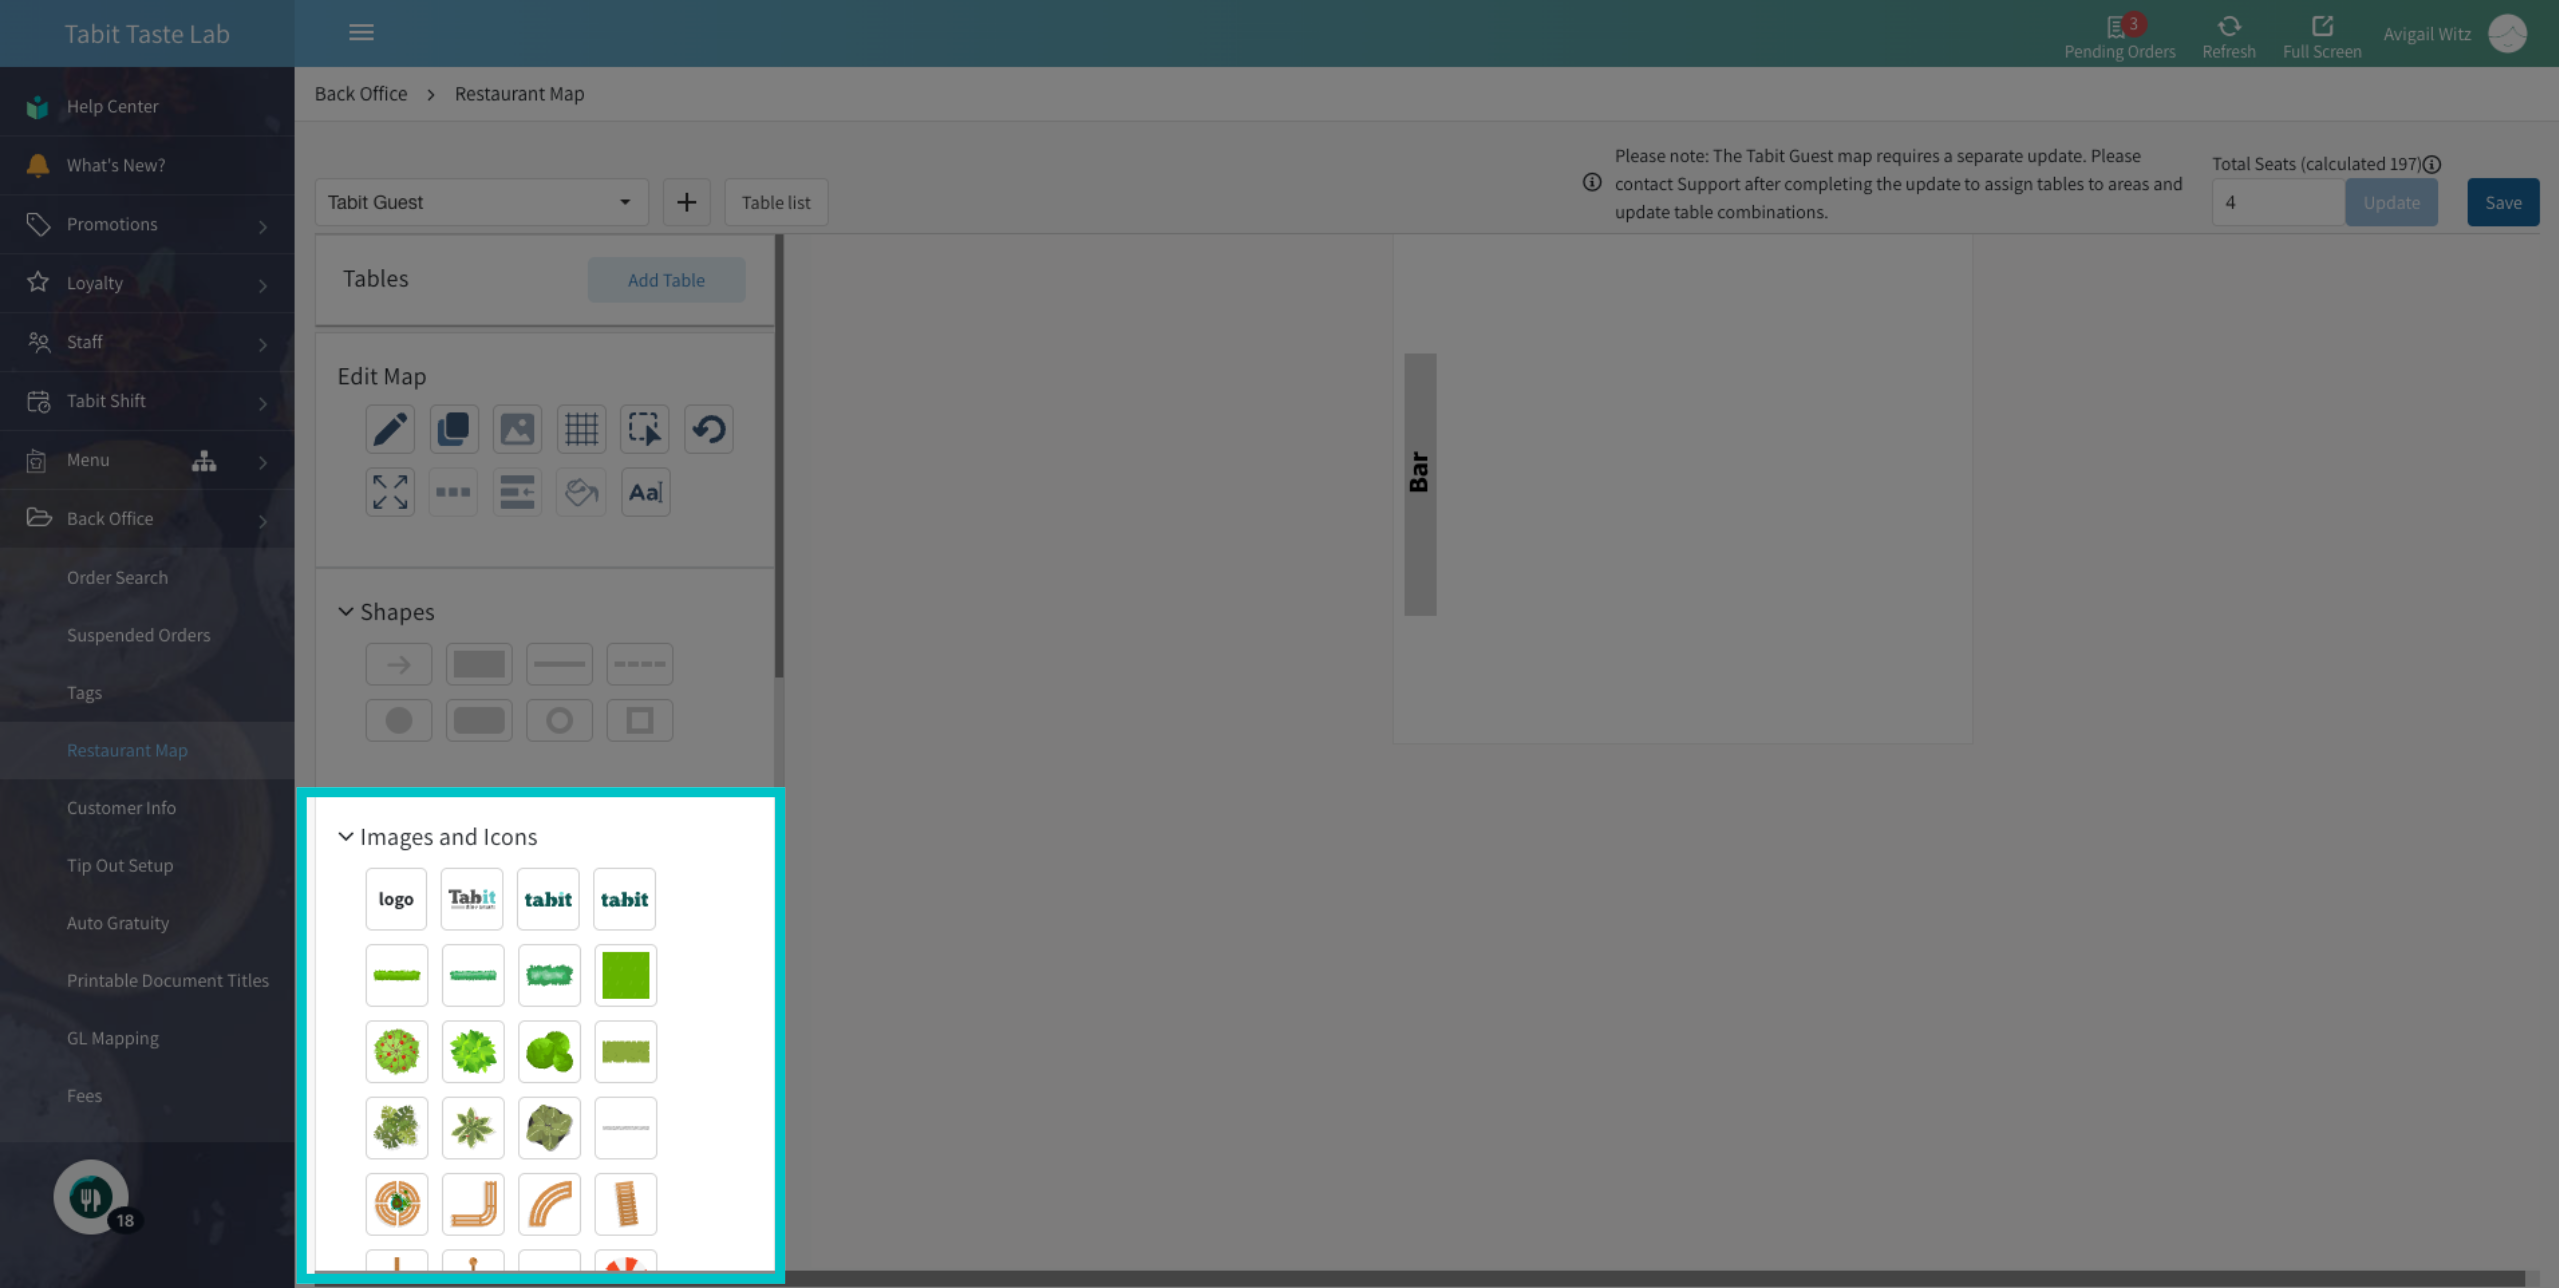
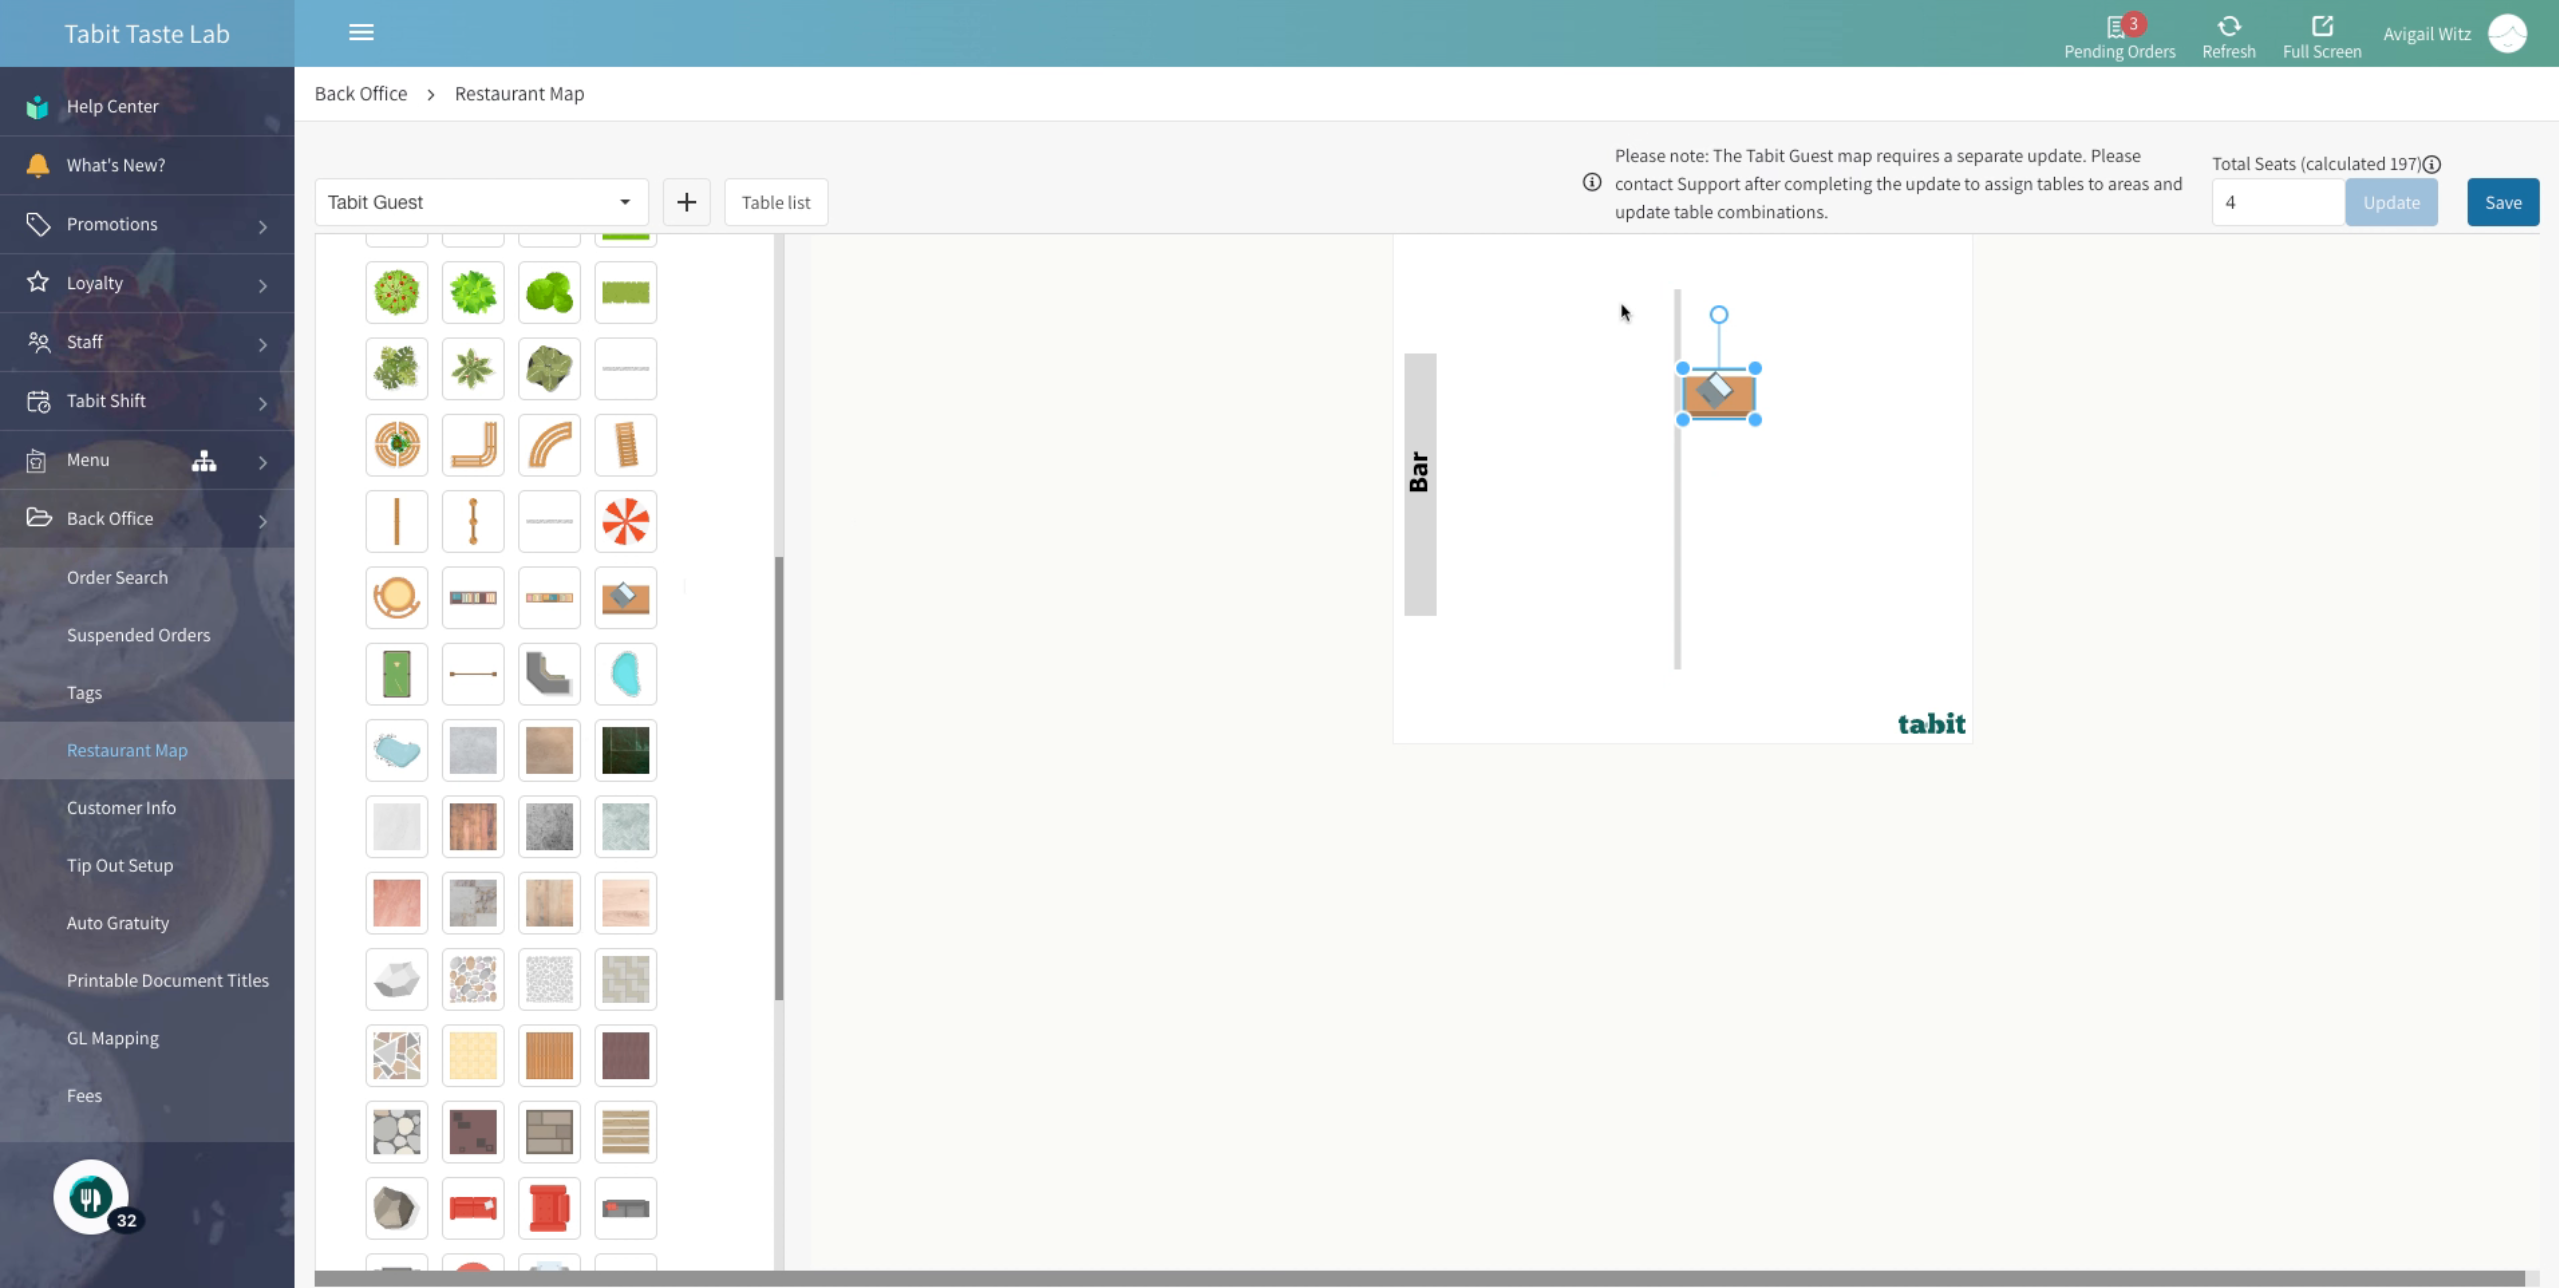
Continue to the Images and Icons section and add more elements to indicate the entrance, the kitchen, or any other option that helps describe the space better
Add tables
-
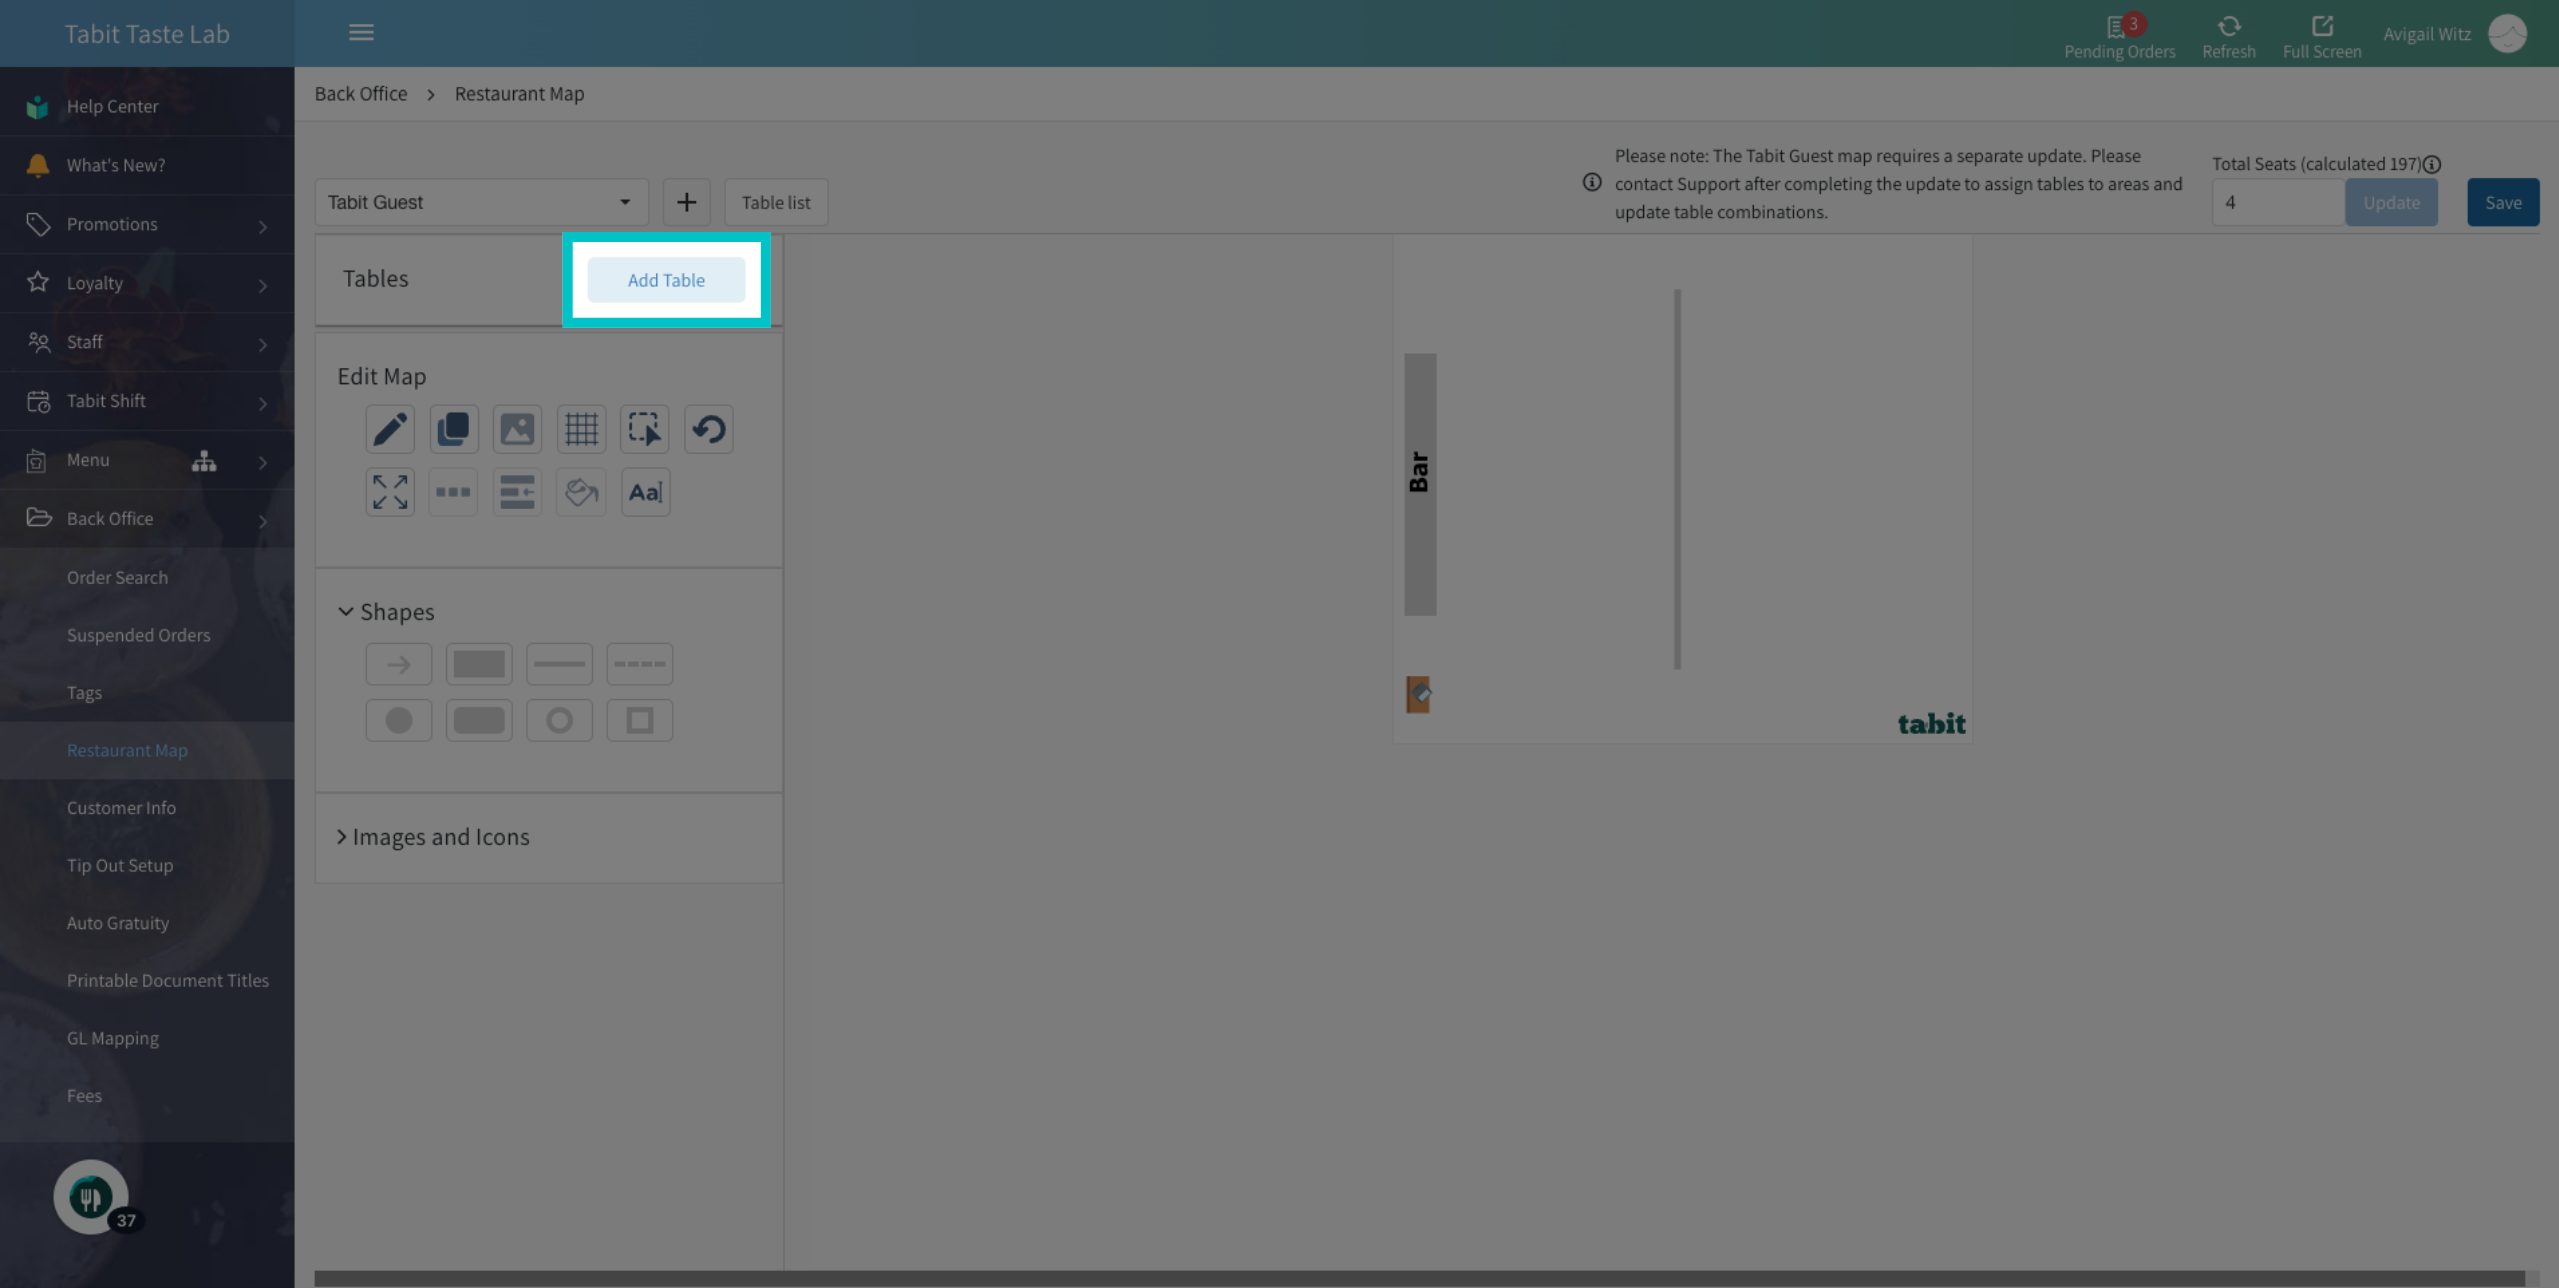
Select Add Table
-
Fill in the table details:
If the tables you add have already been created for the PAD, their settings will automatically be set in the TG map
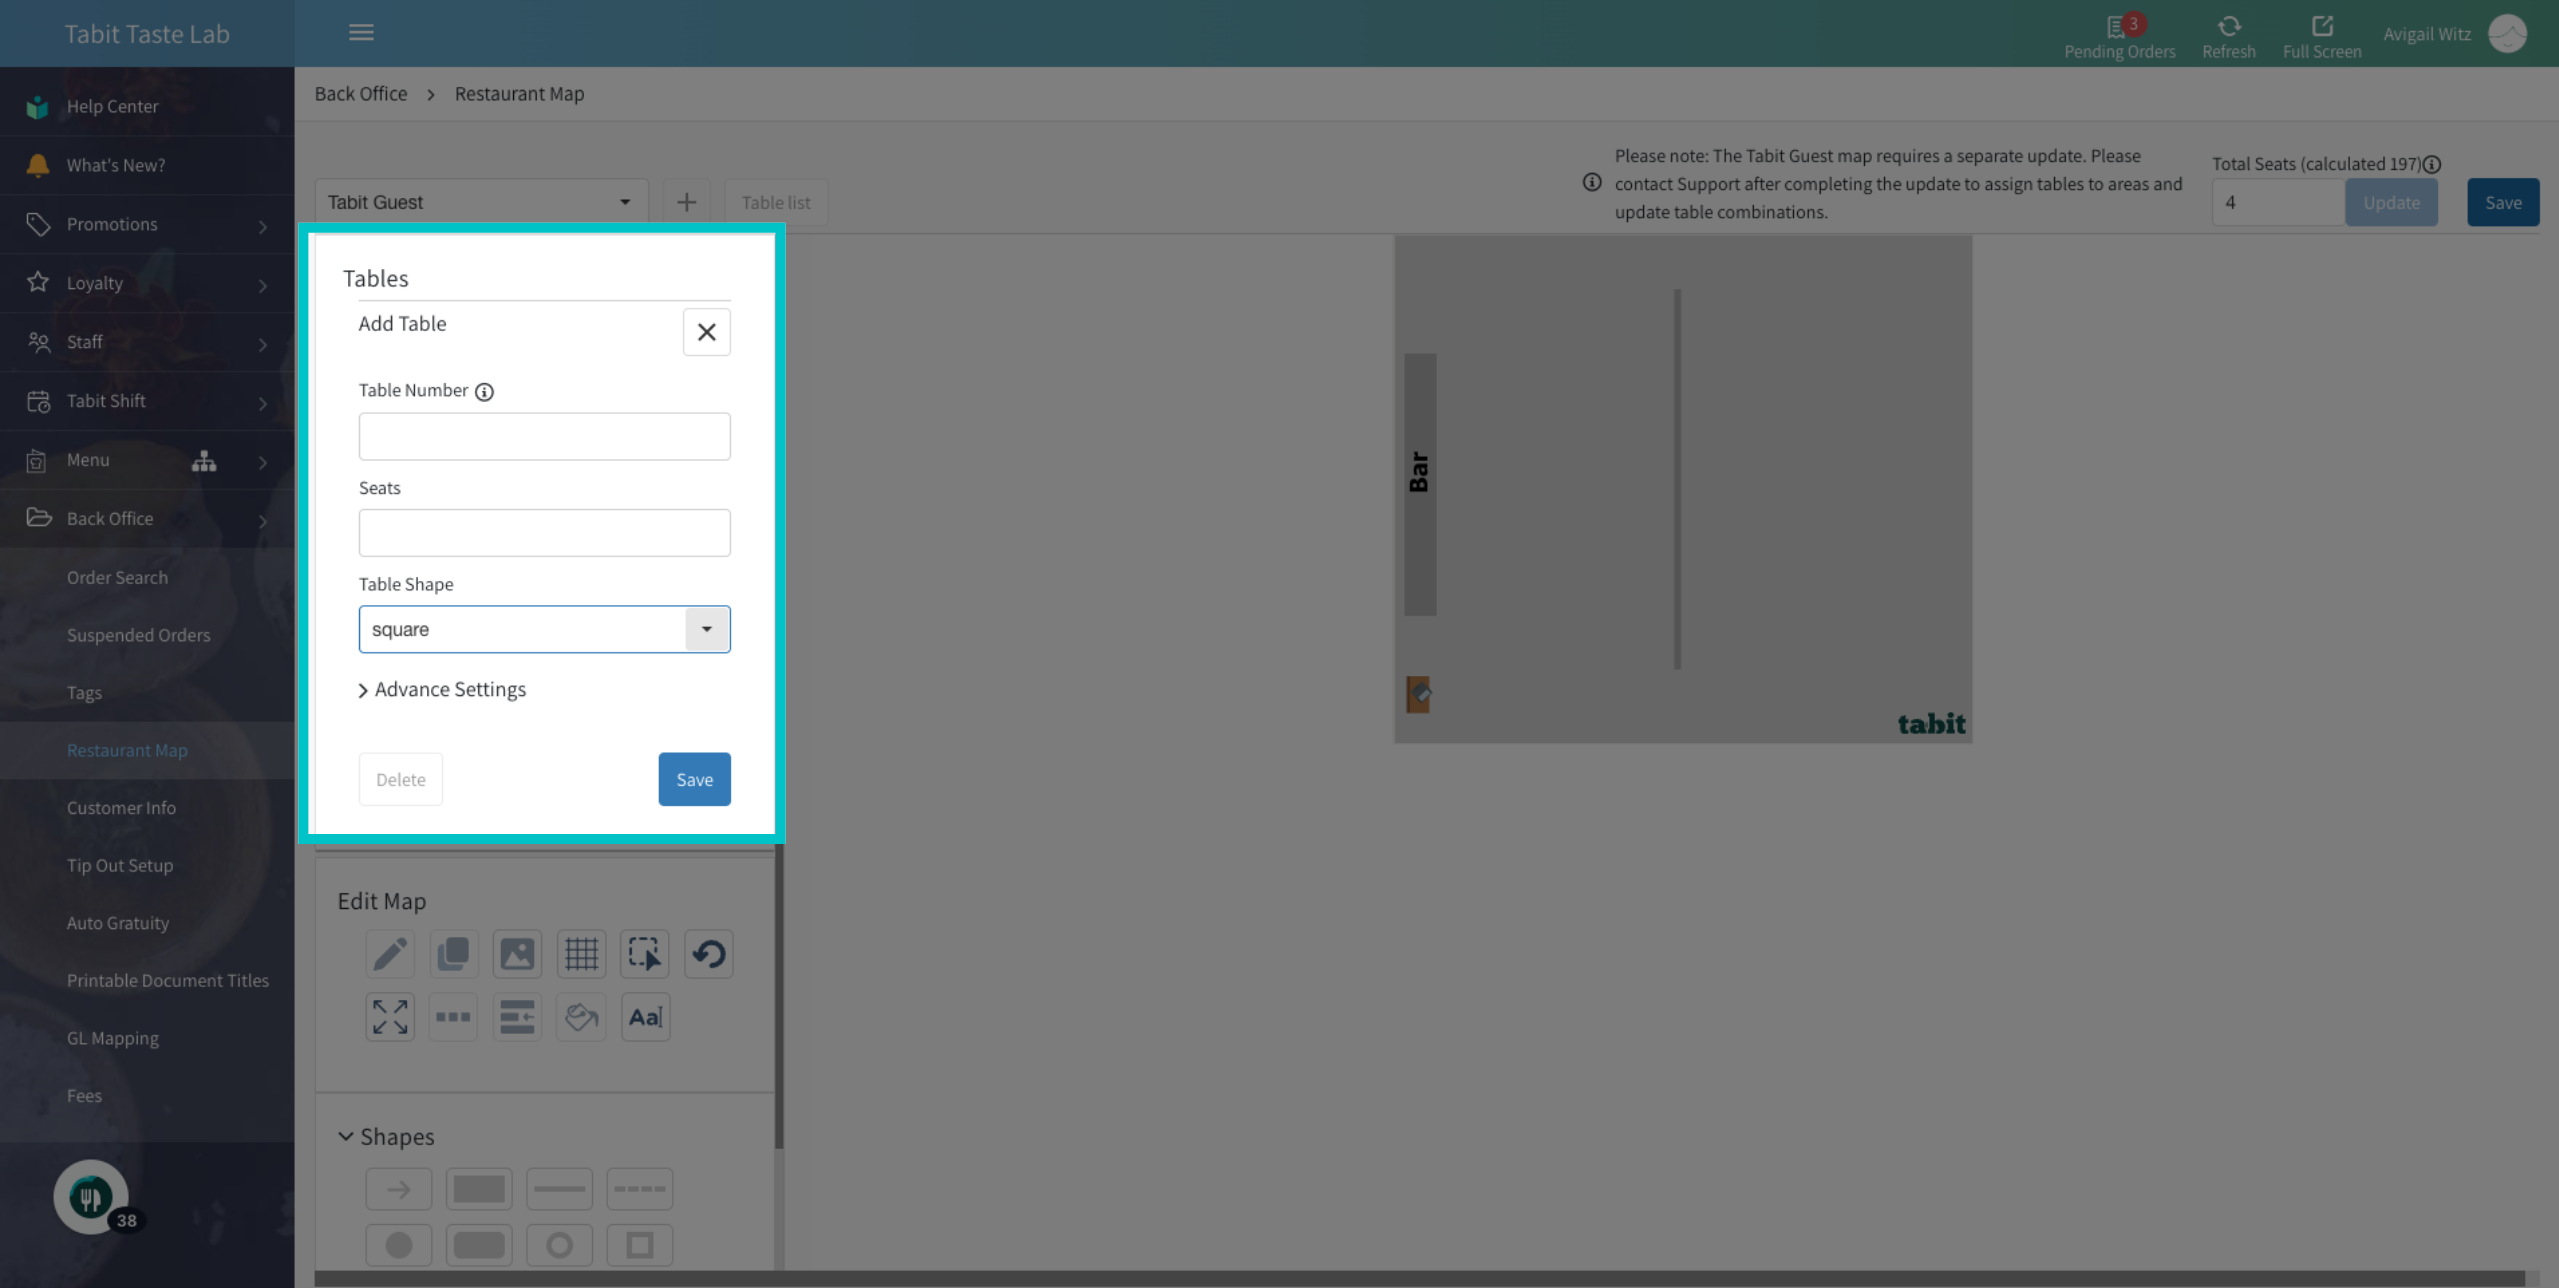
- Table number: Type the table number and press Enter on your keypad. Repeat the process to add multiple tables with the same settings
- Seats: Enter the number of people who can sit at each table. This will determine the table's size
- Table shape: Select square or round
-
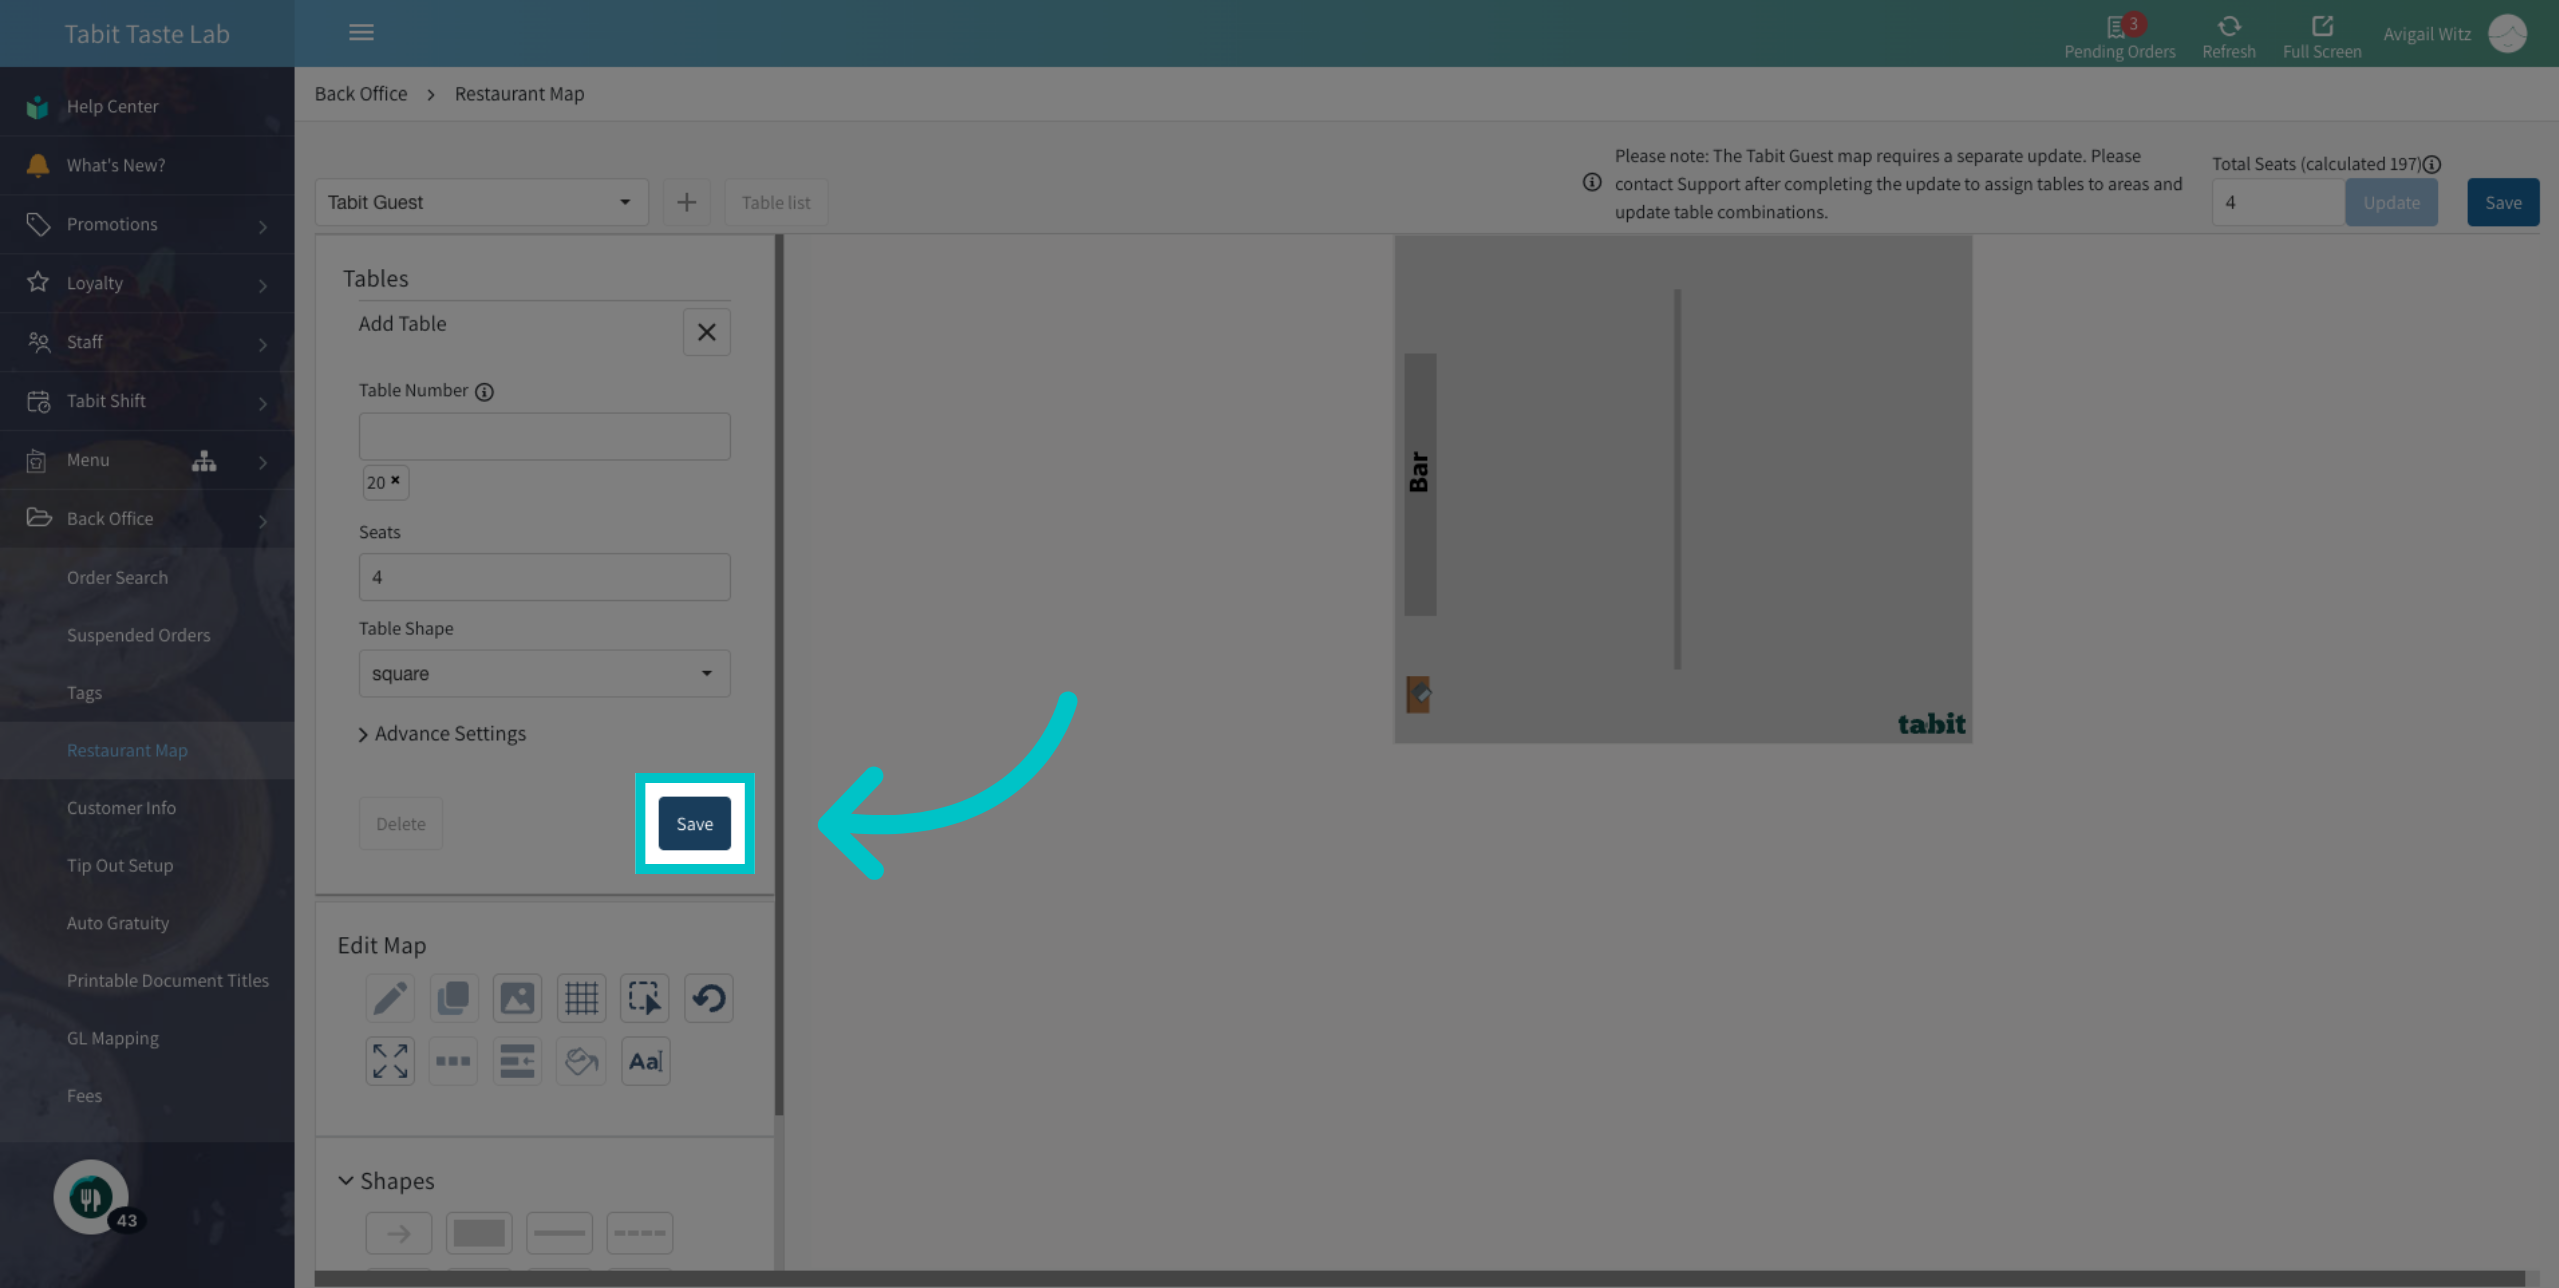
Once you finish the setup, select Save, and place the tables as needed
Final steps
- Repeat the steps to add more tables and complete the map
-
Once you're finished, select Save on top right, and reach out to your Tabit representative to provide servers access to the map