Delivery regions allow you to define the areas where your customers can place delivery orders. Each region is mapped on a live map using boundaries (such as streets), and is used to determine whether a delivery address is eligible for delivery in Tabit Order
Follow the steps below to create a new delivery region:
-
In Tabit Office, go to Tabit Order > Site Setup > Delivery Regions
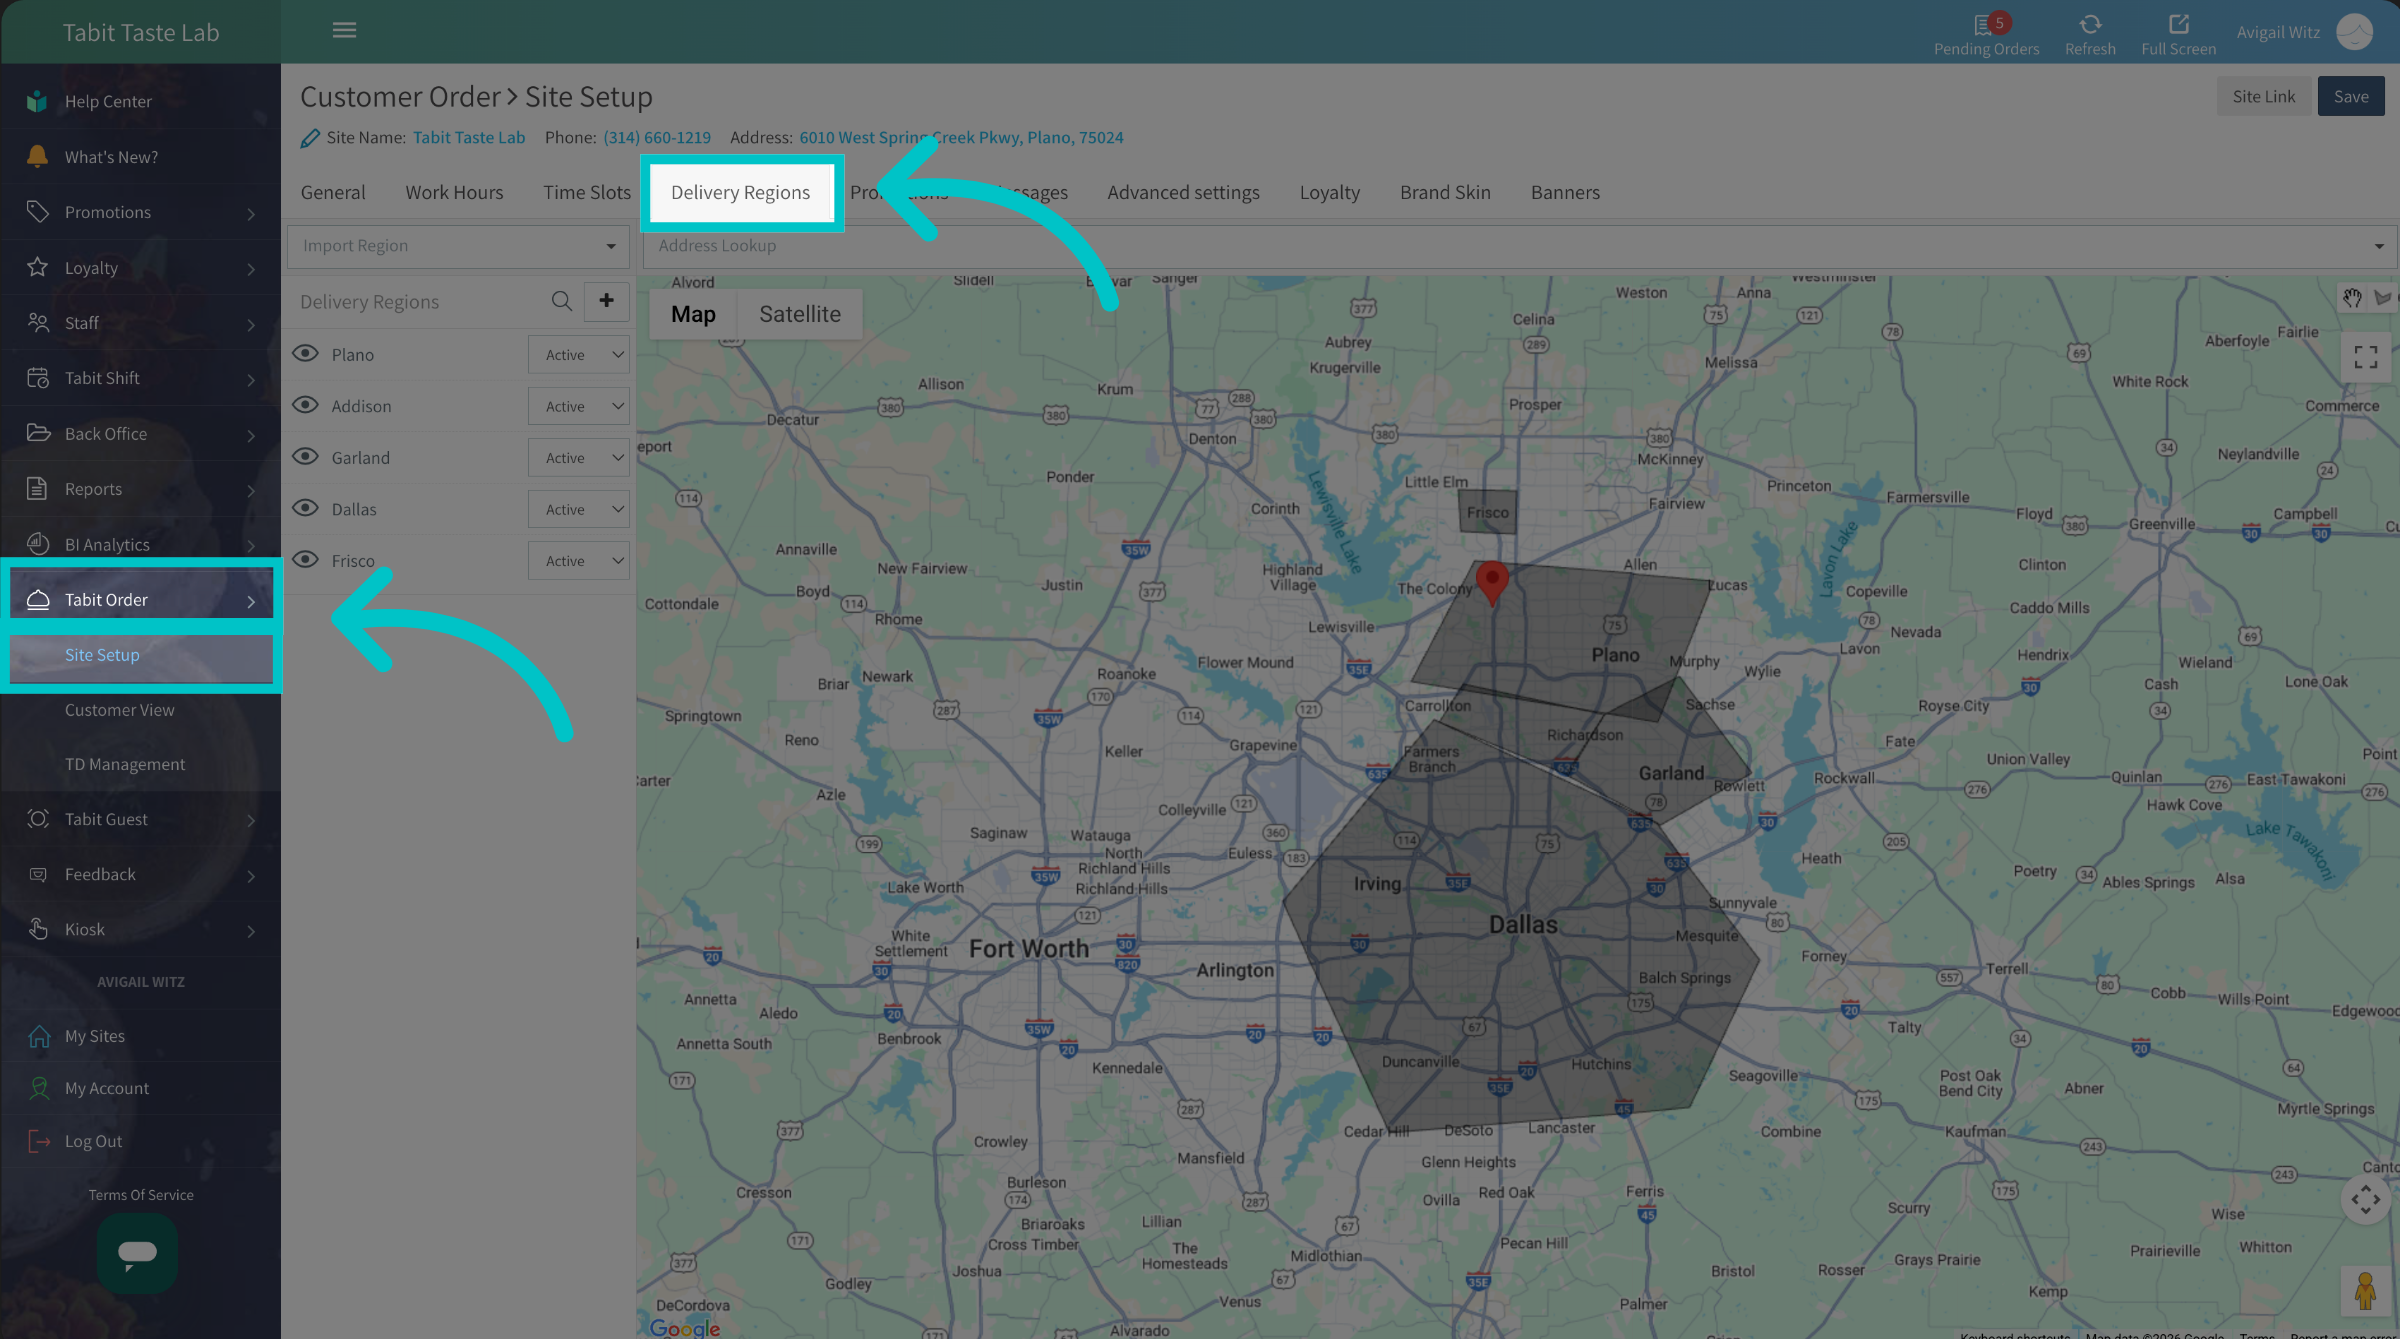
-
Before you start mapping, use the Zoom icon on the bottom right to zoom in on the map
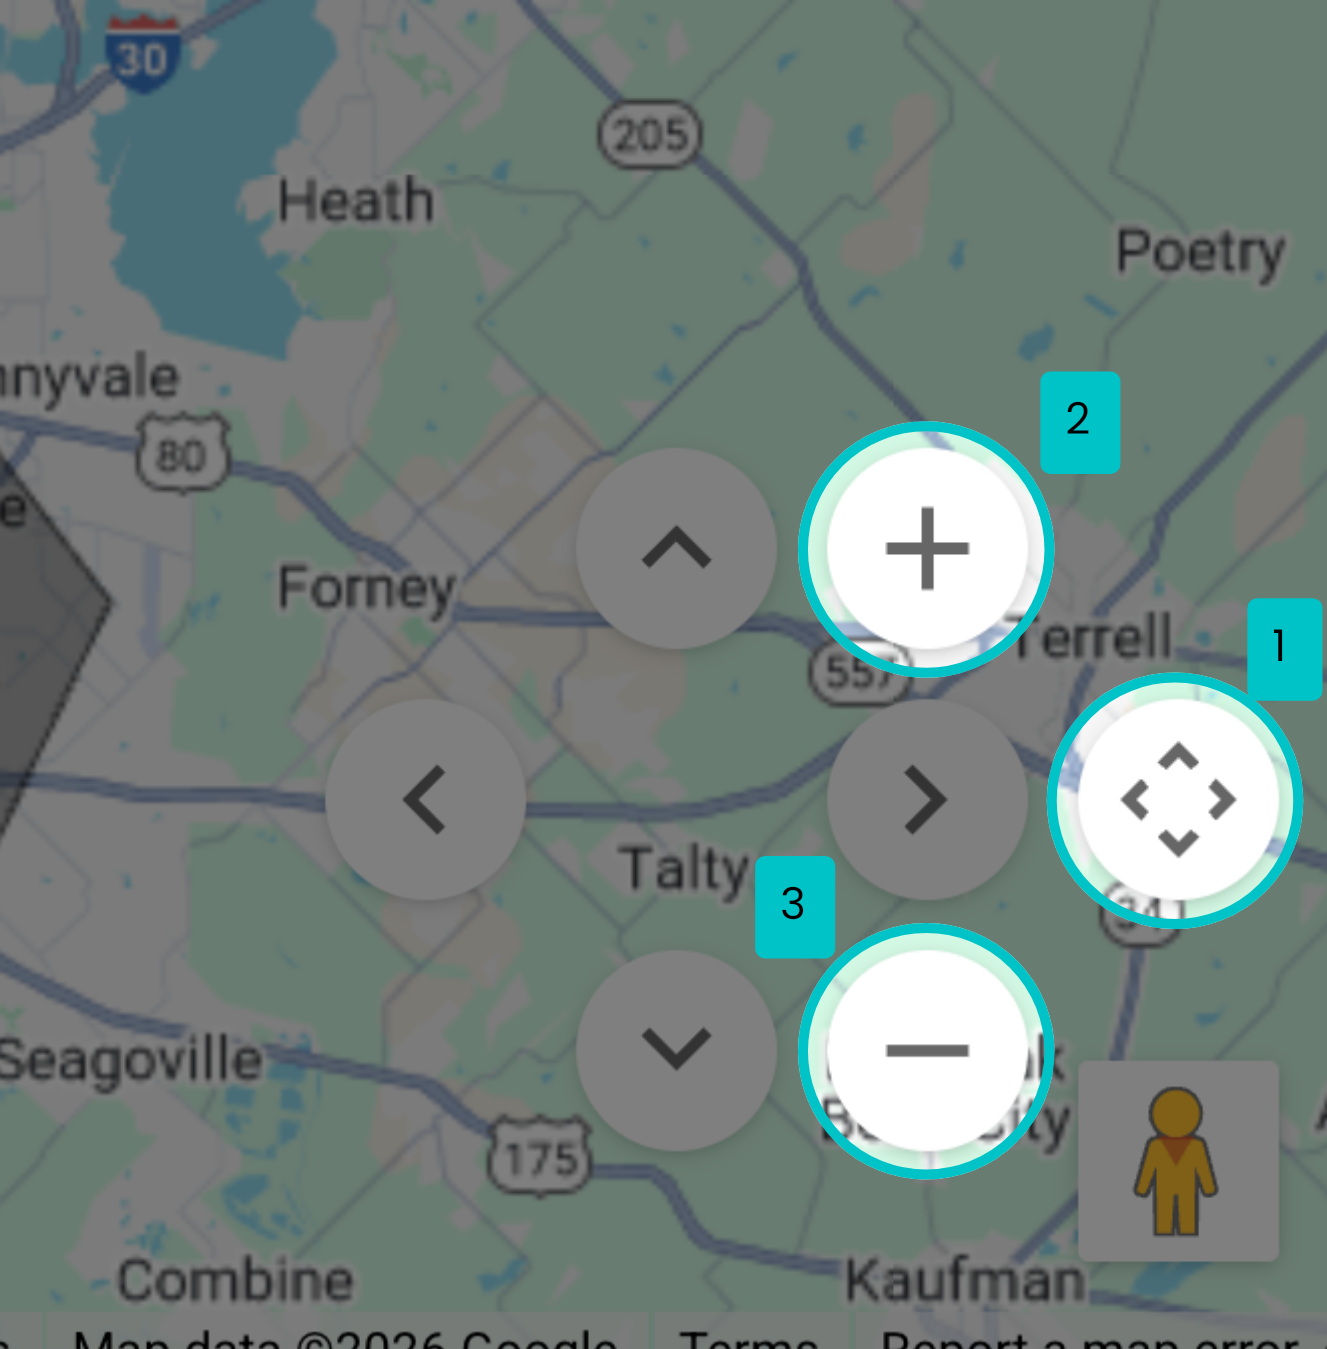
-
Click and drag the map to locate the streets you want to use as Boundaries for the new region
-
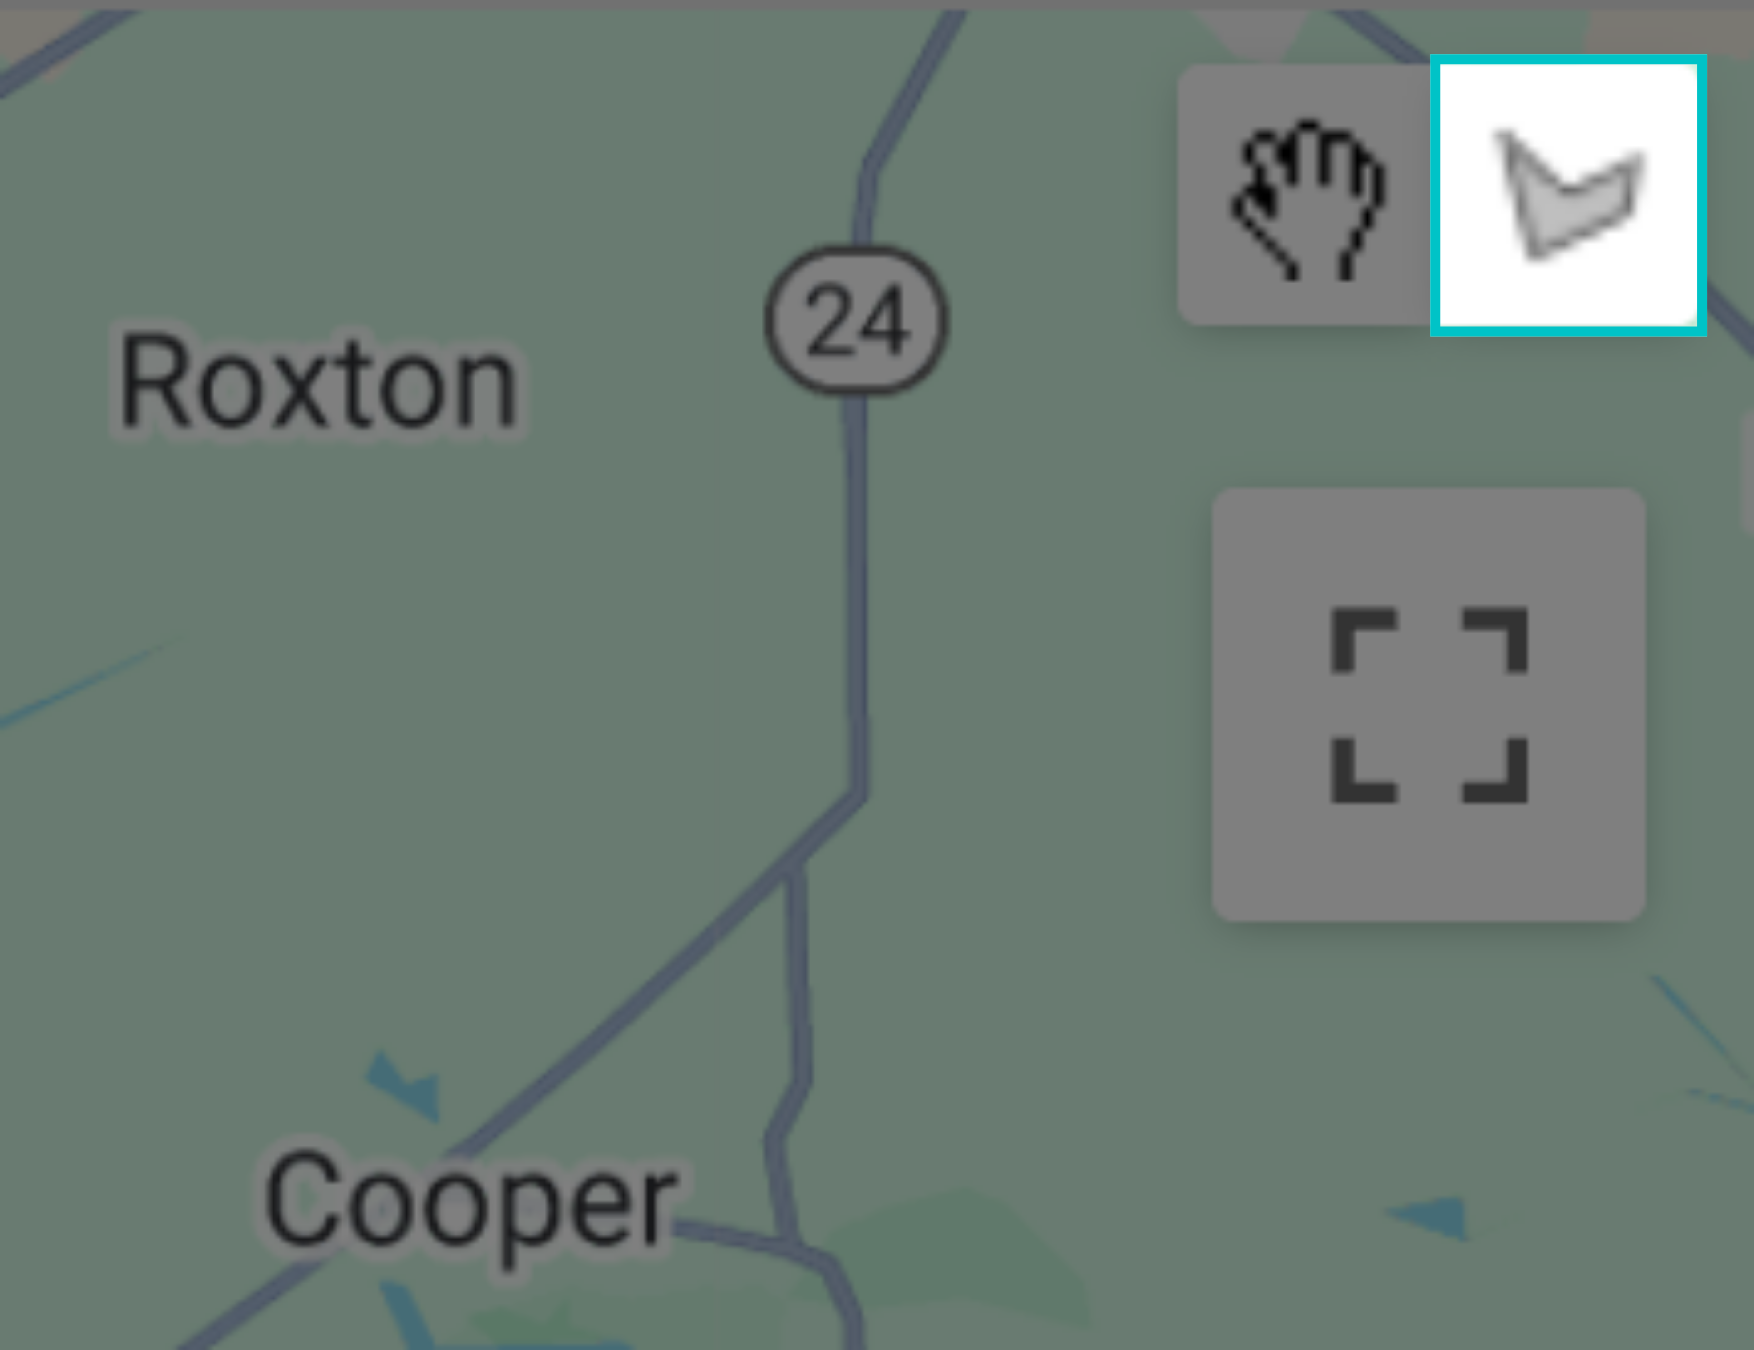
Select the Polygon icon on the top right to map the region
-
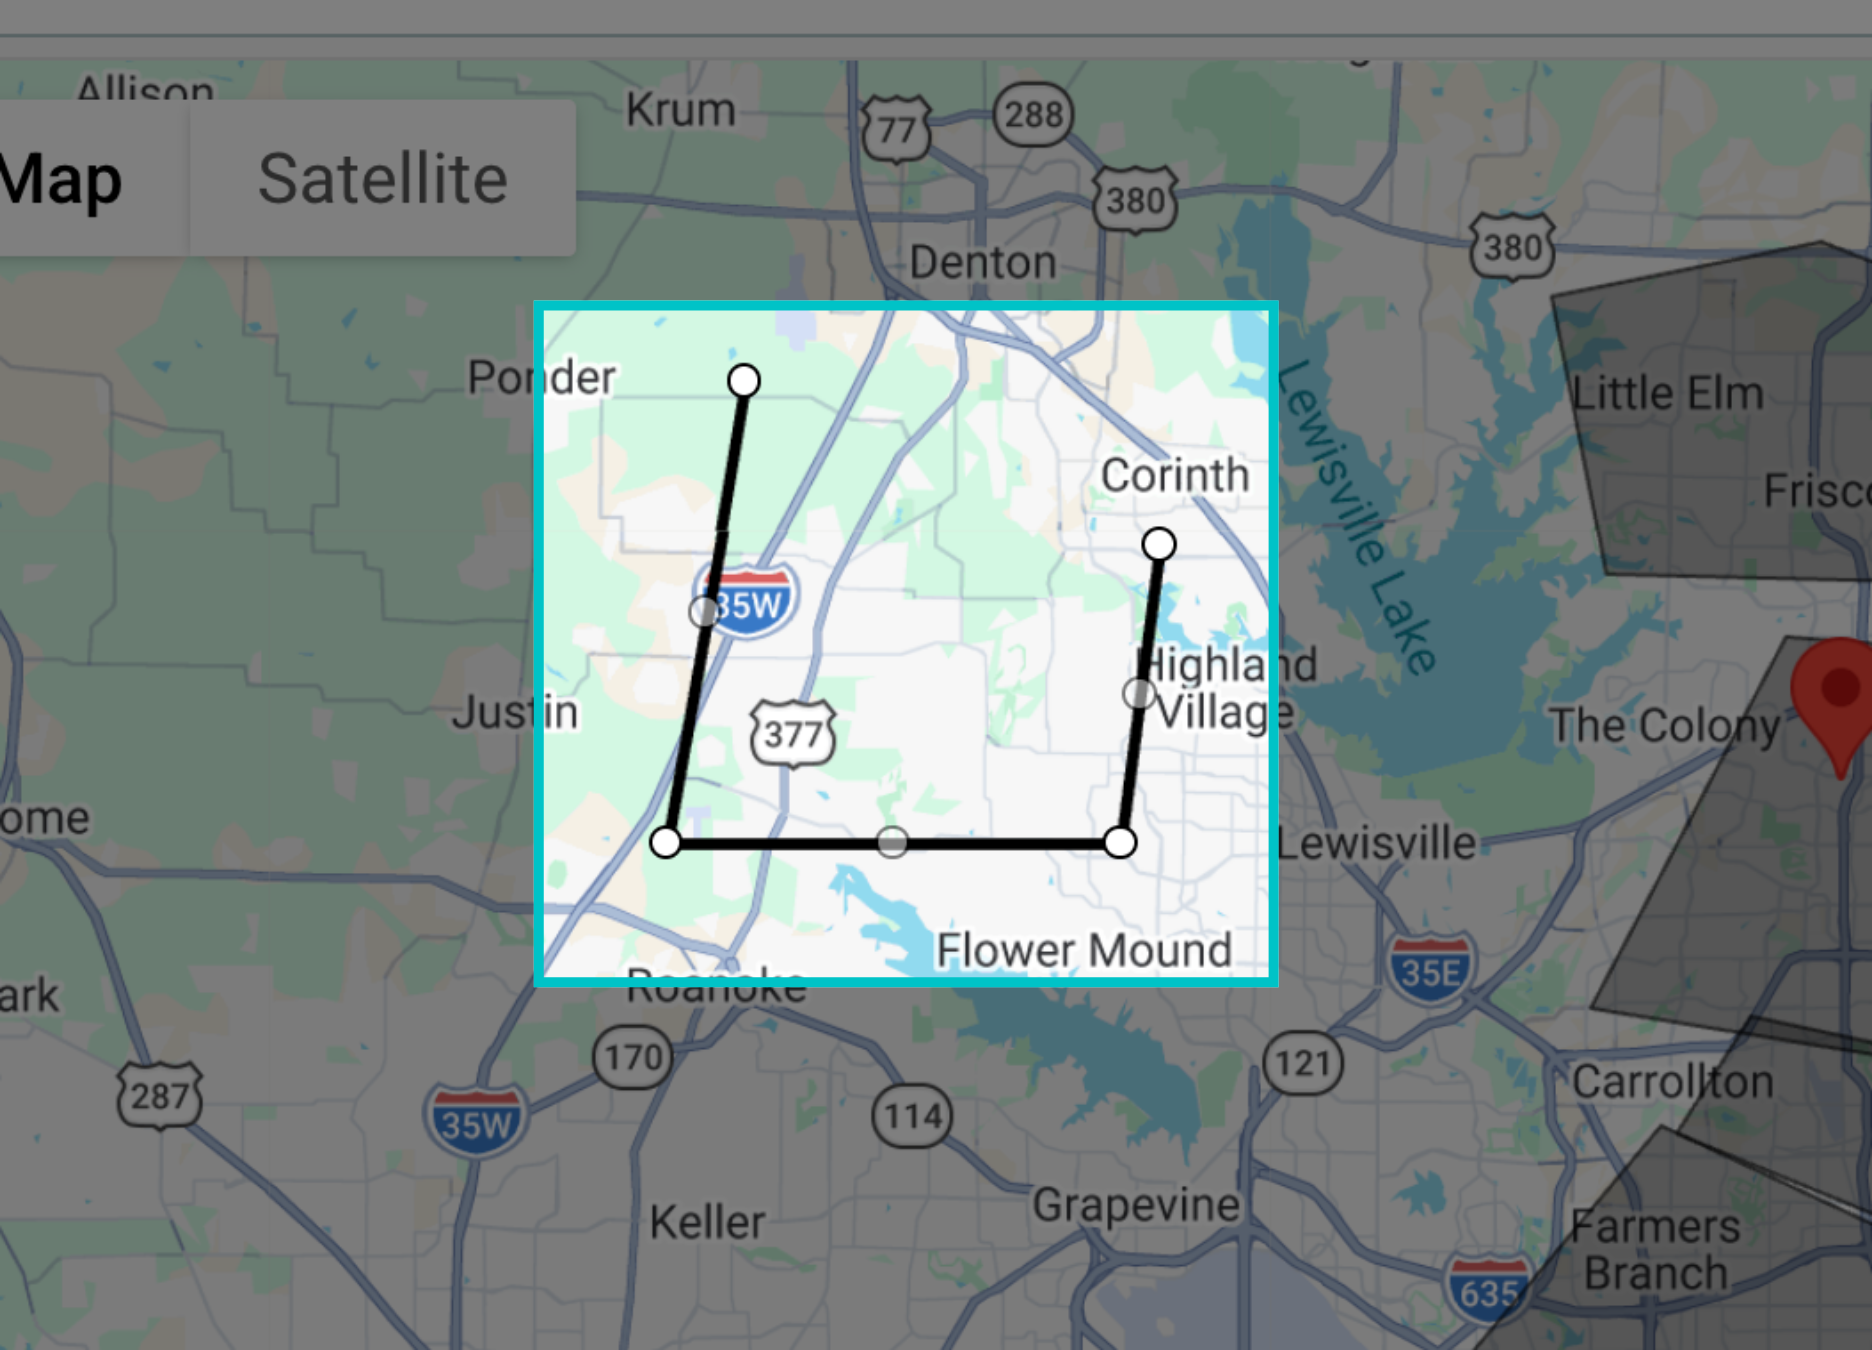
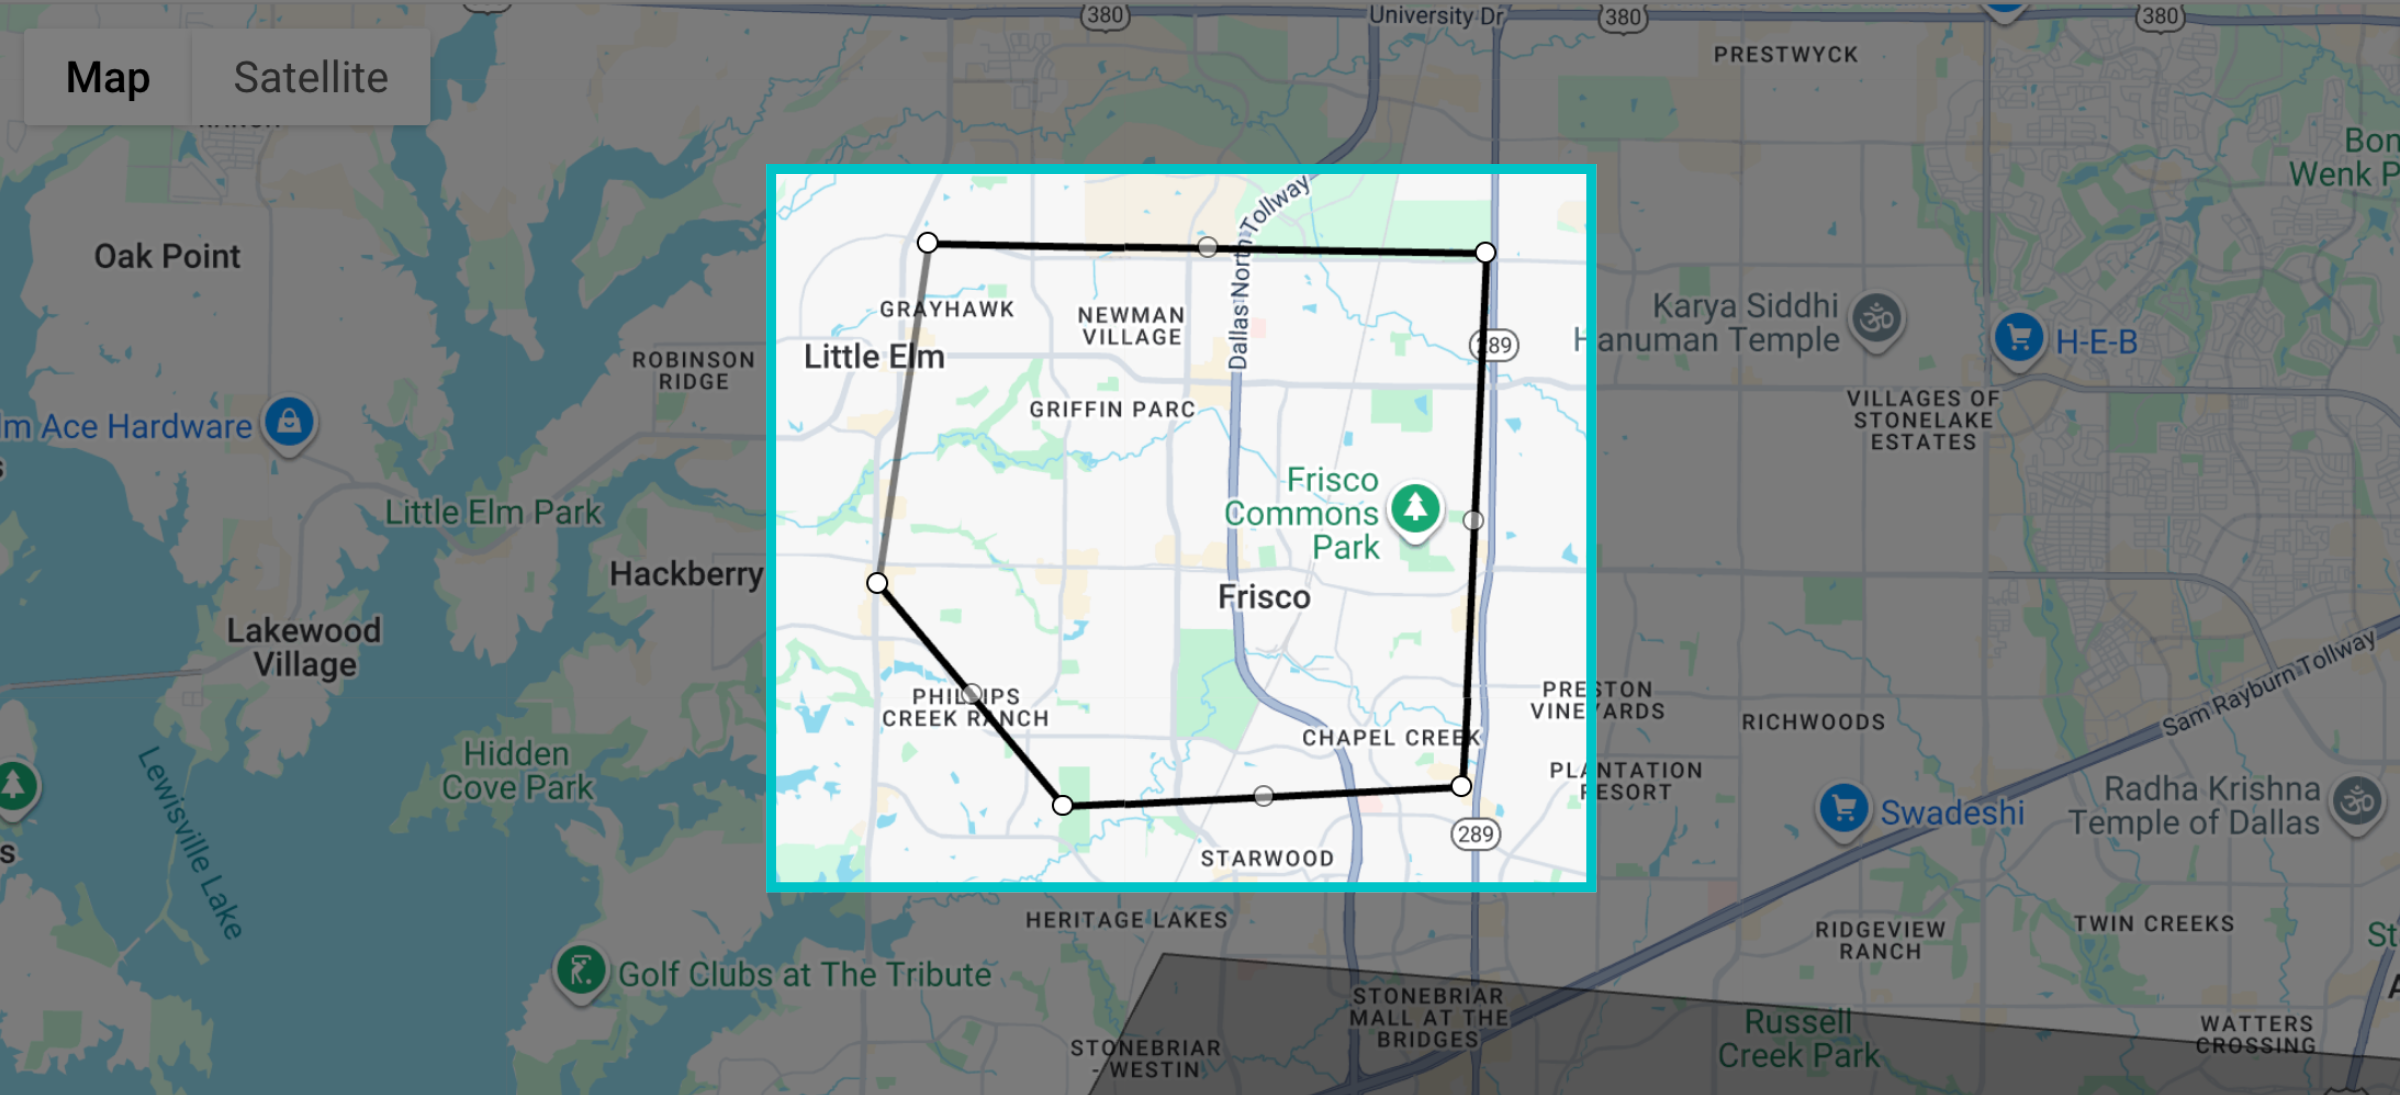
Click once to place the first point, then keep clicking along the map to outline the delivery region. Continue placing points until you reach the end, and make sure the final point connects back to the first one to close the shape
To keep delivery coverage accurate and avoid issues, make sure delivery regions don’t overlap
-
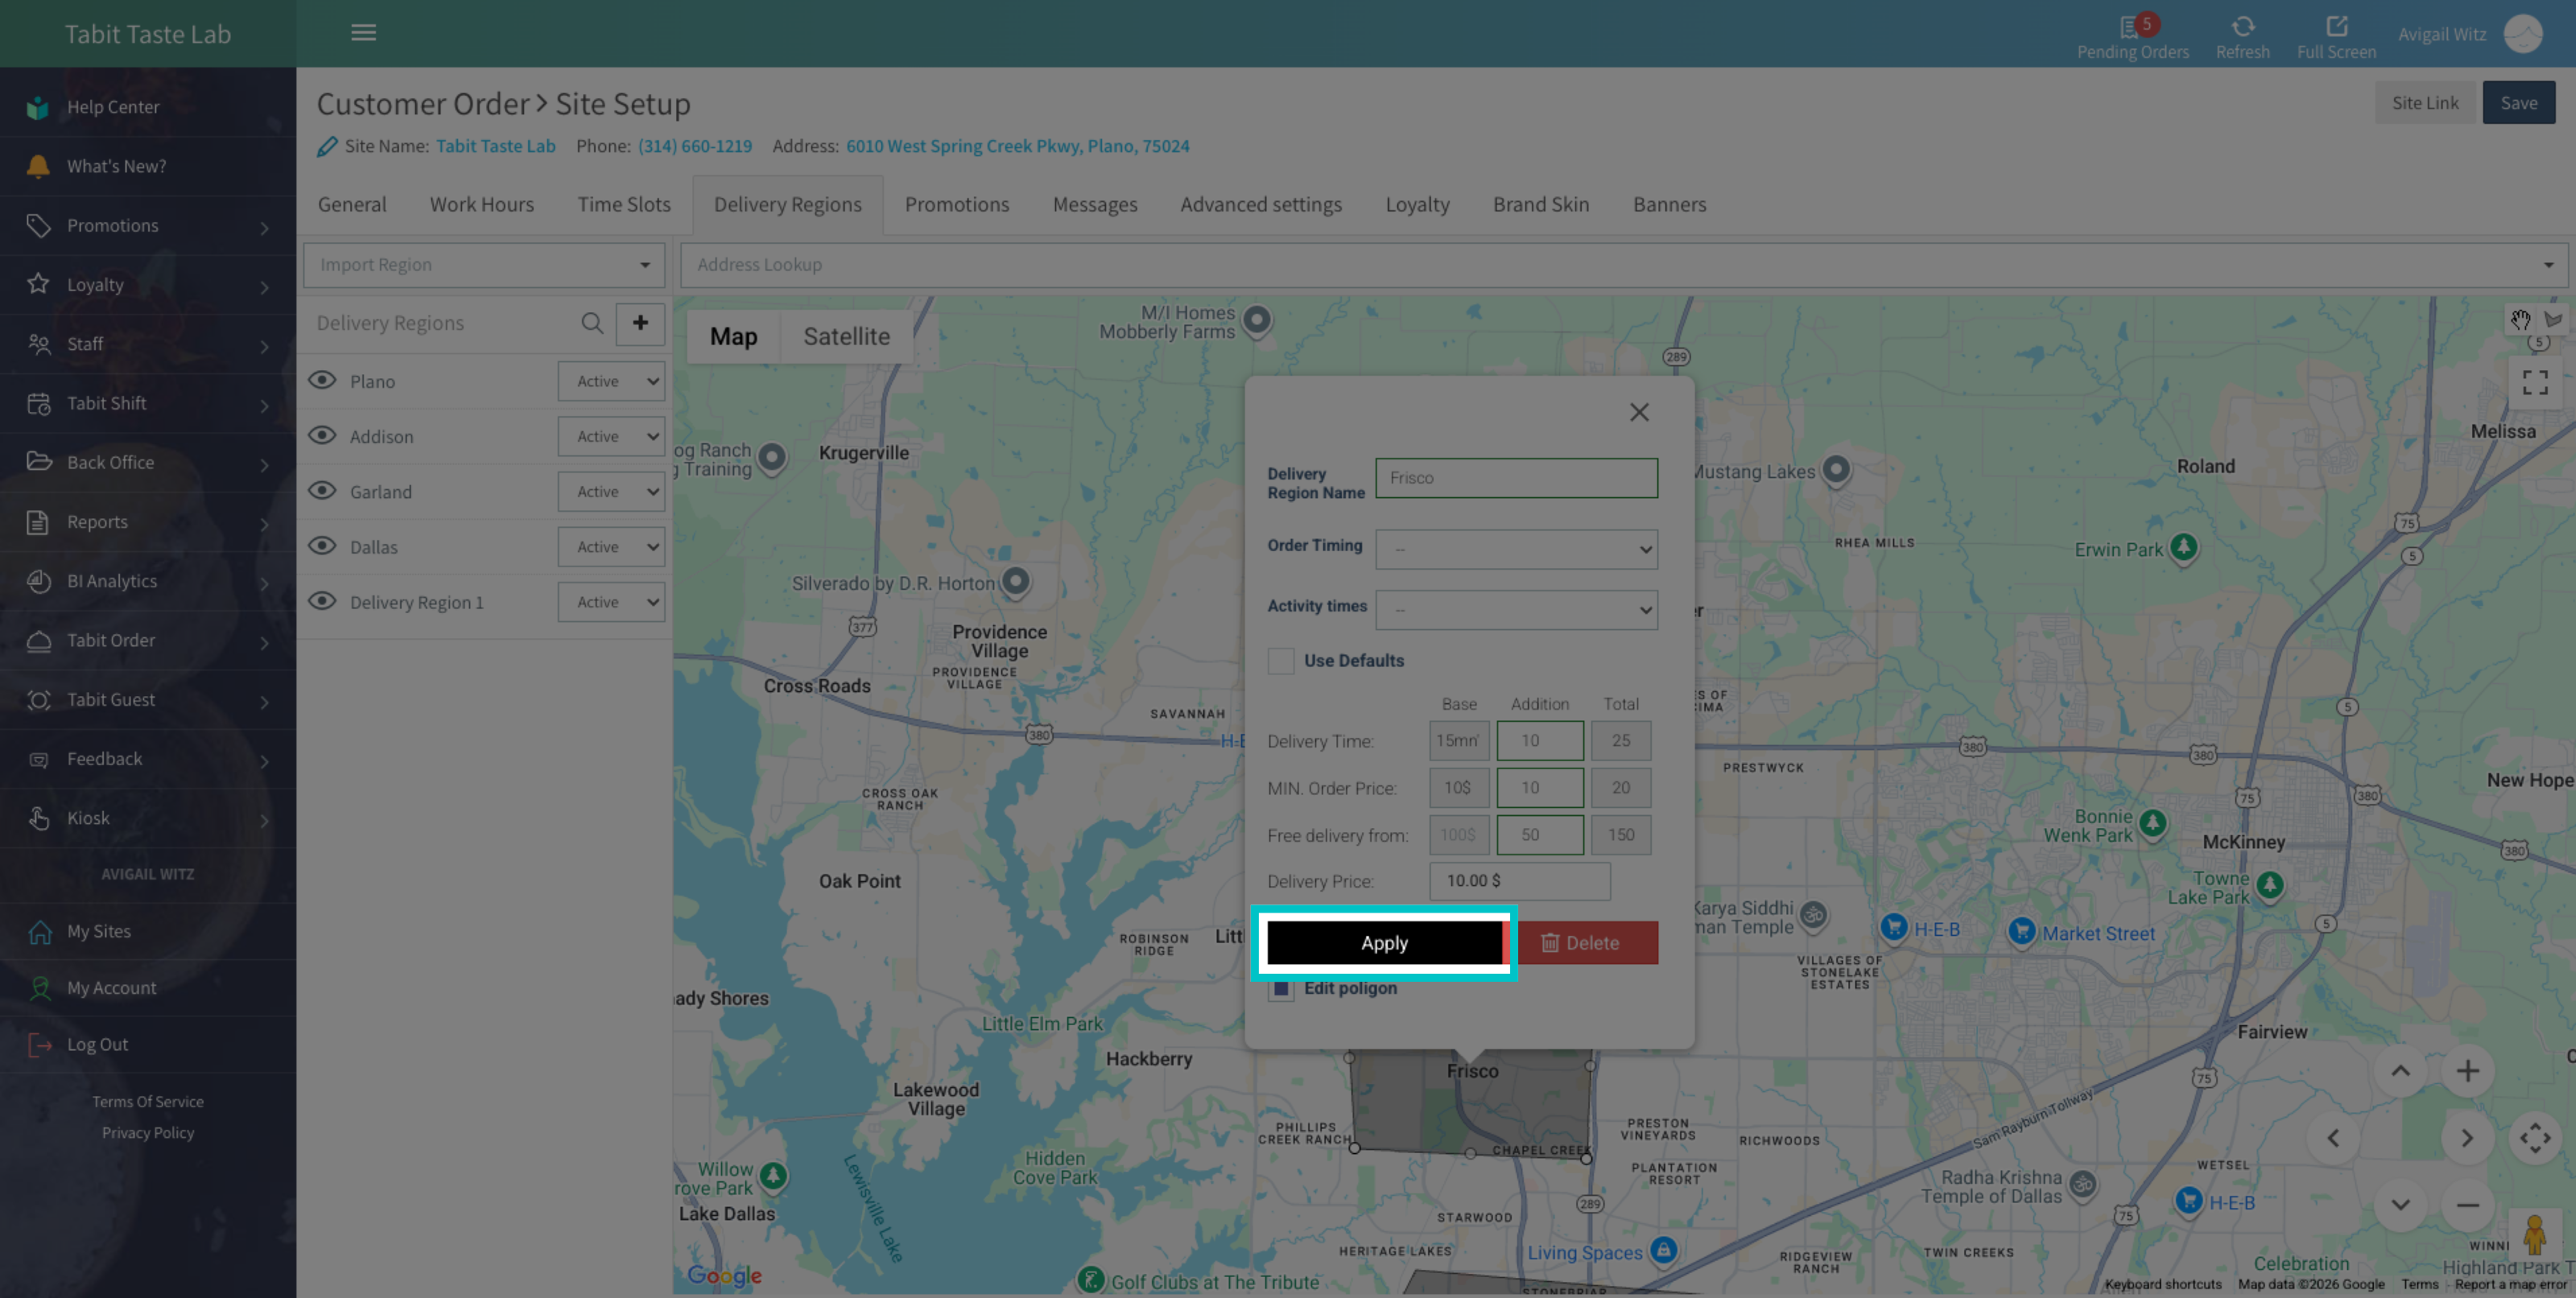
Once the region is mapped, complete the settings:
- Delivery Region Name: enter the delivery region name
- Order Timing: select the order timing that applies. Select Regular Order for orders placed during the current business day, or Future Order for orders scheduled for a future date
-
Activity Times: Set the activity times for when delivery should be available
Activity times are preset under Time Slots. For more information, visit our Tabit Order time slots article
- Use defaults: If you want to use the default delivery settings from the General tab, select Use Defaults. To change the default, add the additional amount to the total
- Delivery price: To change the delivery fee, search and select the relevant offer
-
Once all changes are made, select Apply
-
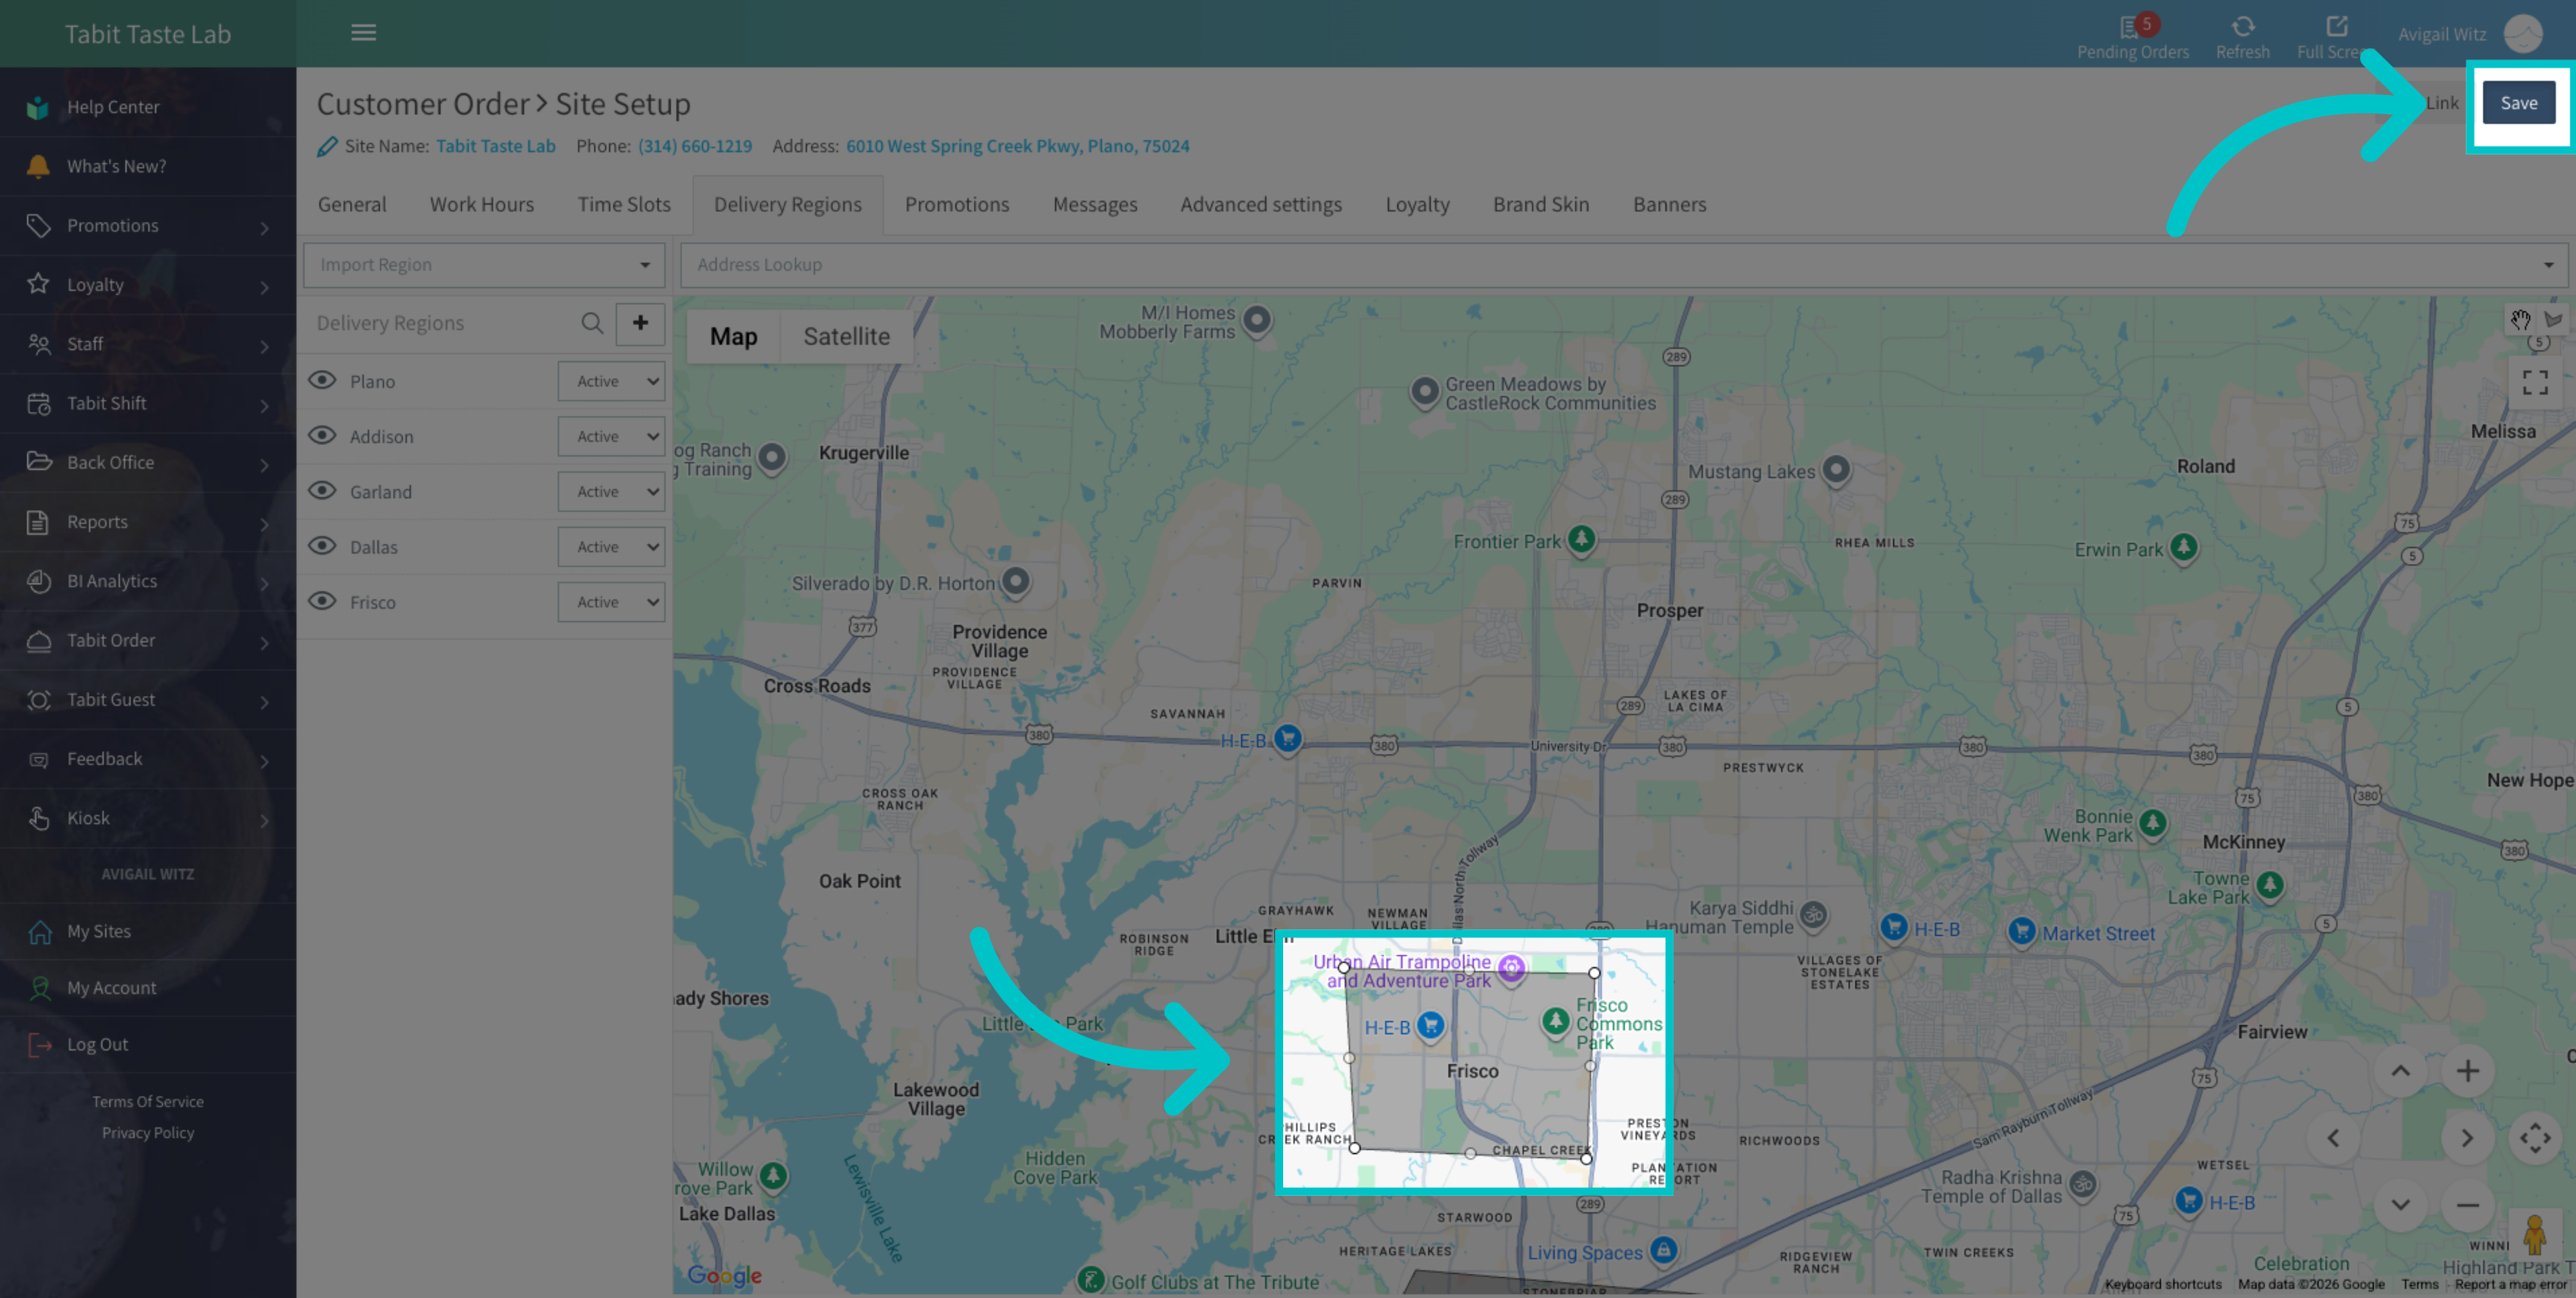
The delivery region now appears on the map and in the list on the left. To complete the process, select Save to apply the update in Tabit Order