Creating areas in Tabit Guest allows you to better control seating across your restaurant map. It helps you manage availability for online reservations and improve overall efficiency.
Follow the steps below to create a new area for Tabit Guest:
-
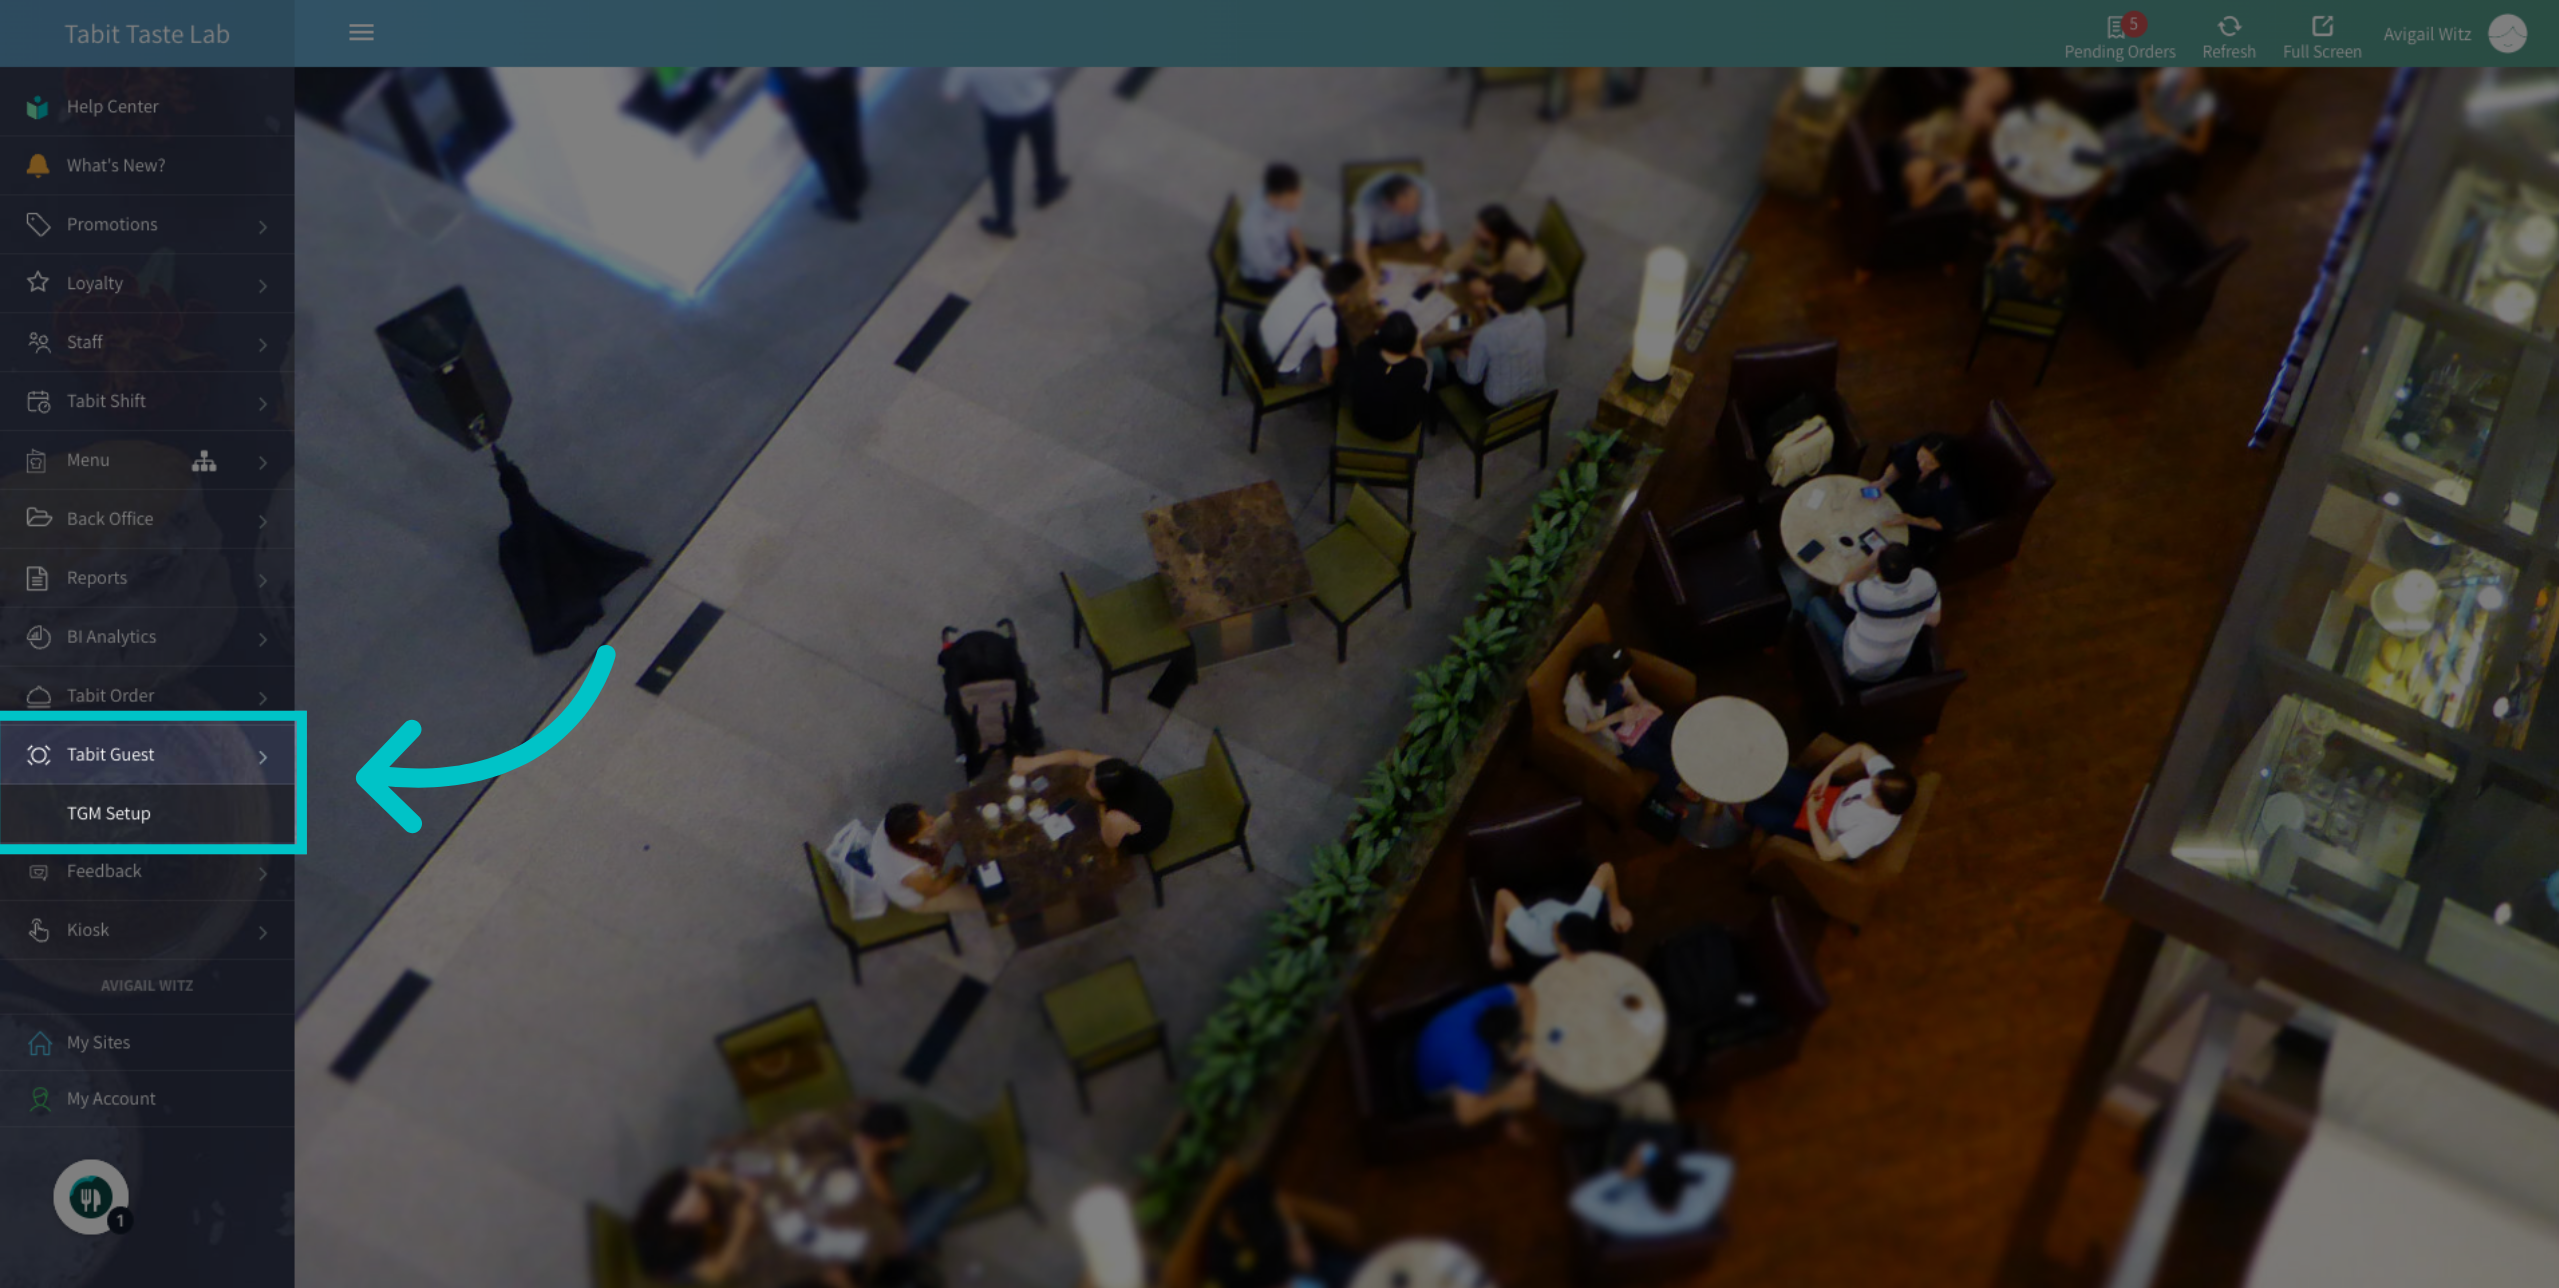
In Tabit Office go to Tabit Guest > TGM Setup
-
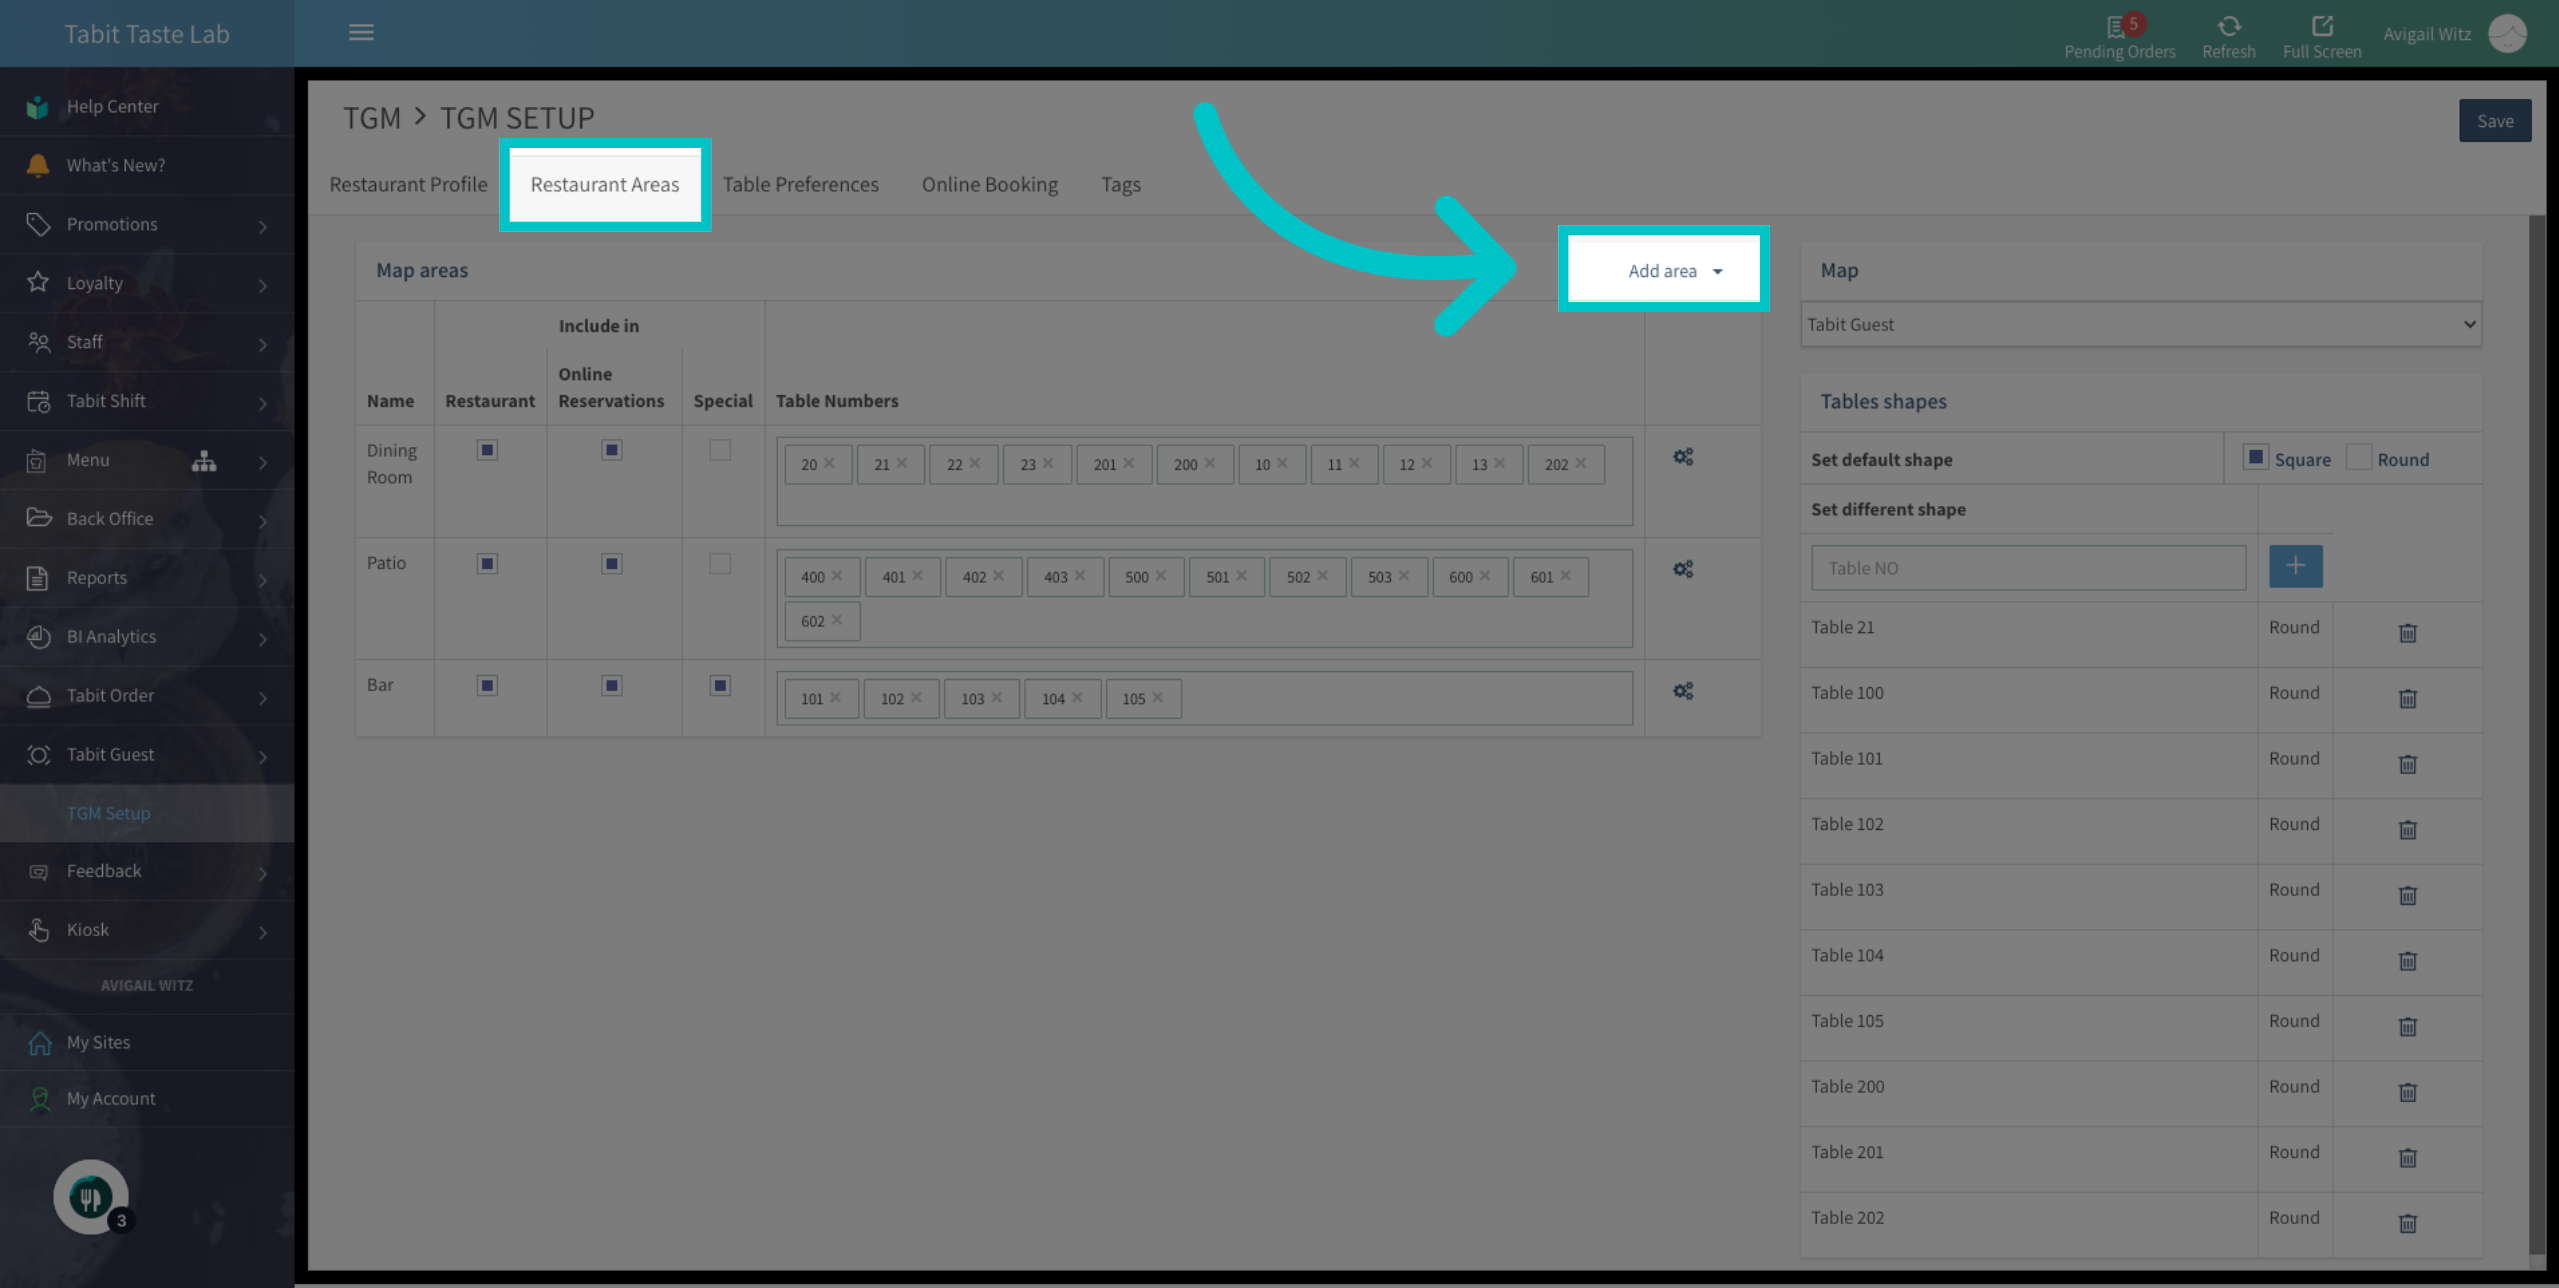
Under the Restaurant Areas tab, select Add area
-
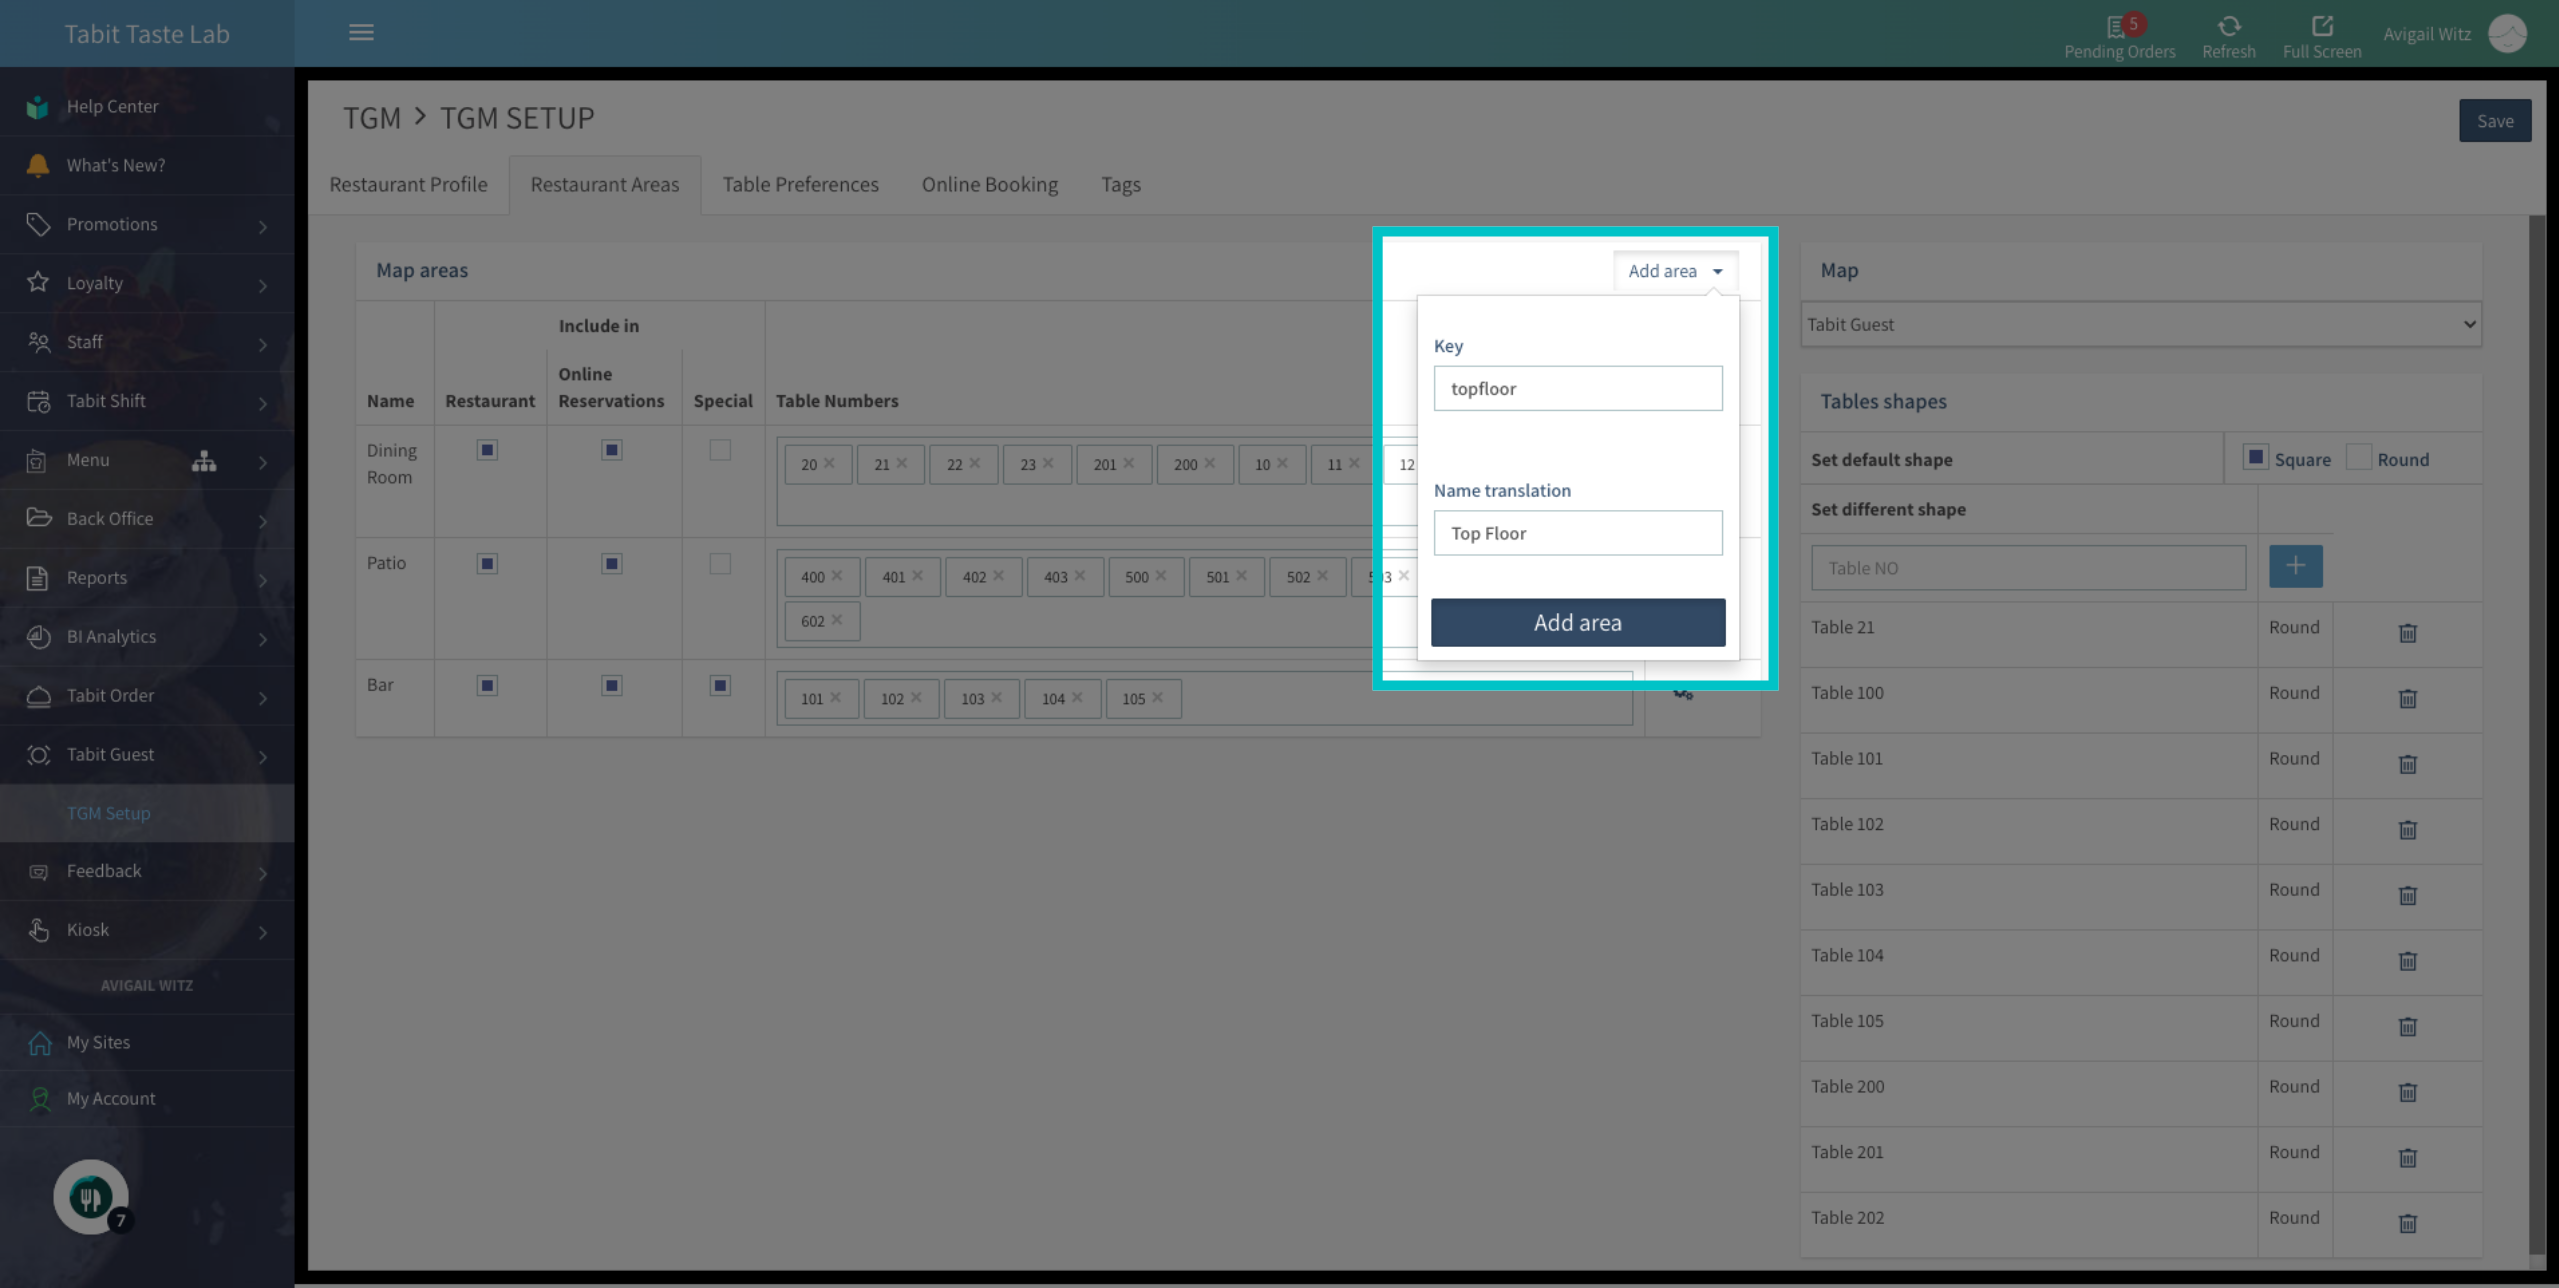
Enter the Key name and the Translation name. For the key name, use only lowercase letters with no special characters or spaces. The name translation will appear on the Guest PAD and in online reservations
The key name is a placeholder and does not affect the translation name or any other settings
-
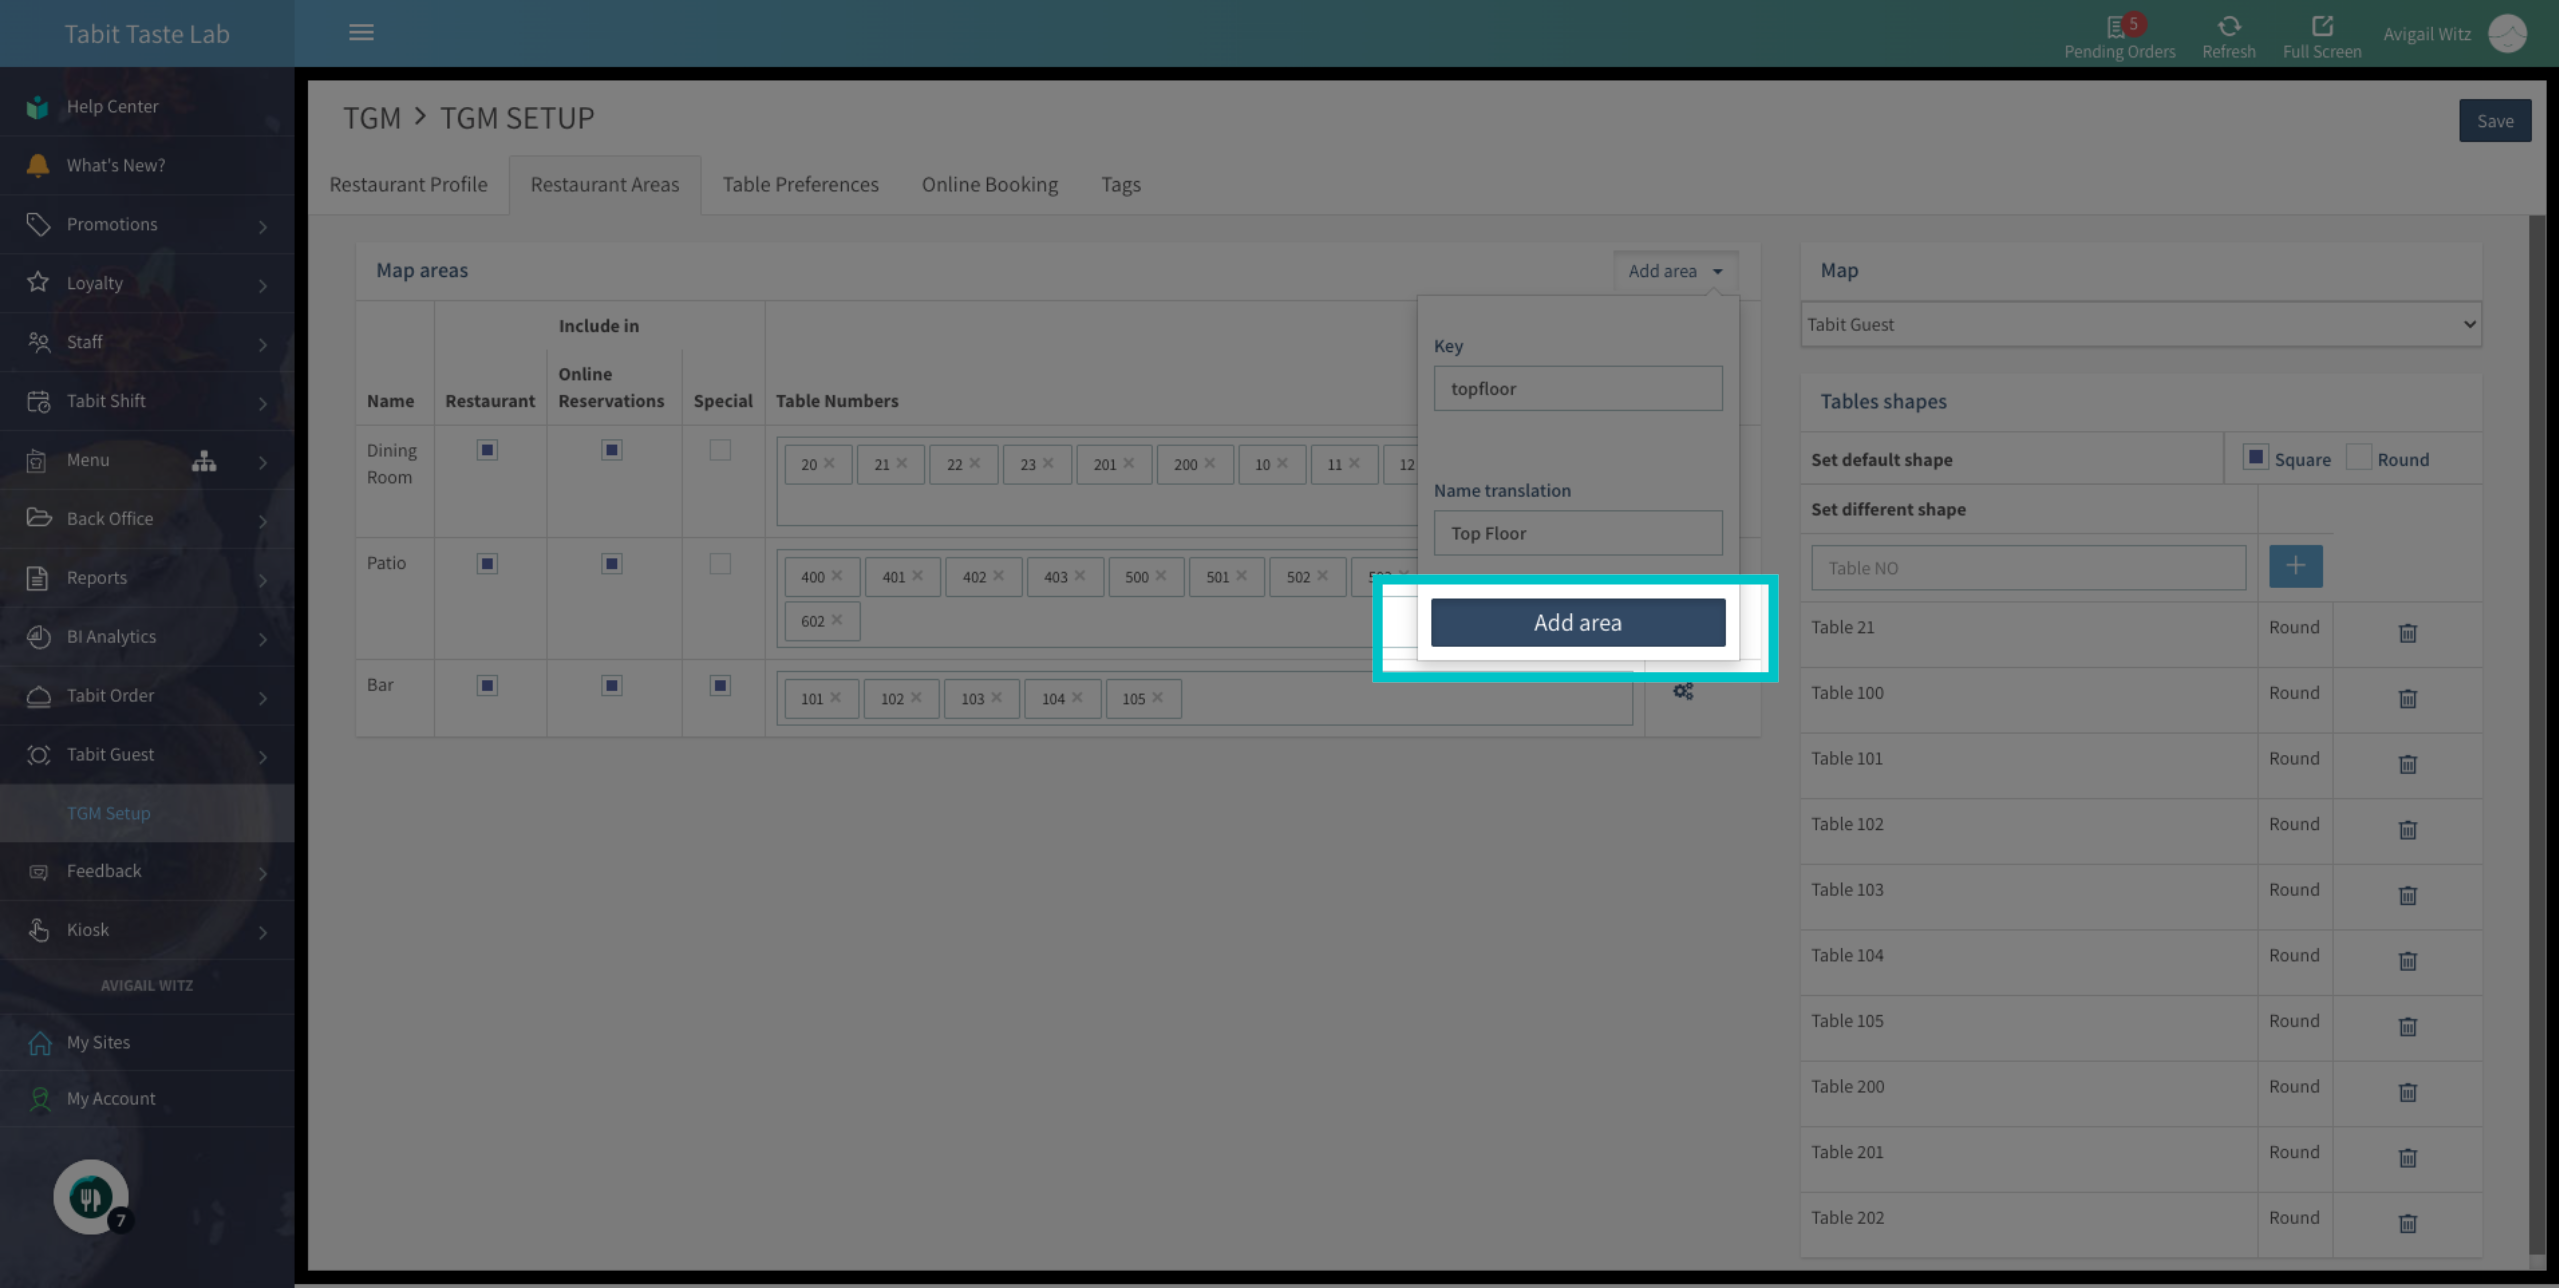
Then, select Add area
-
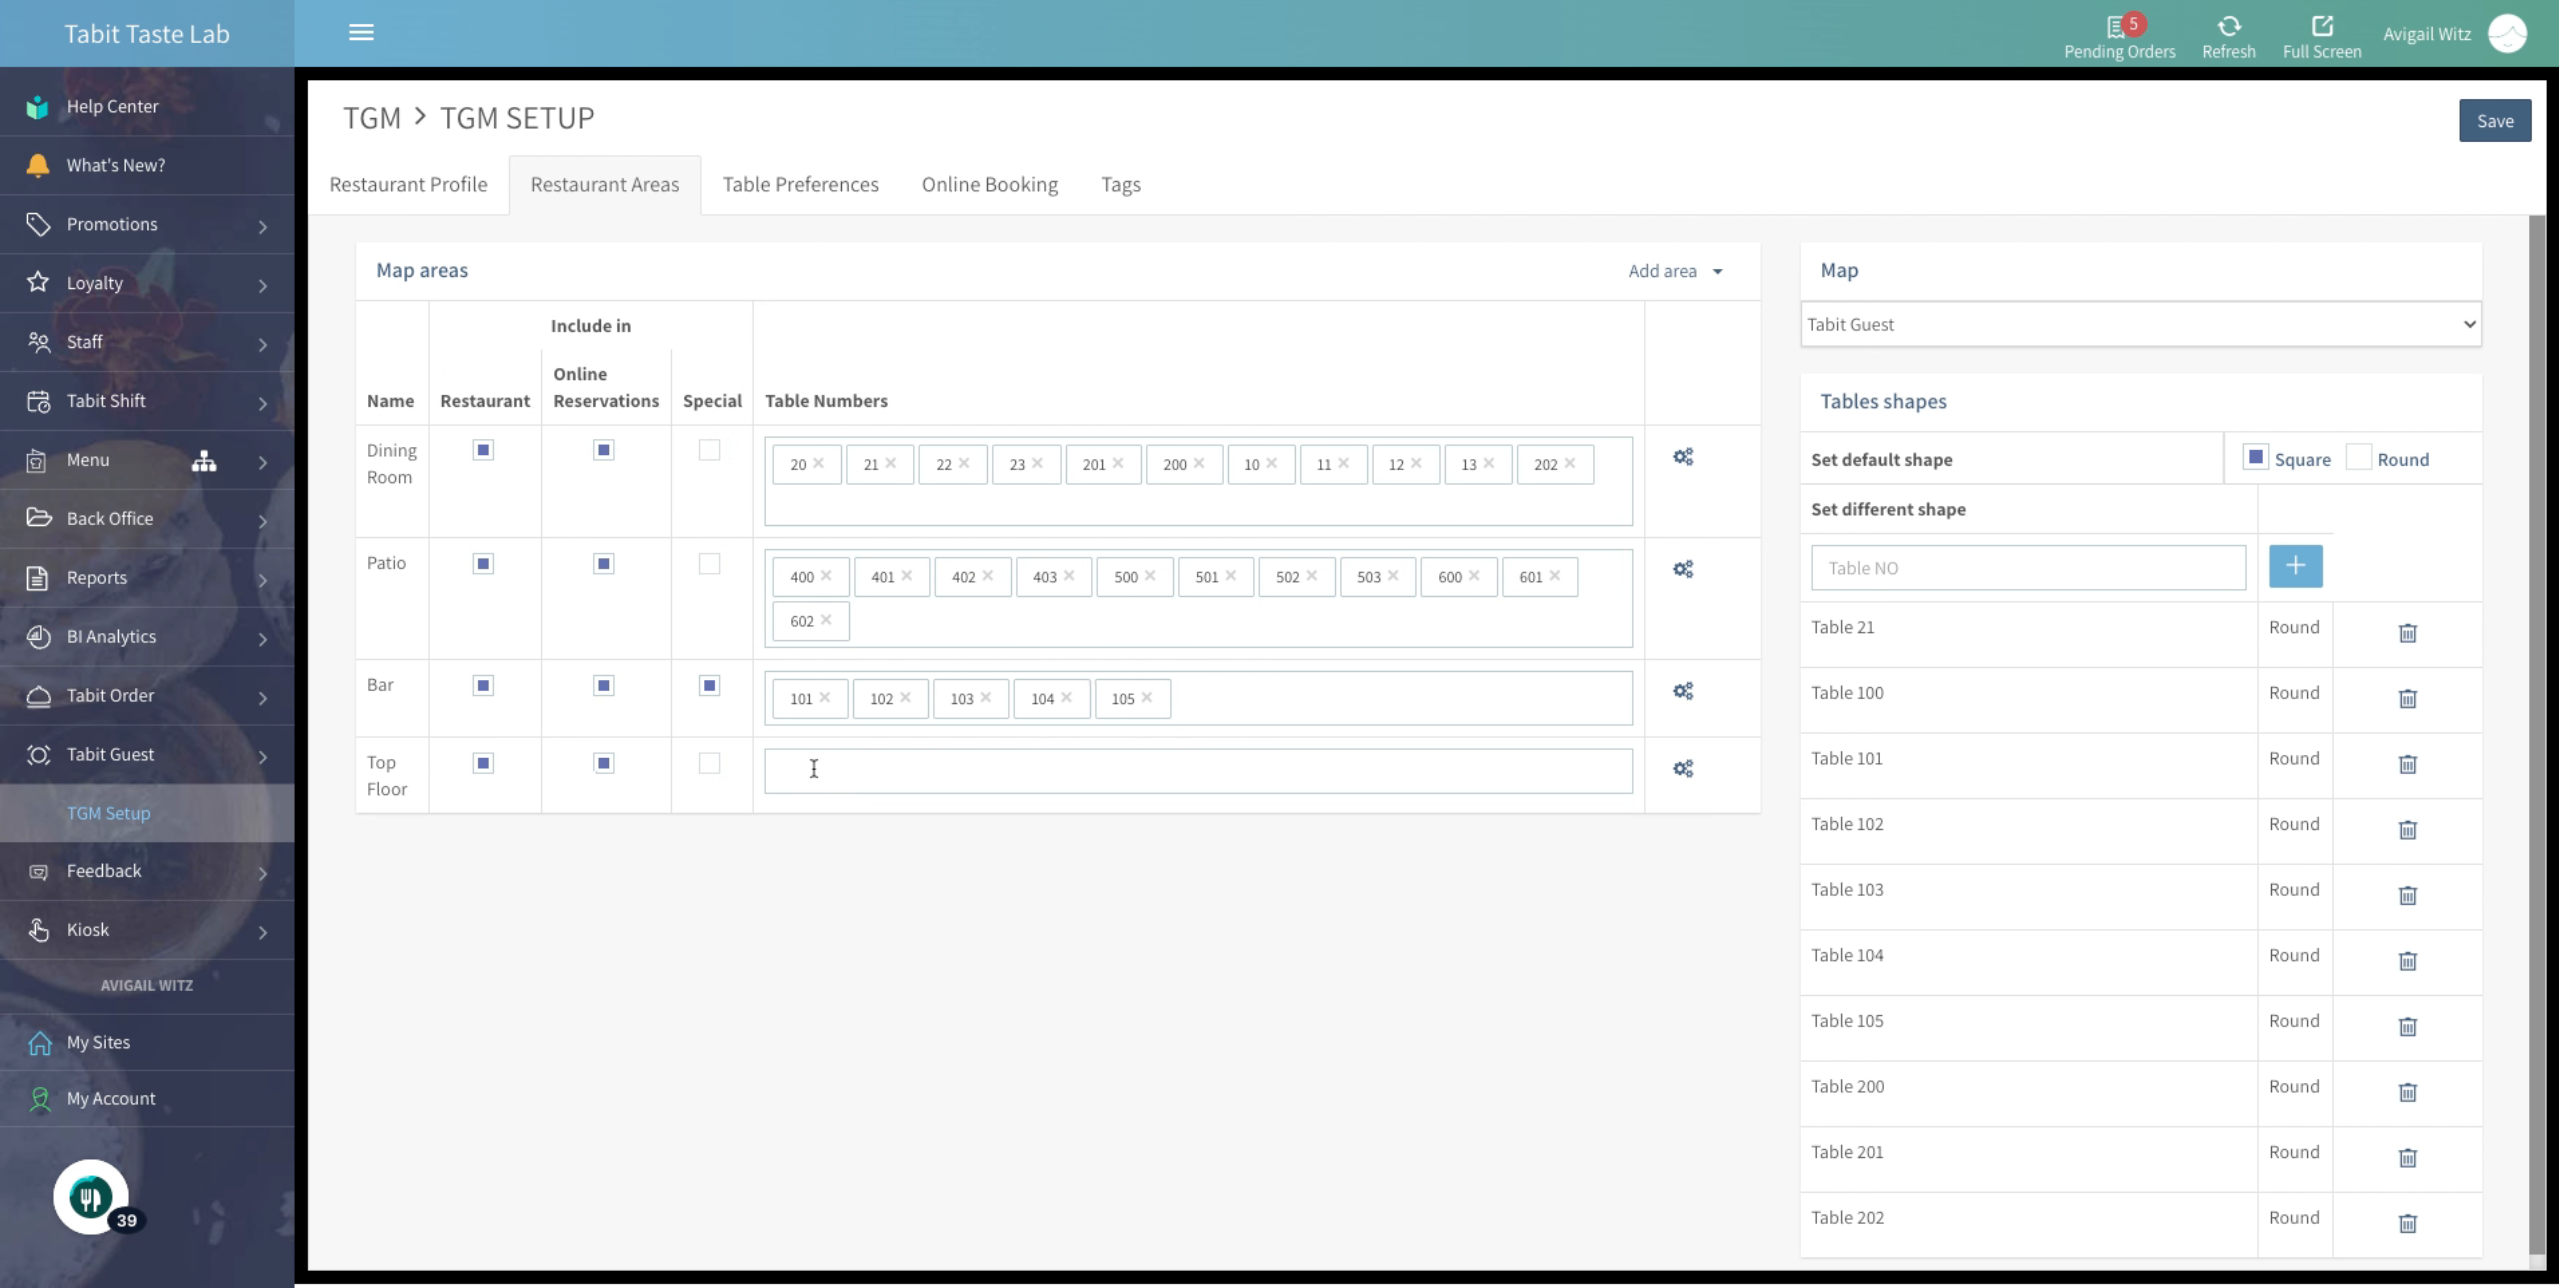
Now, add tables to the area by typing the Table Number and pressing Enter on your keypad. Make sure to avoid adding tables from existing areas
-
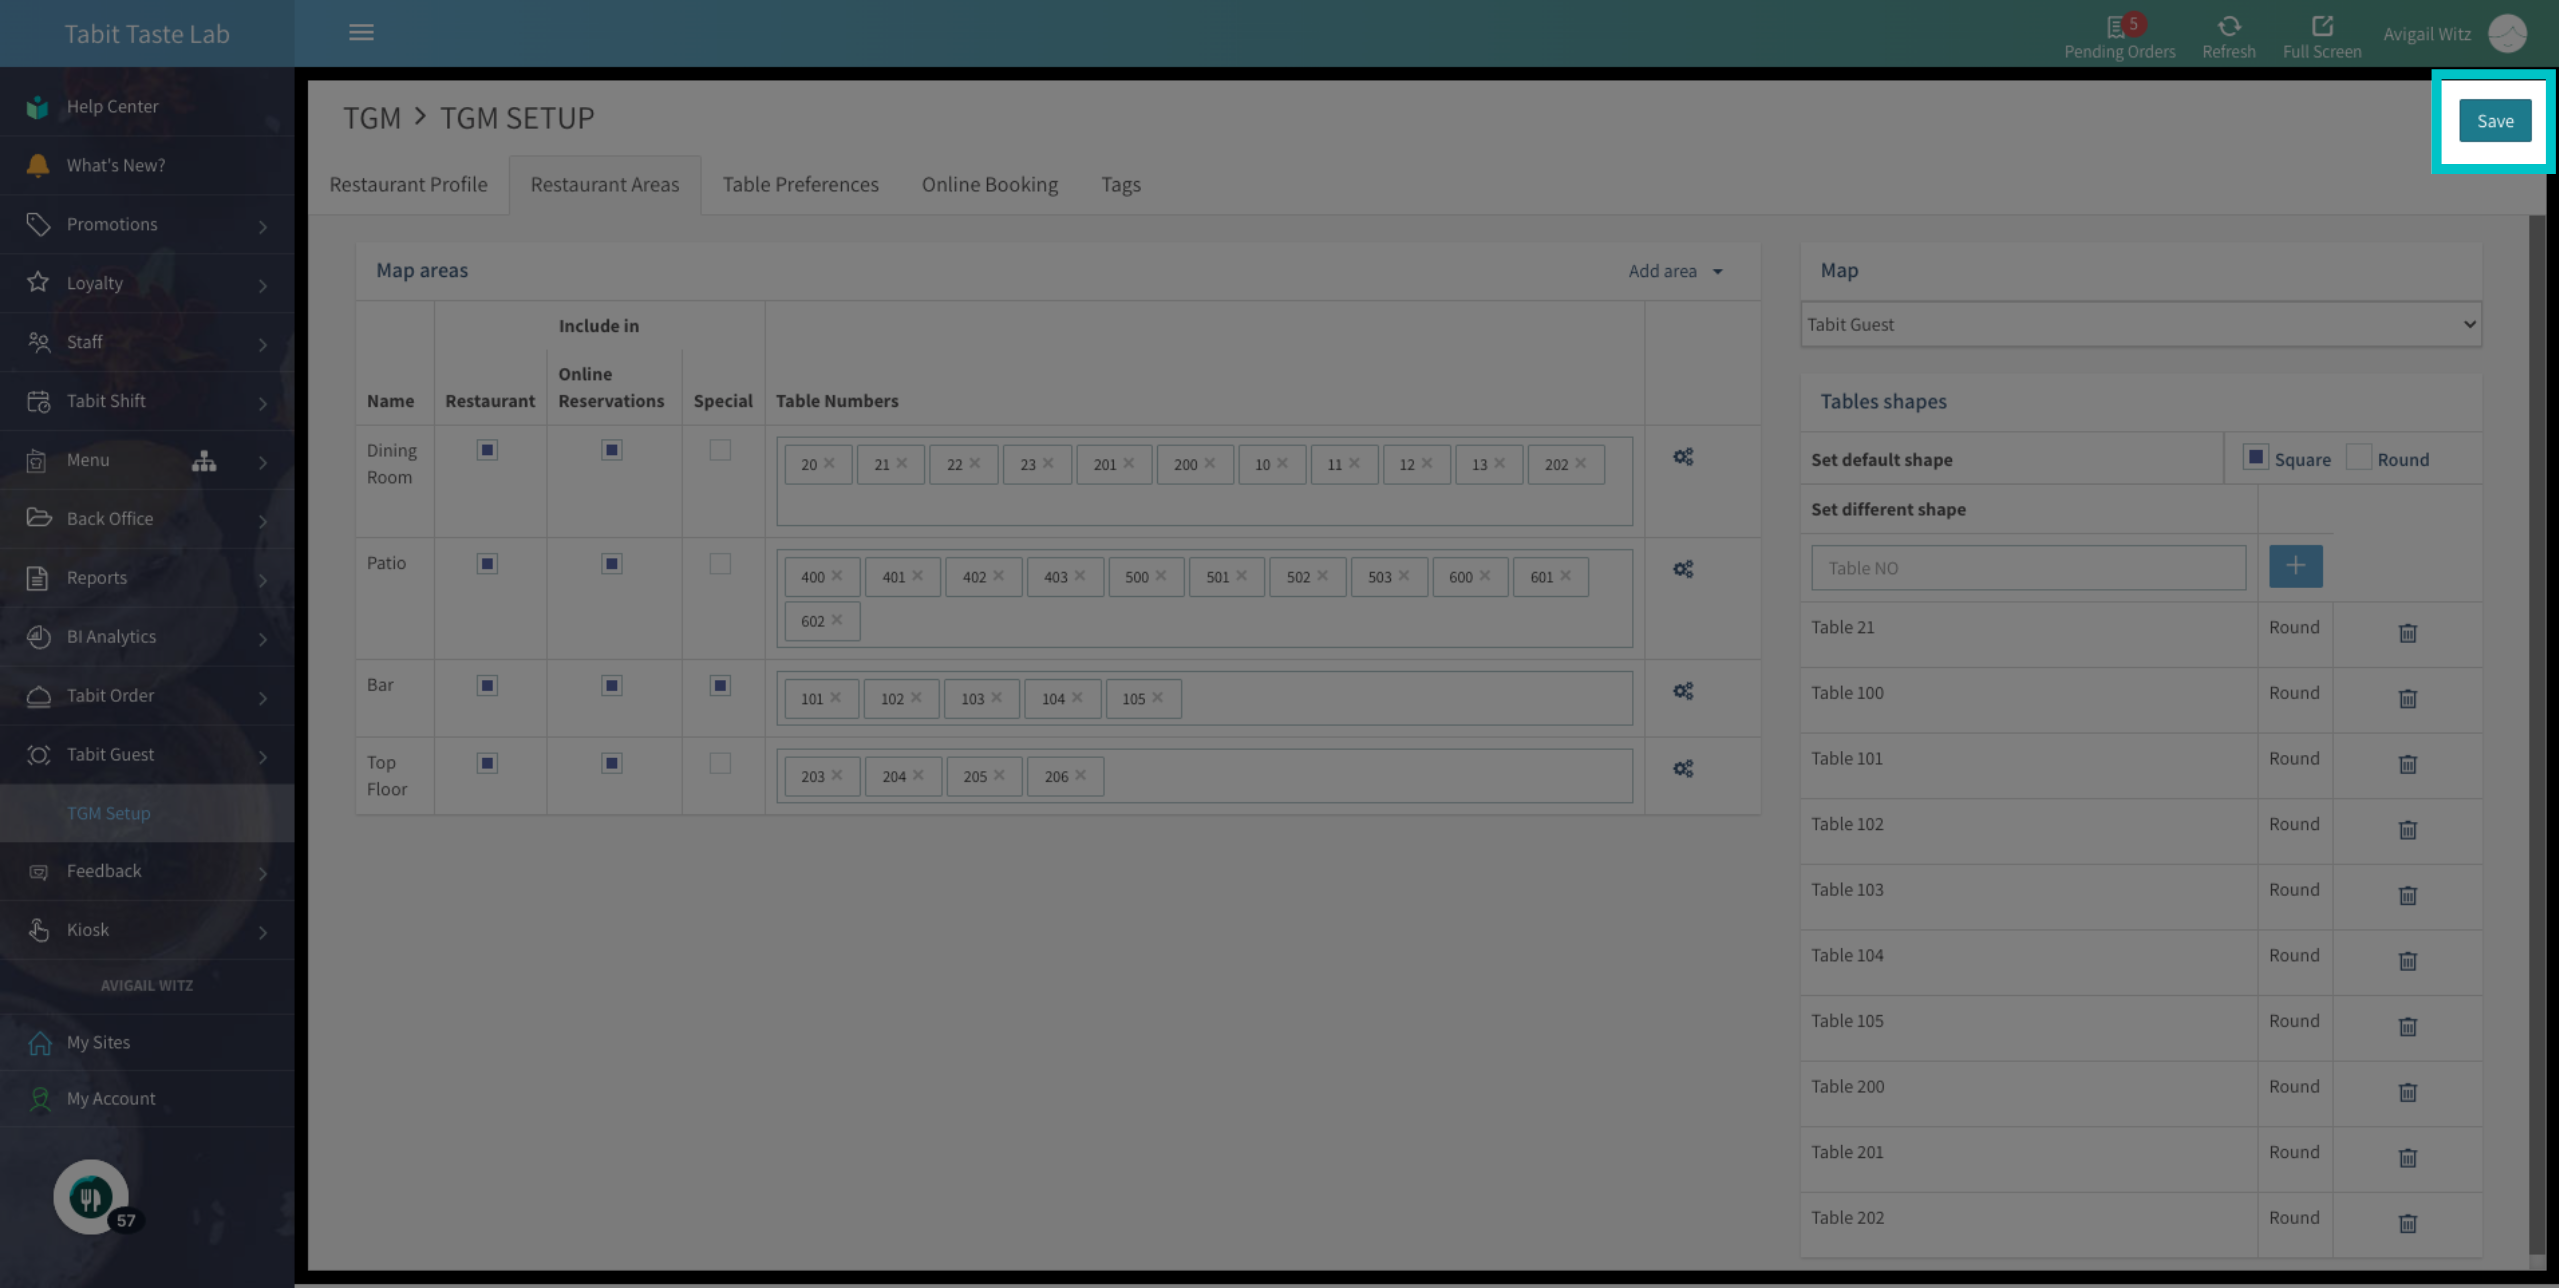
For the final step, select where this area will appear for seating and reservations:
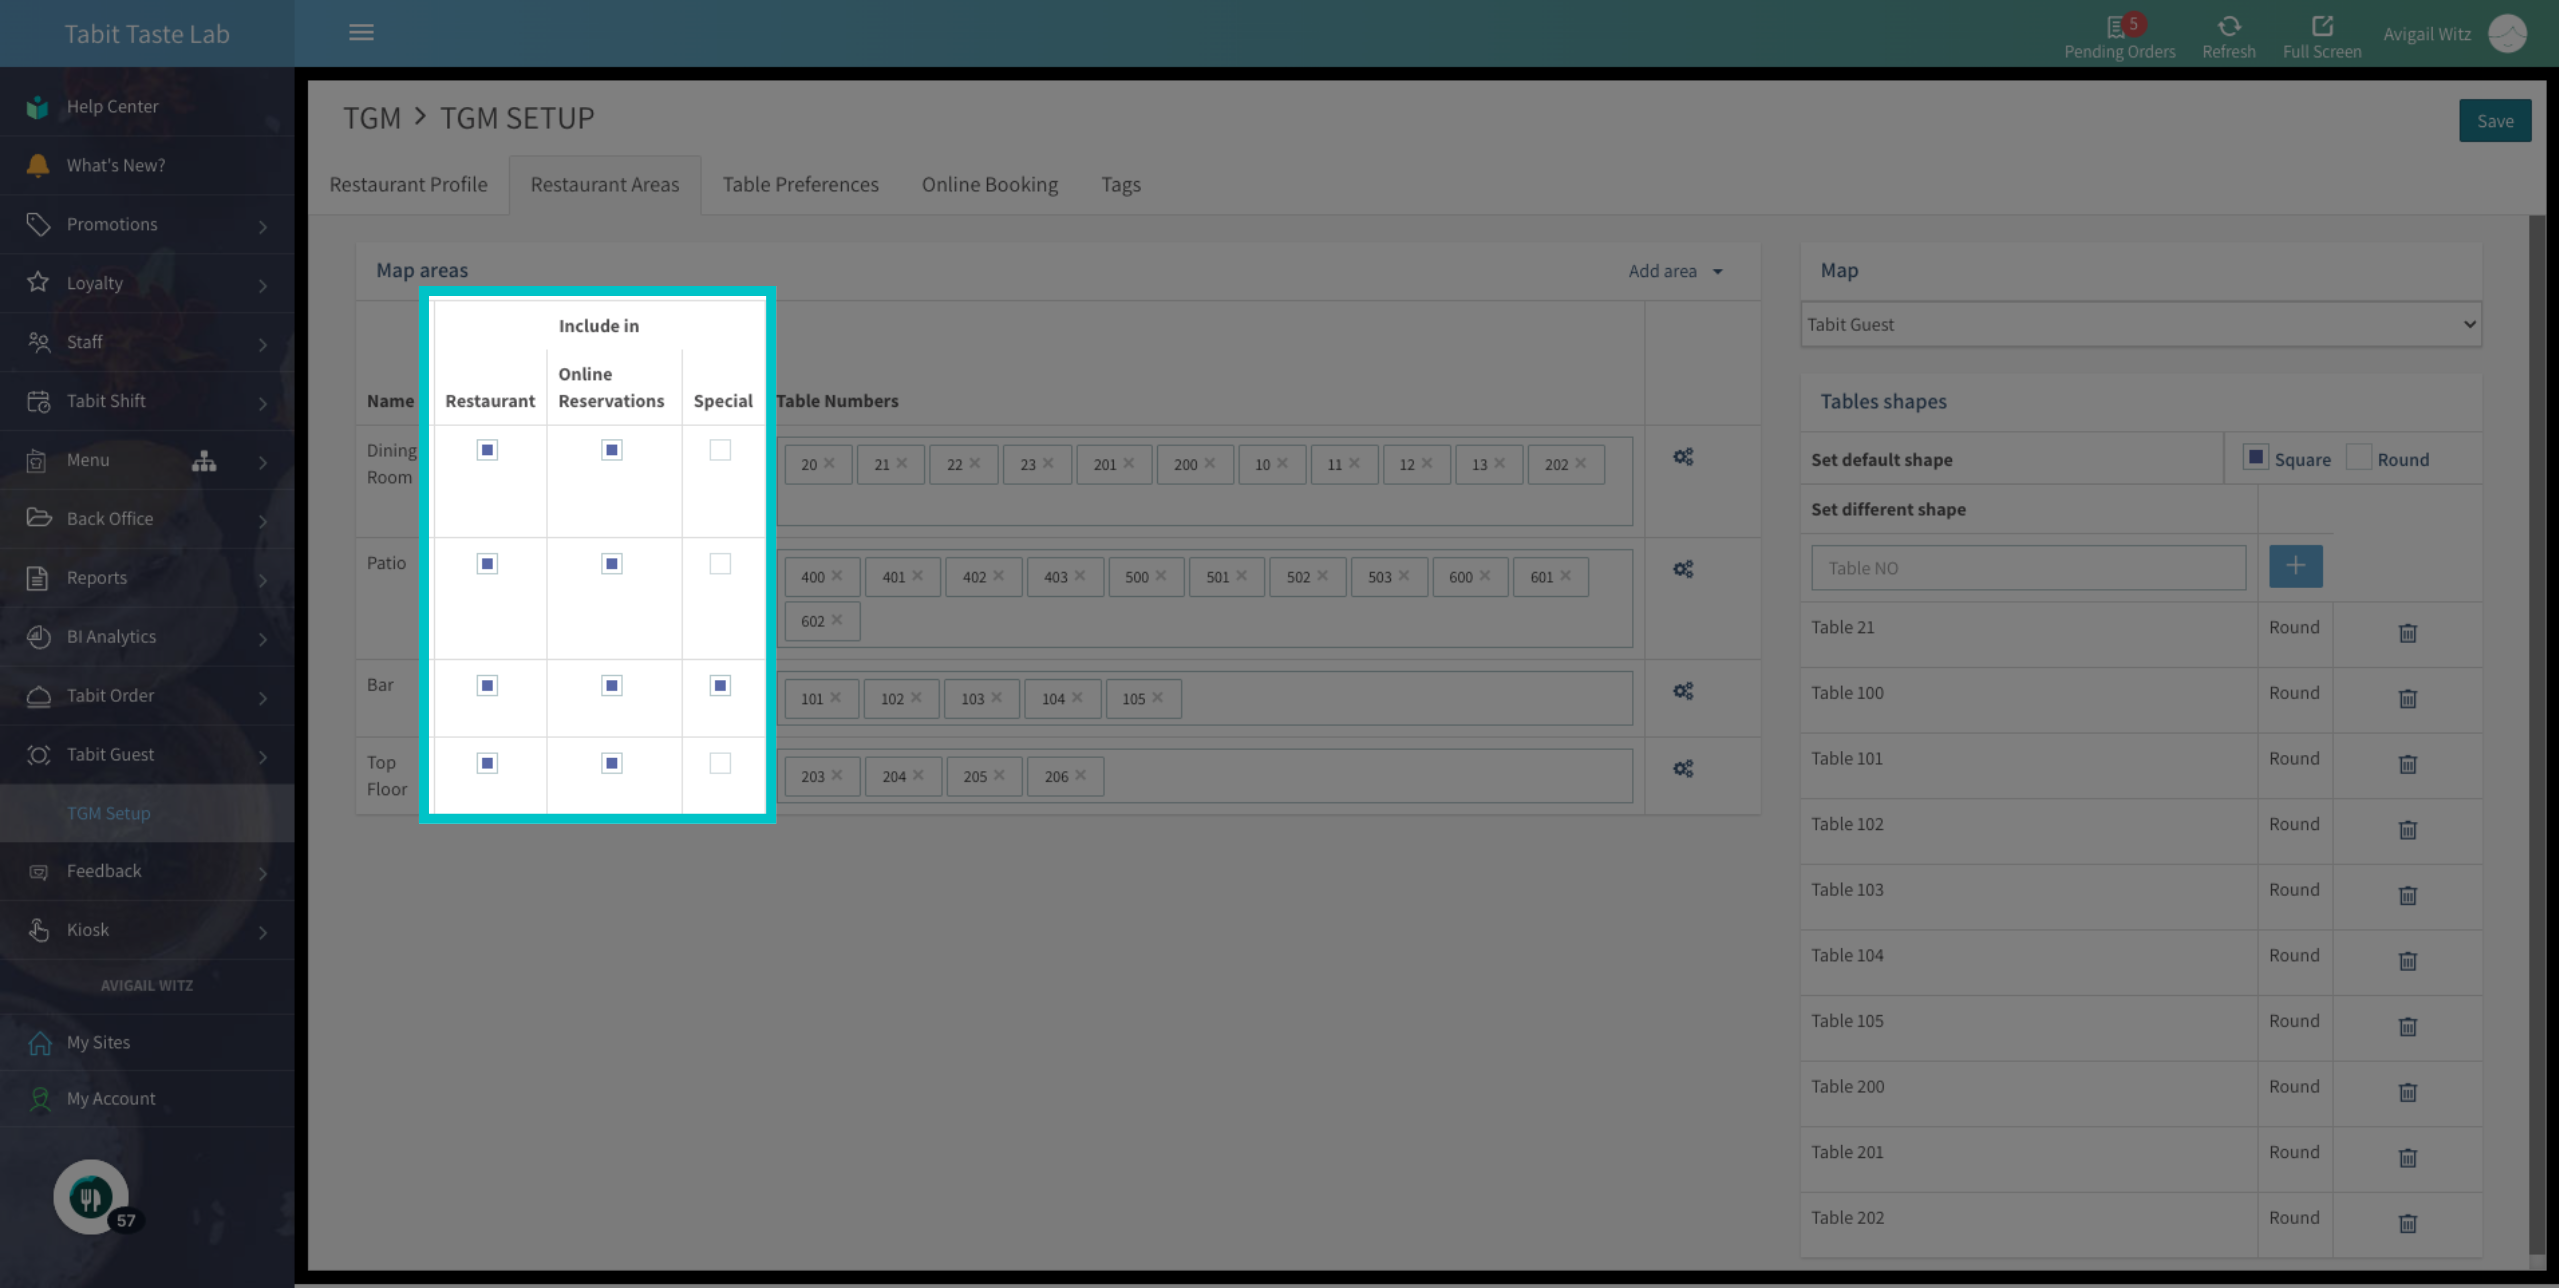
- Restaurant: Restricts access to the Host/Manager users on the PAD
- Online reservations: Allows access to the area for online reservations
-
Special: If area selection isn’t required when making an online reservation, the system assigns one automatically. If only a special area is available, guests will be required to confirm seating there
The Special setting must always be enabled together with Online reservations to ensure proper assignment
-
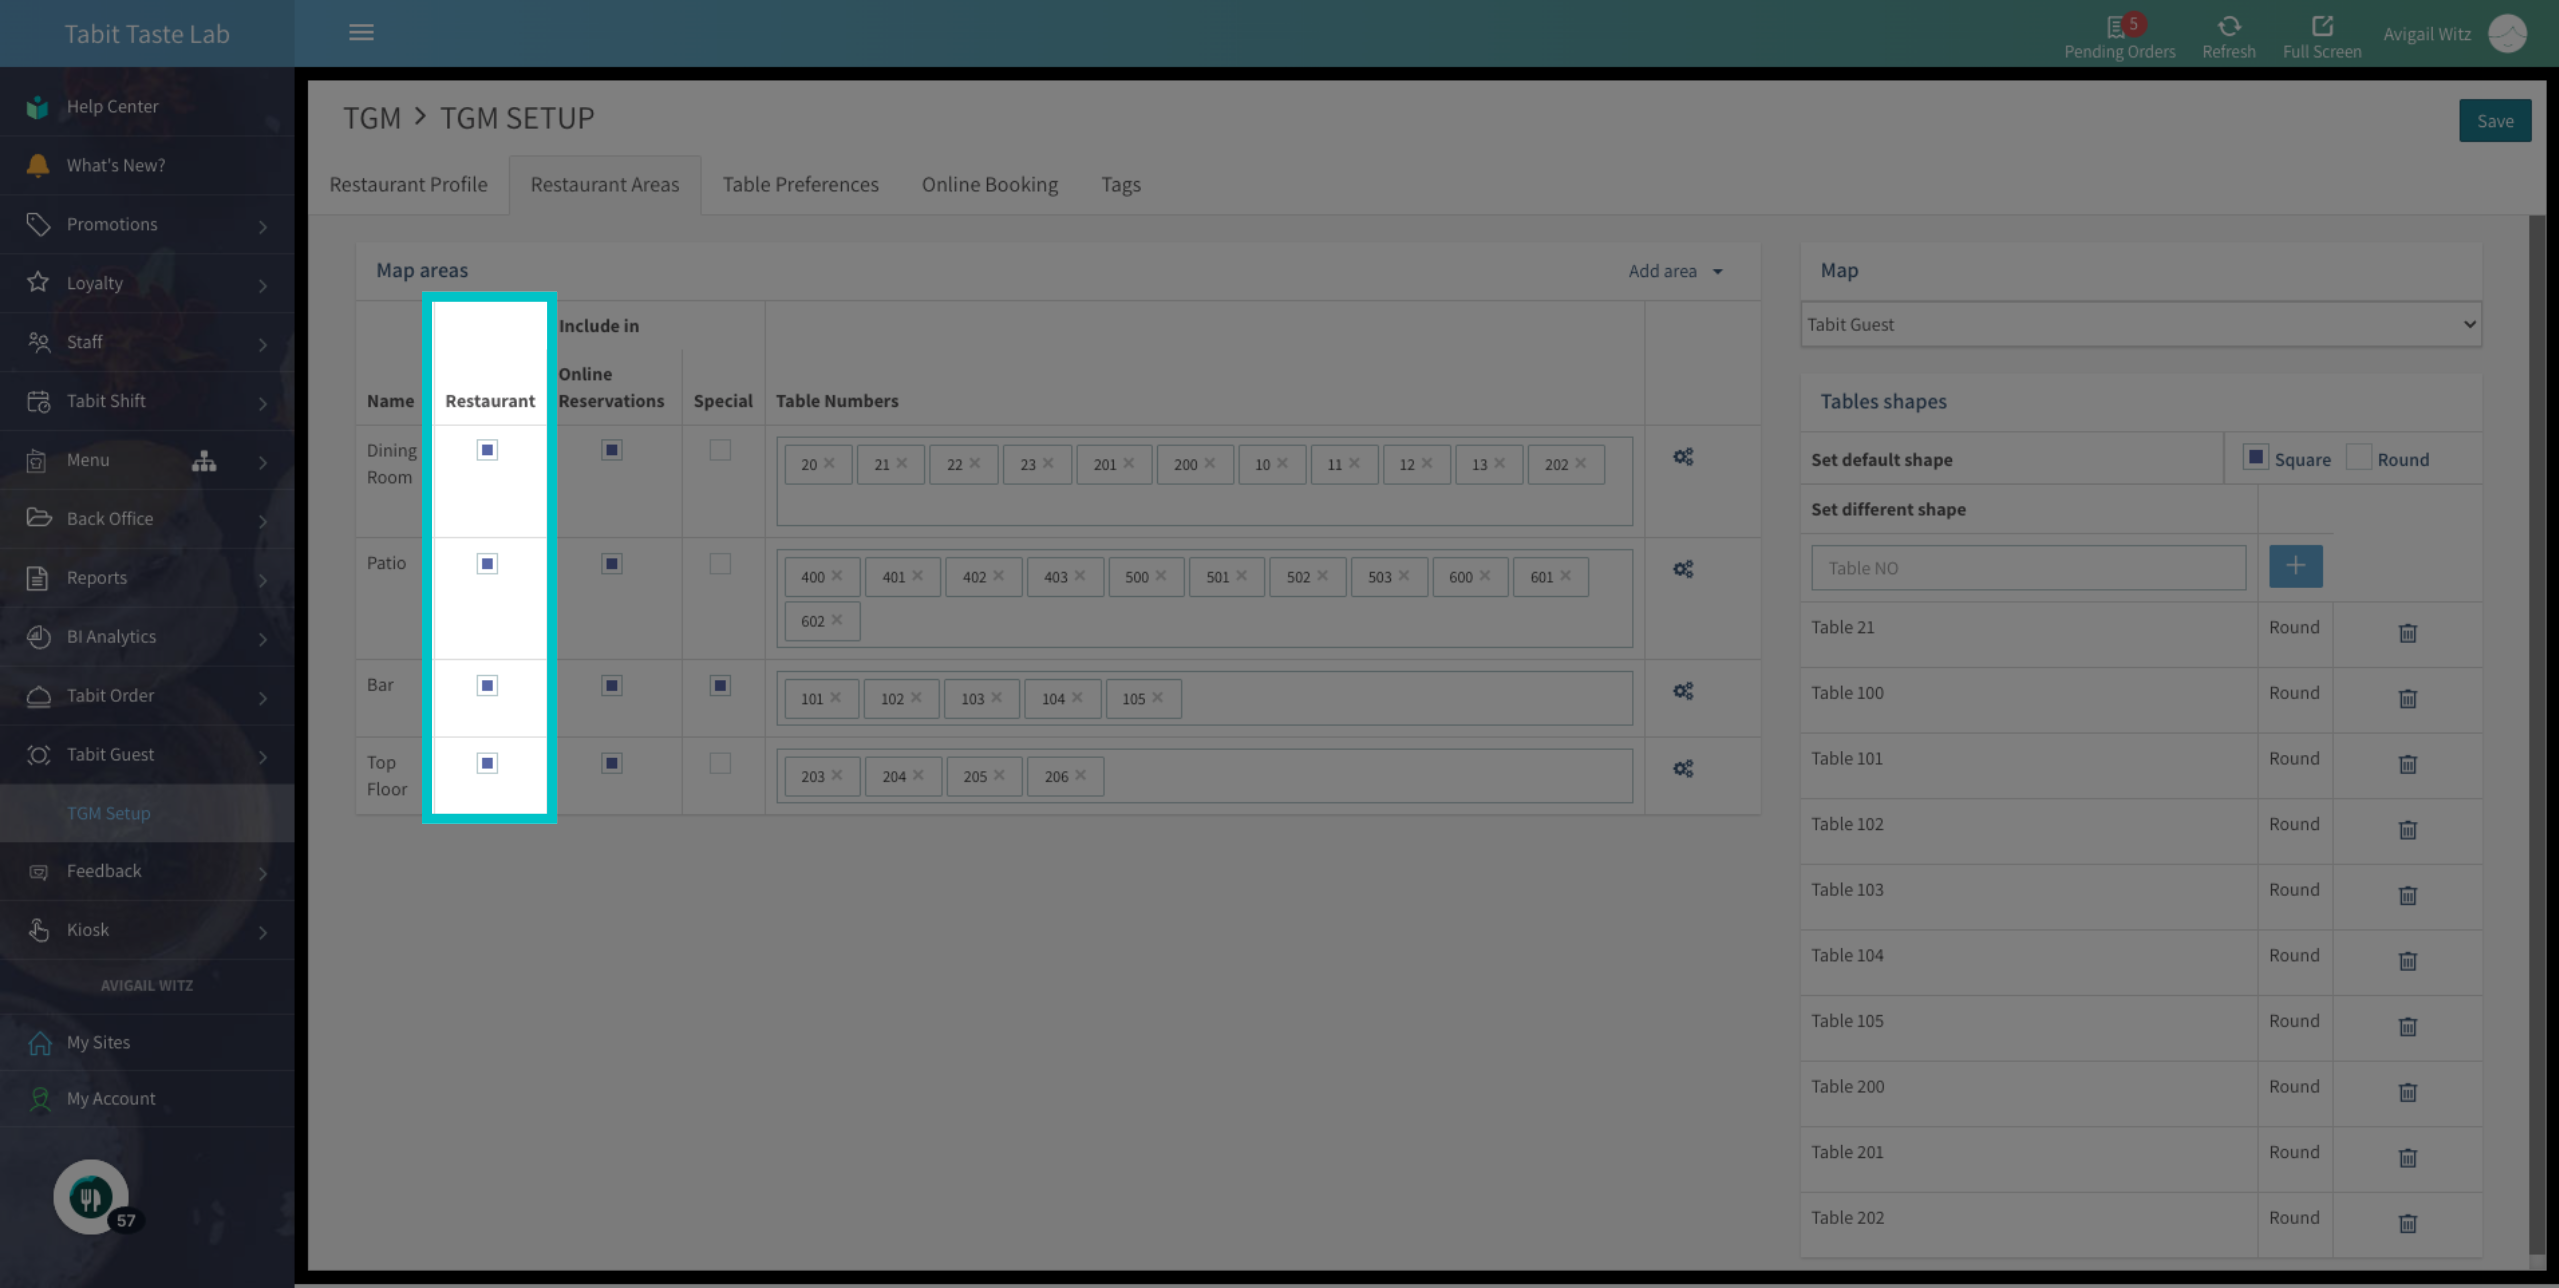
Once you finish the setup, remember to Save your changes