Manage your restaurant's menu right from the PAD - no computer or Tabit Office needed. Add and edit categories and items, change prices, and reorder the menu in just a few taps.
Note
Managing the menu from the PAD is only available to users with menu permissions, and only for sites with a site-level menu. At HQ-managed sites, where the menu is shared across multiple locations, menu changes still need to be made from Tabit Office.
Entering and selecting a menu
-
On the PAD, from the Admin profile, tap Operations at the top right of the screen > the Operations tab on the left > Menu management
-
Make sure the right menu is showing. To switch to a different menu, tap the menu name at the top of the screen, then select the one you want to edit
Note
If there are unpublished menu changes from Tabit Office, some actions on the PAD may be blocked. Publish those changes from Tabit Office to unblock them.
Managing menu categories and items
-
Add a category: tap the plus icon at the top of the category list
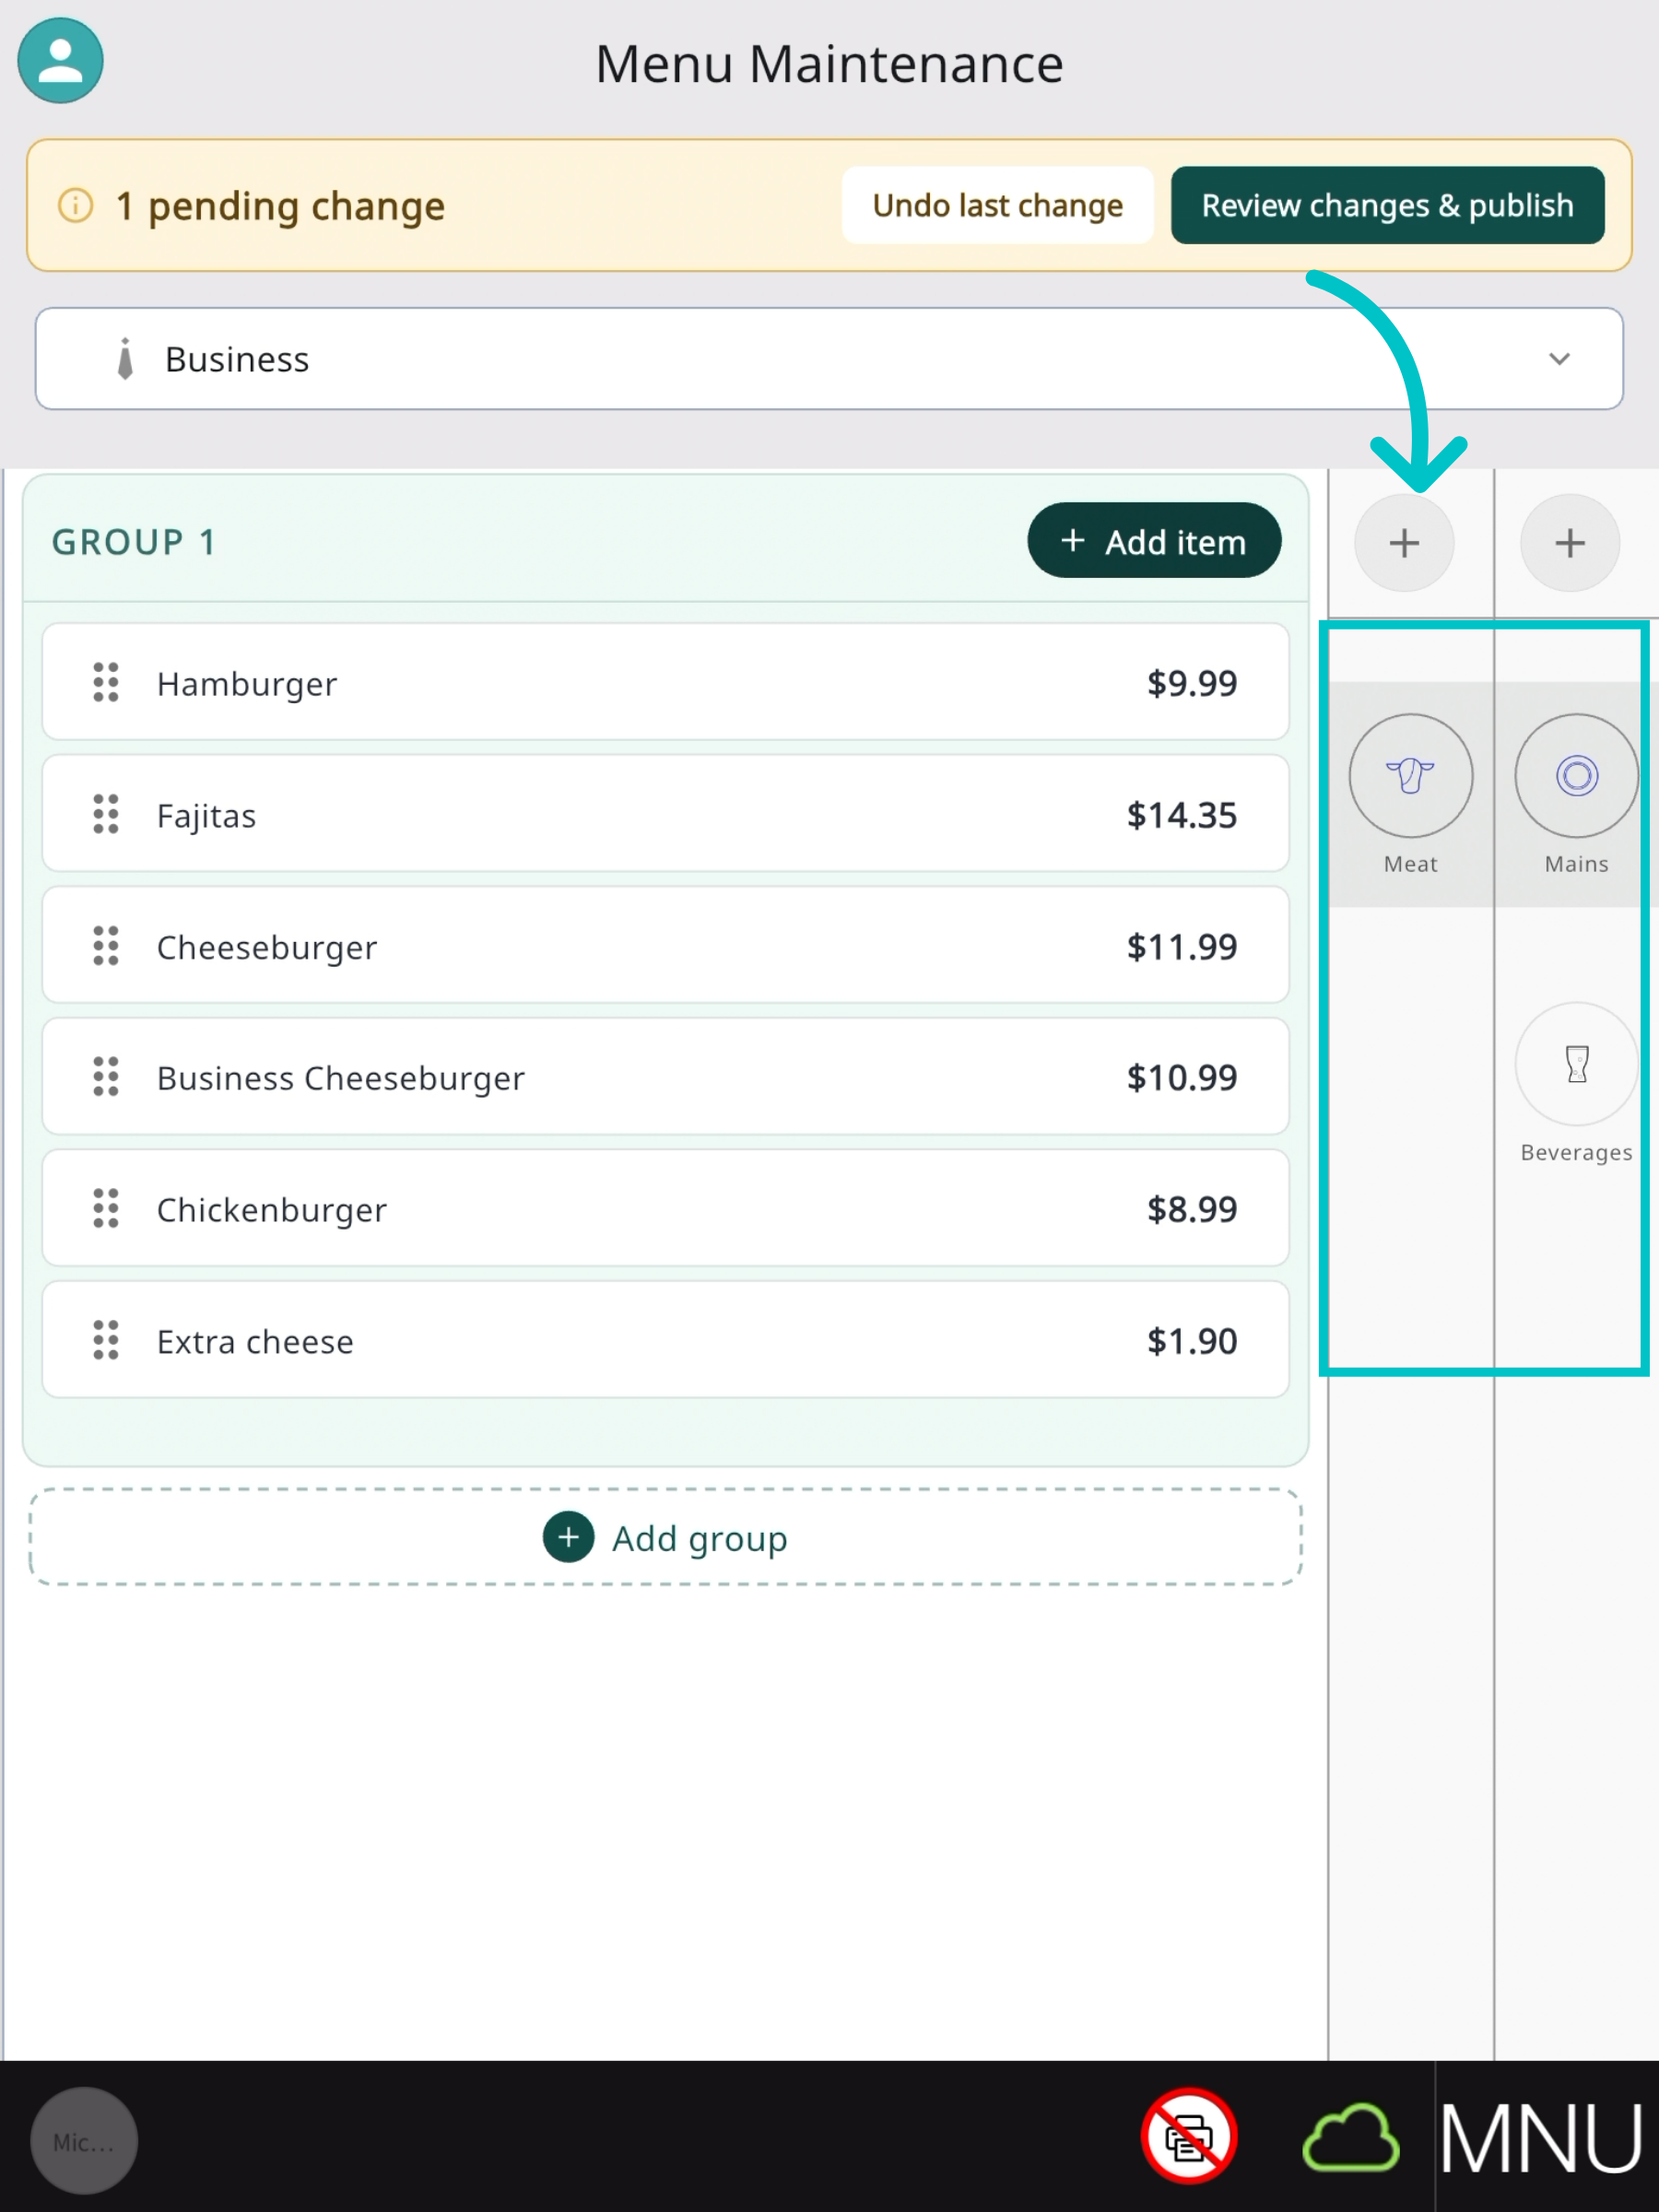
Reorder categories or subcategories: drag the category or subcategory to the position you want
Remove a category or subcategory from the display: drag it to the trash icon
-
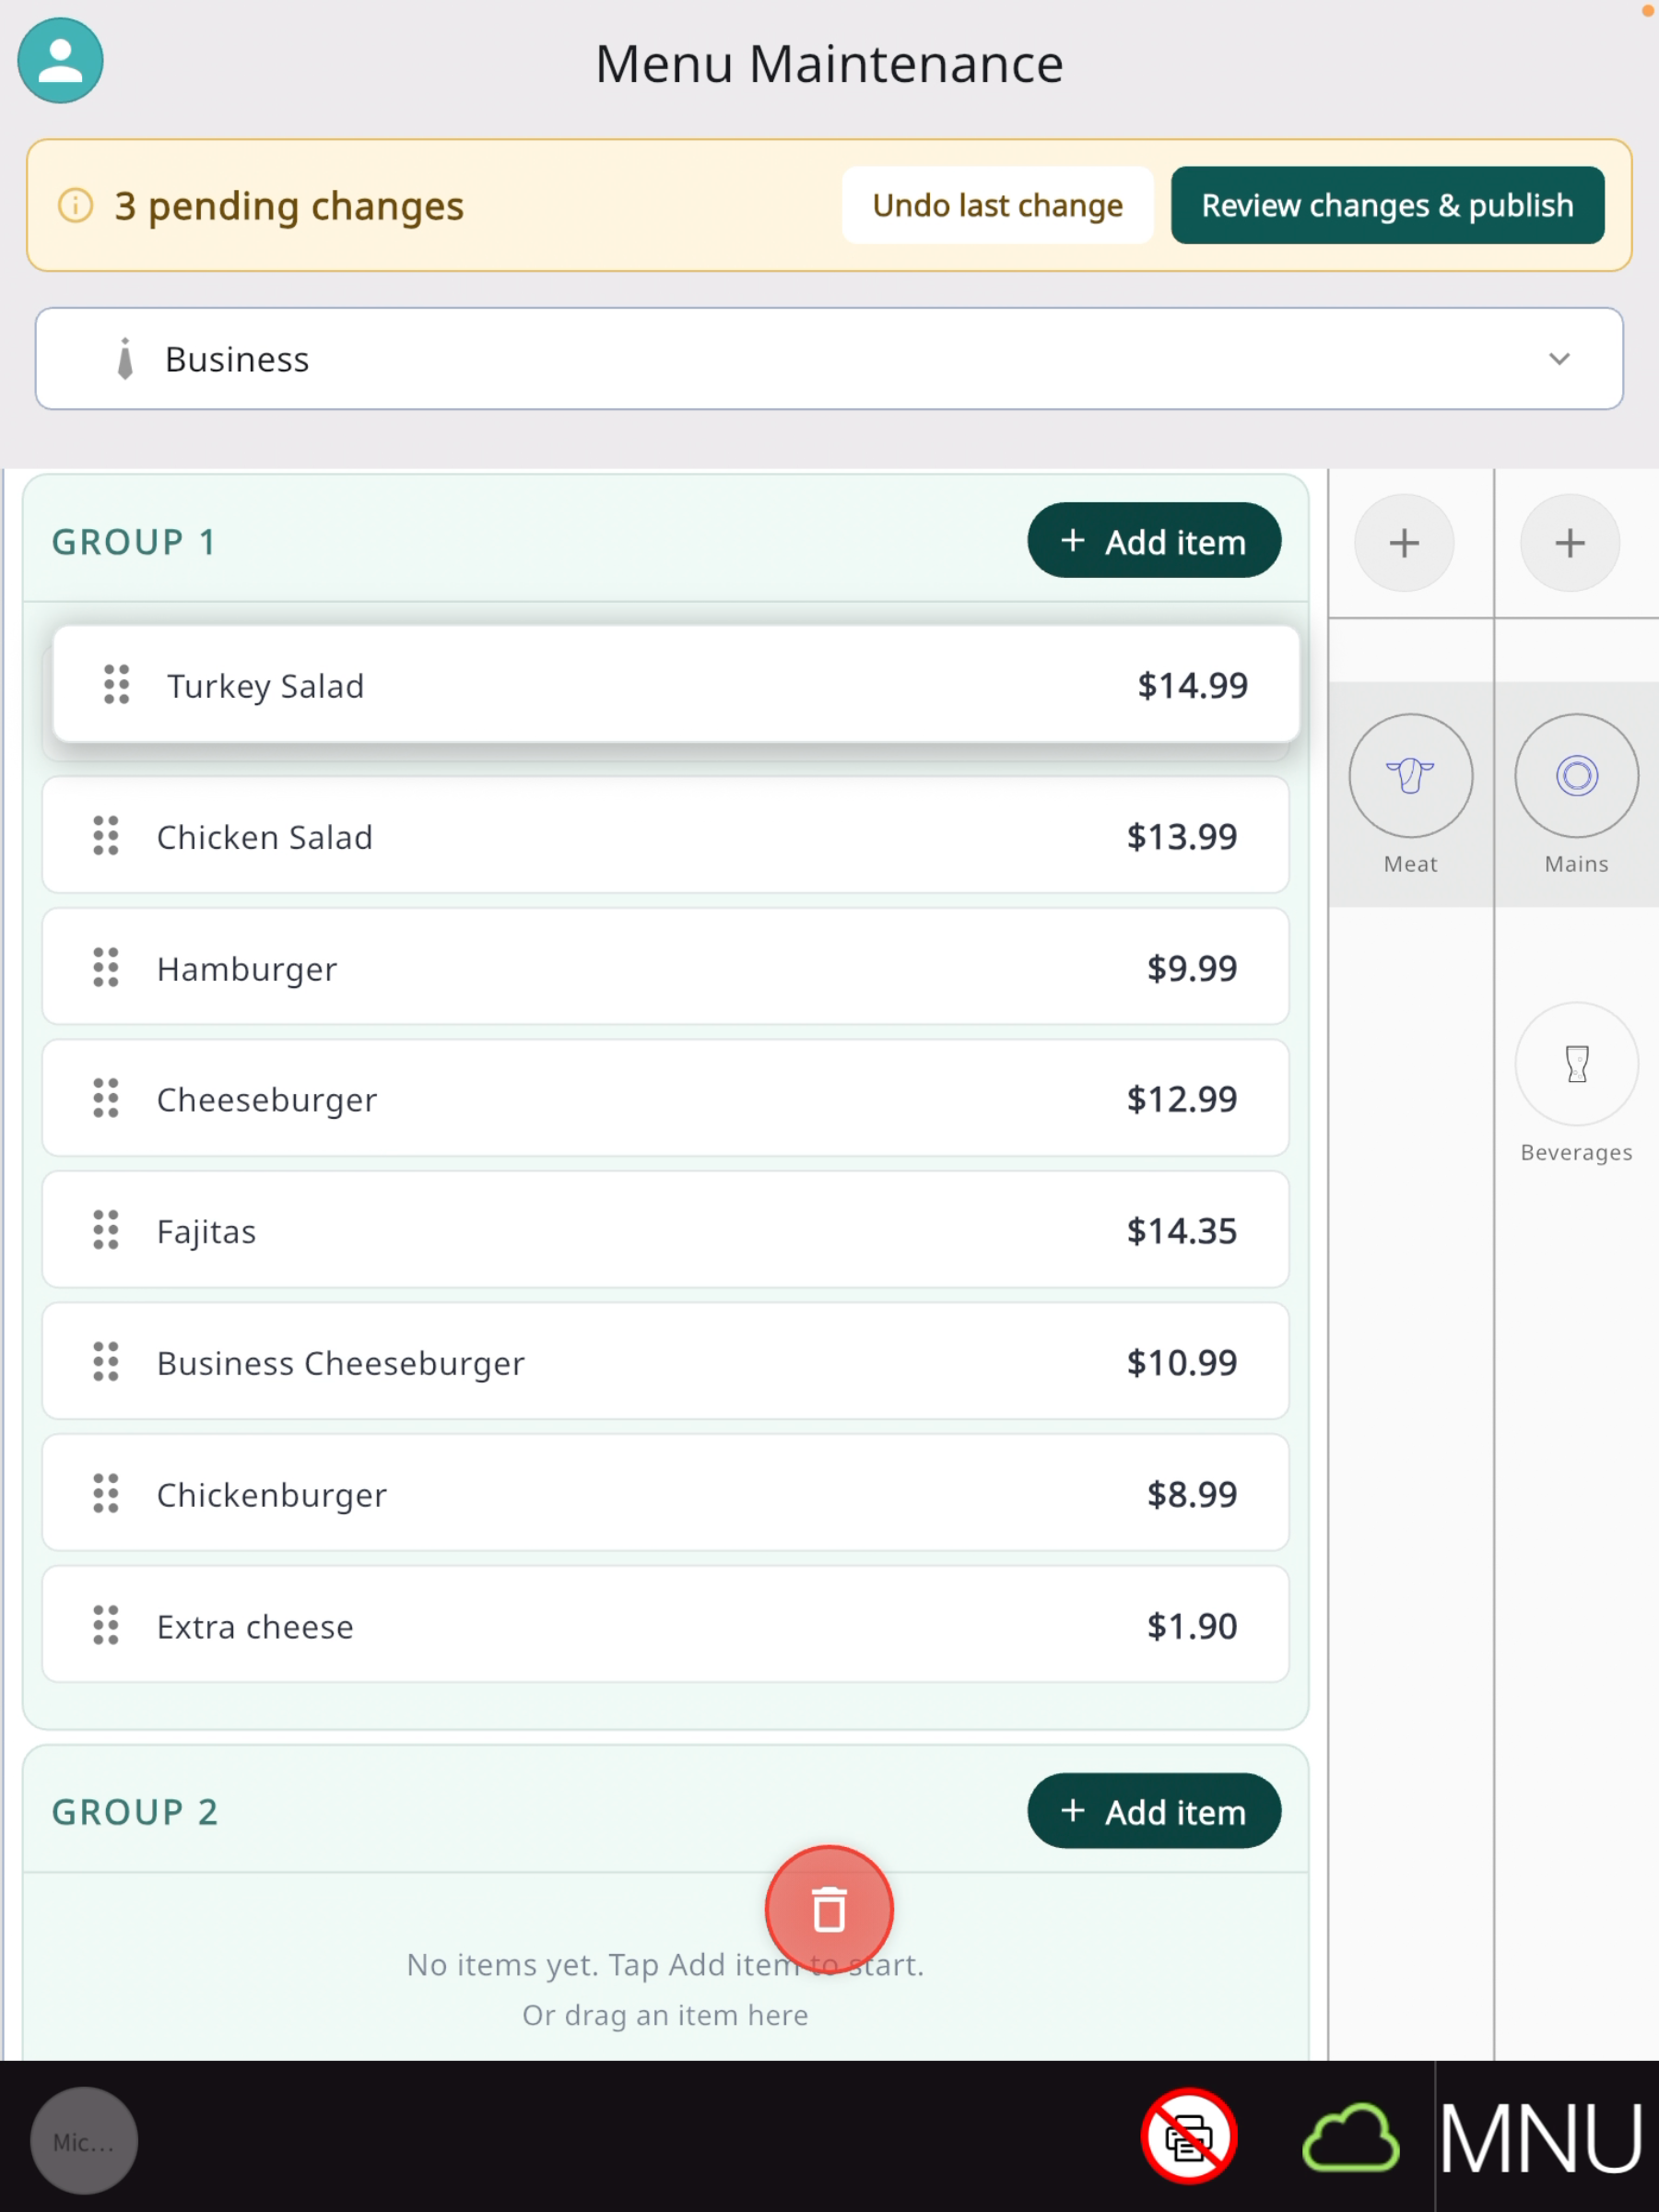
Reorder an item or move it to a different subcategory: press and hold the item, then drag it to the position or subcategory you want
-
Remove an item from the display: press and hold the item, then drag it to the trash icon at the bottom of the screen. The item is only removed from the display - it isn't deleted from the system
-
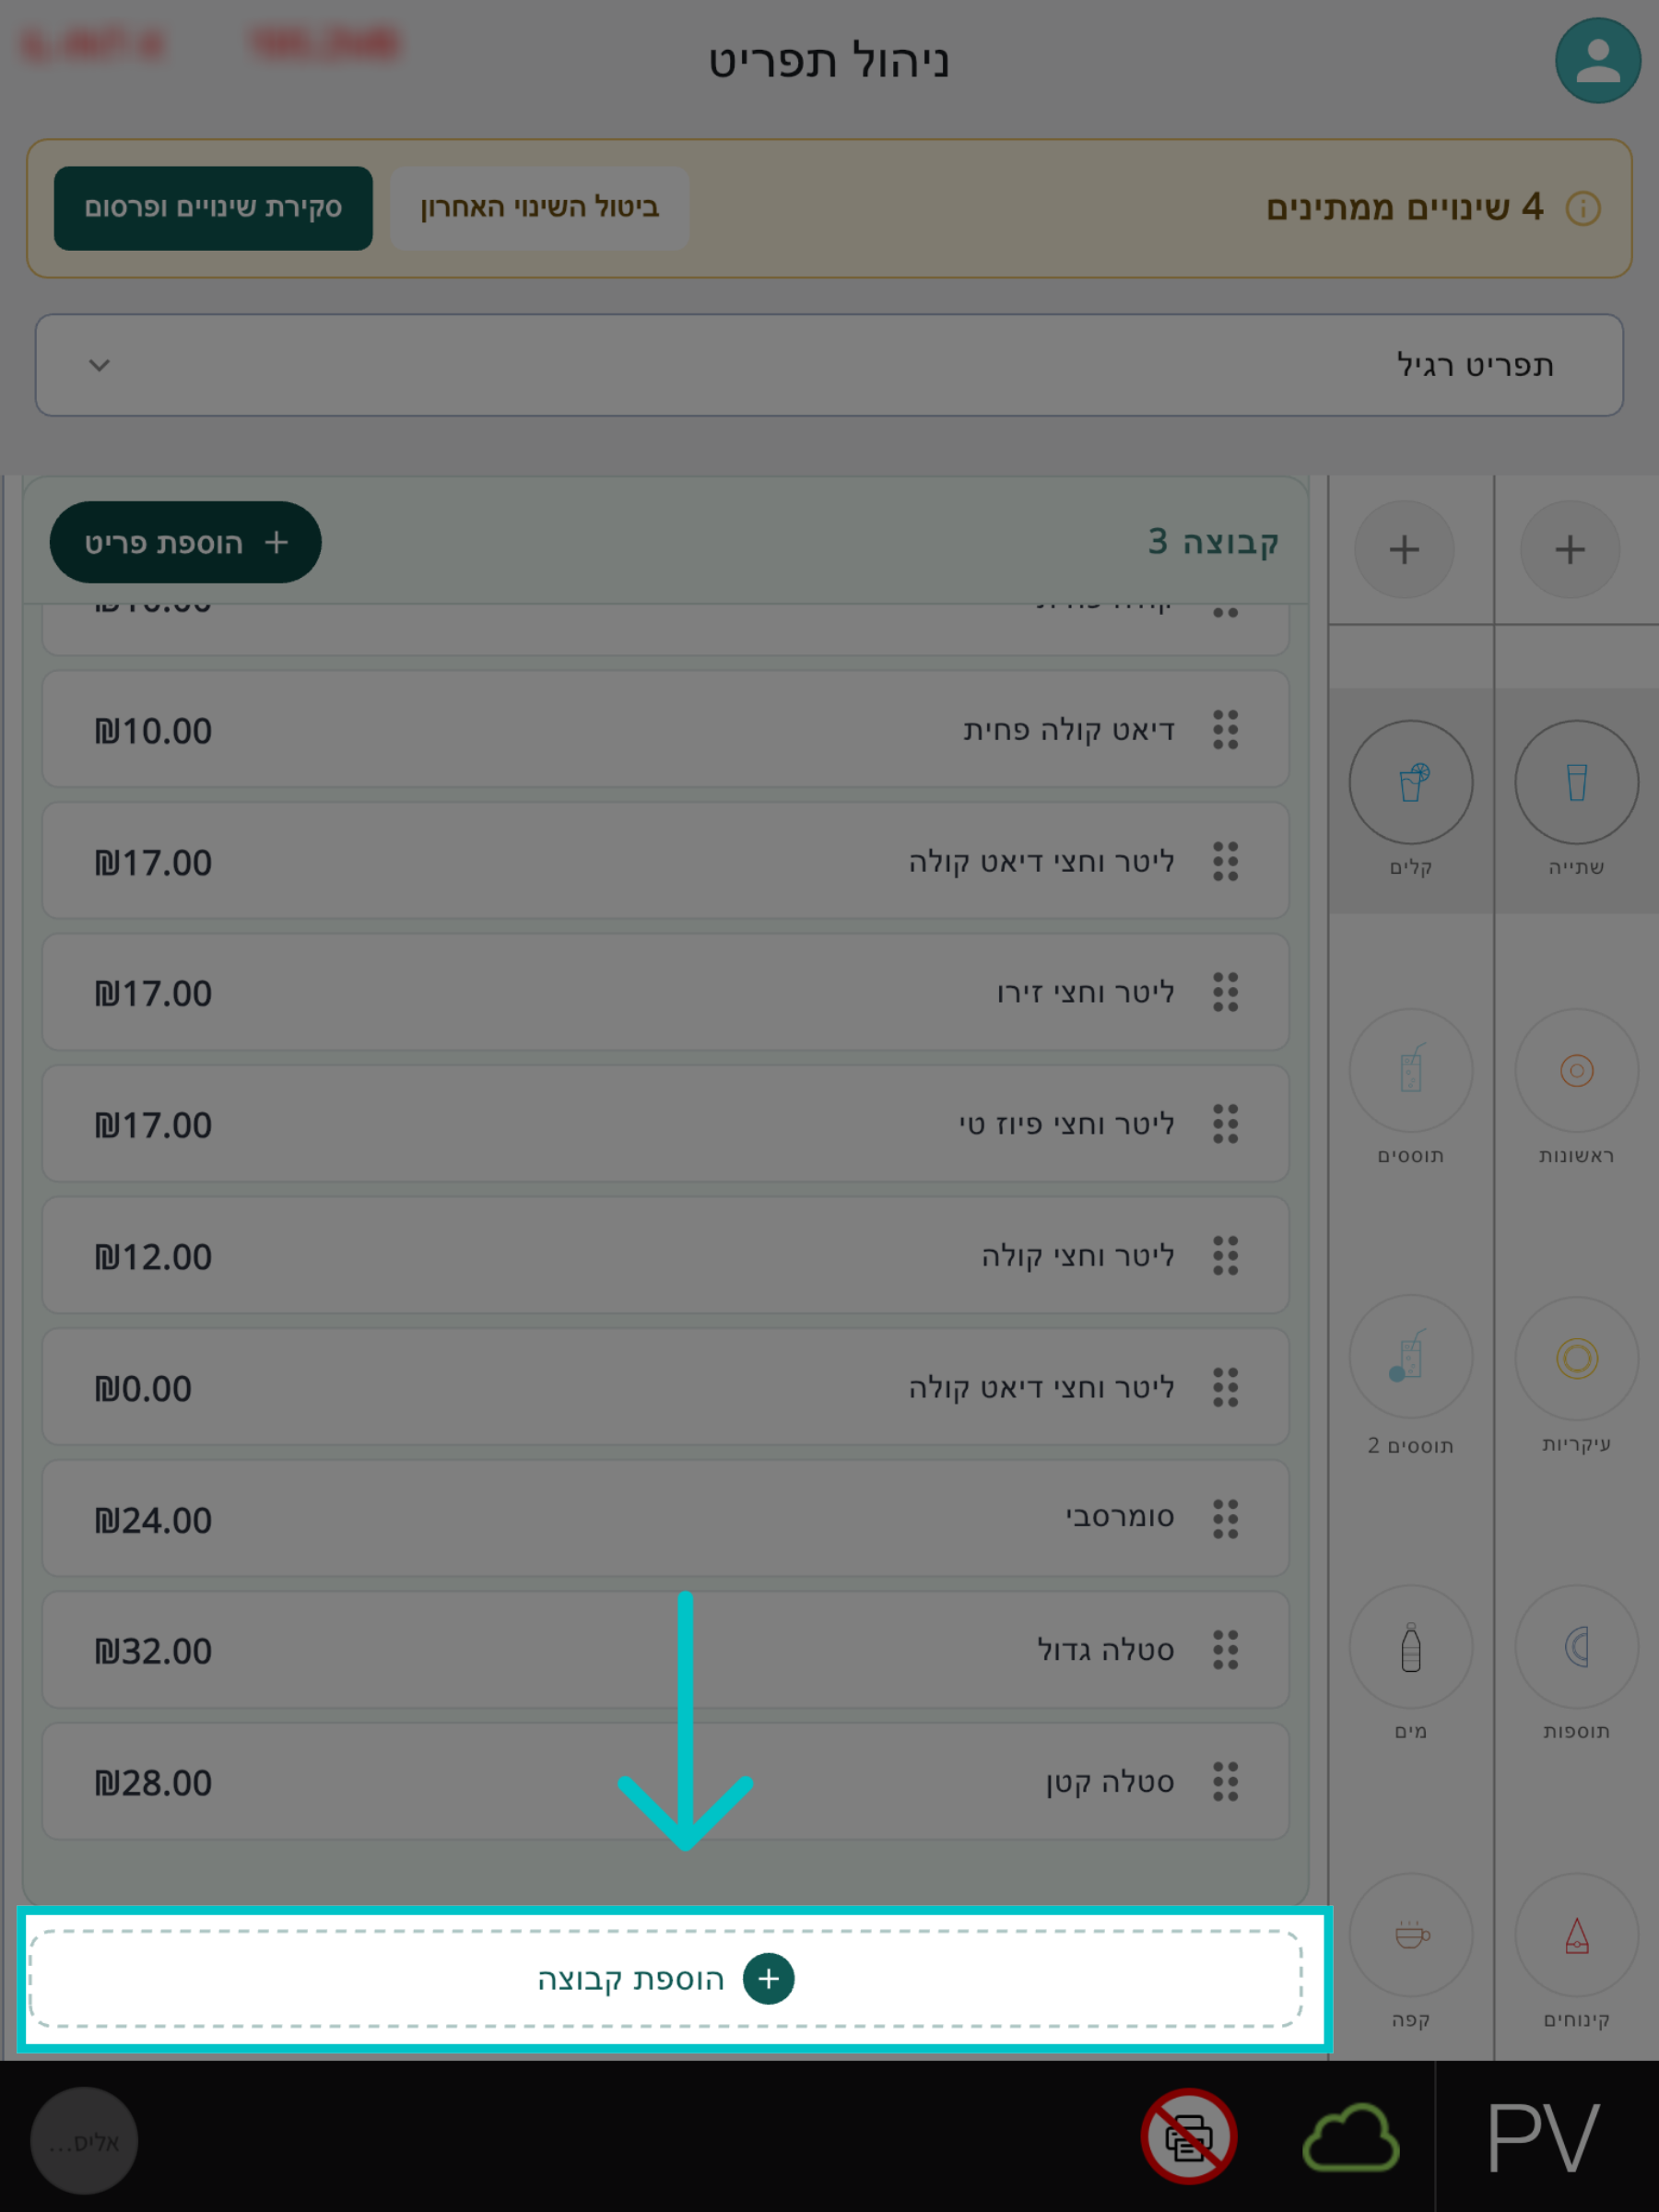
Add a group: tap Add group at the bottom of the screen
Important to know!
Adding an existing item, removing items, and reordering items or categories only affect the menu display. Removing an item doesn't delete it from the system, and adding an existing item just shows an item that's already set up in the system. Creating a new item and changing a price are different - they also affect the catalog.
Changing an item's price from the PAD
On the PAD, from the Admin profile, tap Operations at the top right of the screen > the Operations tab on the left > Menu management, and select the menu you want
Tap the item in the menu. A Price edit window opens with the item's details, including its tax type. Enter the new price there
Tap Done
-
Check the new price and tap Apply to save the change. If you change your mind, tap Undo to restore the previous price
Note
Before you apply the change, you'll see the previous price and the difference between the two prices below the new one.
Adding an item to the menu
On the PAD, from the Admin profile, tap Operations at the top right of the screen > the Operations tab on the left > Menu management, and select the menu you want
-
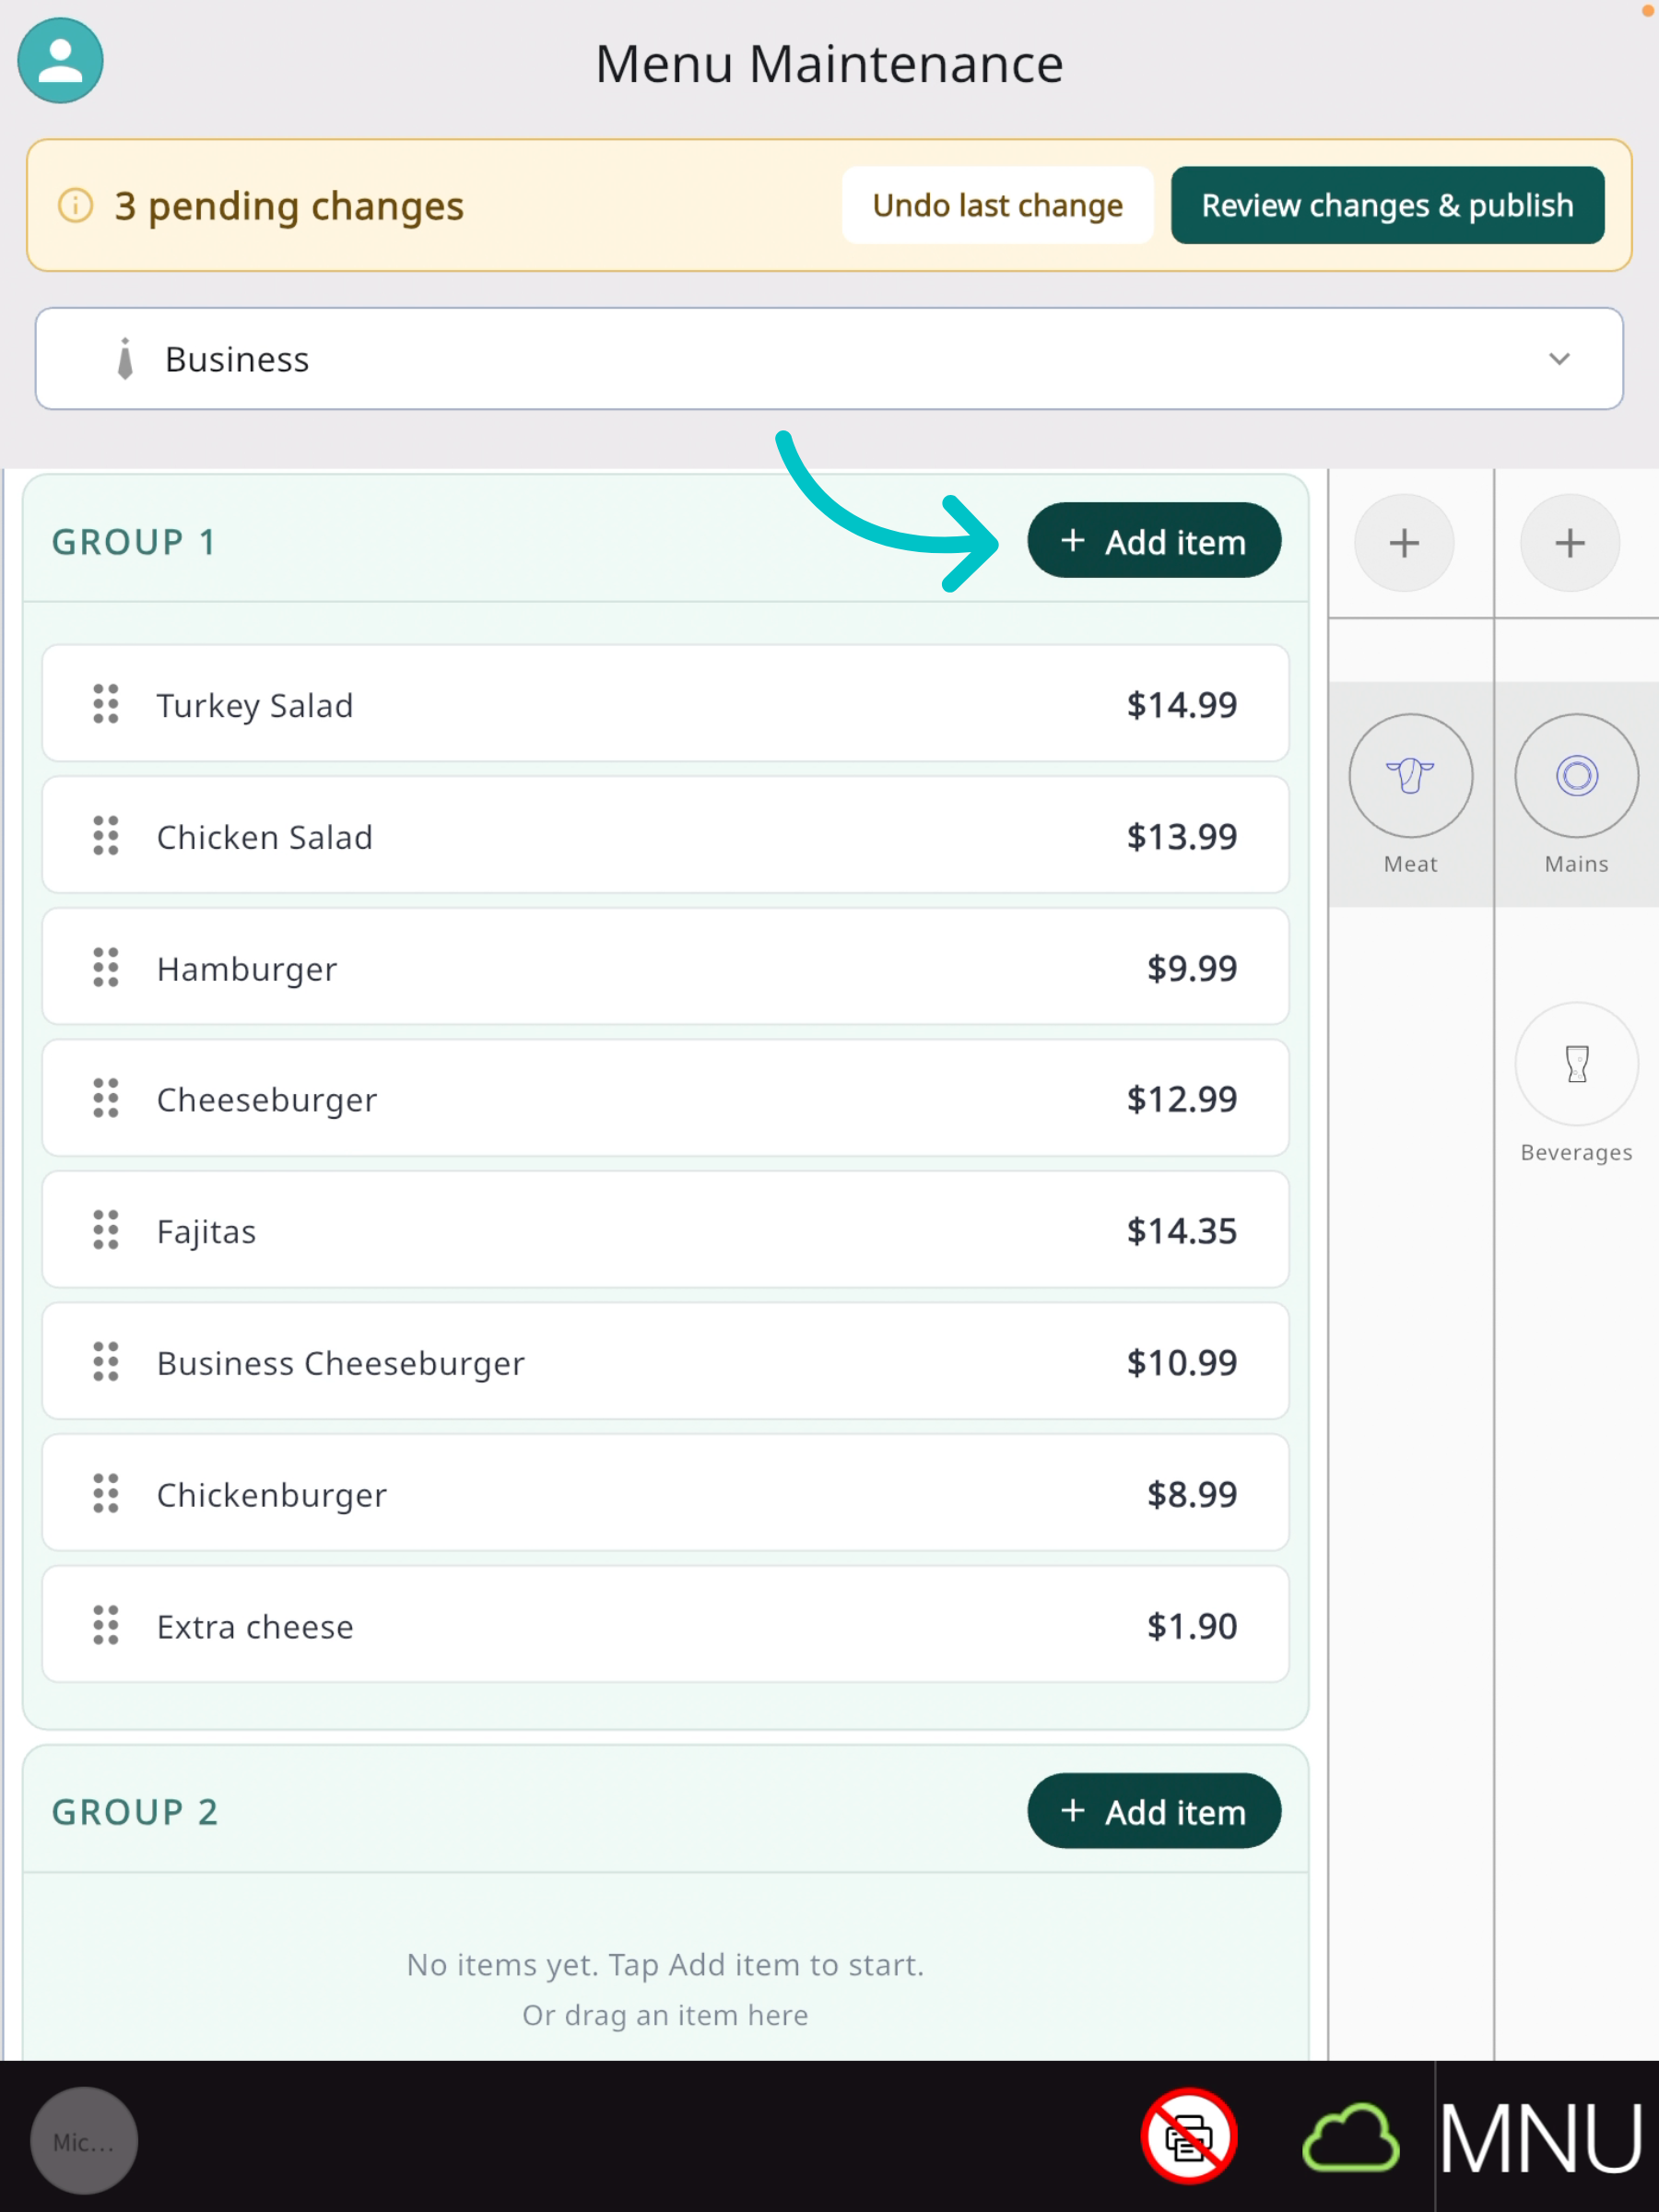
In the relevant group, tap Add item
-
Search for the item and tap the plus icon to add it
On the PAD, from the Admin profile, tap Operations at the top right of the screen > the Operations tab on the left > Menu management, and select the menu you want
In the relevant group, tap Add item
-
Type the new item's name in the search bar and tap Create new item
-
On the price screen, select a Fixed or Open price and enter the amount. Select whether the item is taxed (w/ Tax) or not (No Tax), add a prep station name or barcode if needed, then tap Next
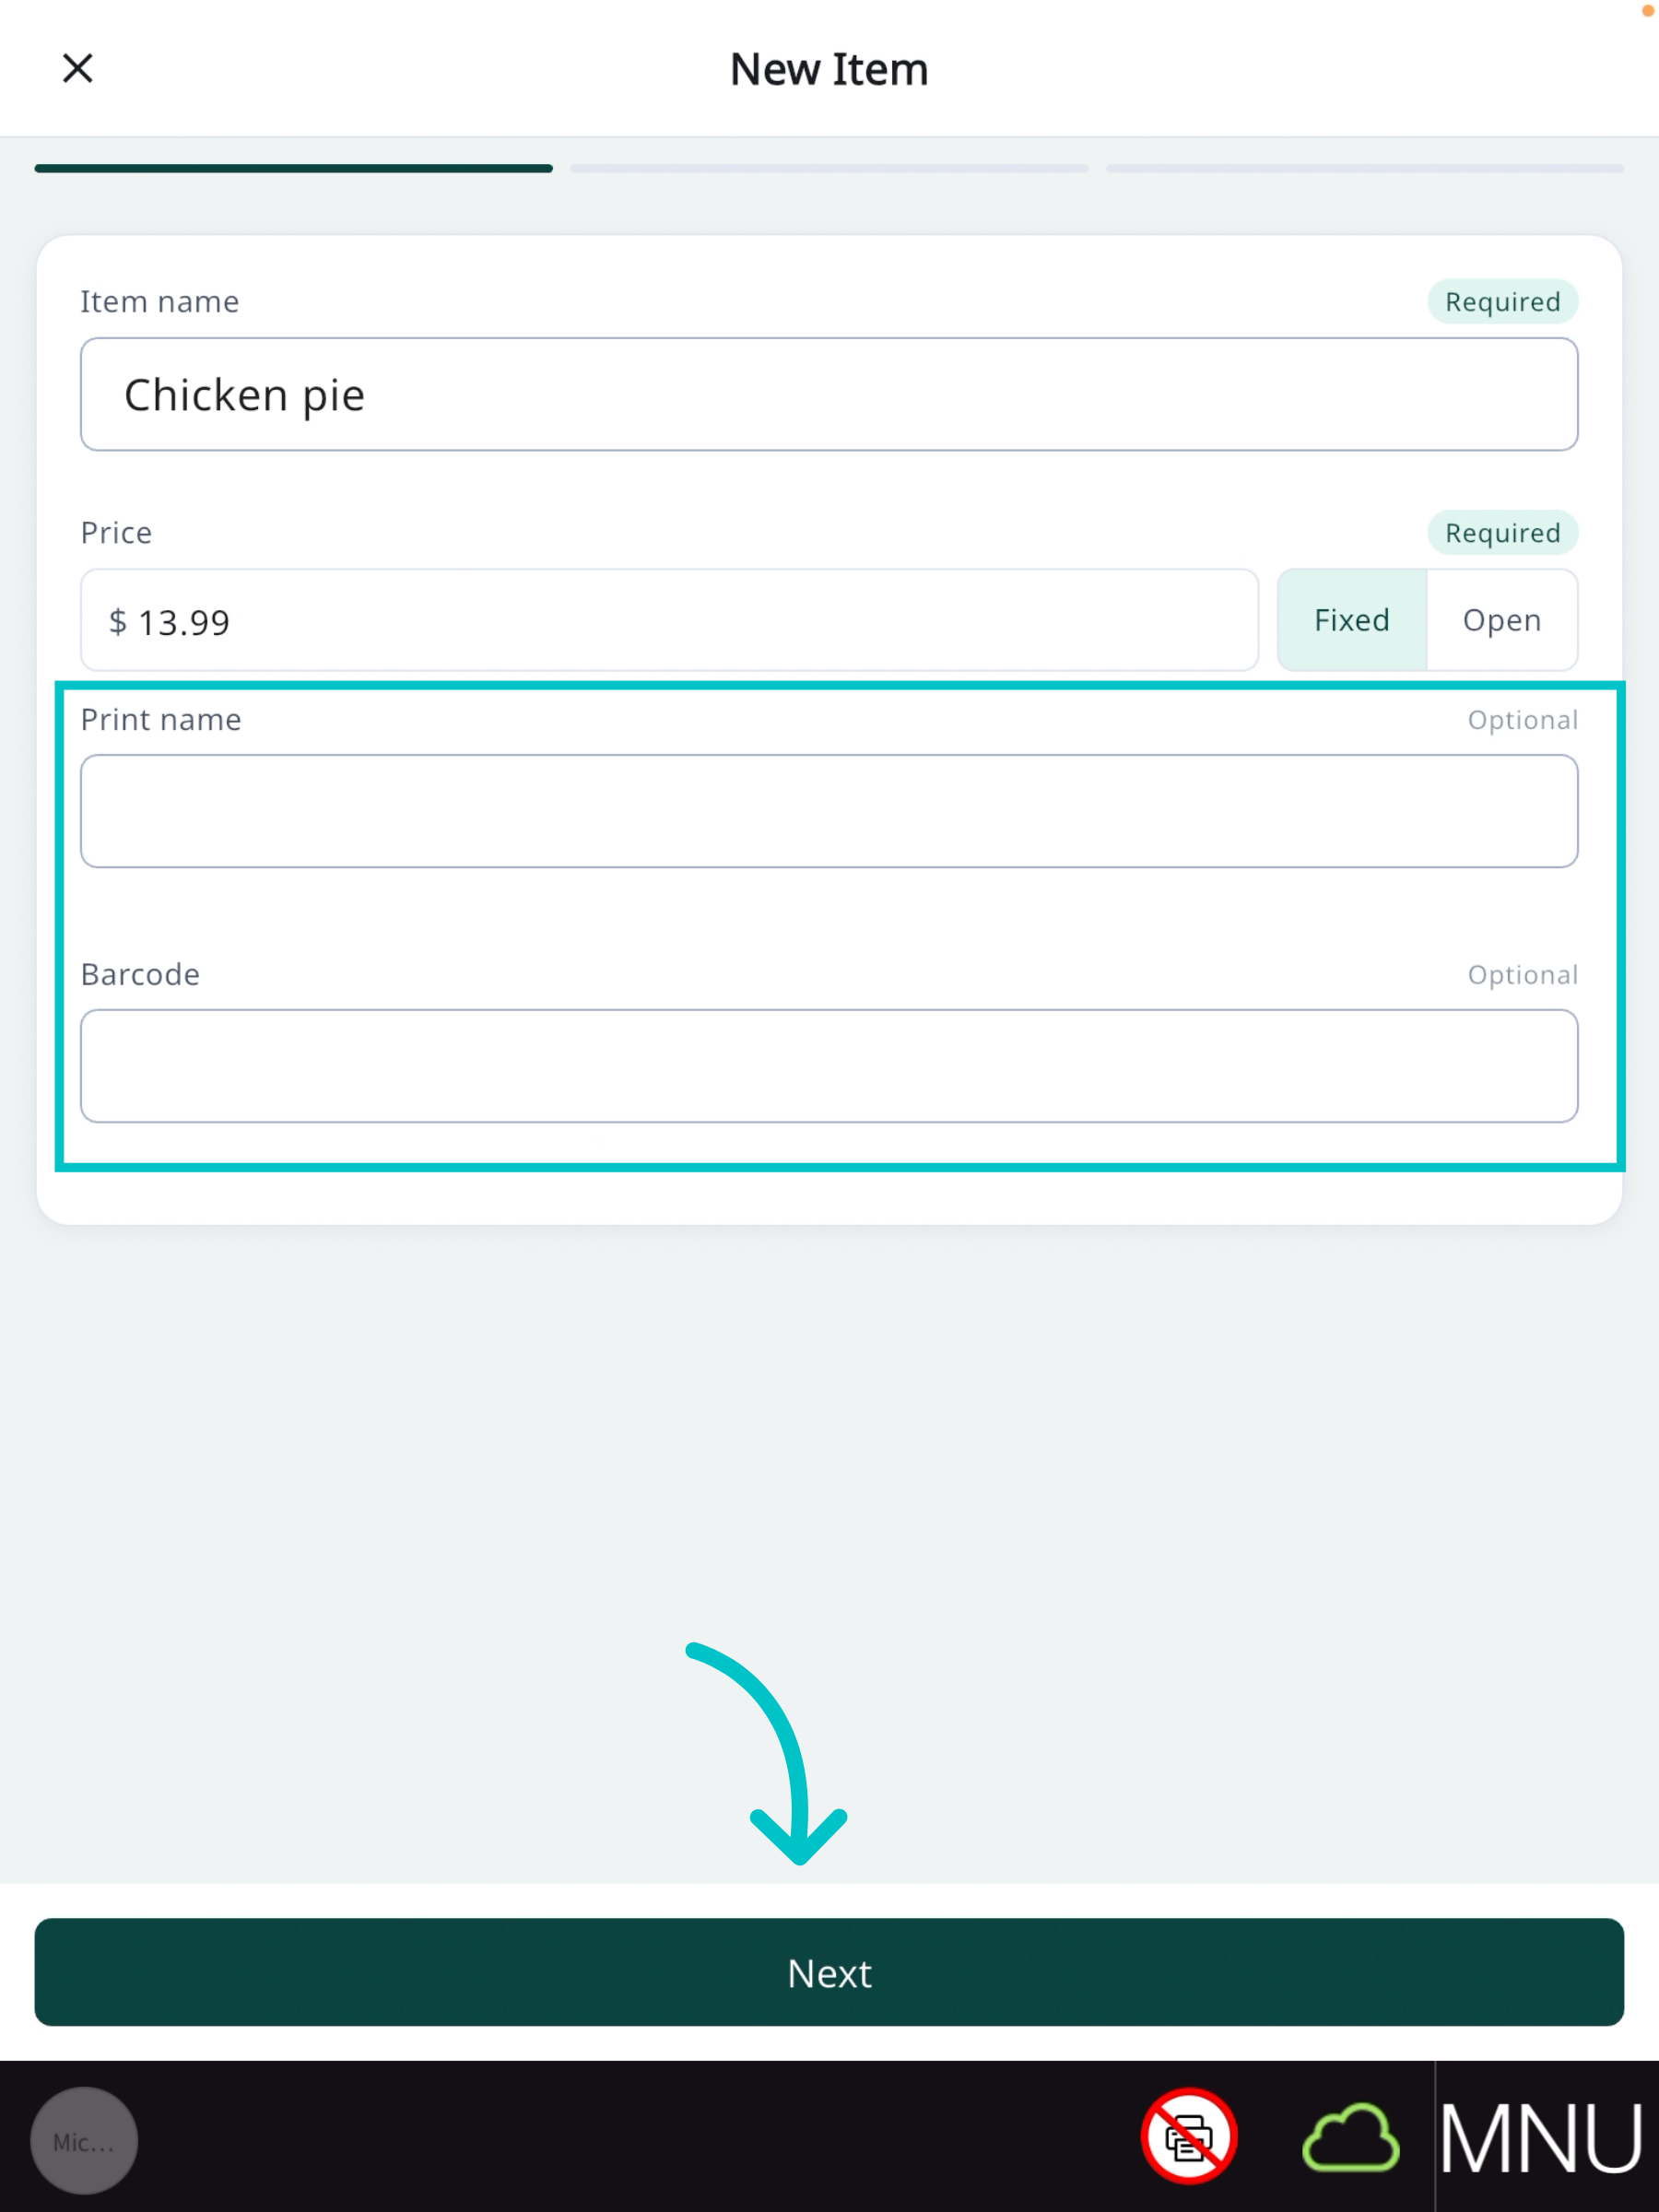
-
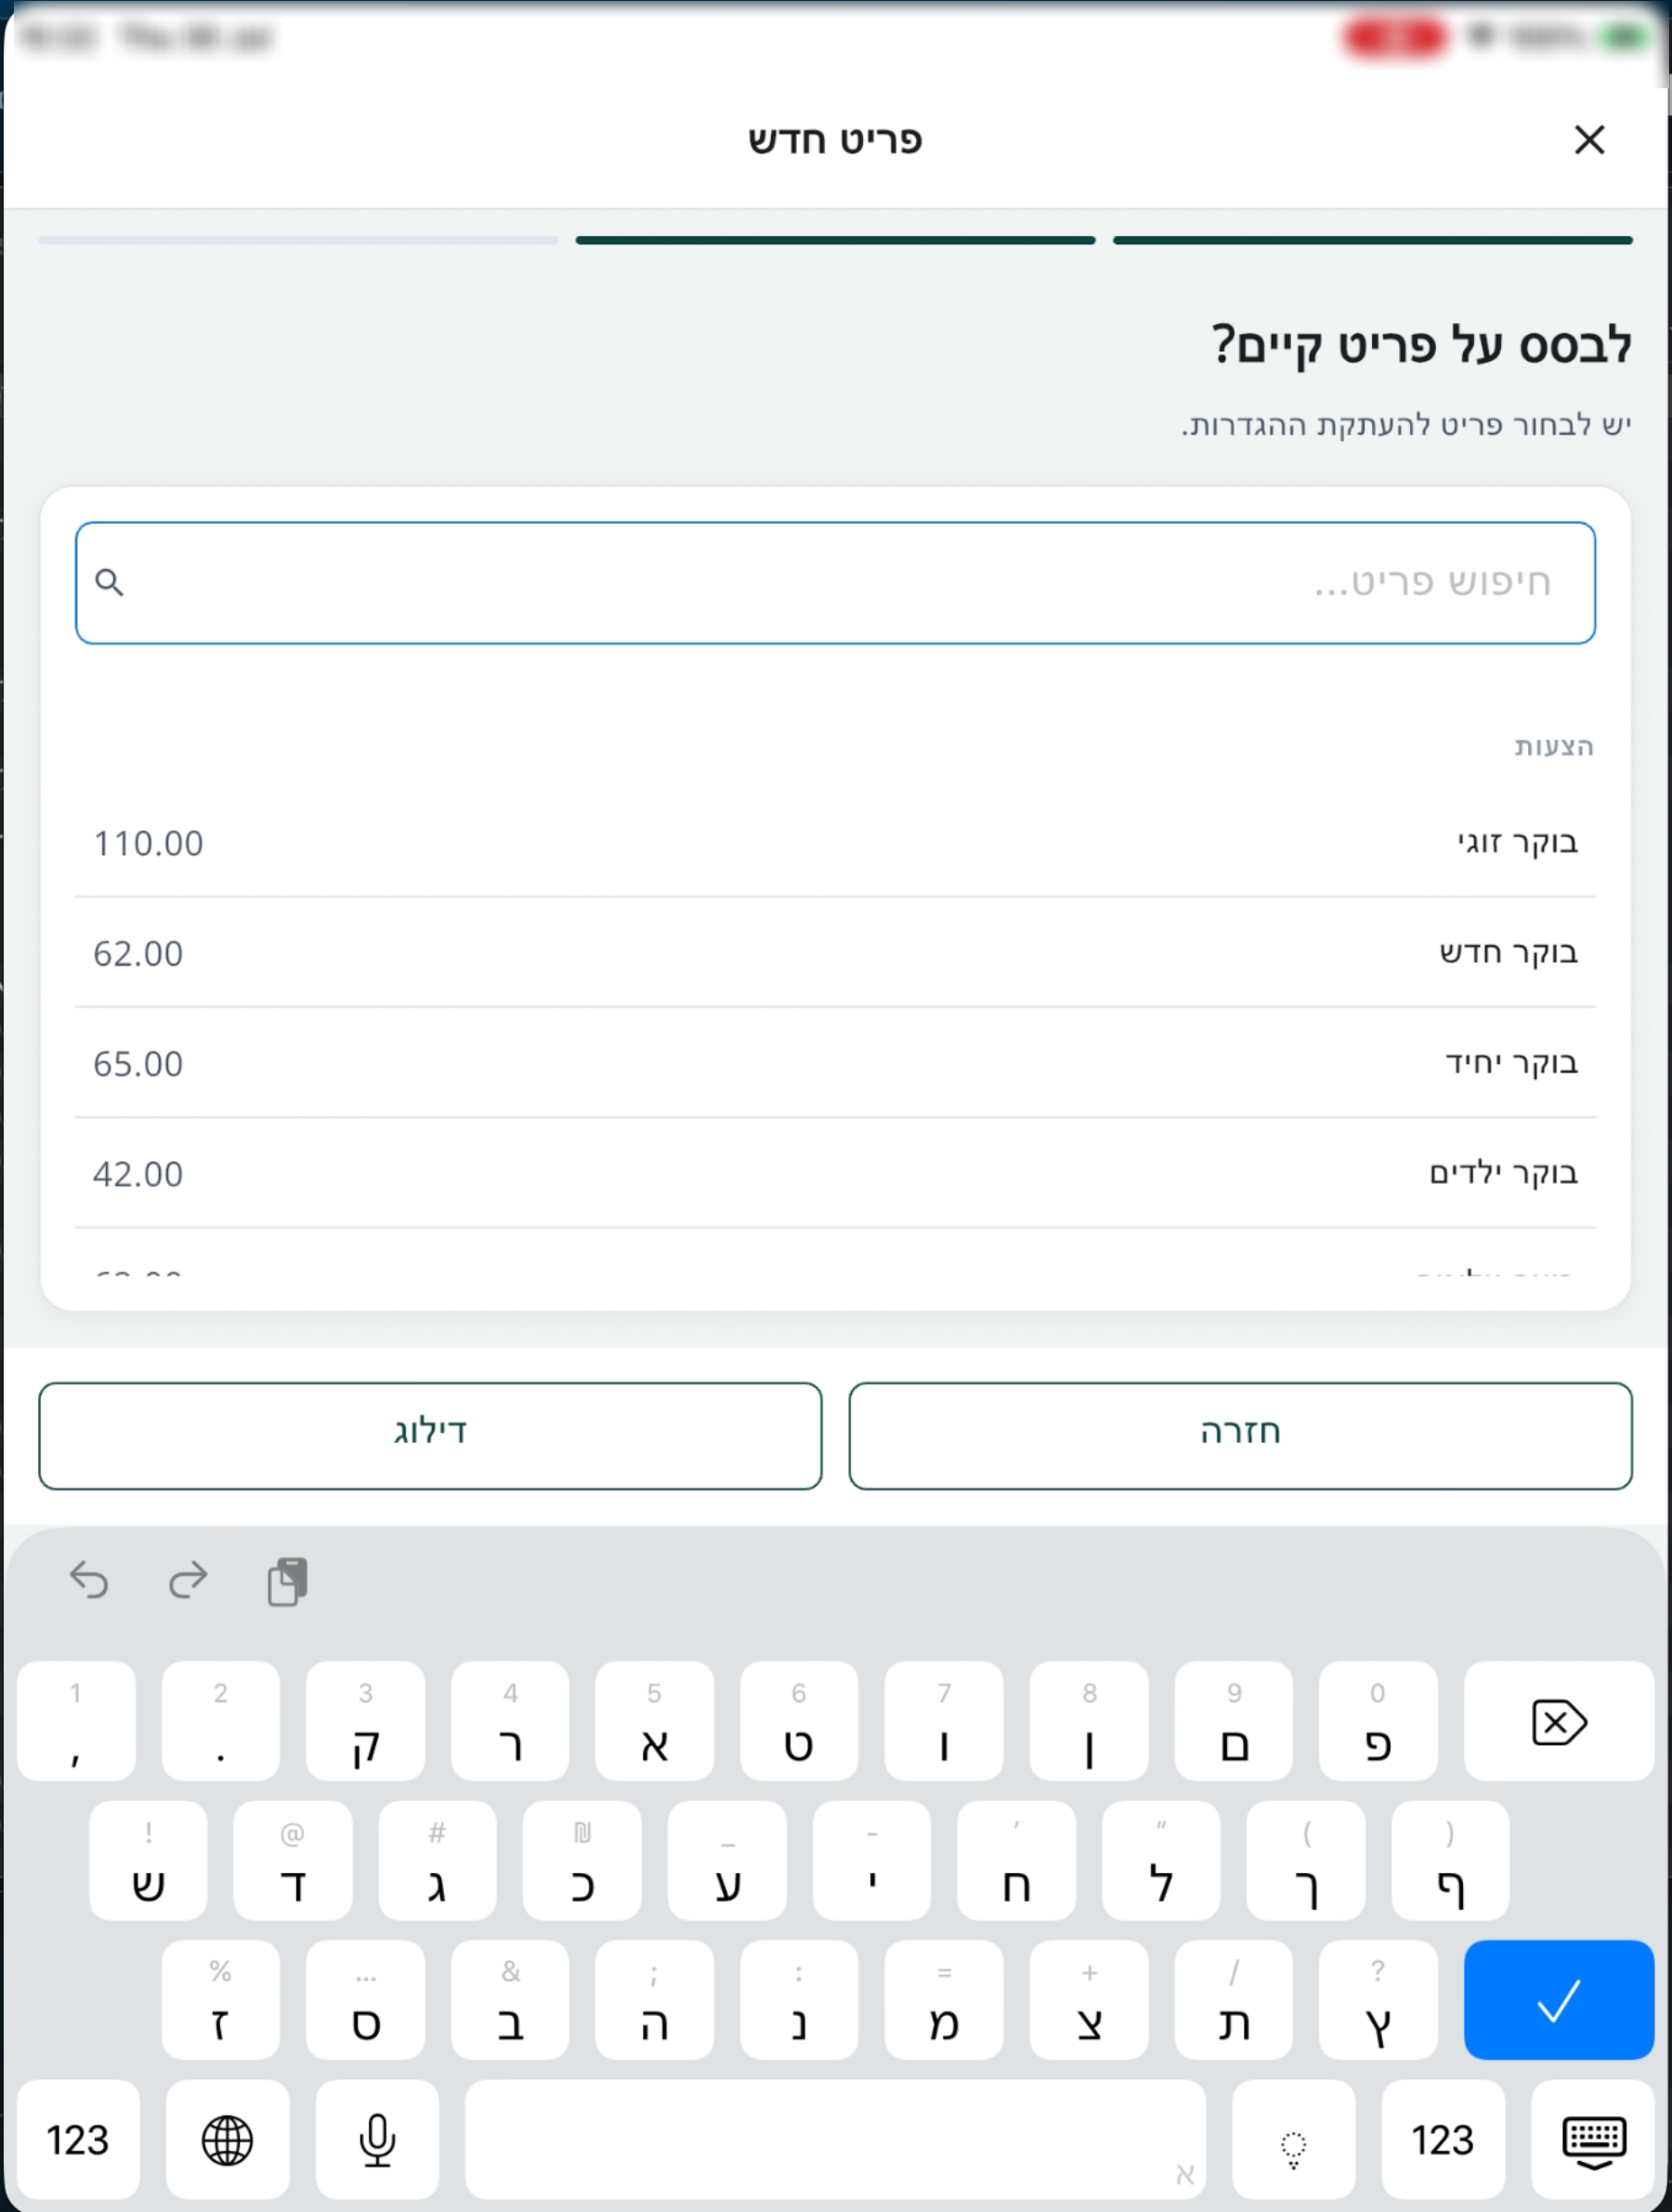
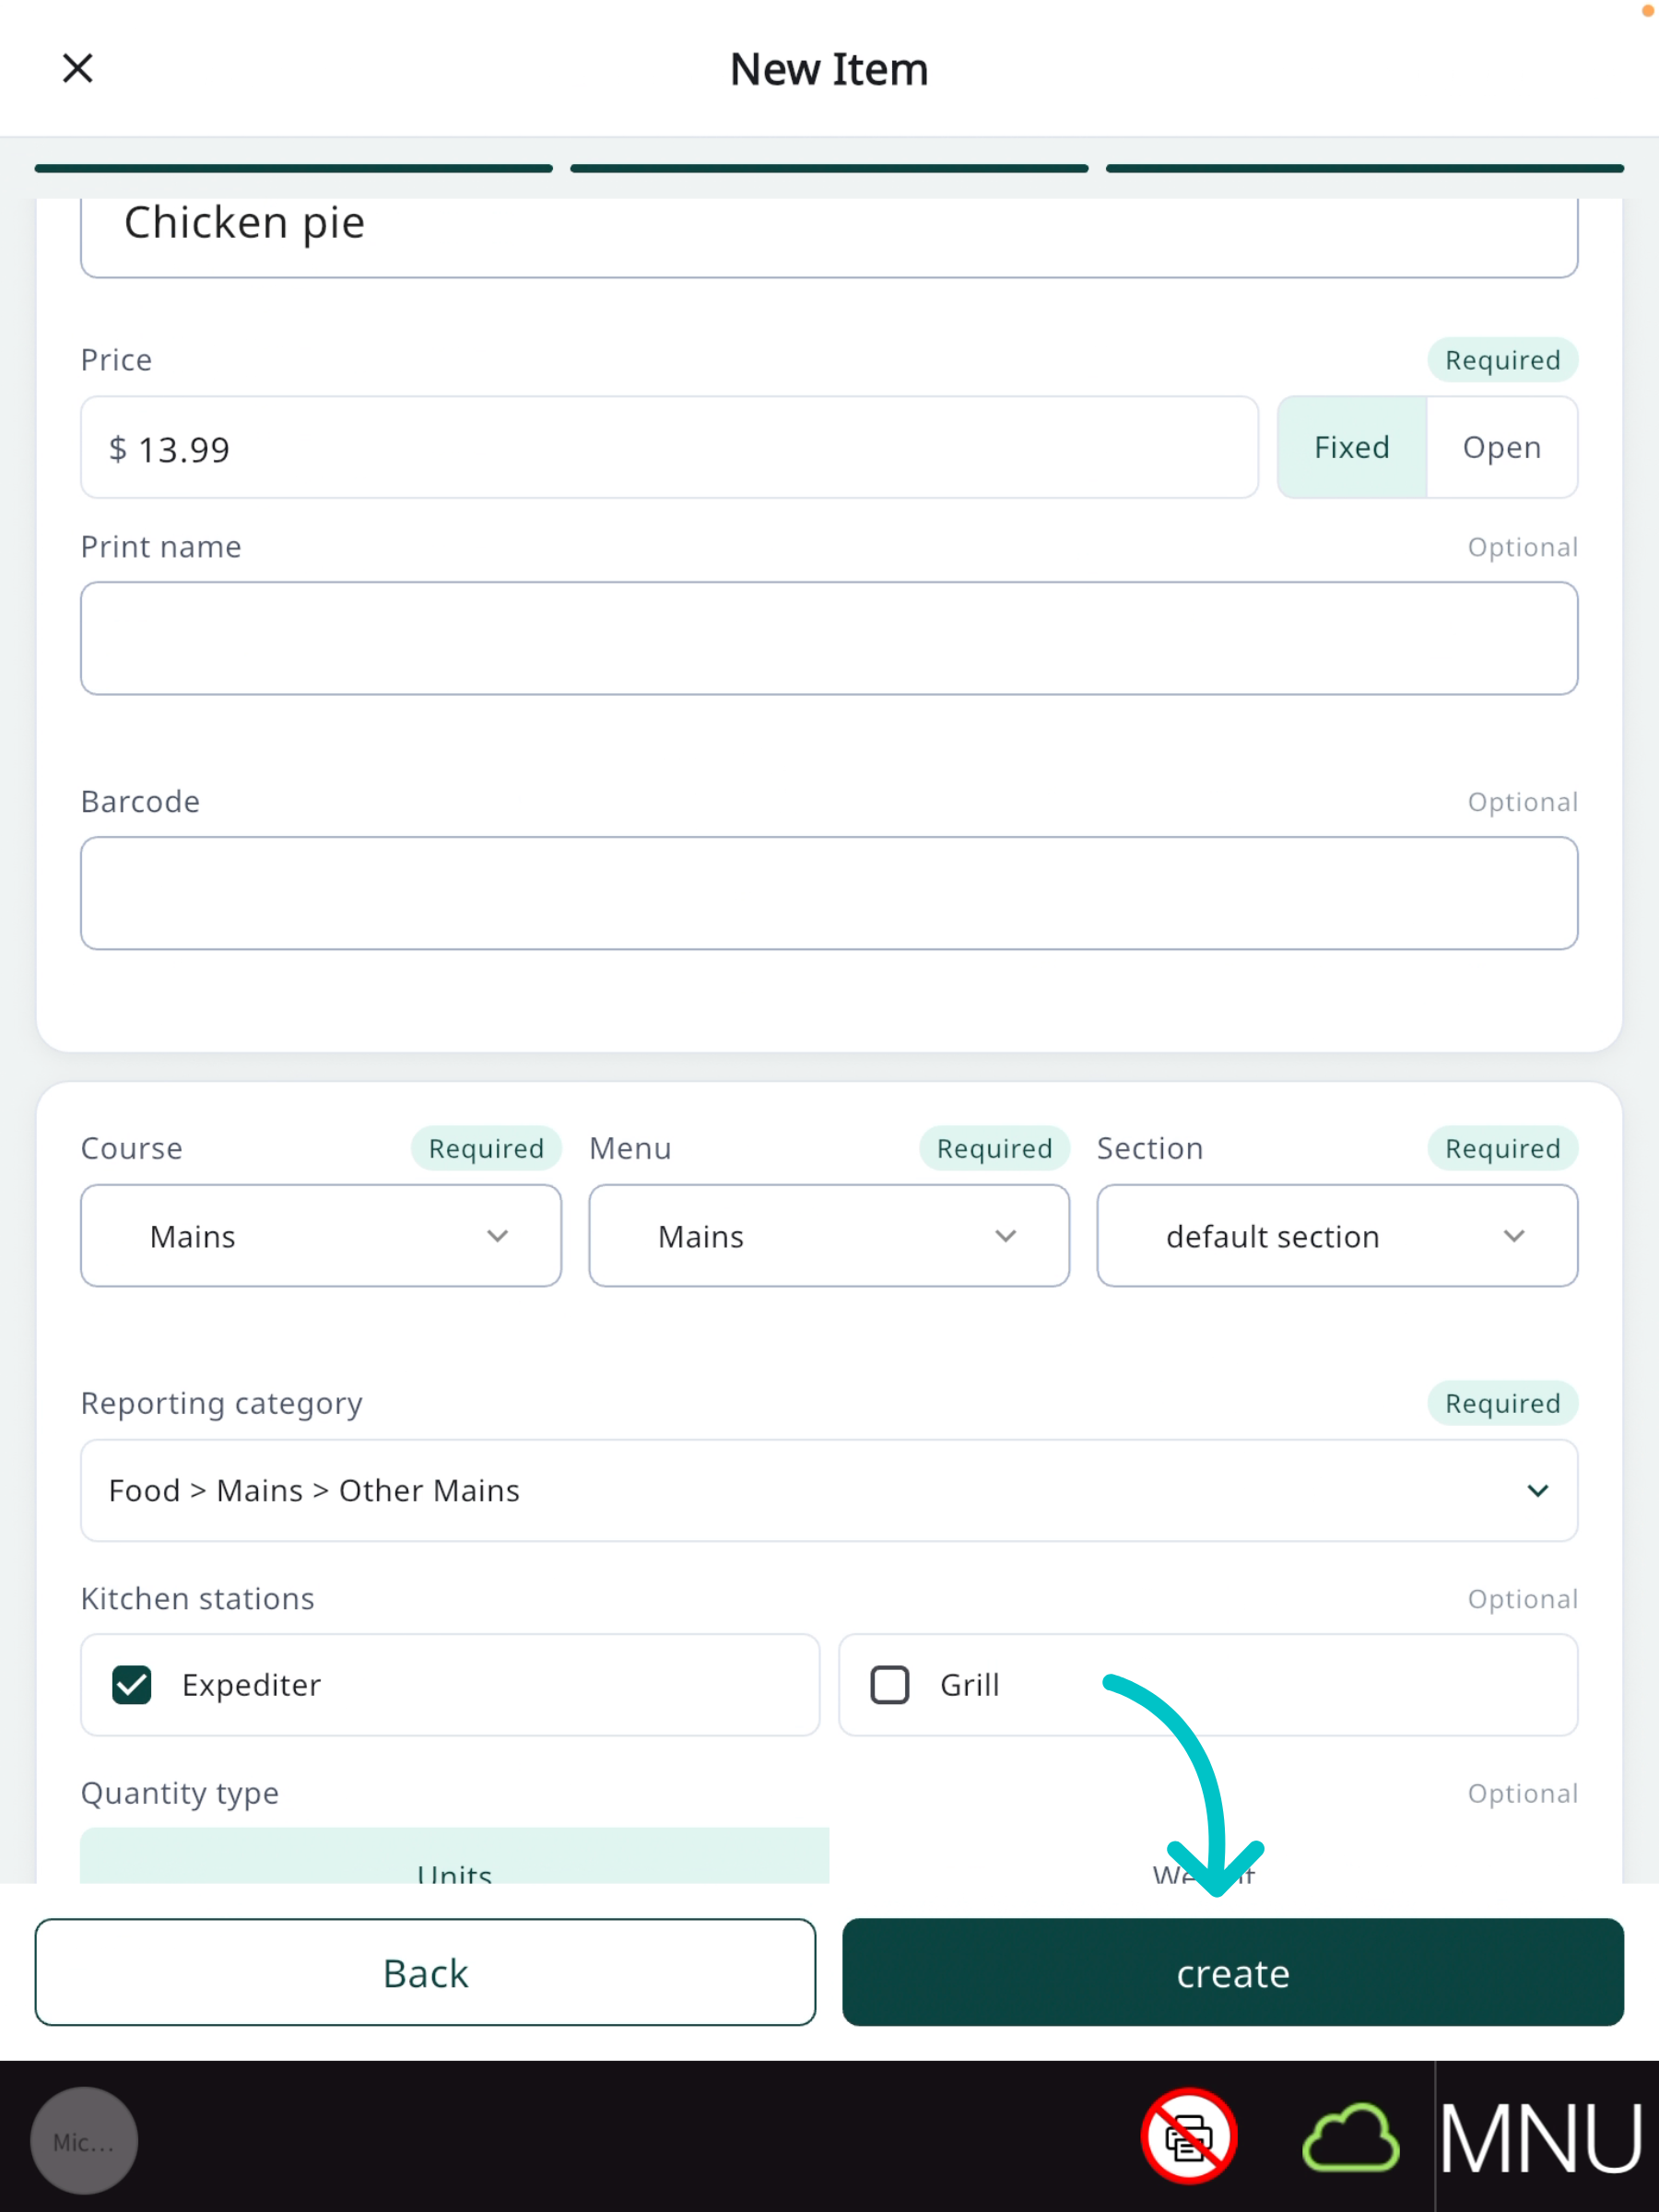
Decide whether to base the item's settings on an existing item or set them manually - both options are explained below
Note
If you select w/ Tax for the new item, you also need to select a Tax Rule. Without one, you can't save - the message "Select a tax rule, or choose No Tax" appears.
Reviewing and publishing changes
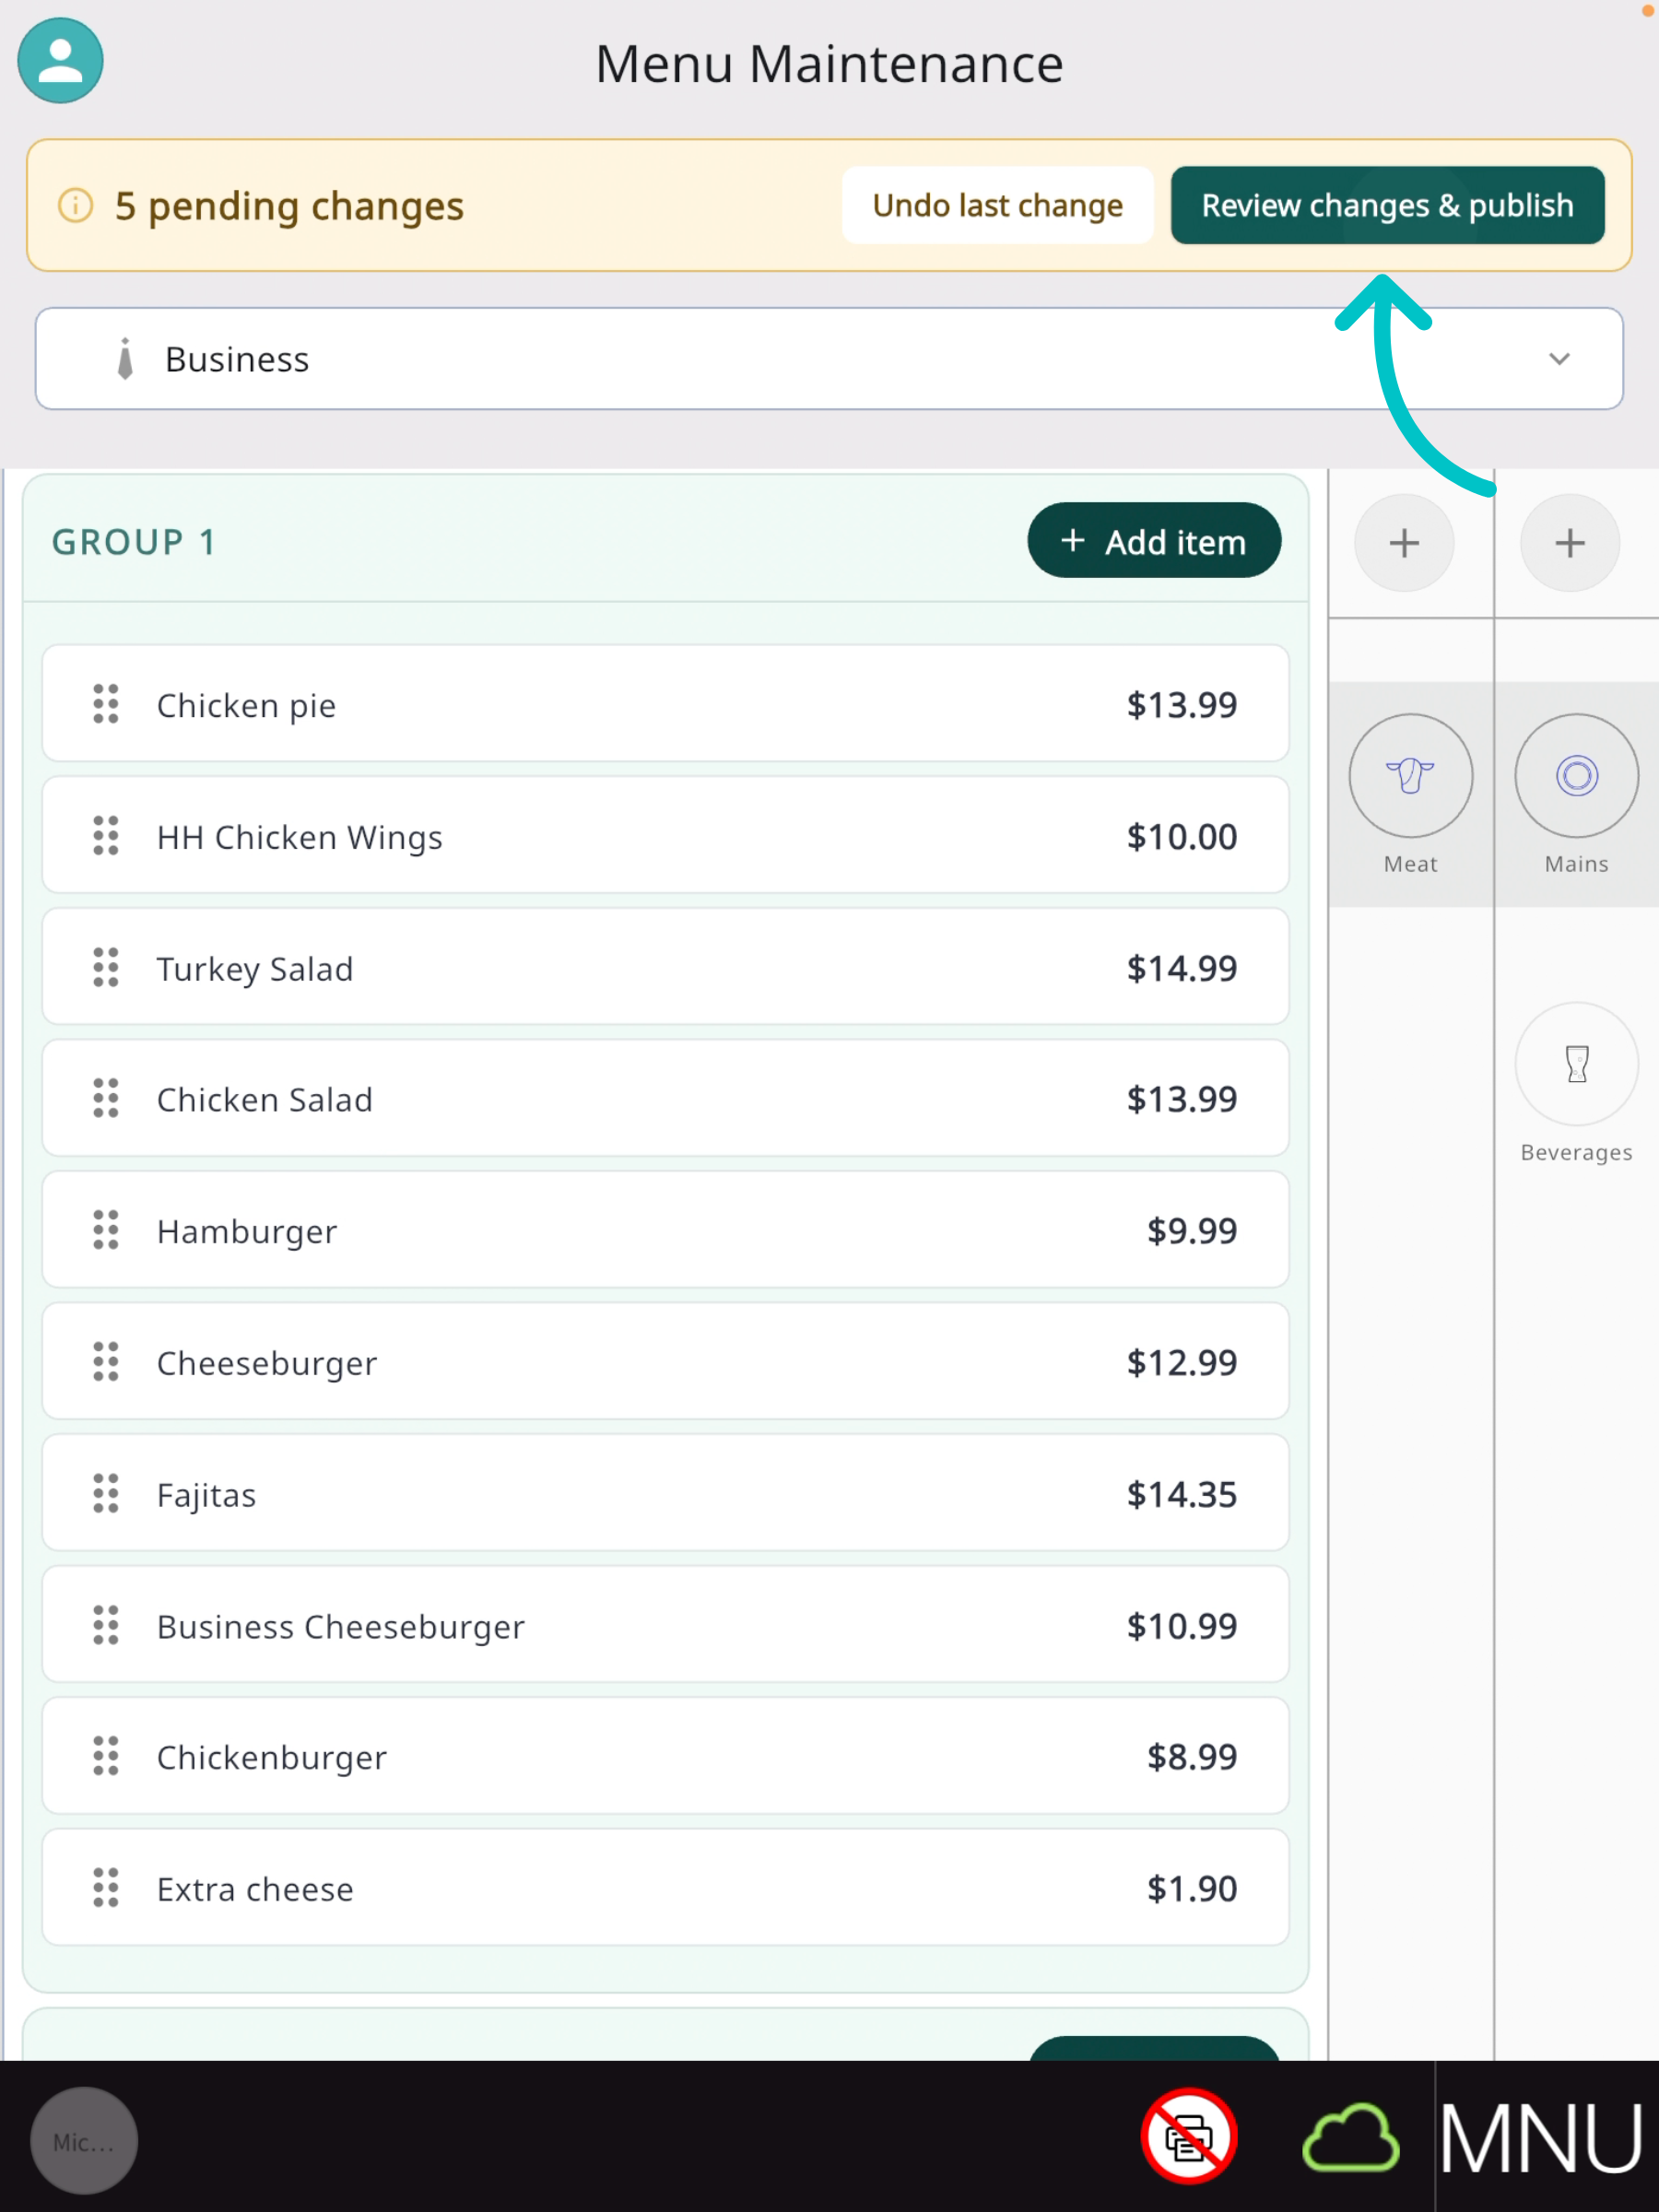
Made a mistake, or want to undo something? Tap Undo last change to undo just your last action. Press and hold the same button to undo all your changes to the menu display at once.
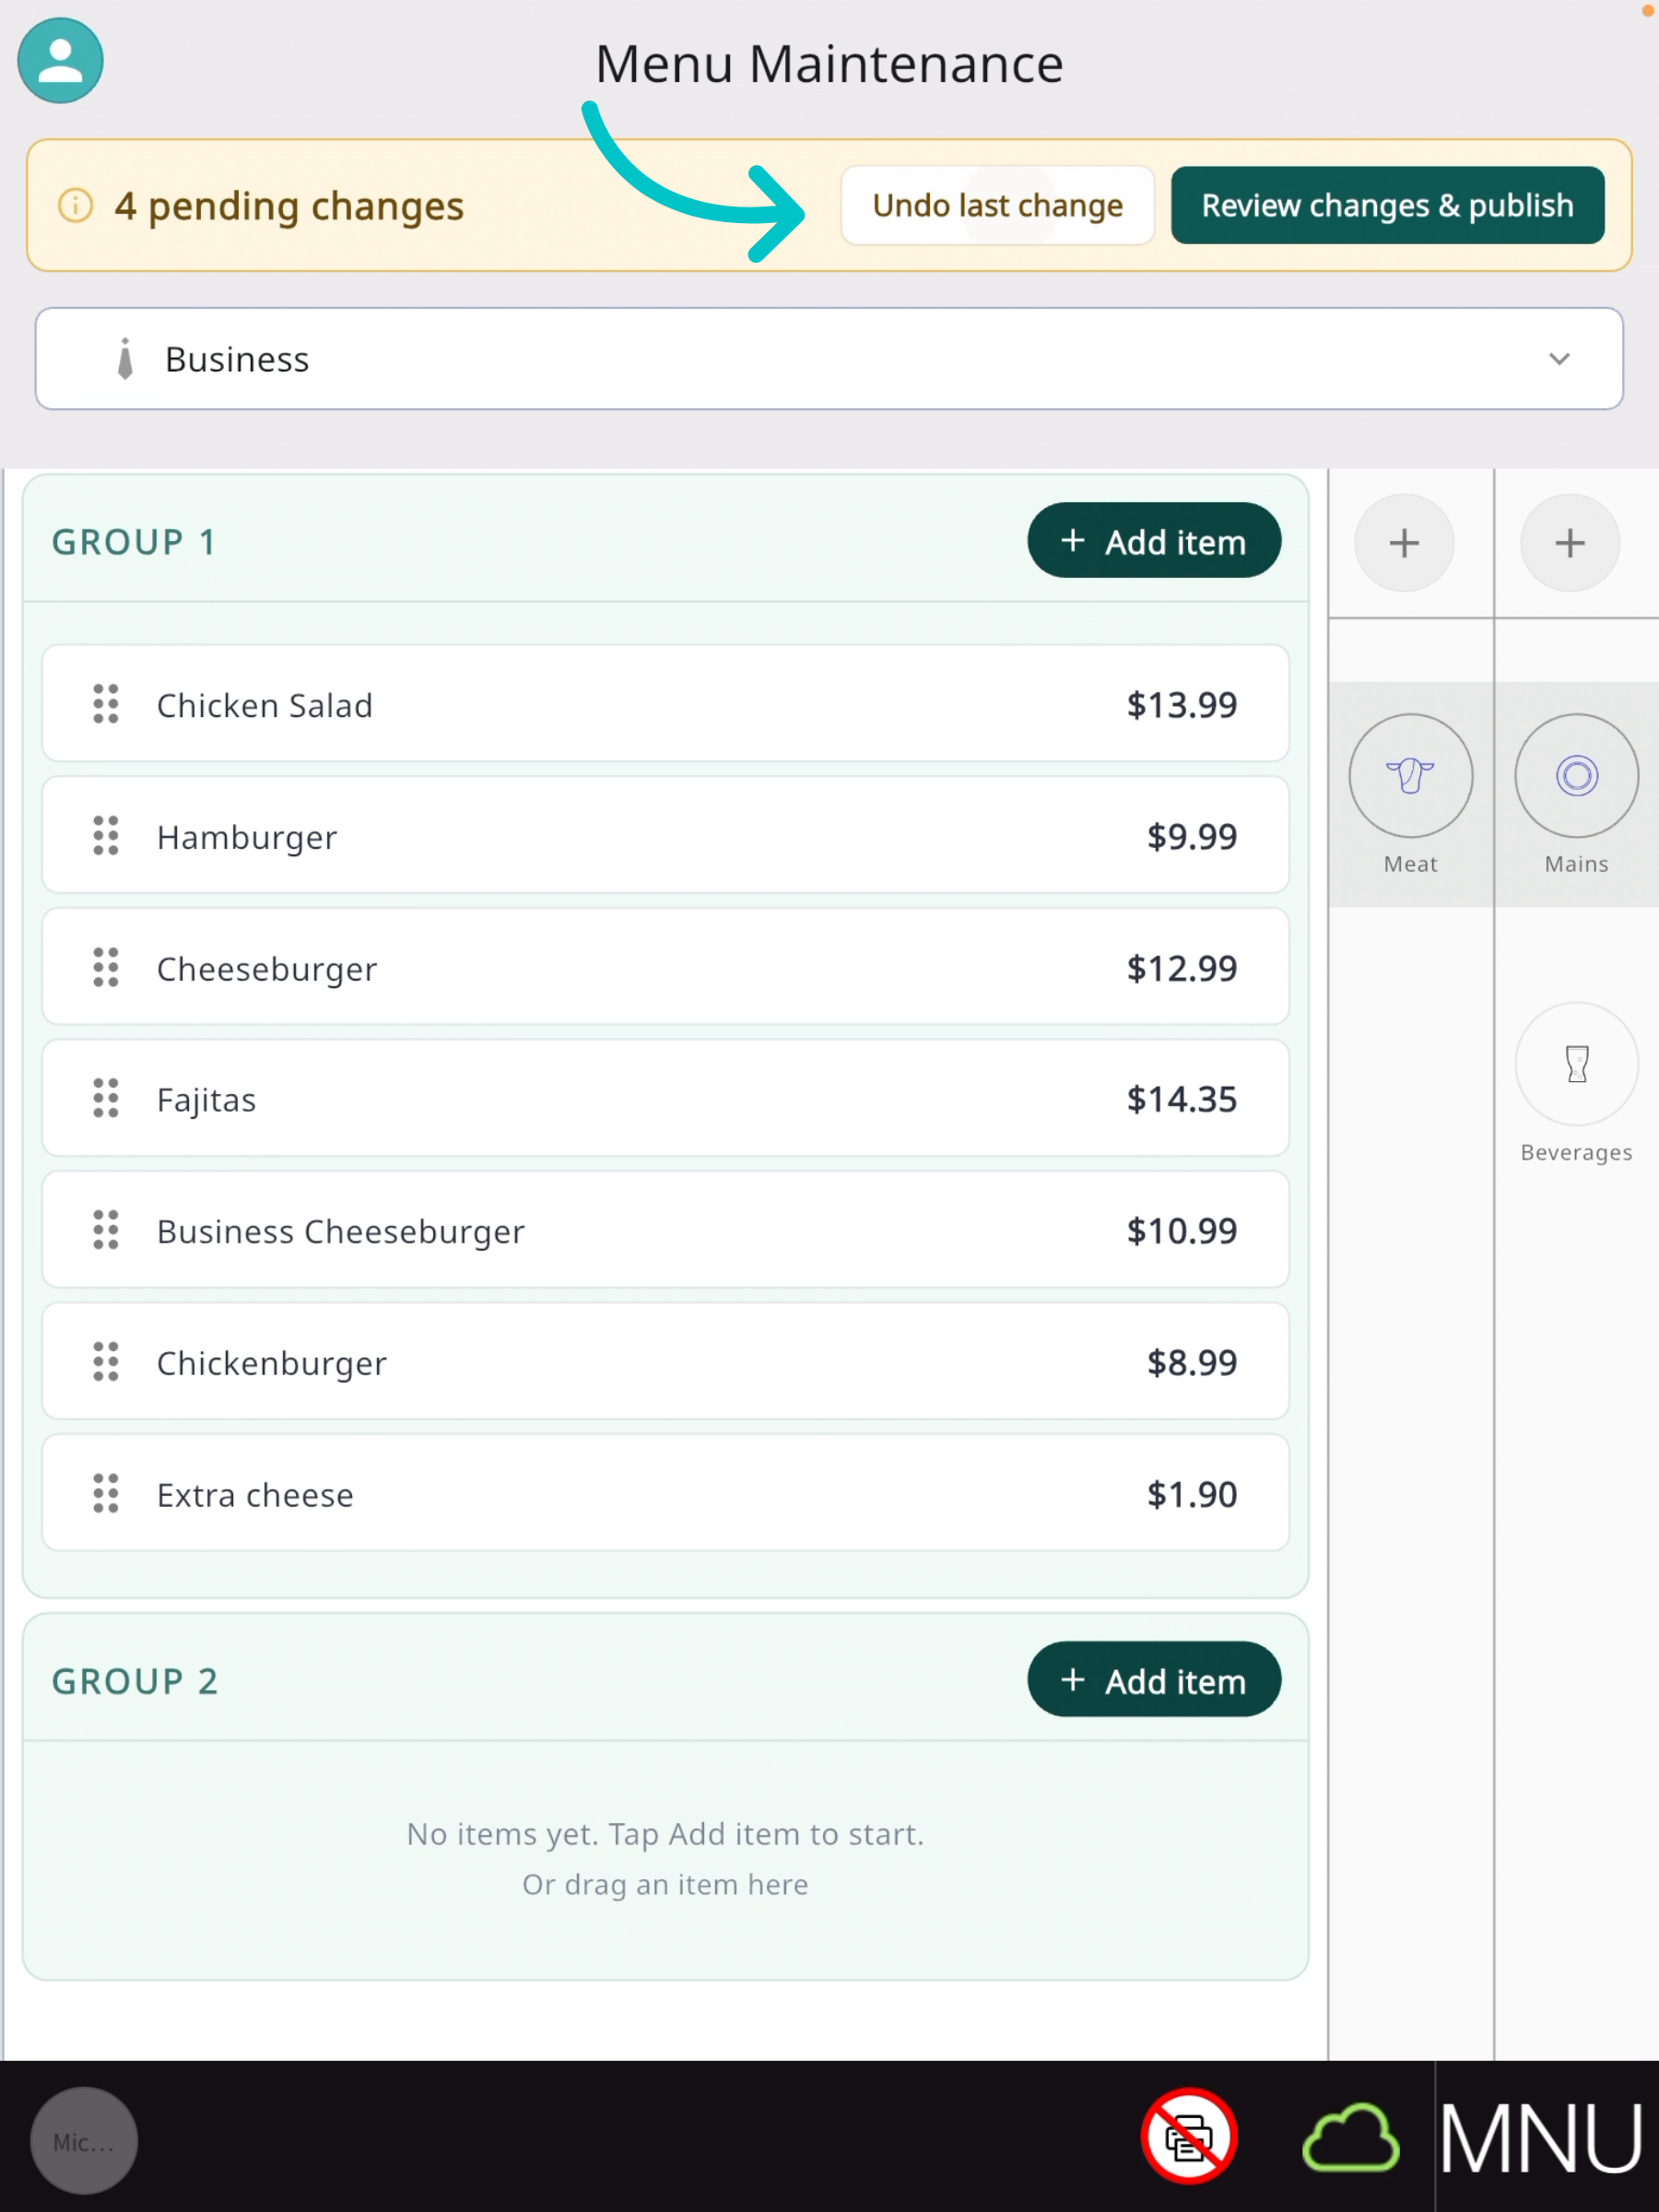
To publish the changes you made to the menu, follow the steps below:
-
Tap Review changes & publish at the top right
Note
Publishing from the PAD only publishes the changes made on the PAD that appear on the review screen. Changes made in Tabit Office aren't published this way - publish those from Tabit Office.
Go over all the updates on the review screen
-
Tap Publish to publish the changes, or Reset all to undo everything
That's it - you can now add items, update prices, and reorganize your menu right from the PAD, without needing a computer.