-
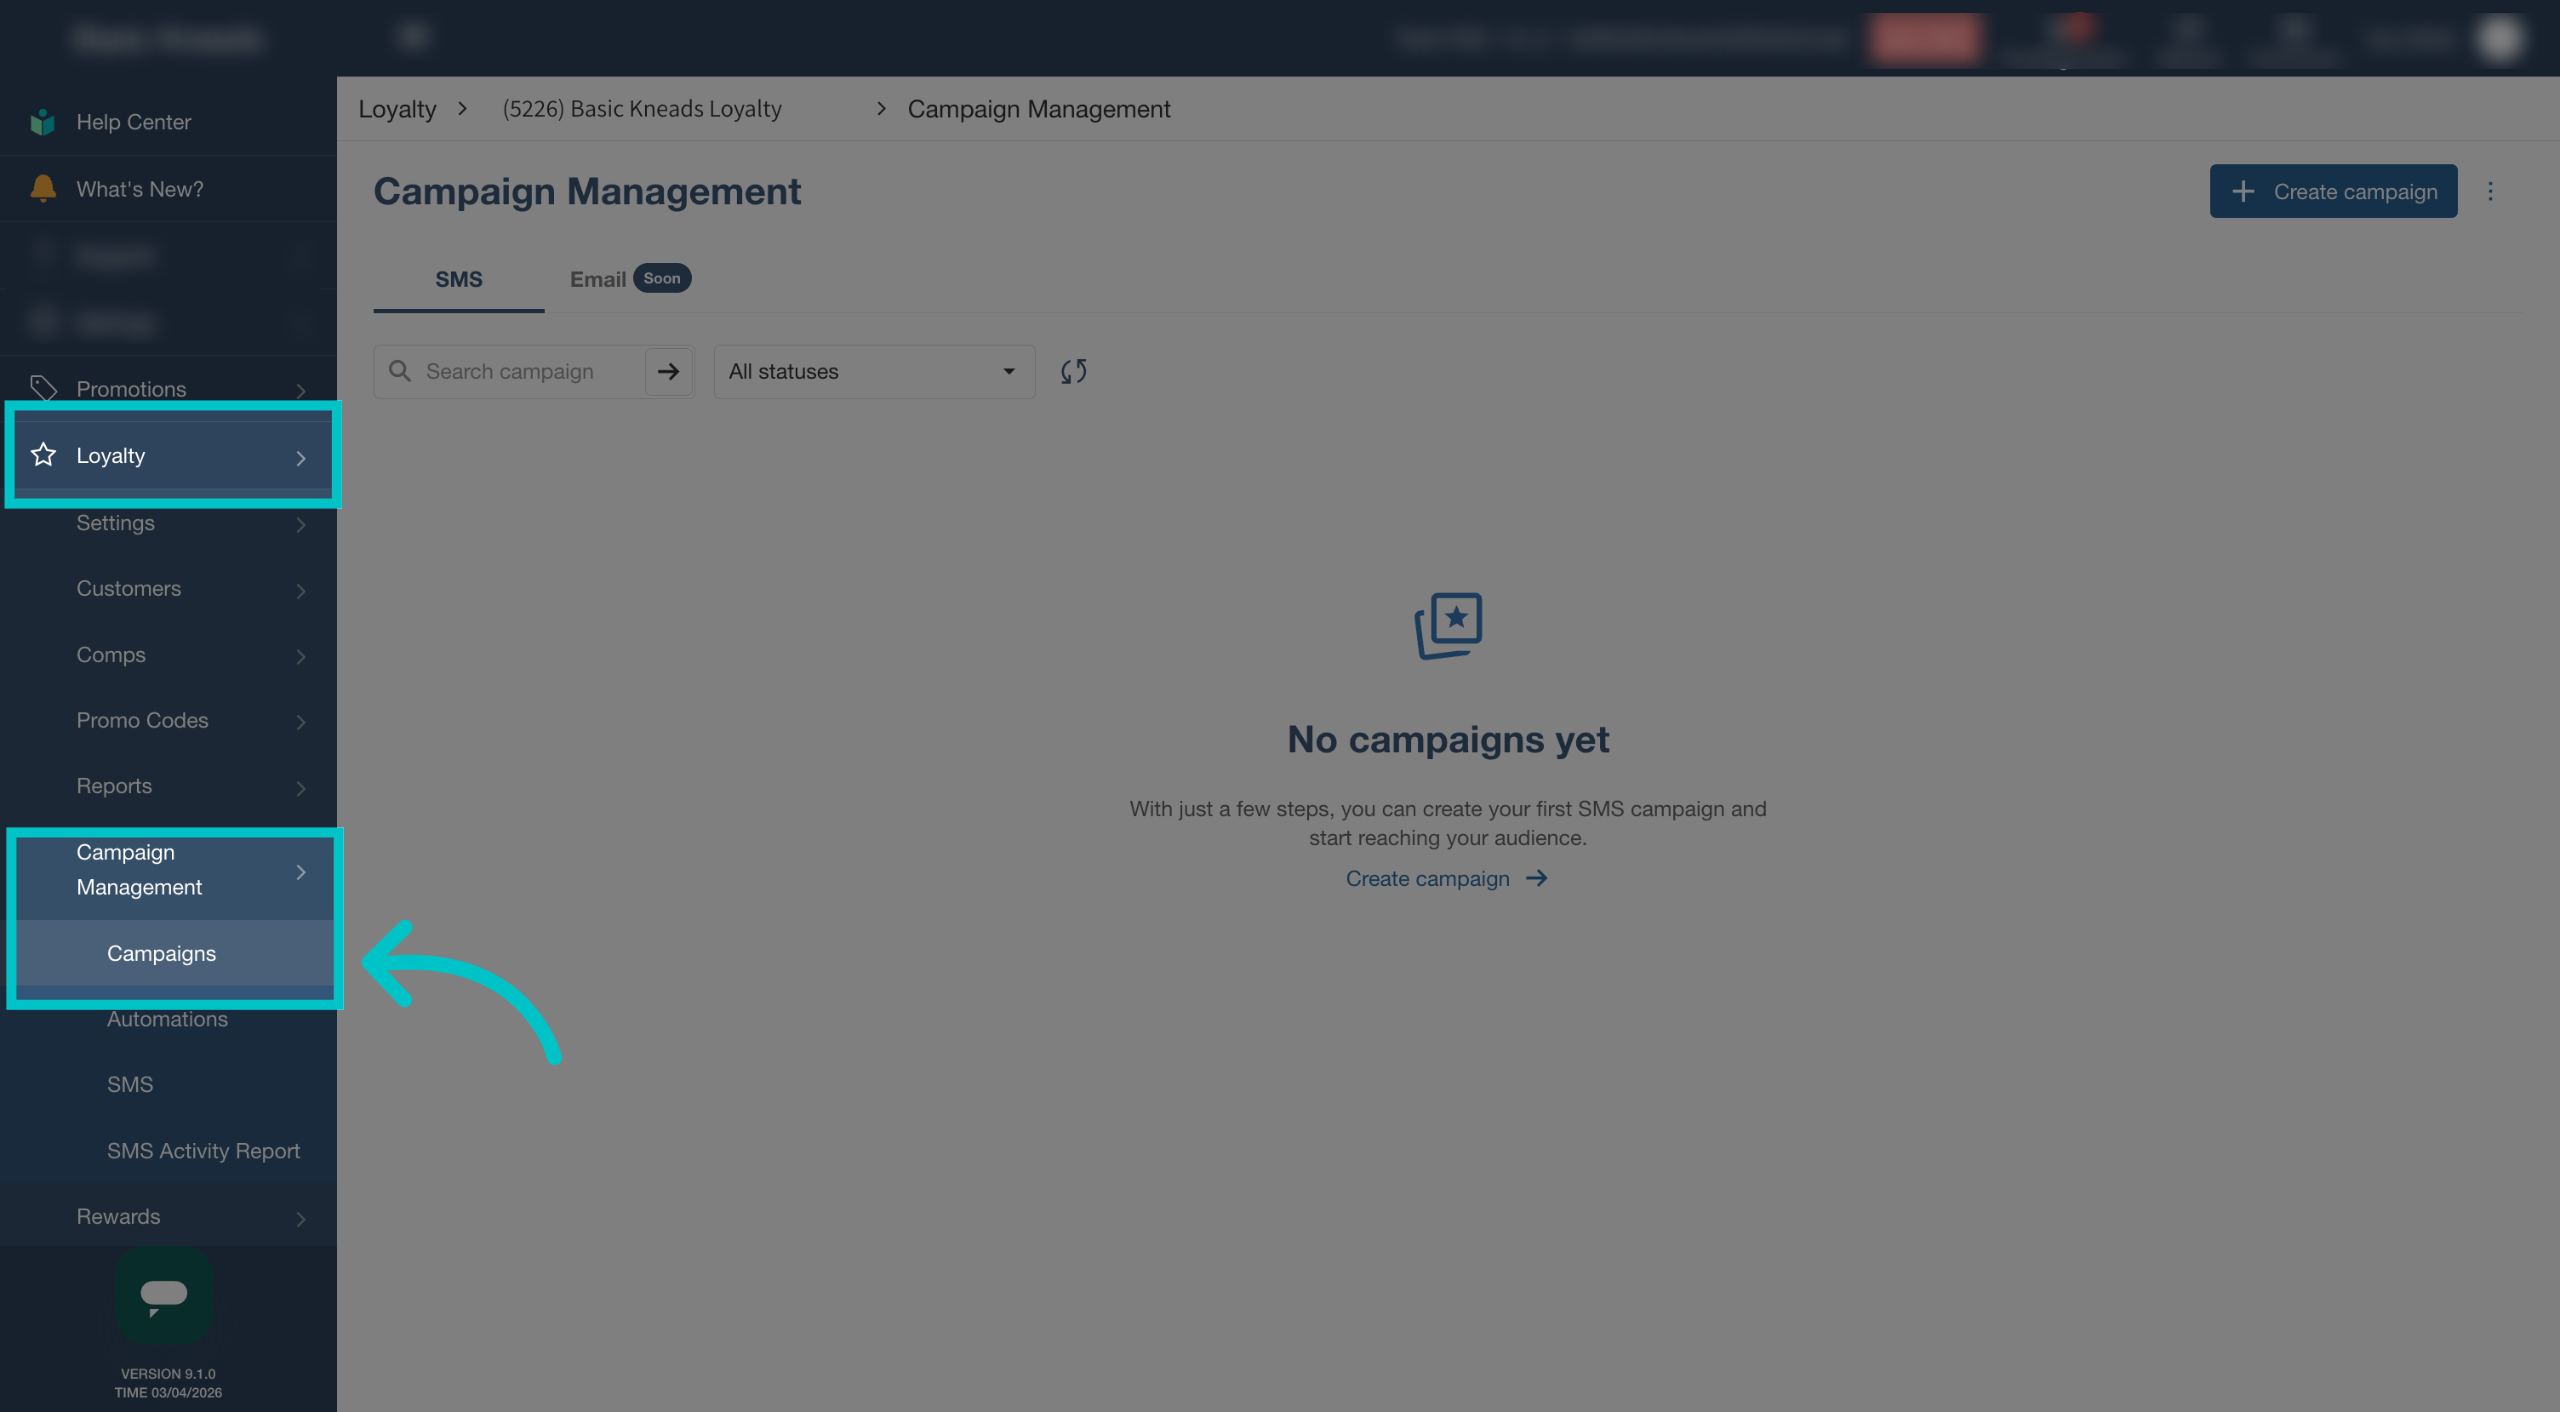
In Tabit Office, go to Loyalty > Campaign Management > Campaigns
-
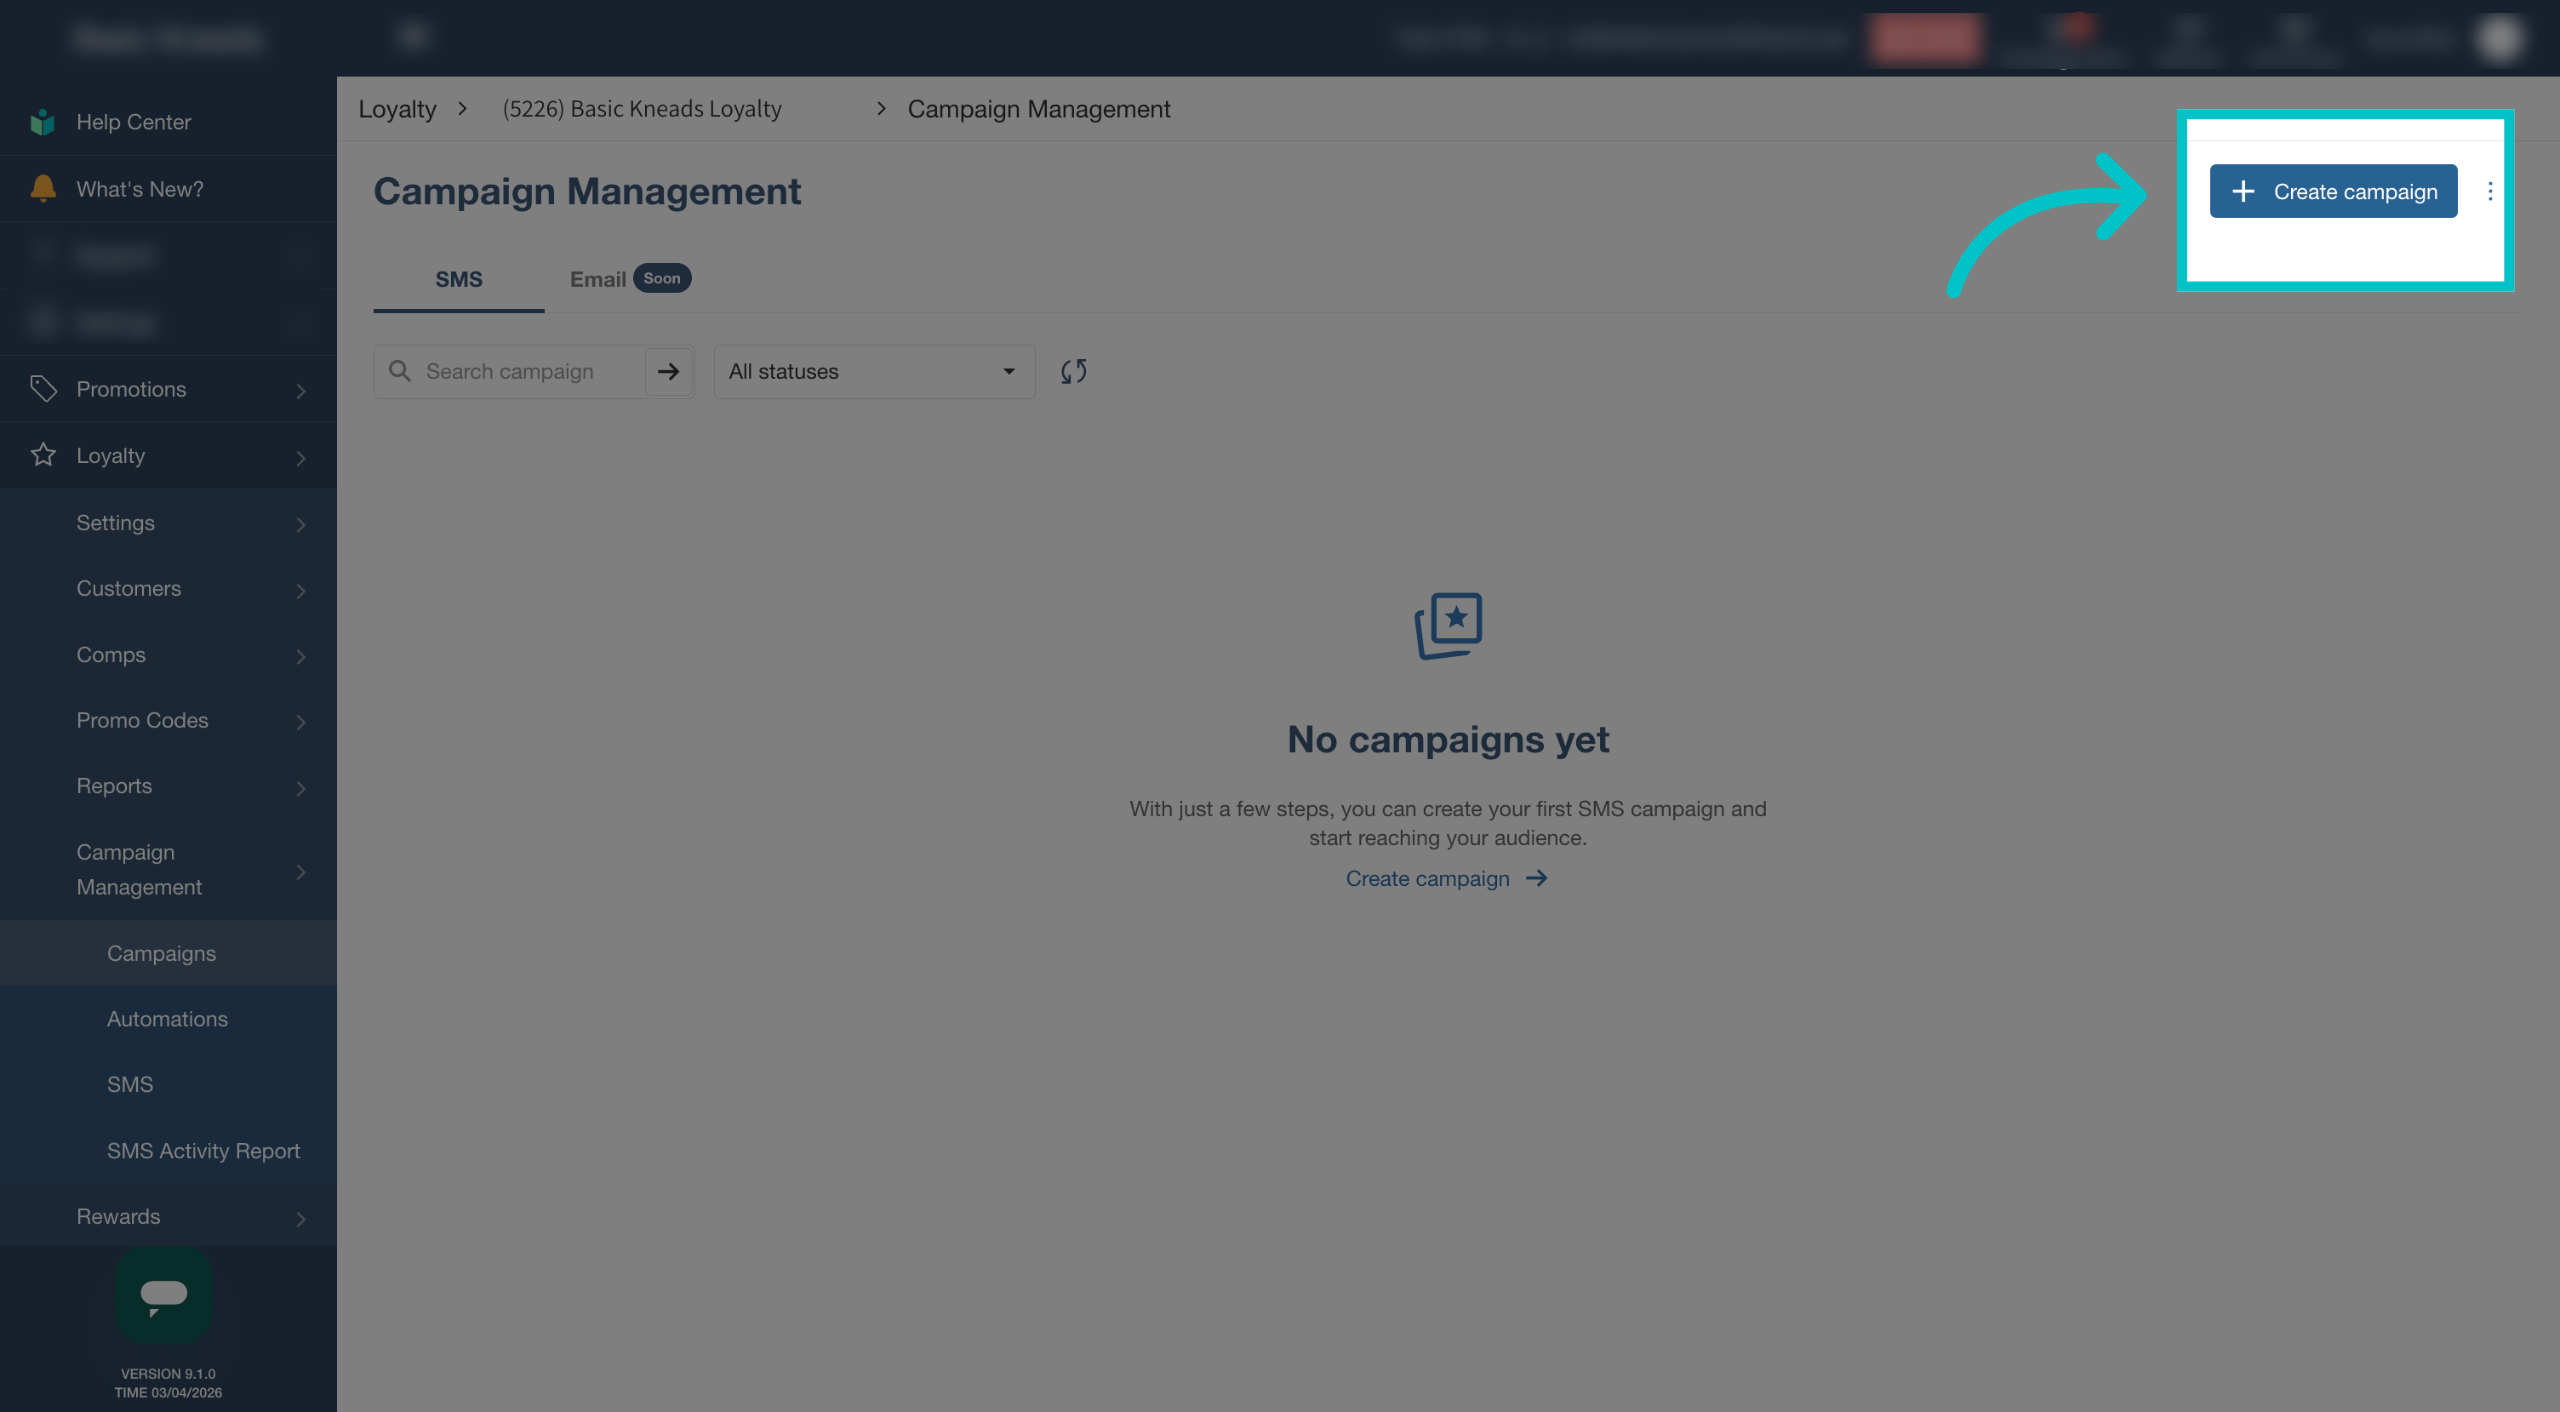
Select Create campaign
-
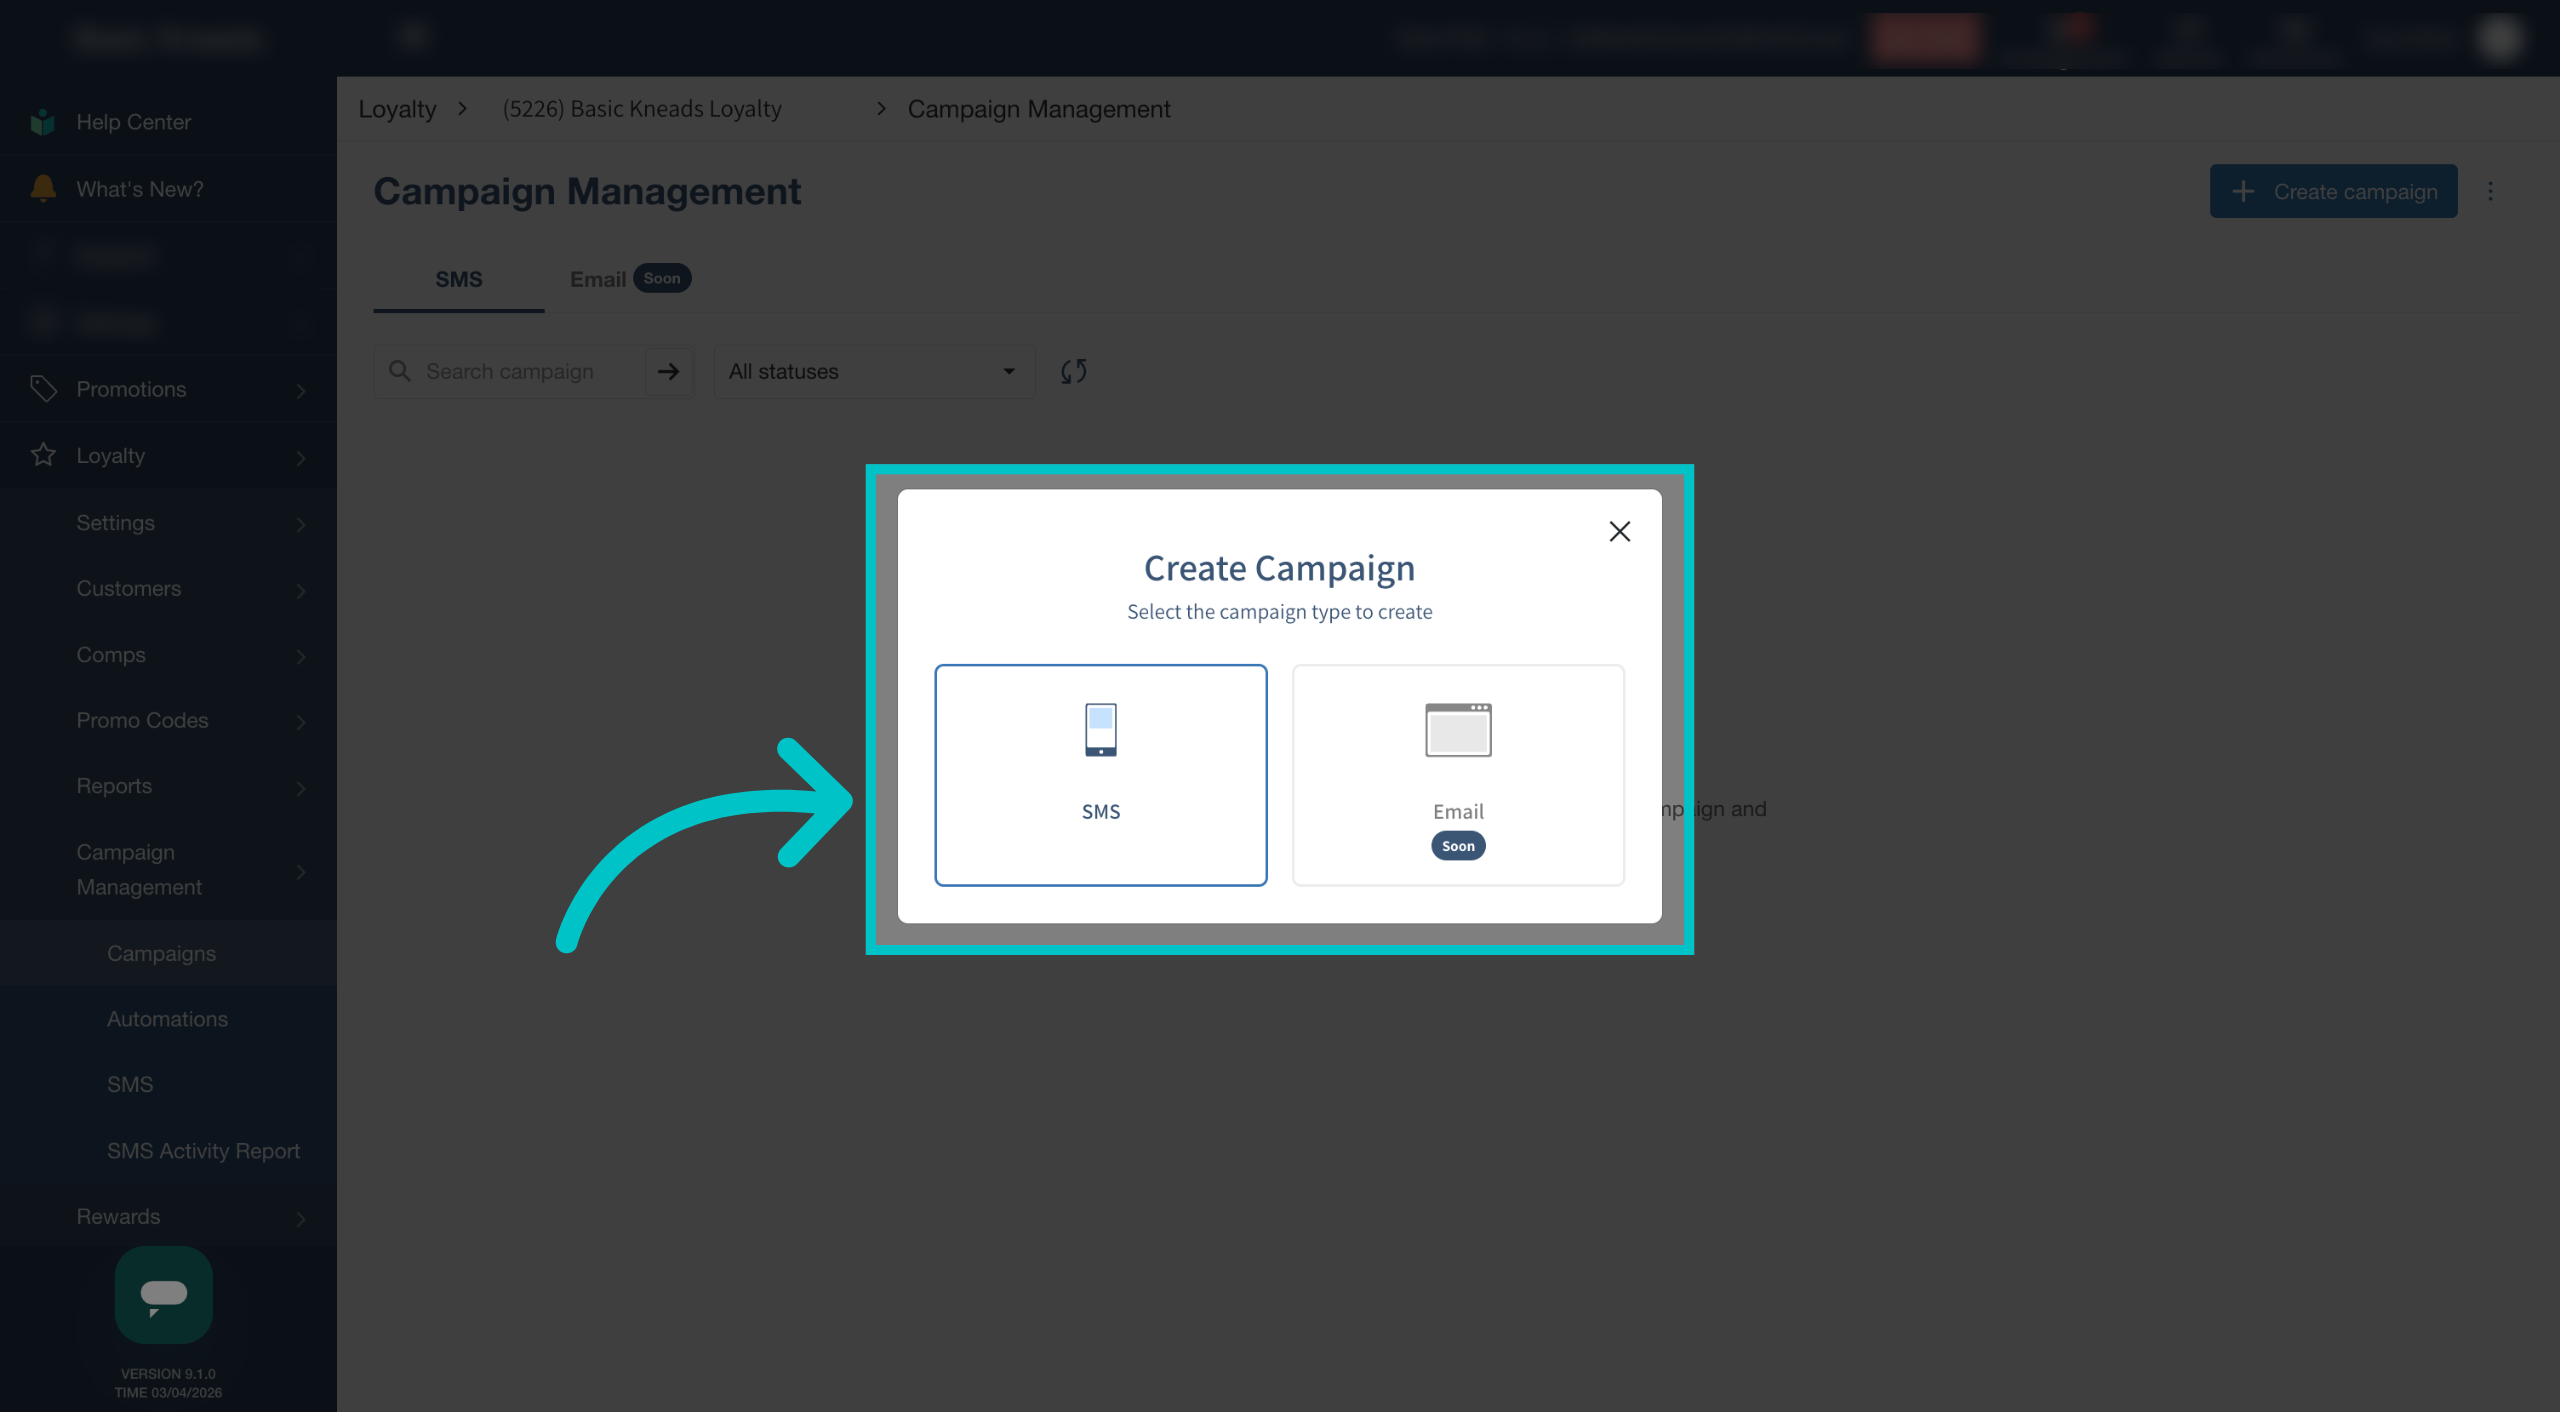
Select SMS to create a one-time SMS campaign
-
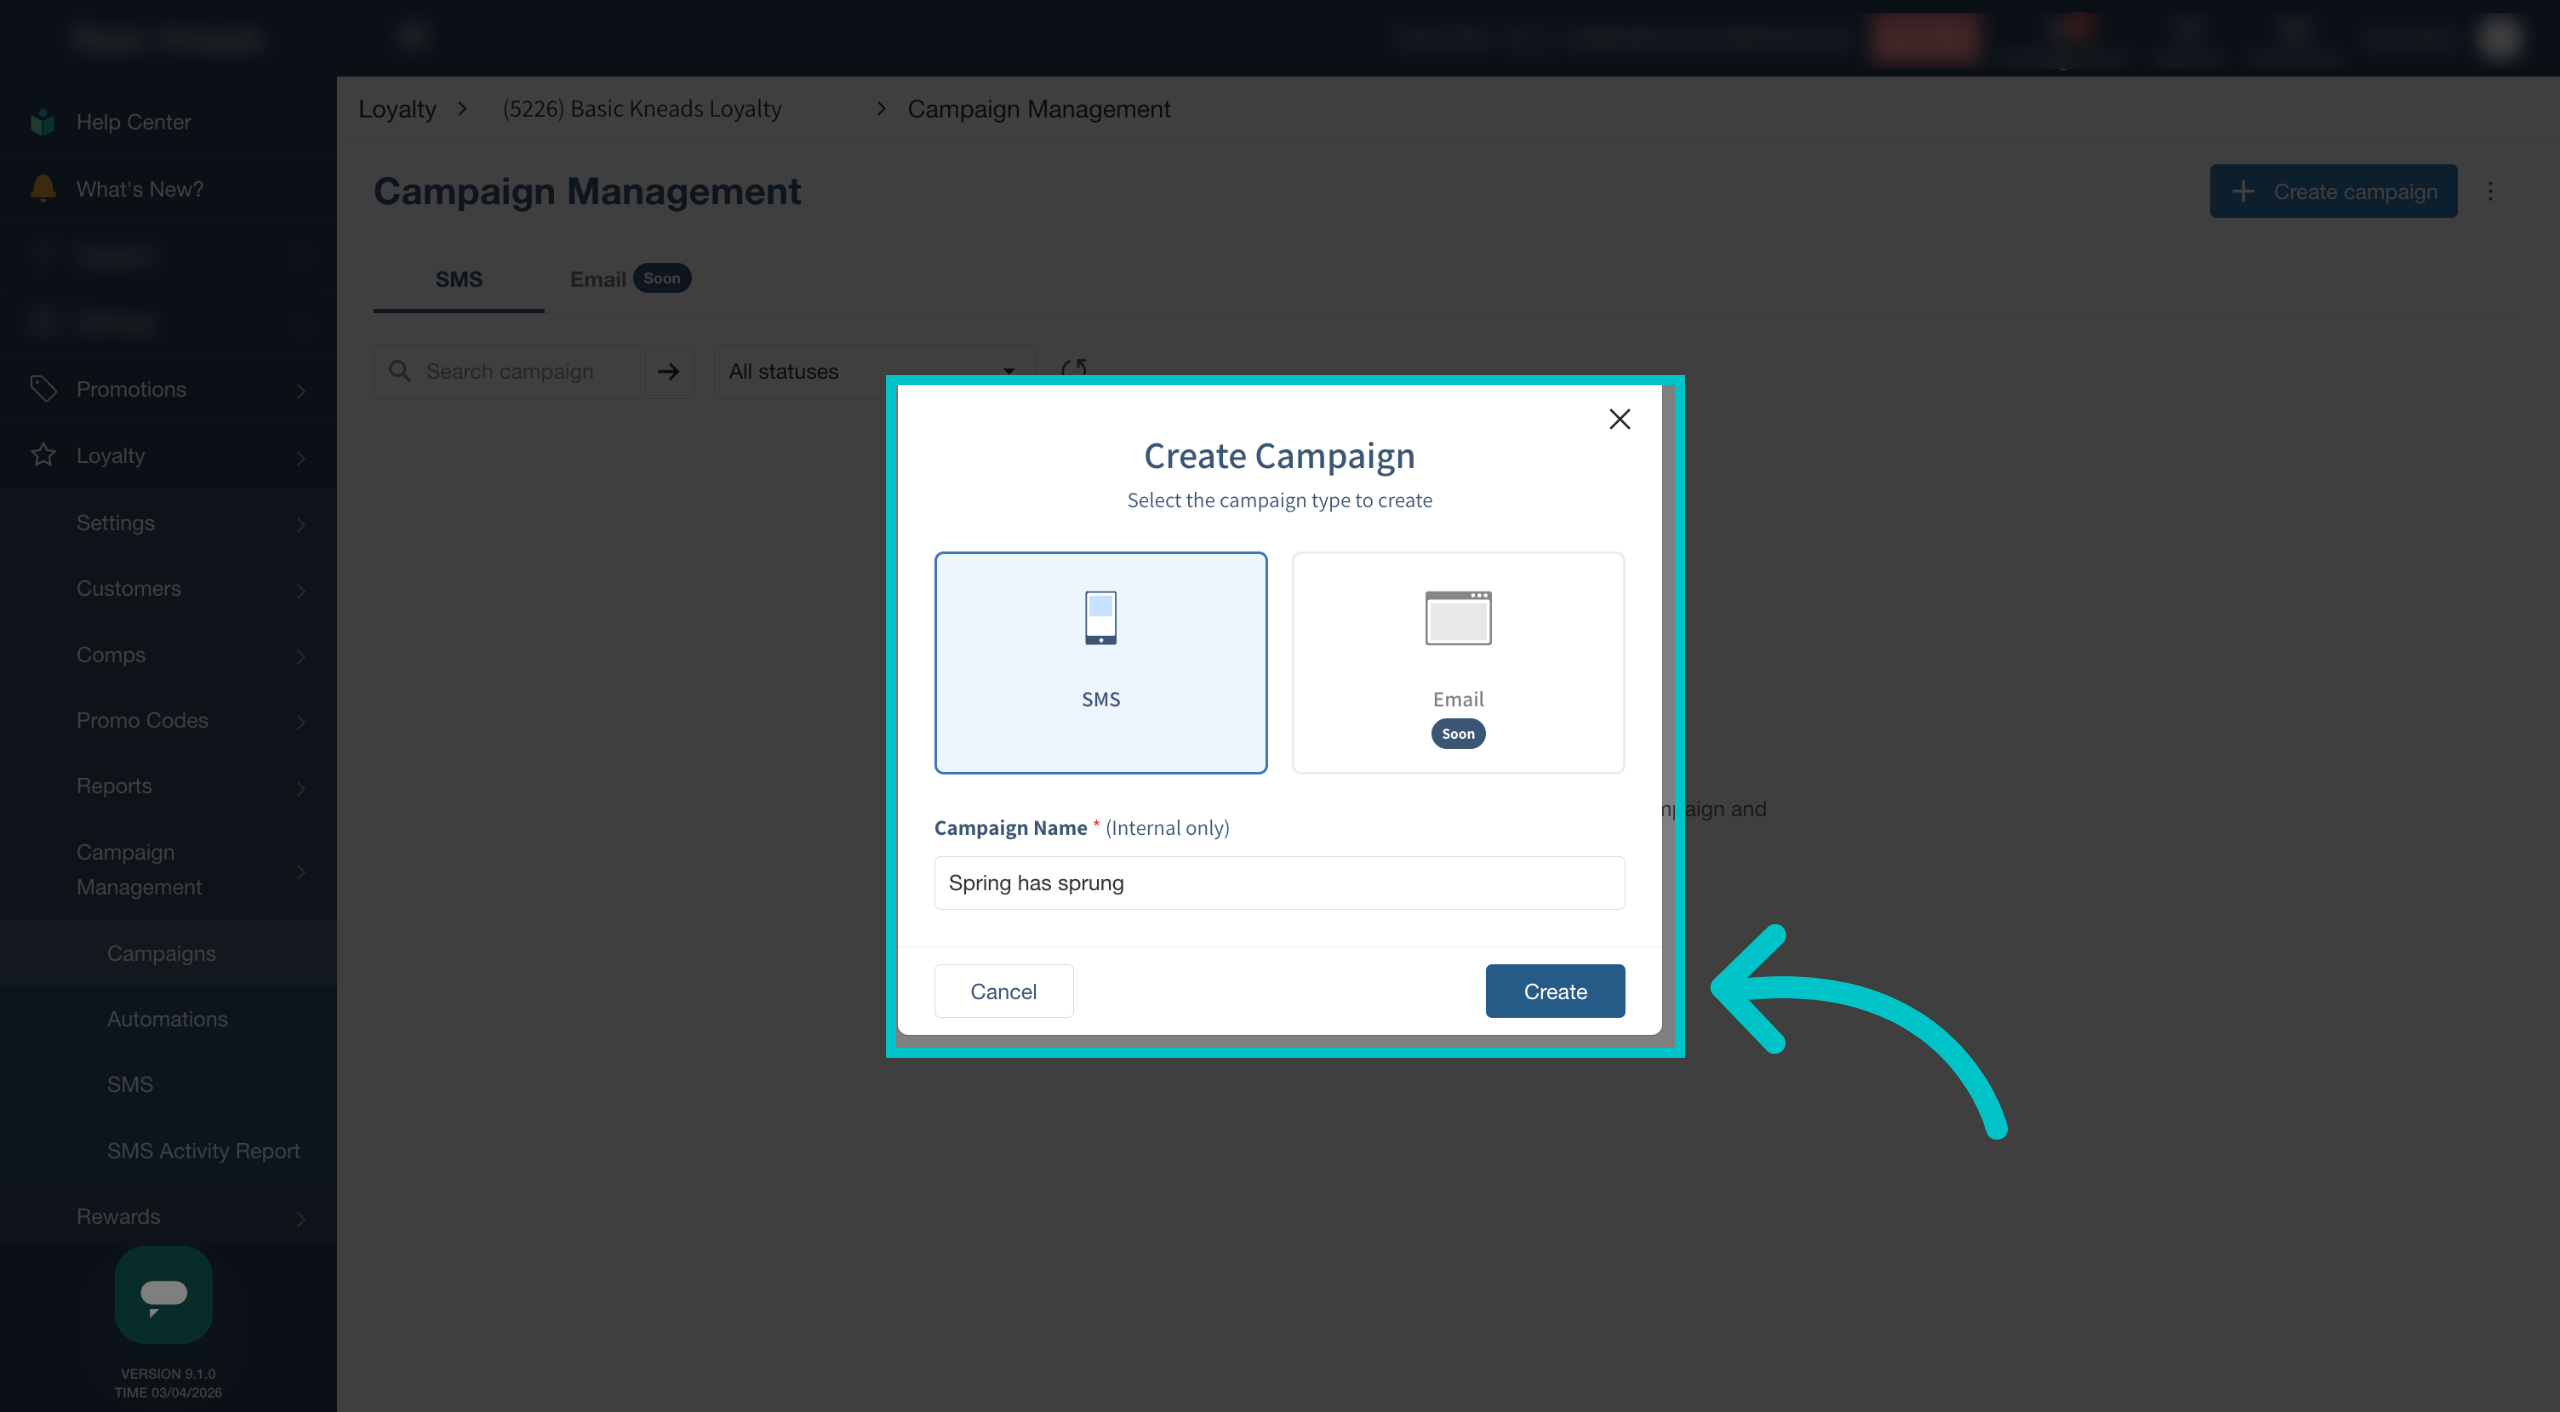
Name the campaign and select Create
-
Complete each section of the campaign setup and save each step before continuing

-
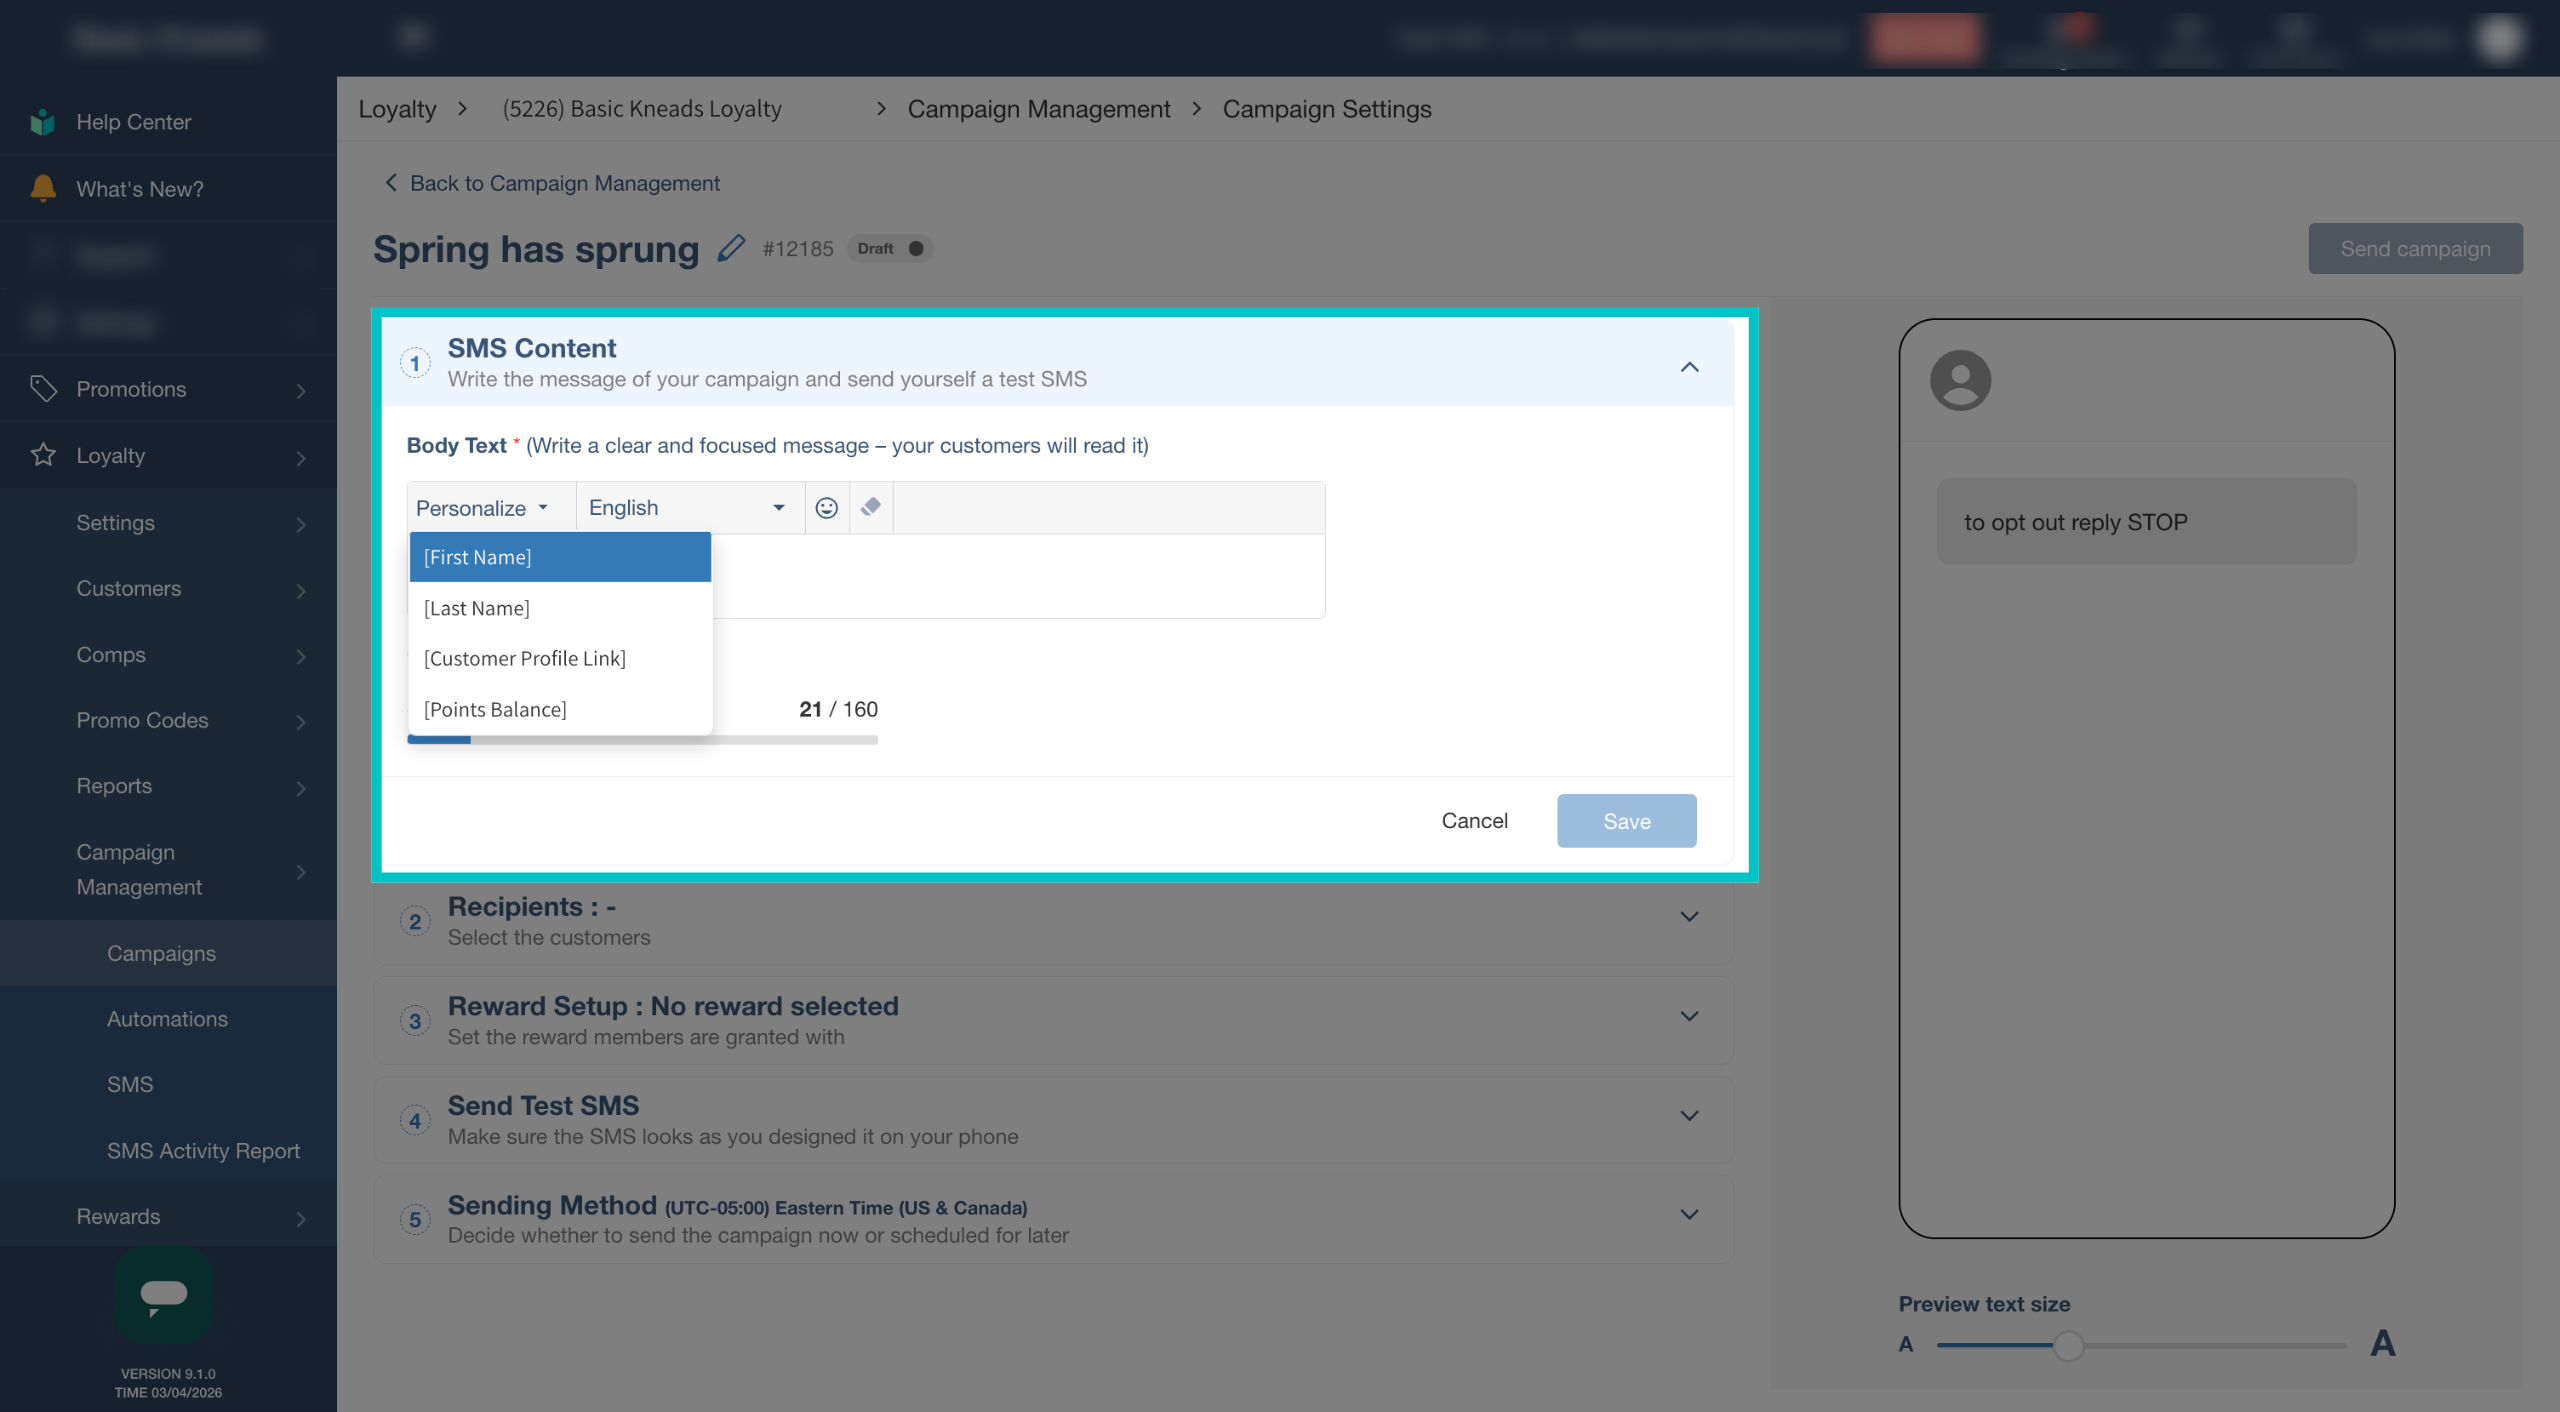
Build the SMS message in the SMS Content section. Here you can insert personalization tokens that will change according to the customer's information (for example, adding [First Name] to the message will put the customer's first name in the message they receive), use emojis, and more
All messages must have an opt out line. This line cannot be removed
-
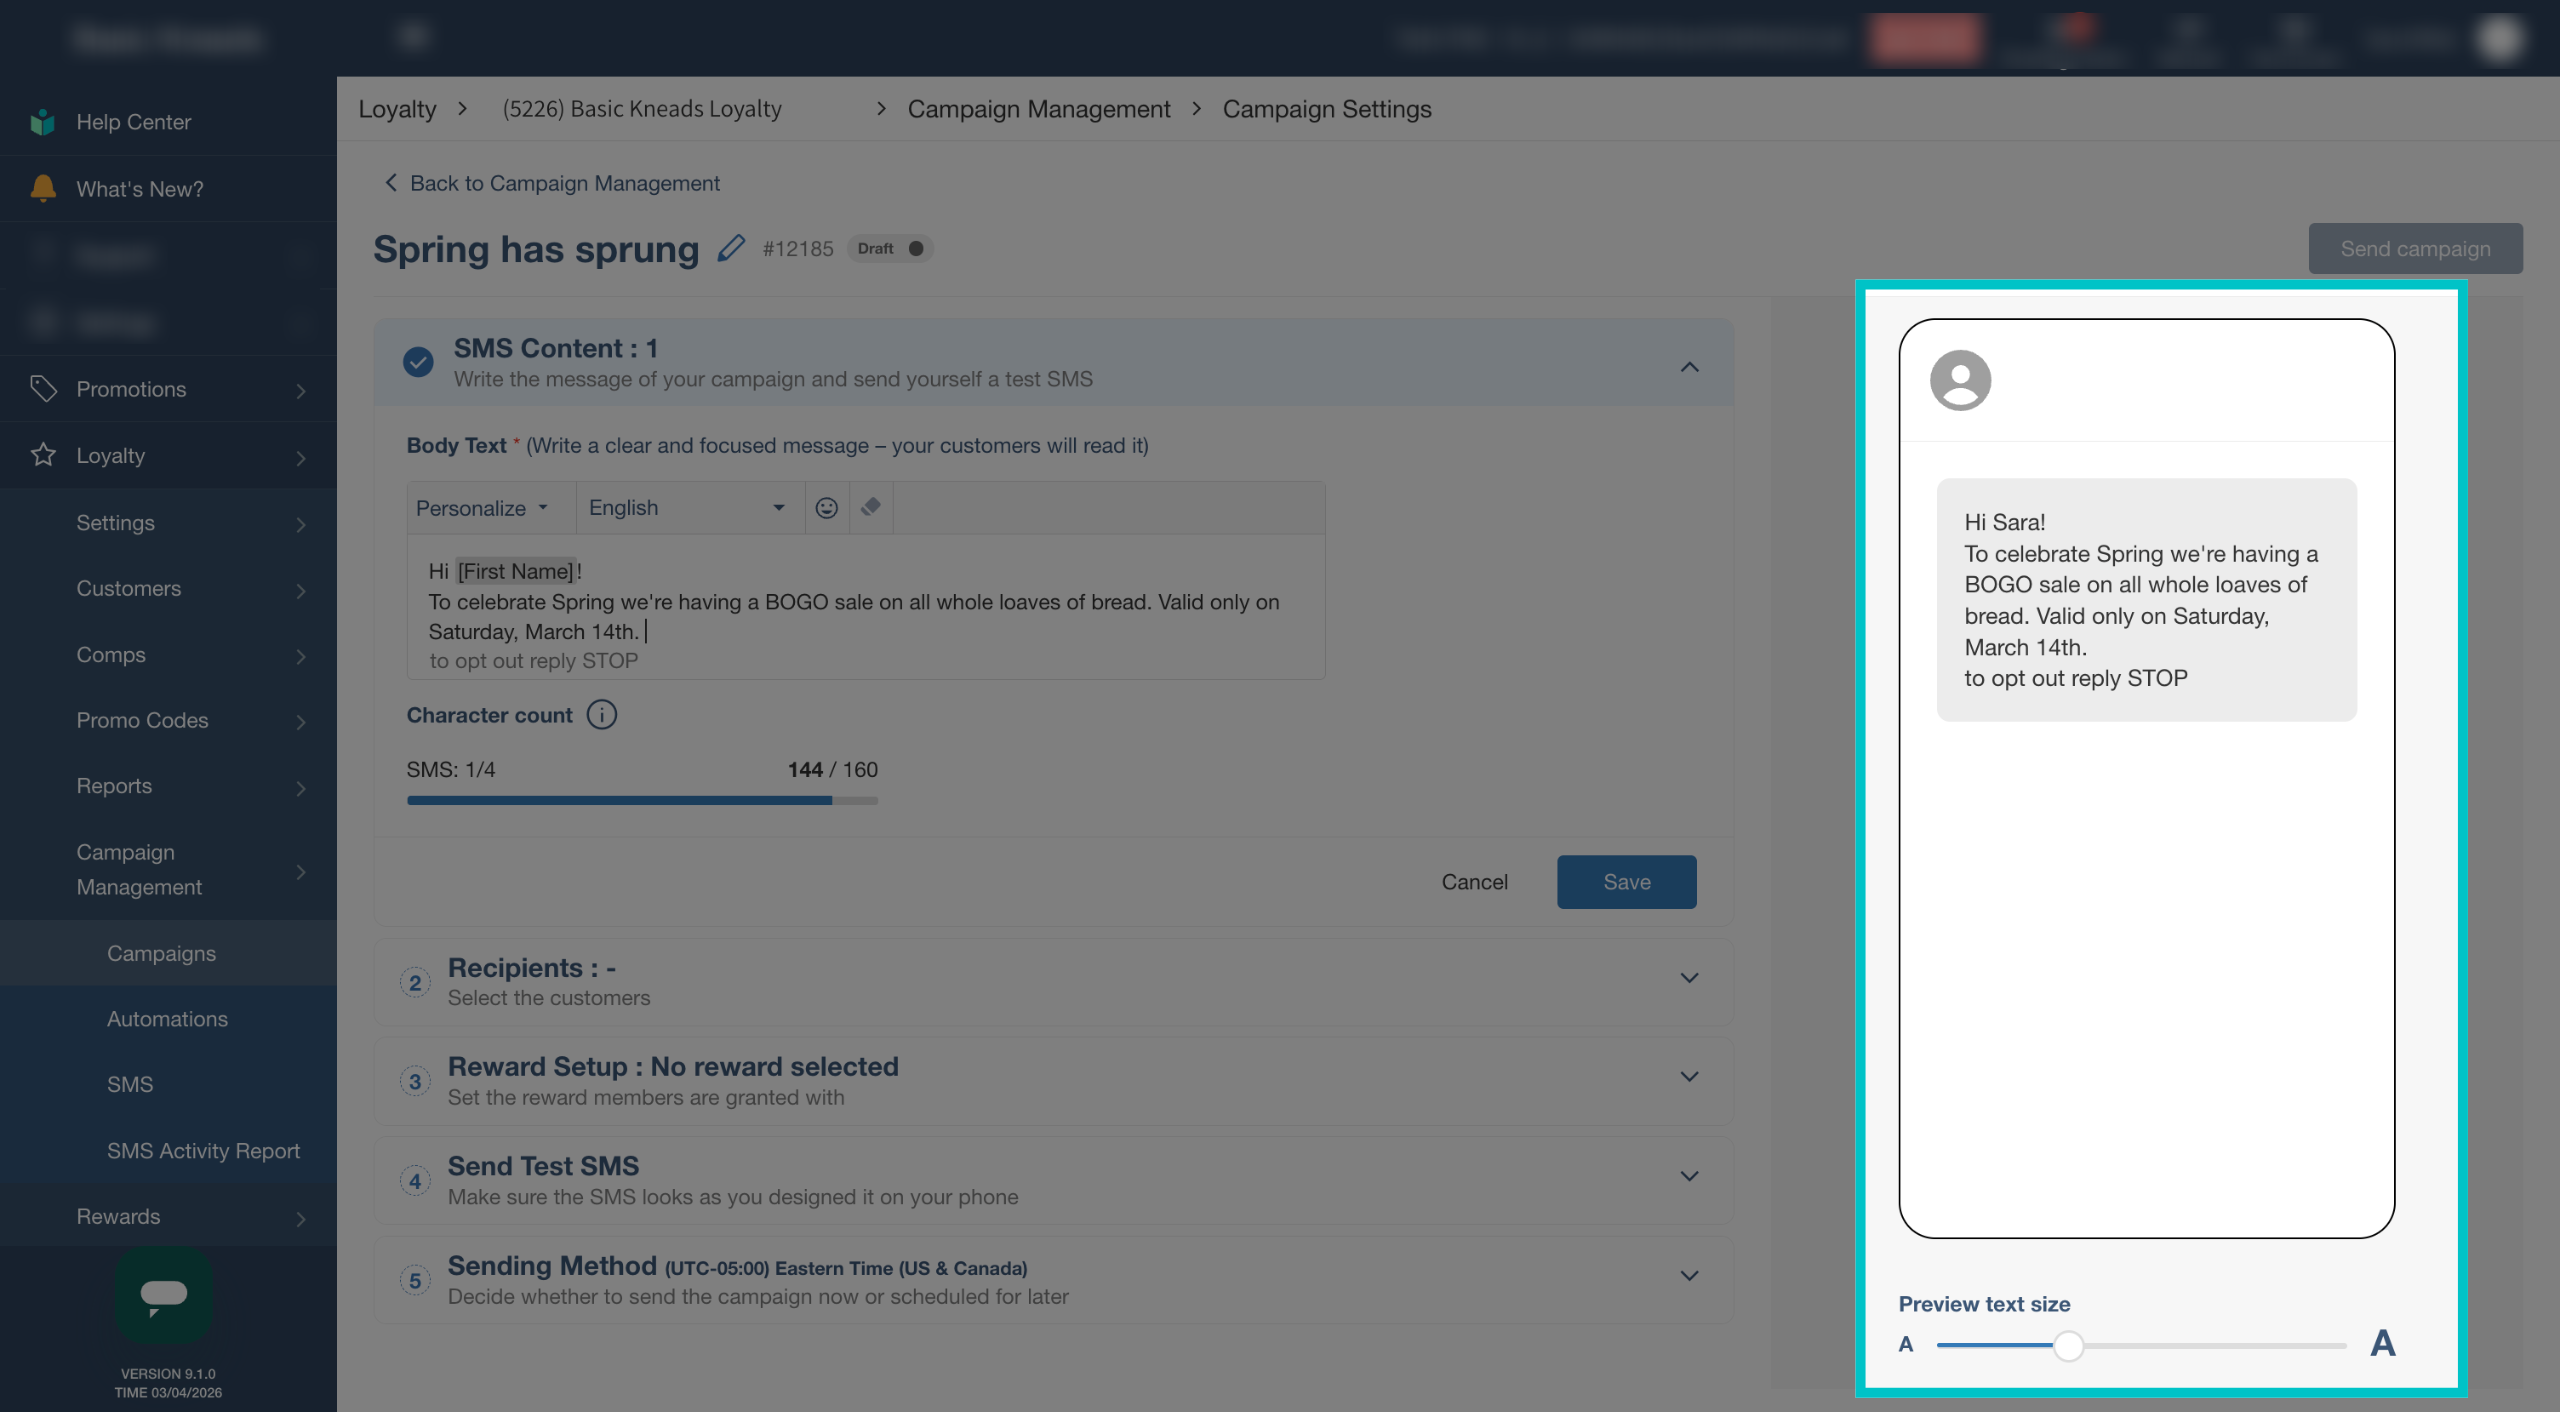
Preview the SMS message on the right side of the screen as you build it
-
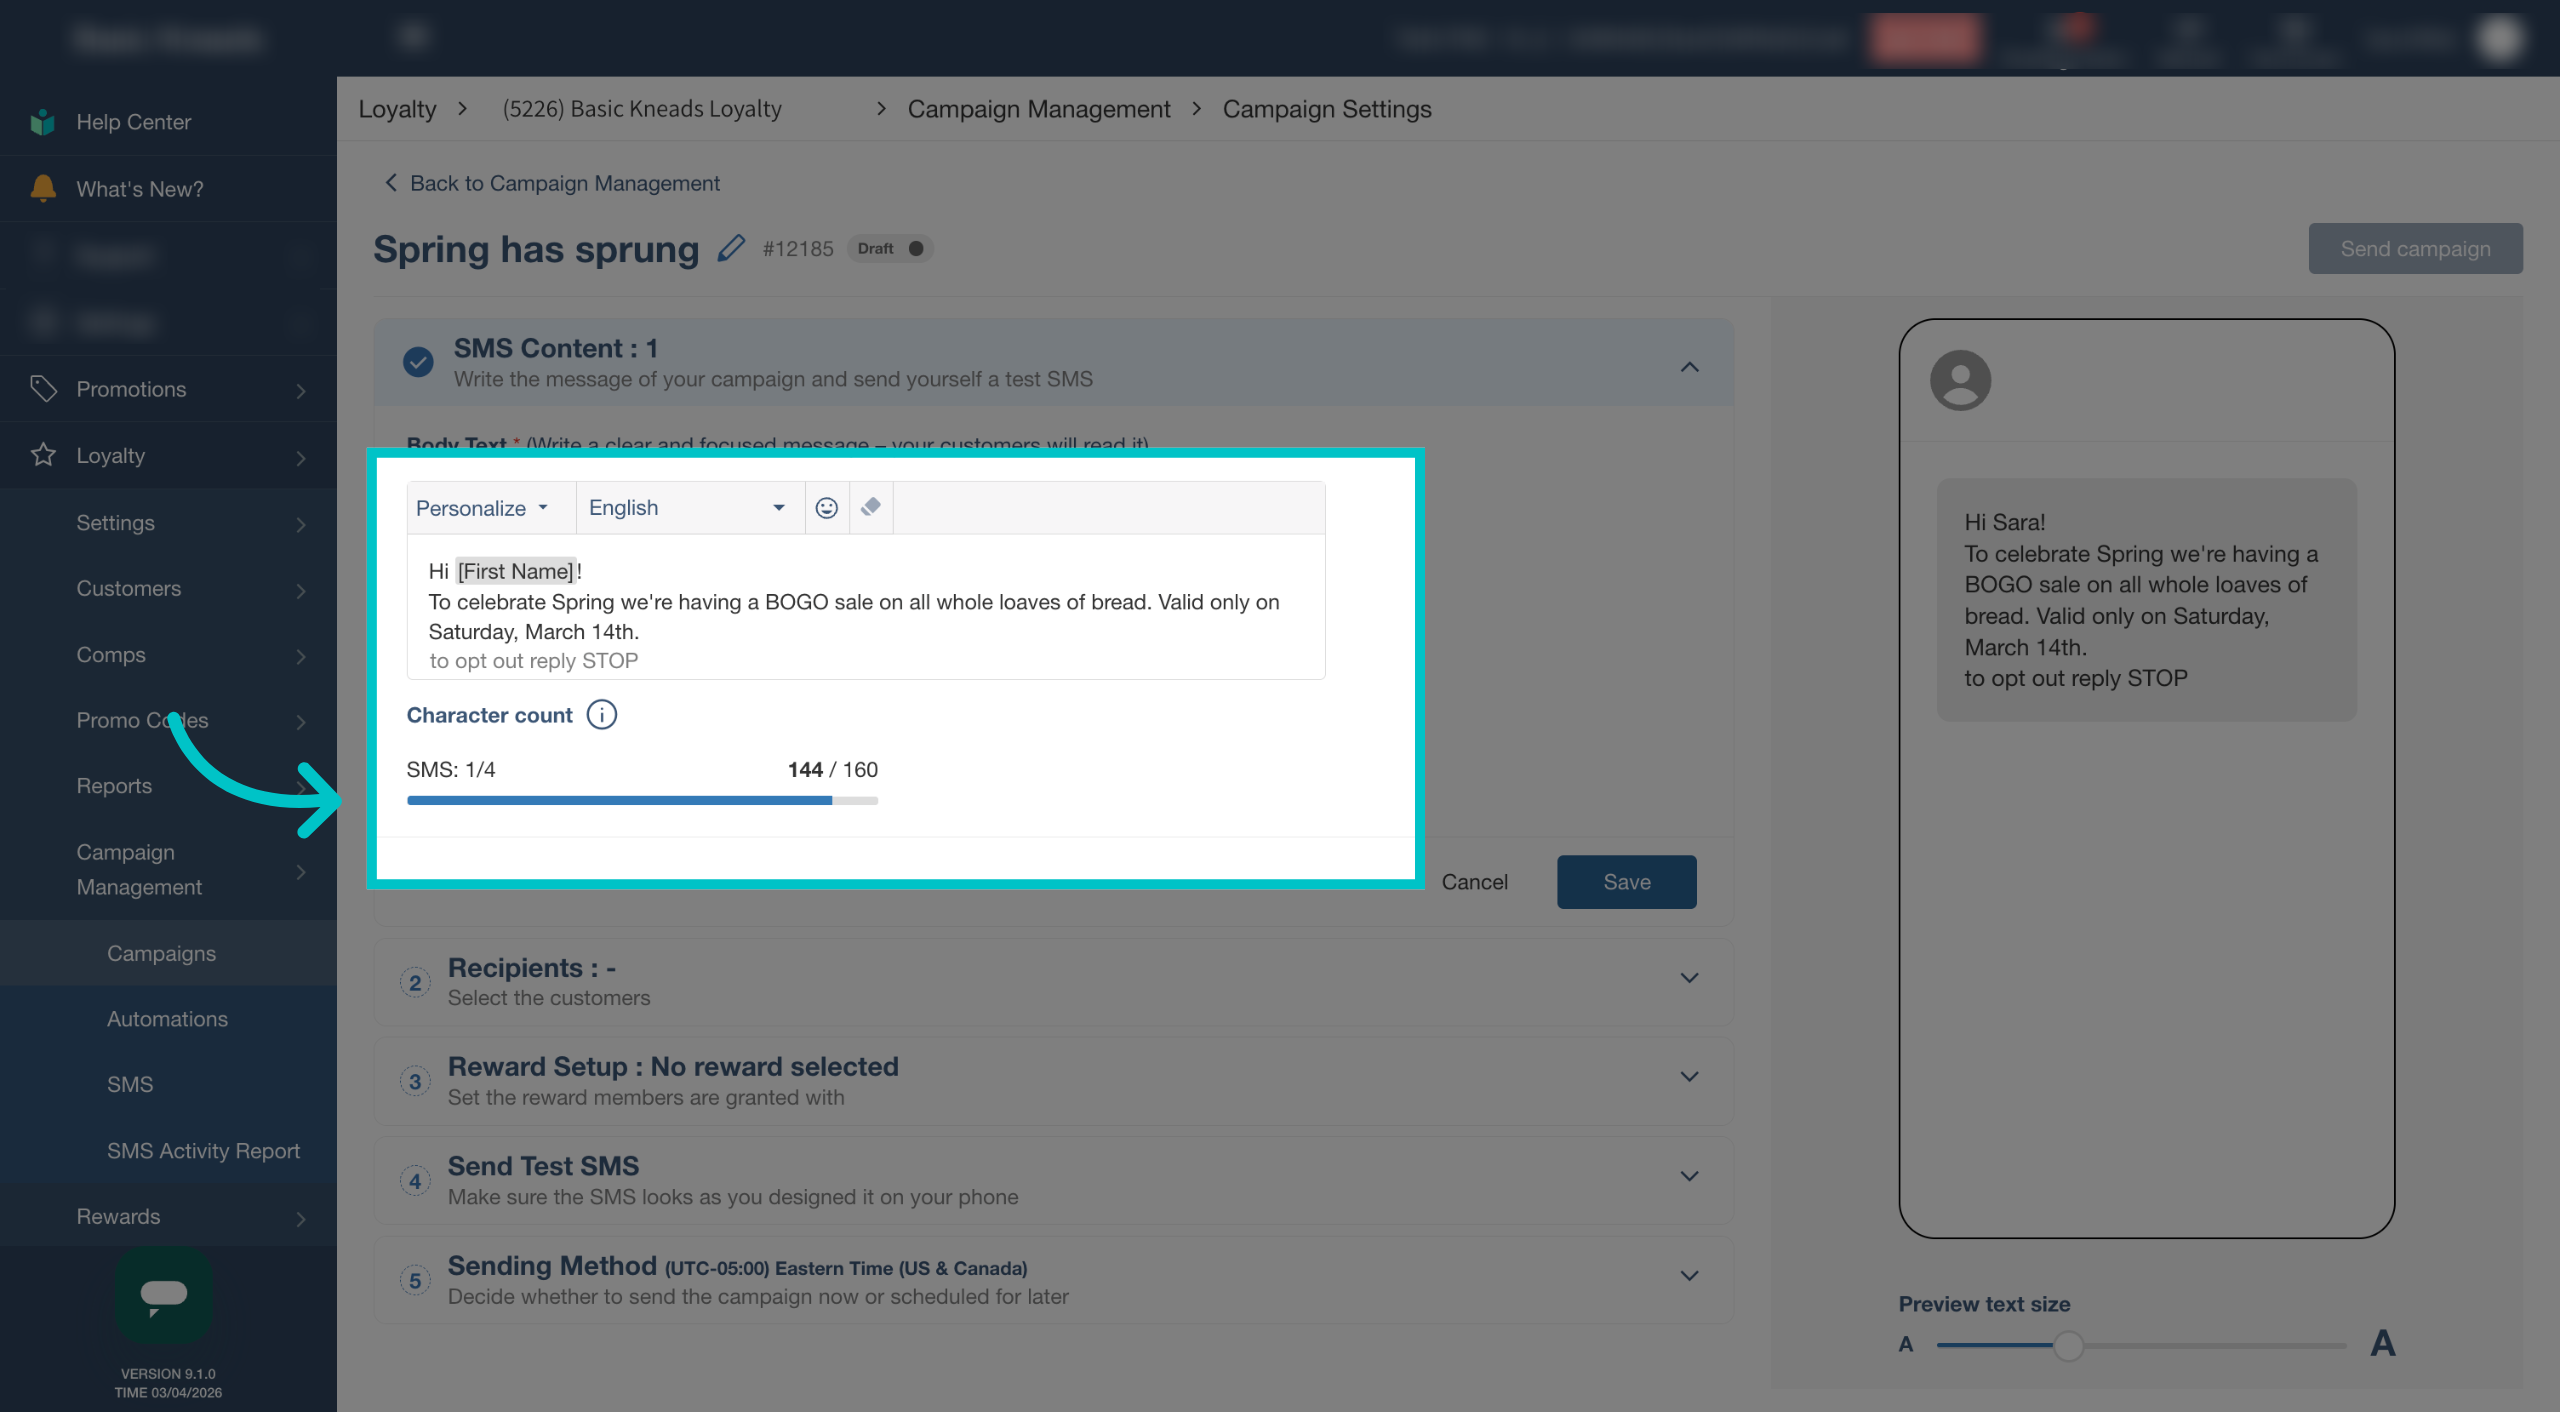
Review the character counter to see how many SMS segments the message uses. Each segment carries an additional cost
-
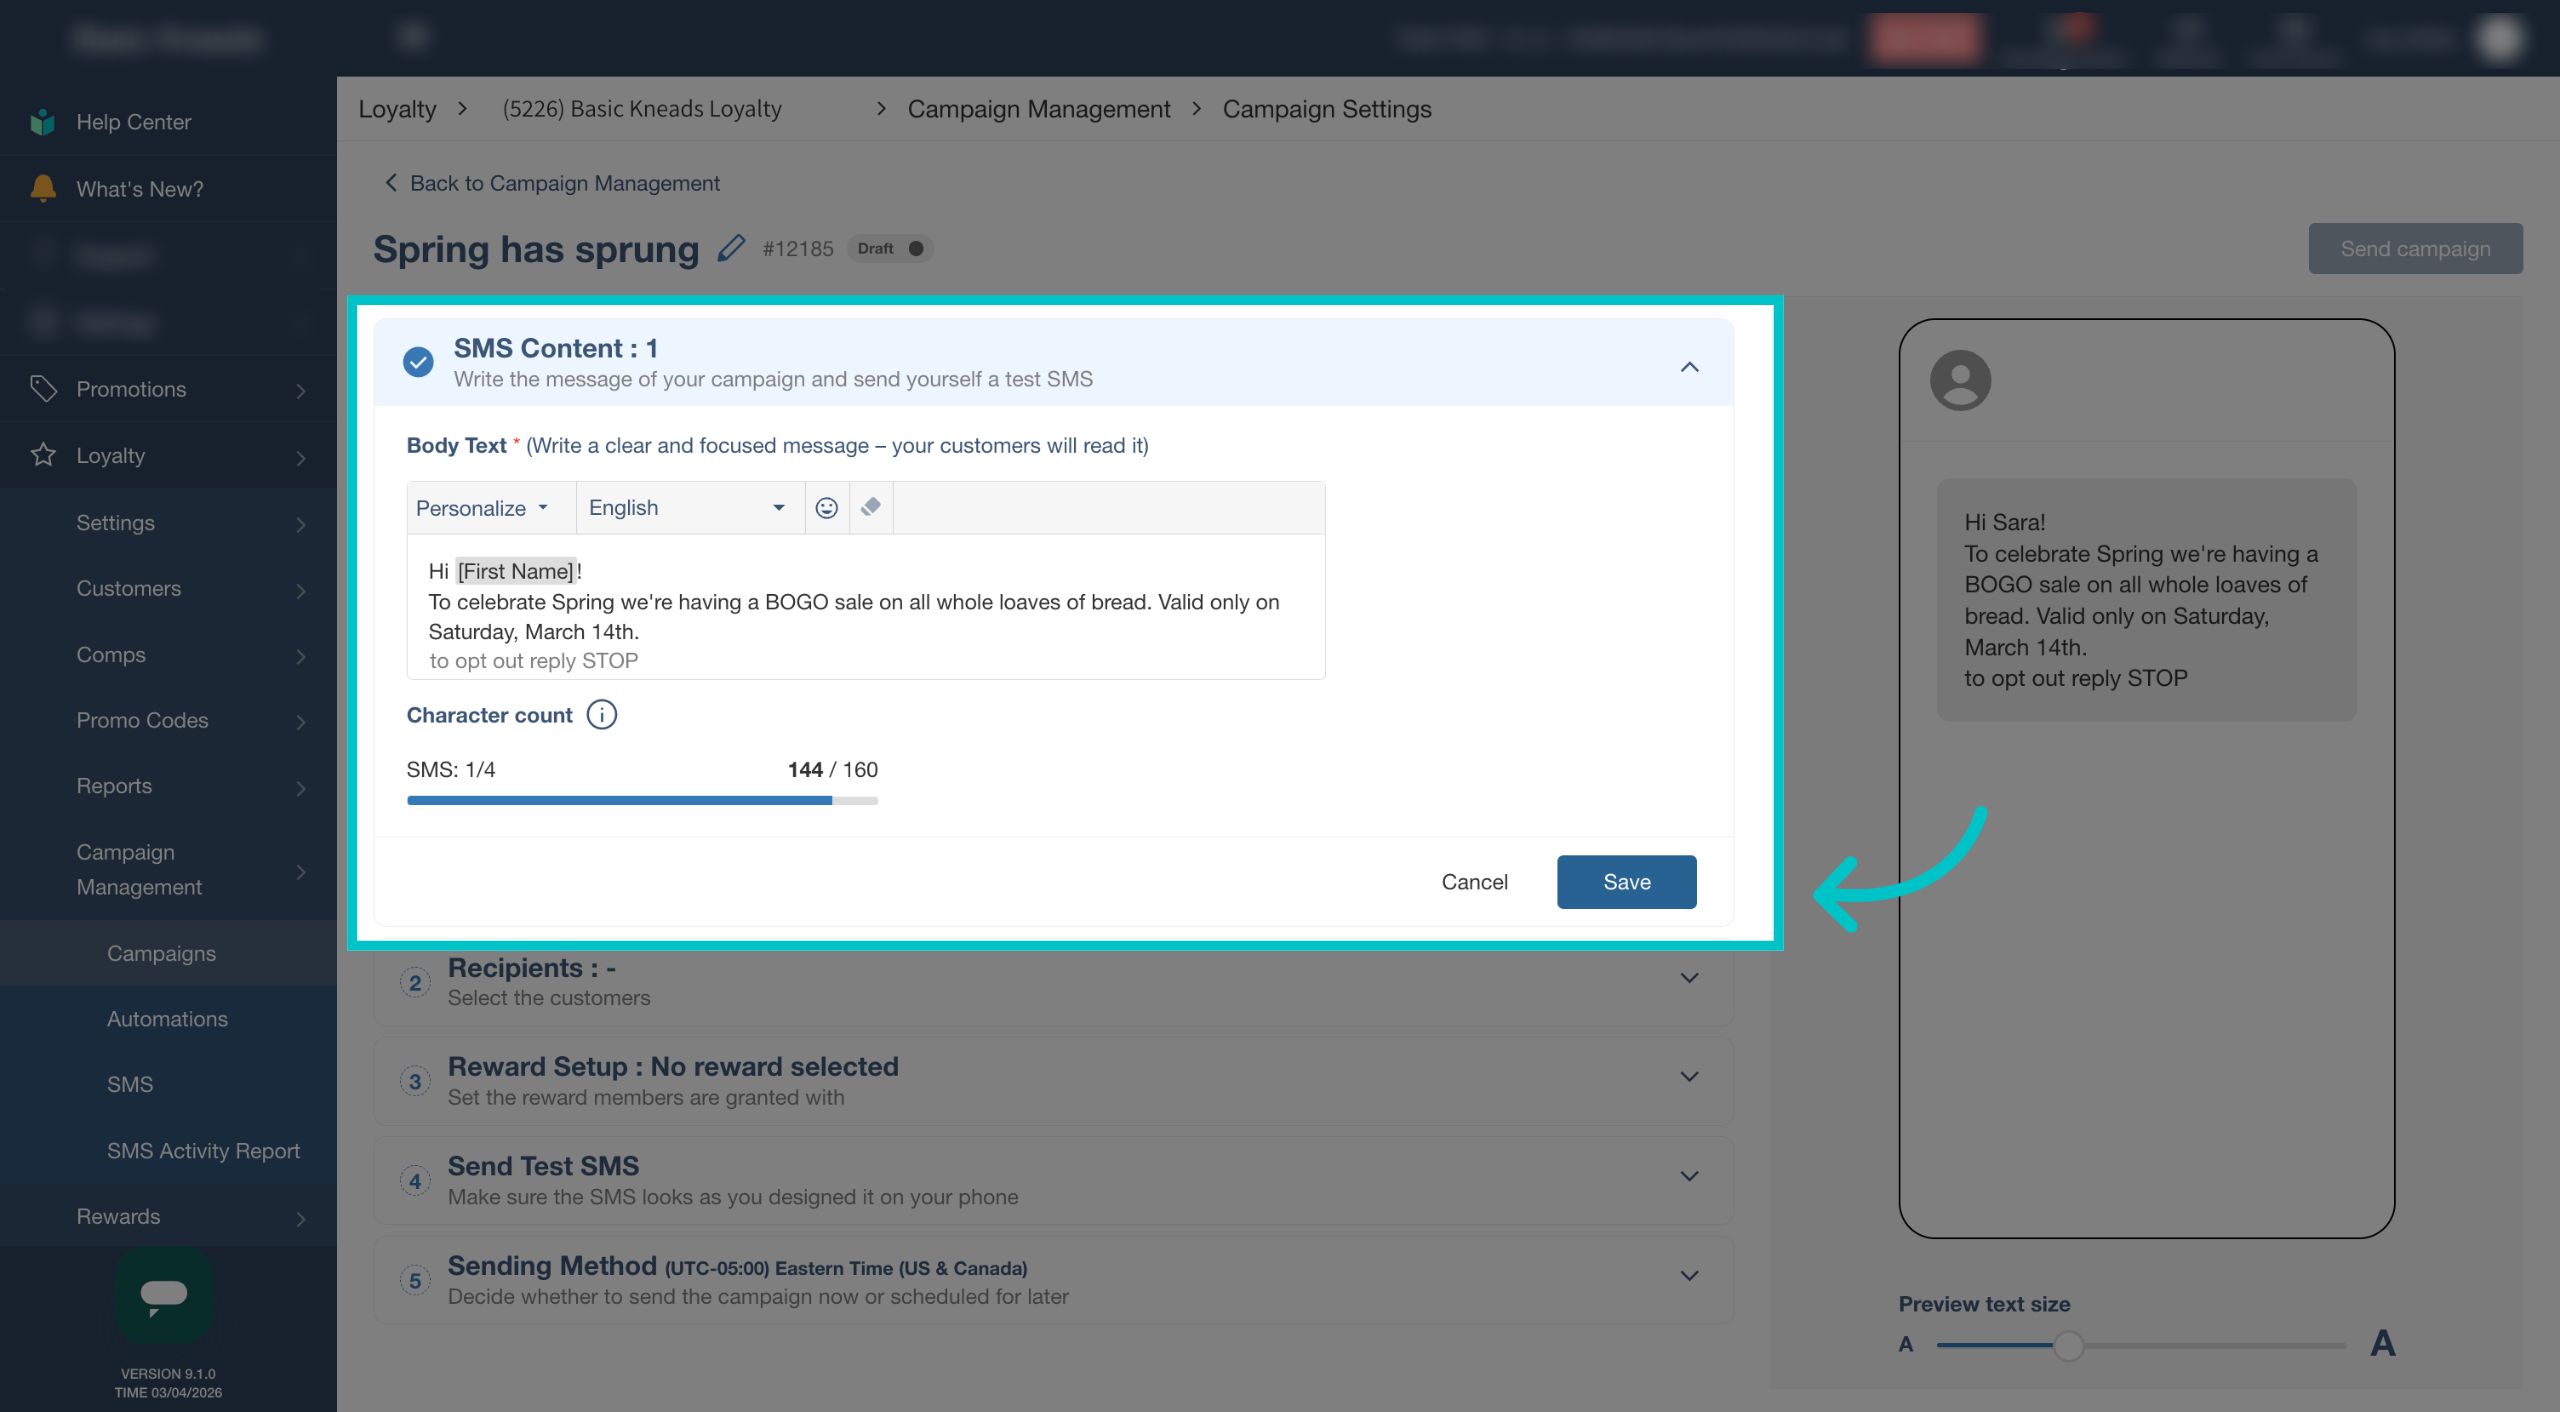
Select Save to store the message content
-
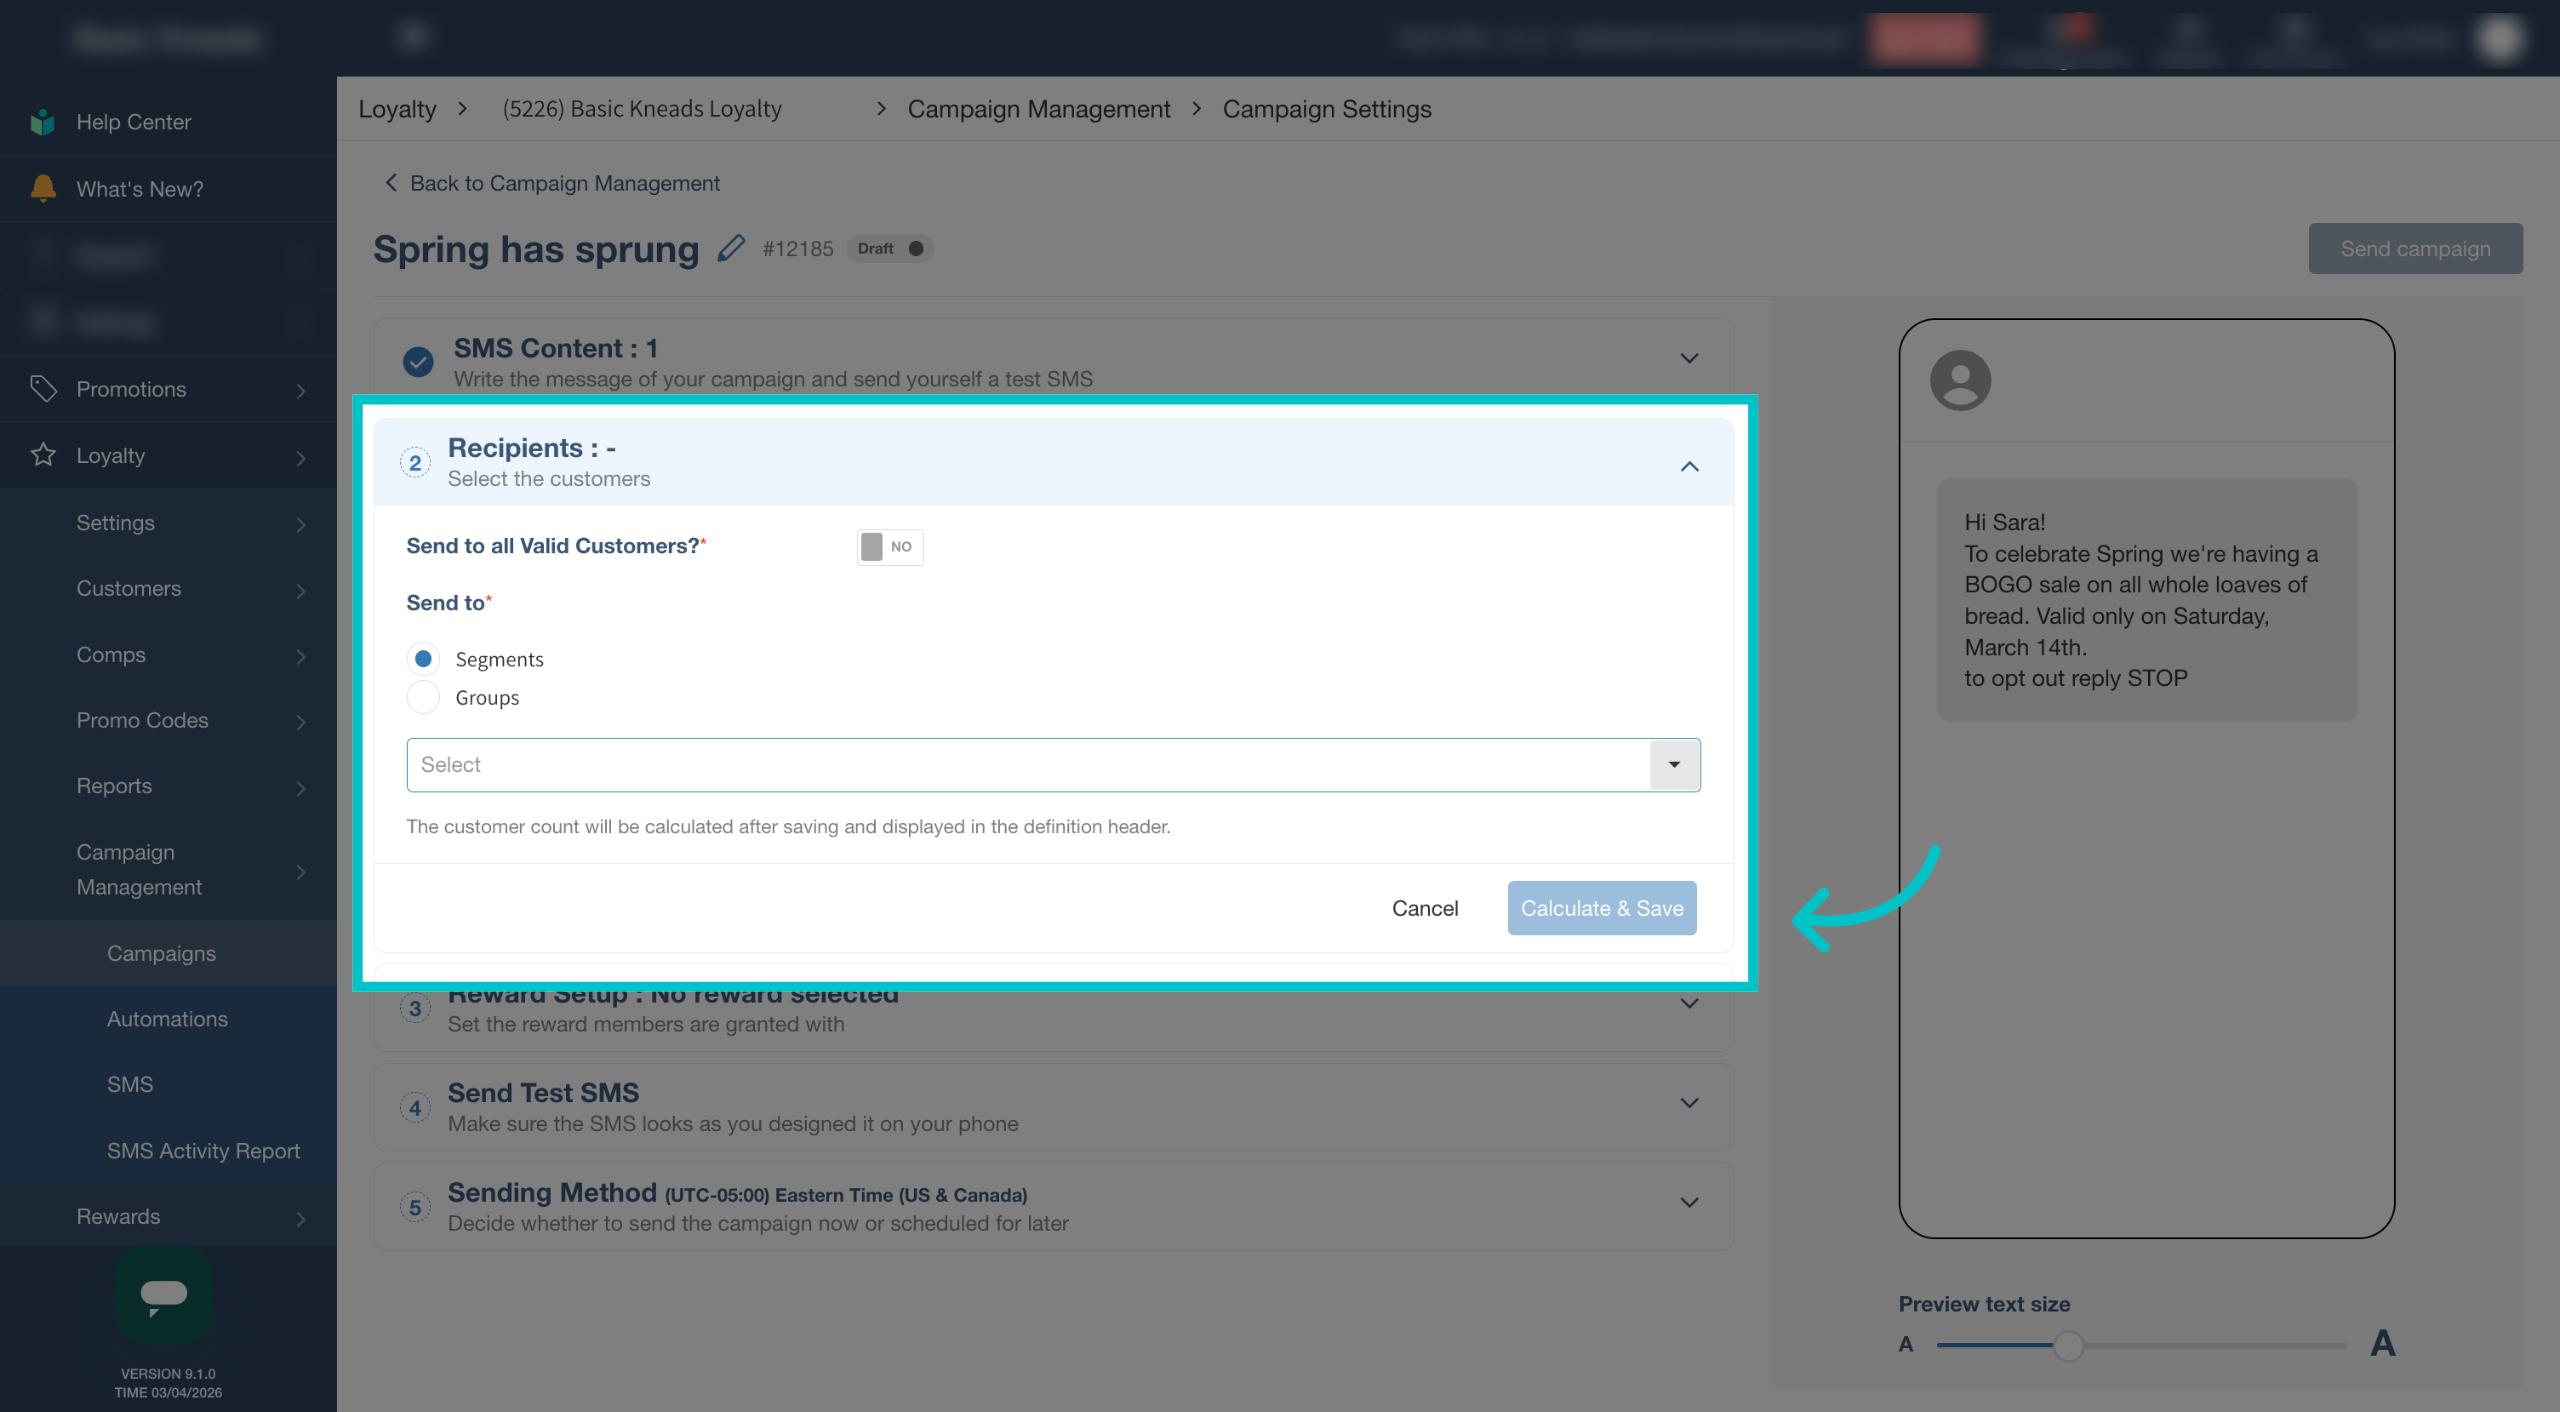
Choose the recipients for the campaign and select Calculate & Save
-
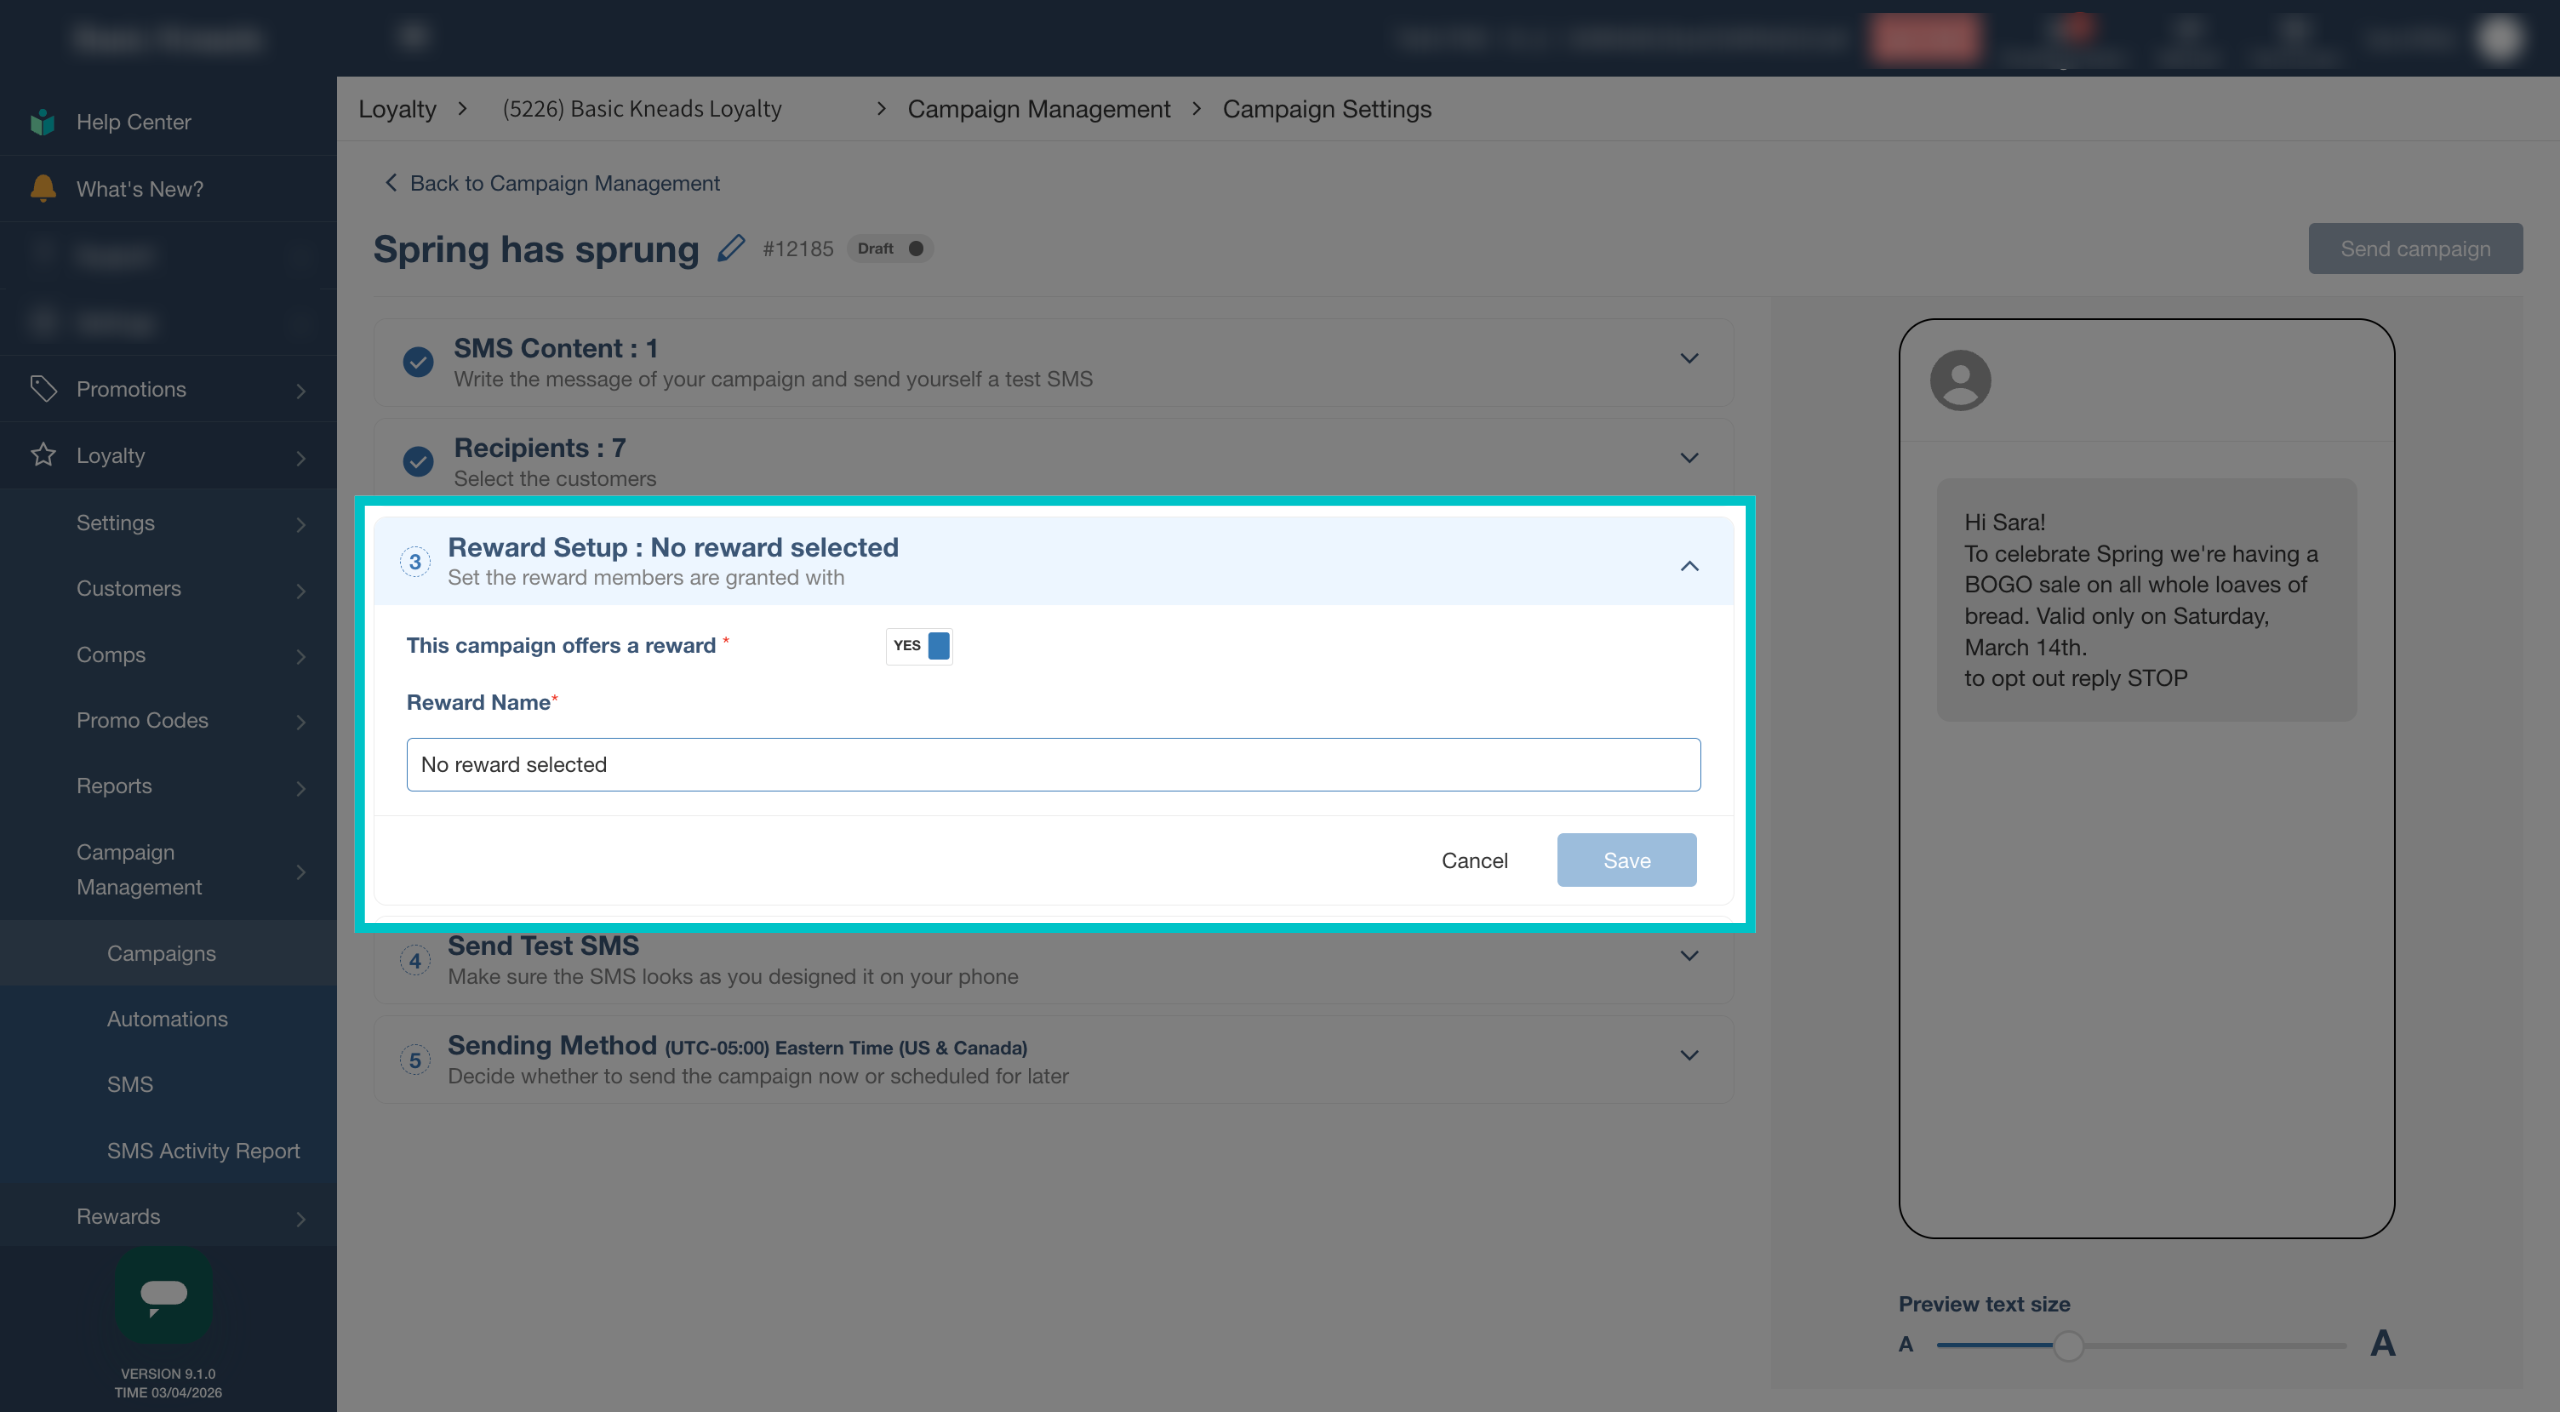
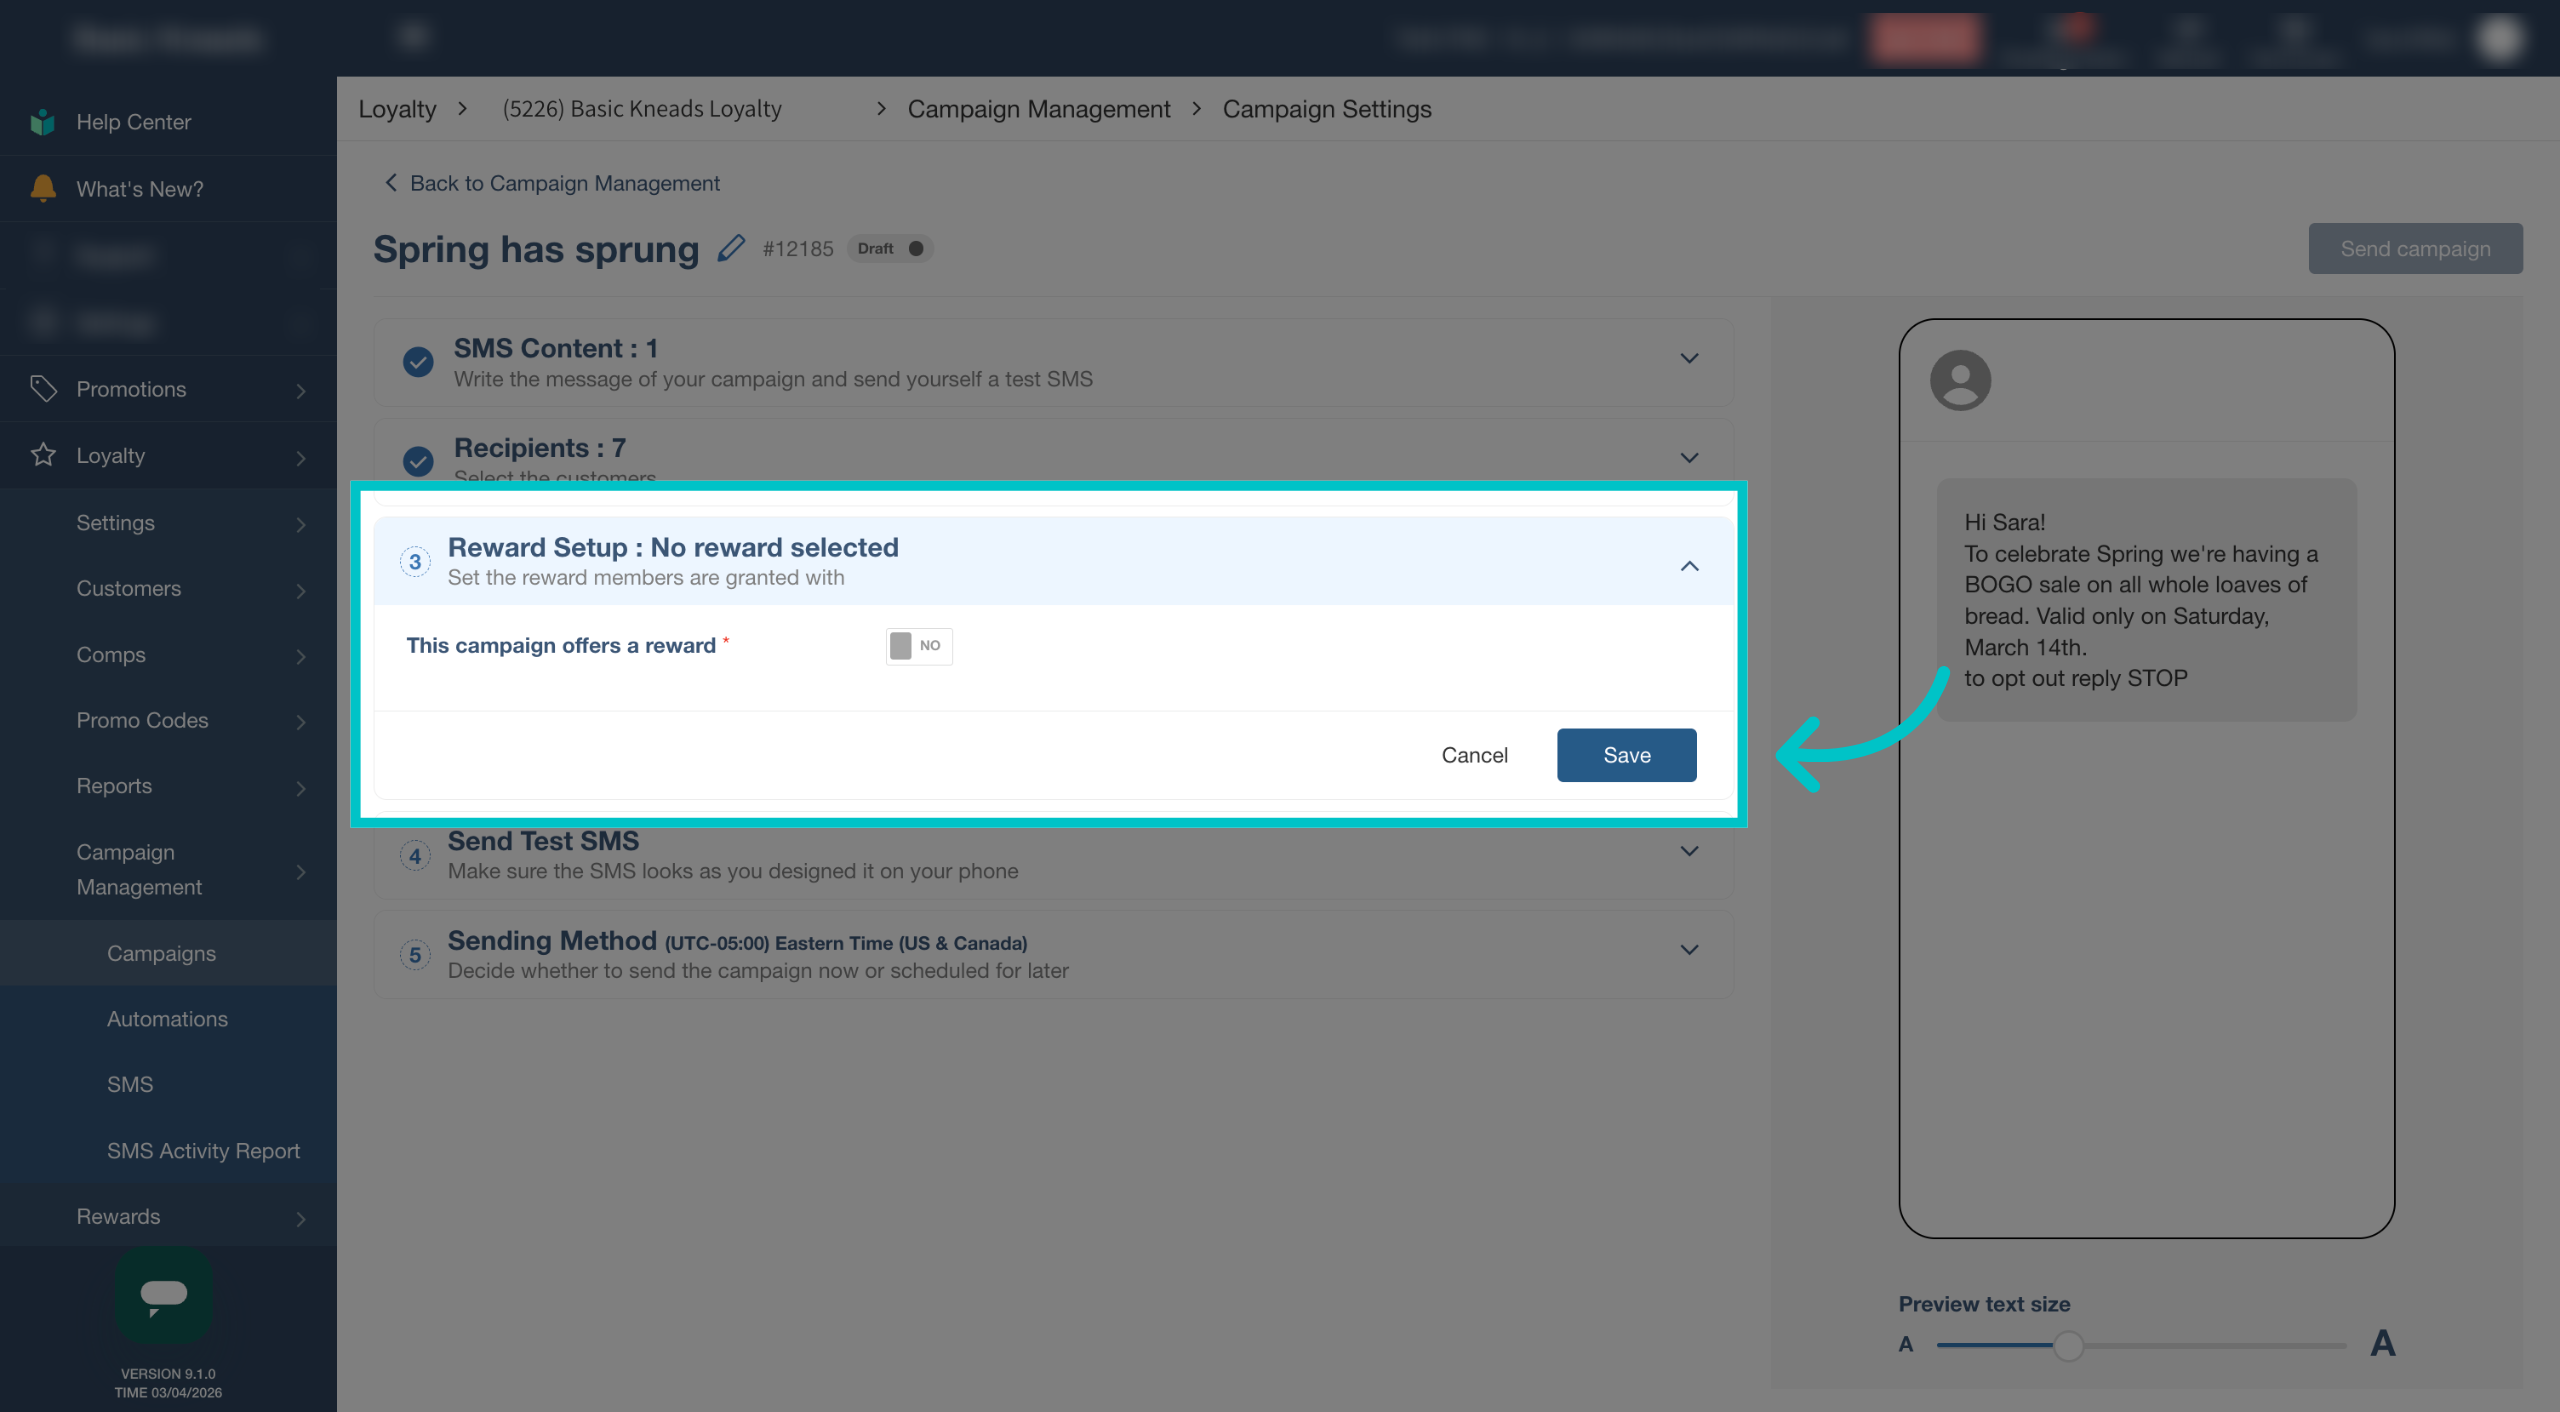
Decide whether to include a reward in the campaign
-
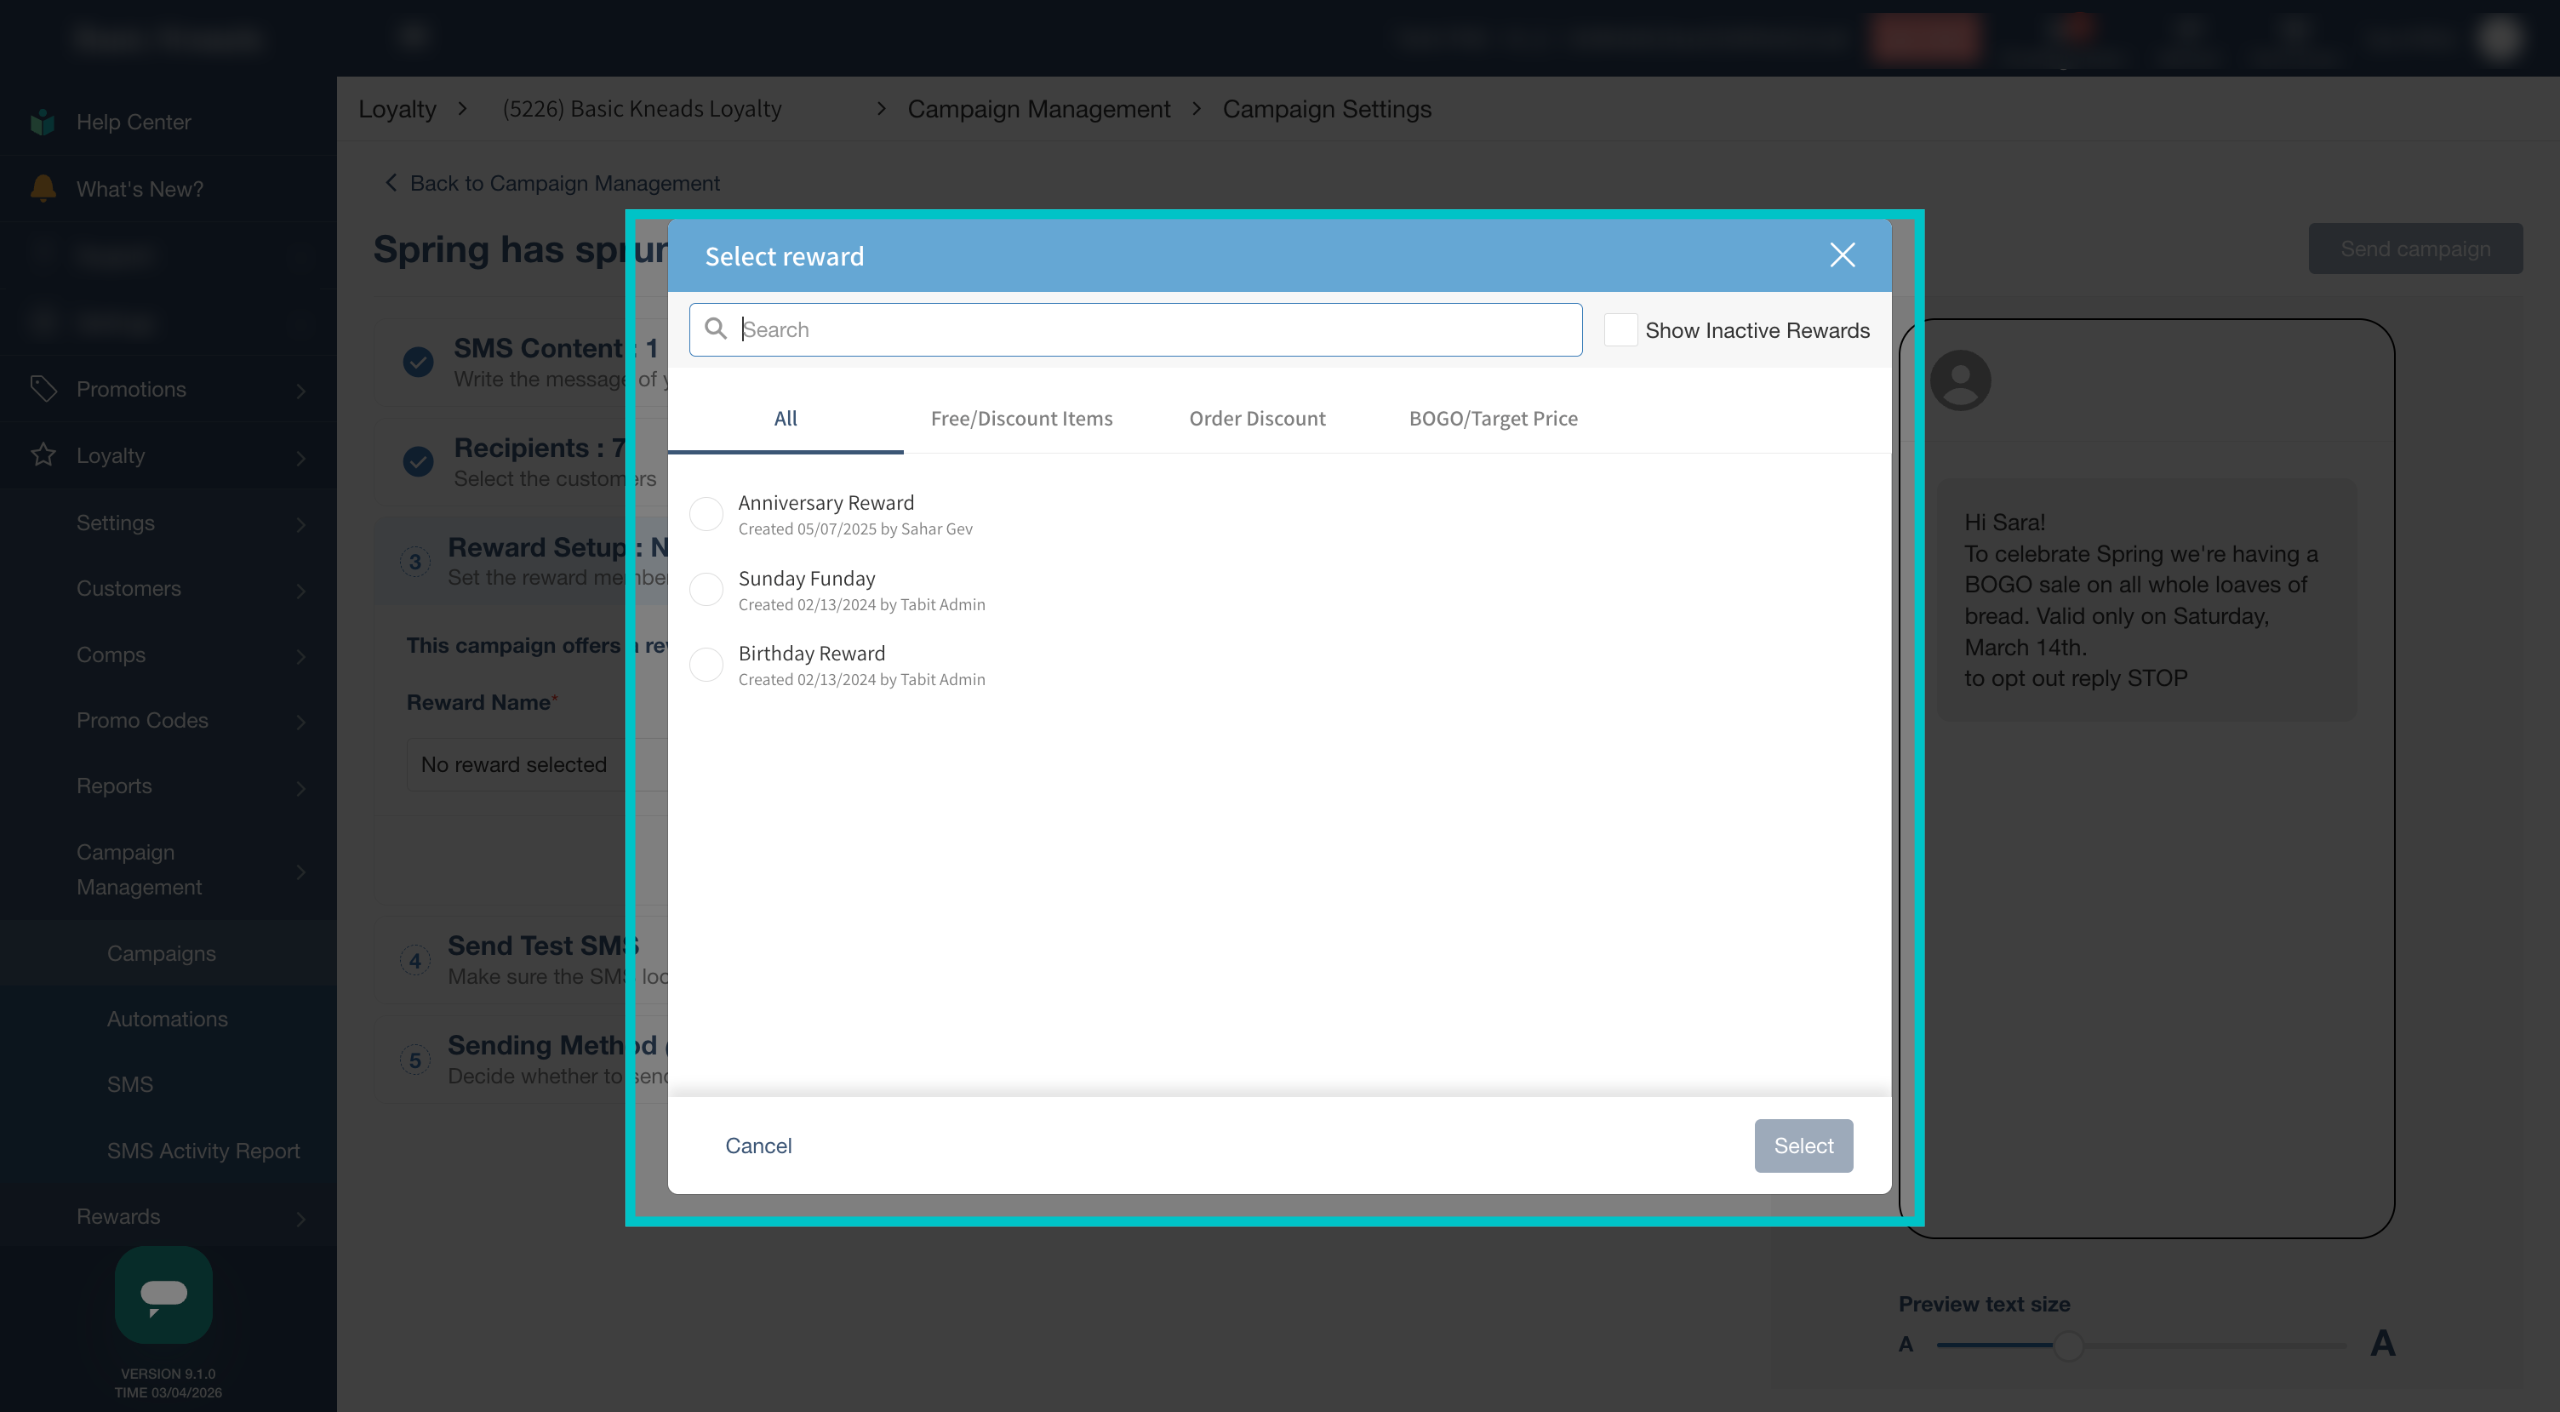
Select a reward from the available options if desired
-
Select Save to confirm the reward settings
-
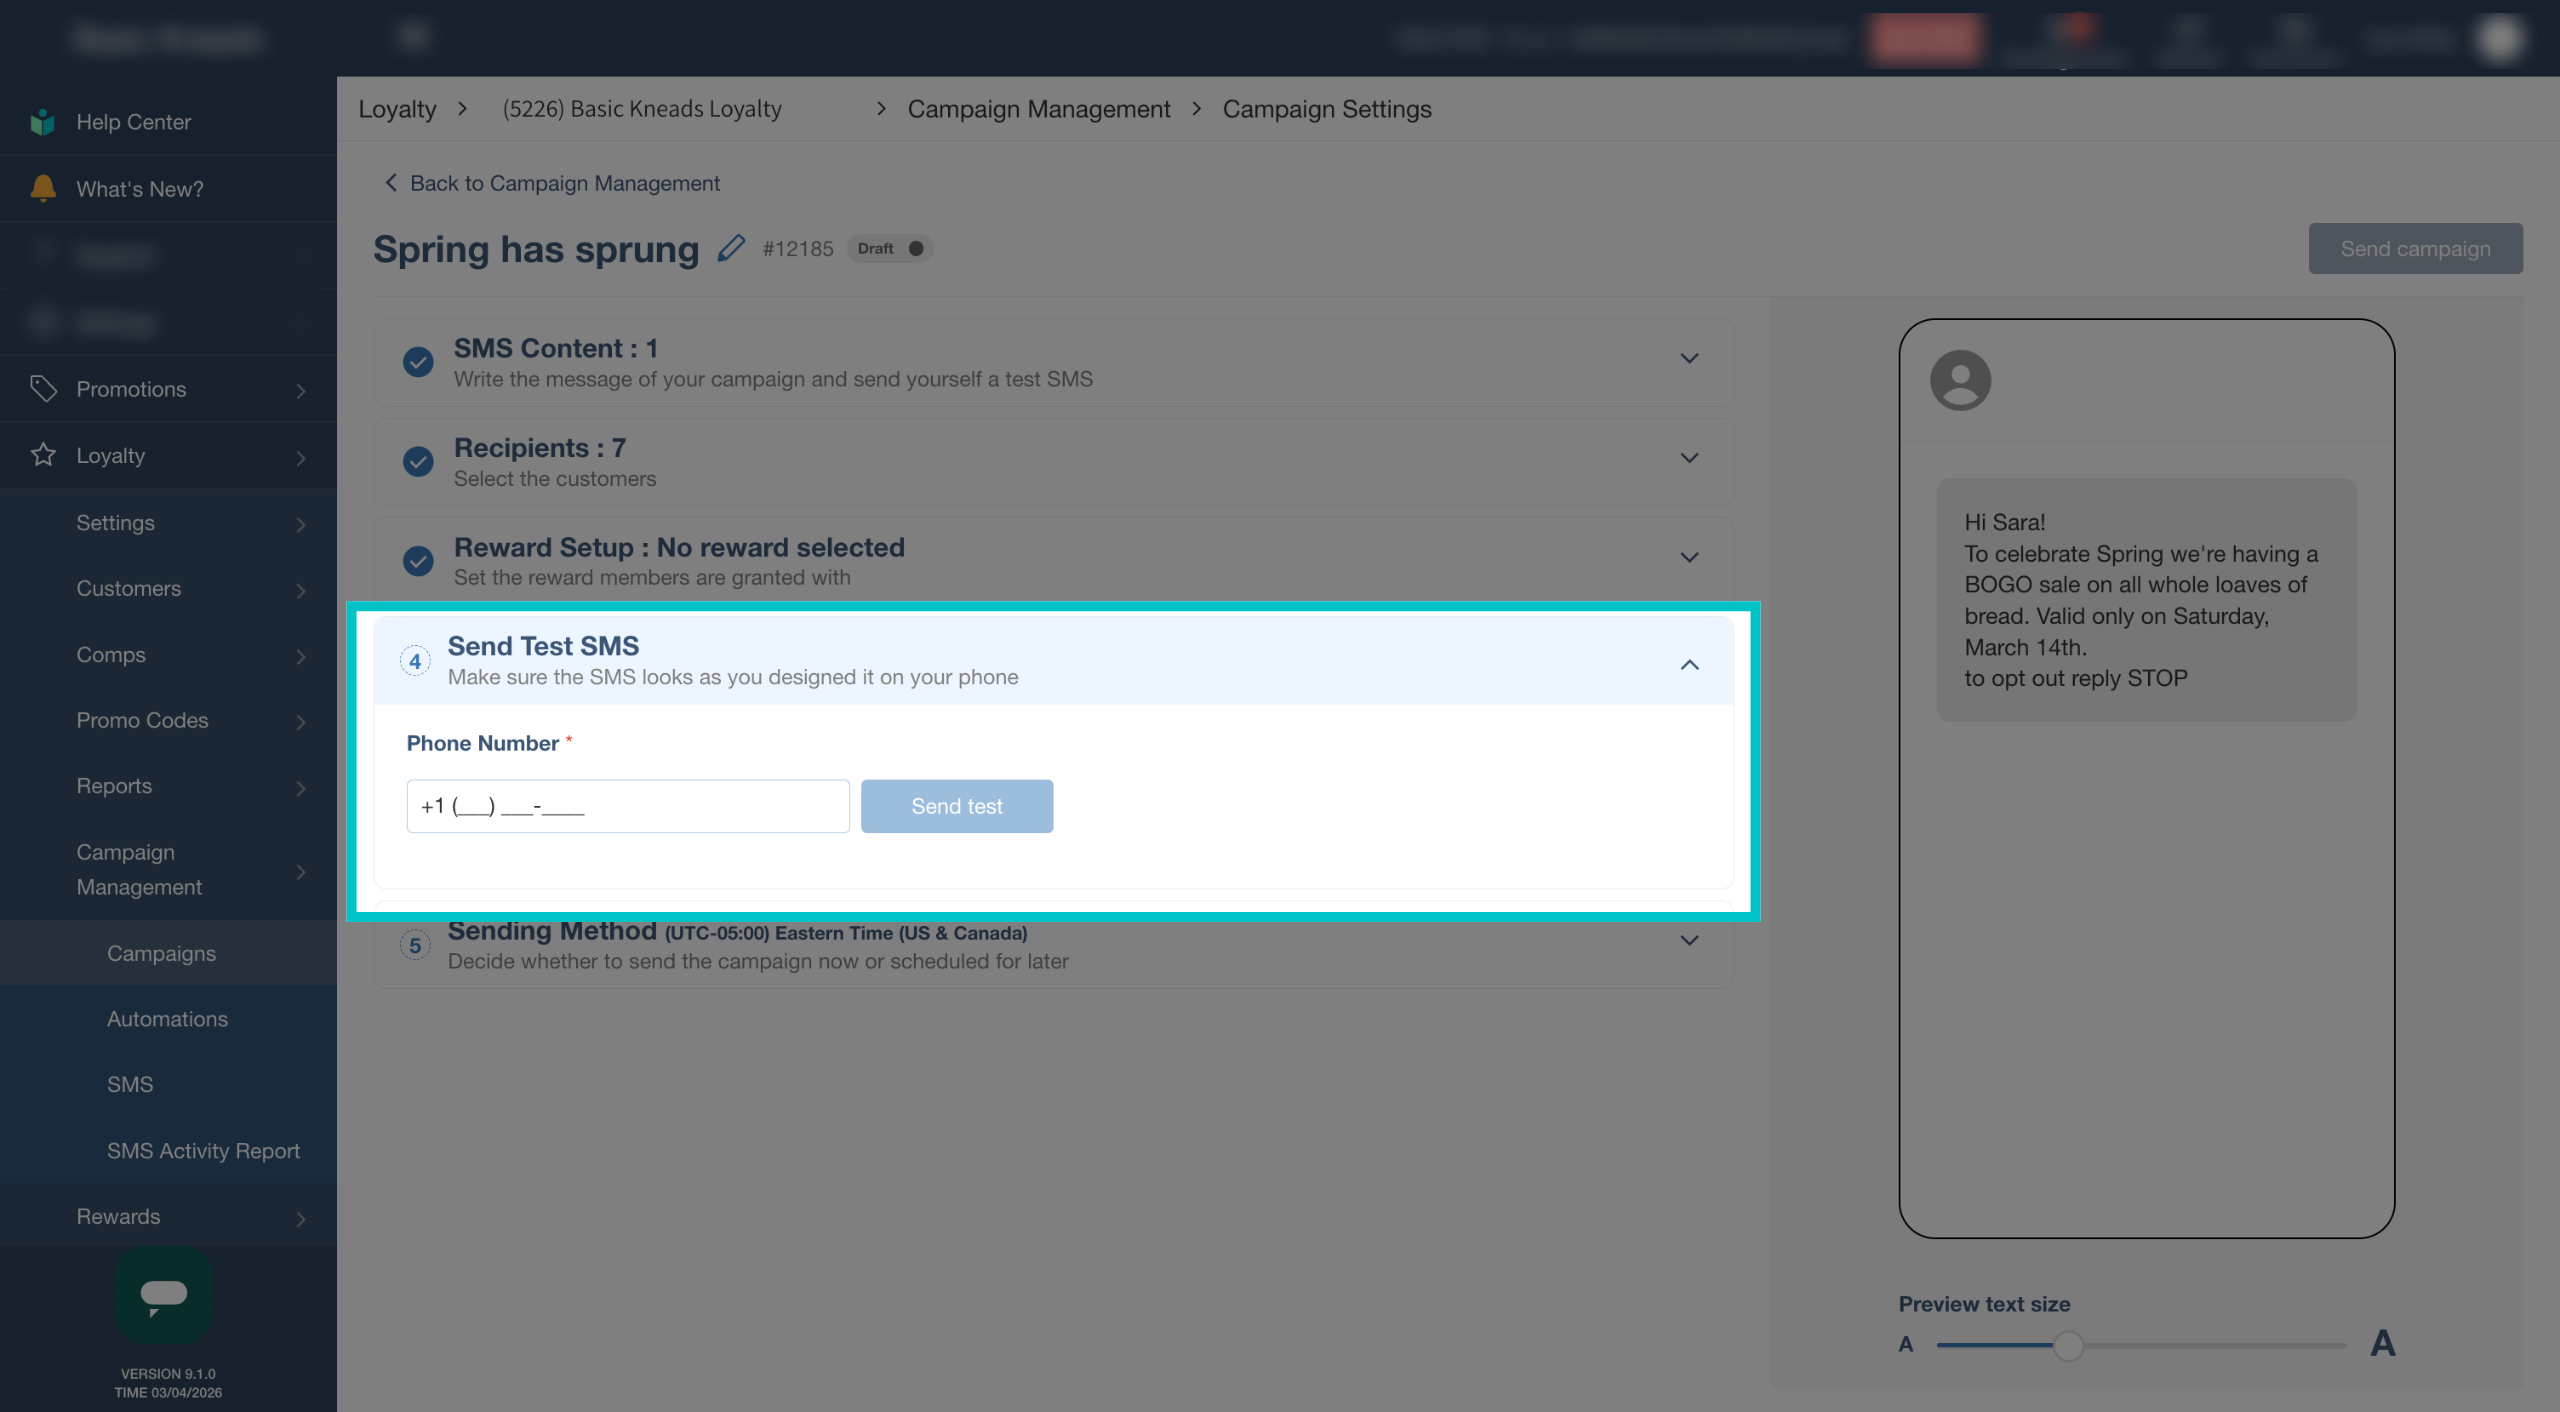
Send a test SMS to confirm the message appears as intended
-
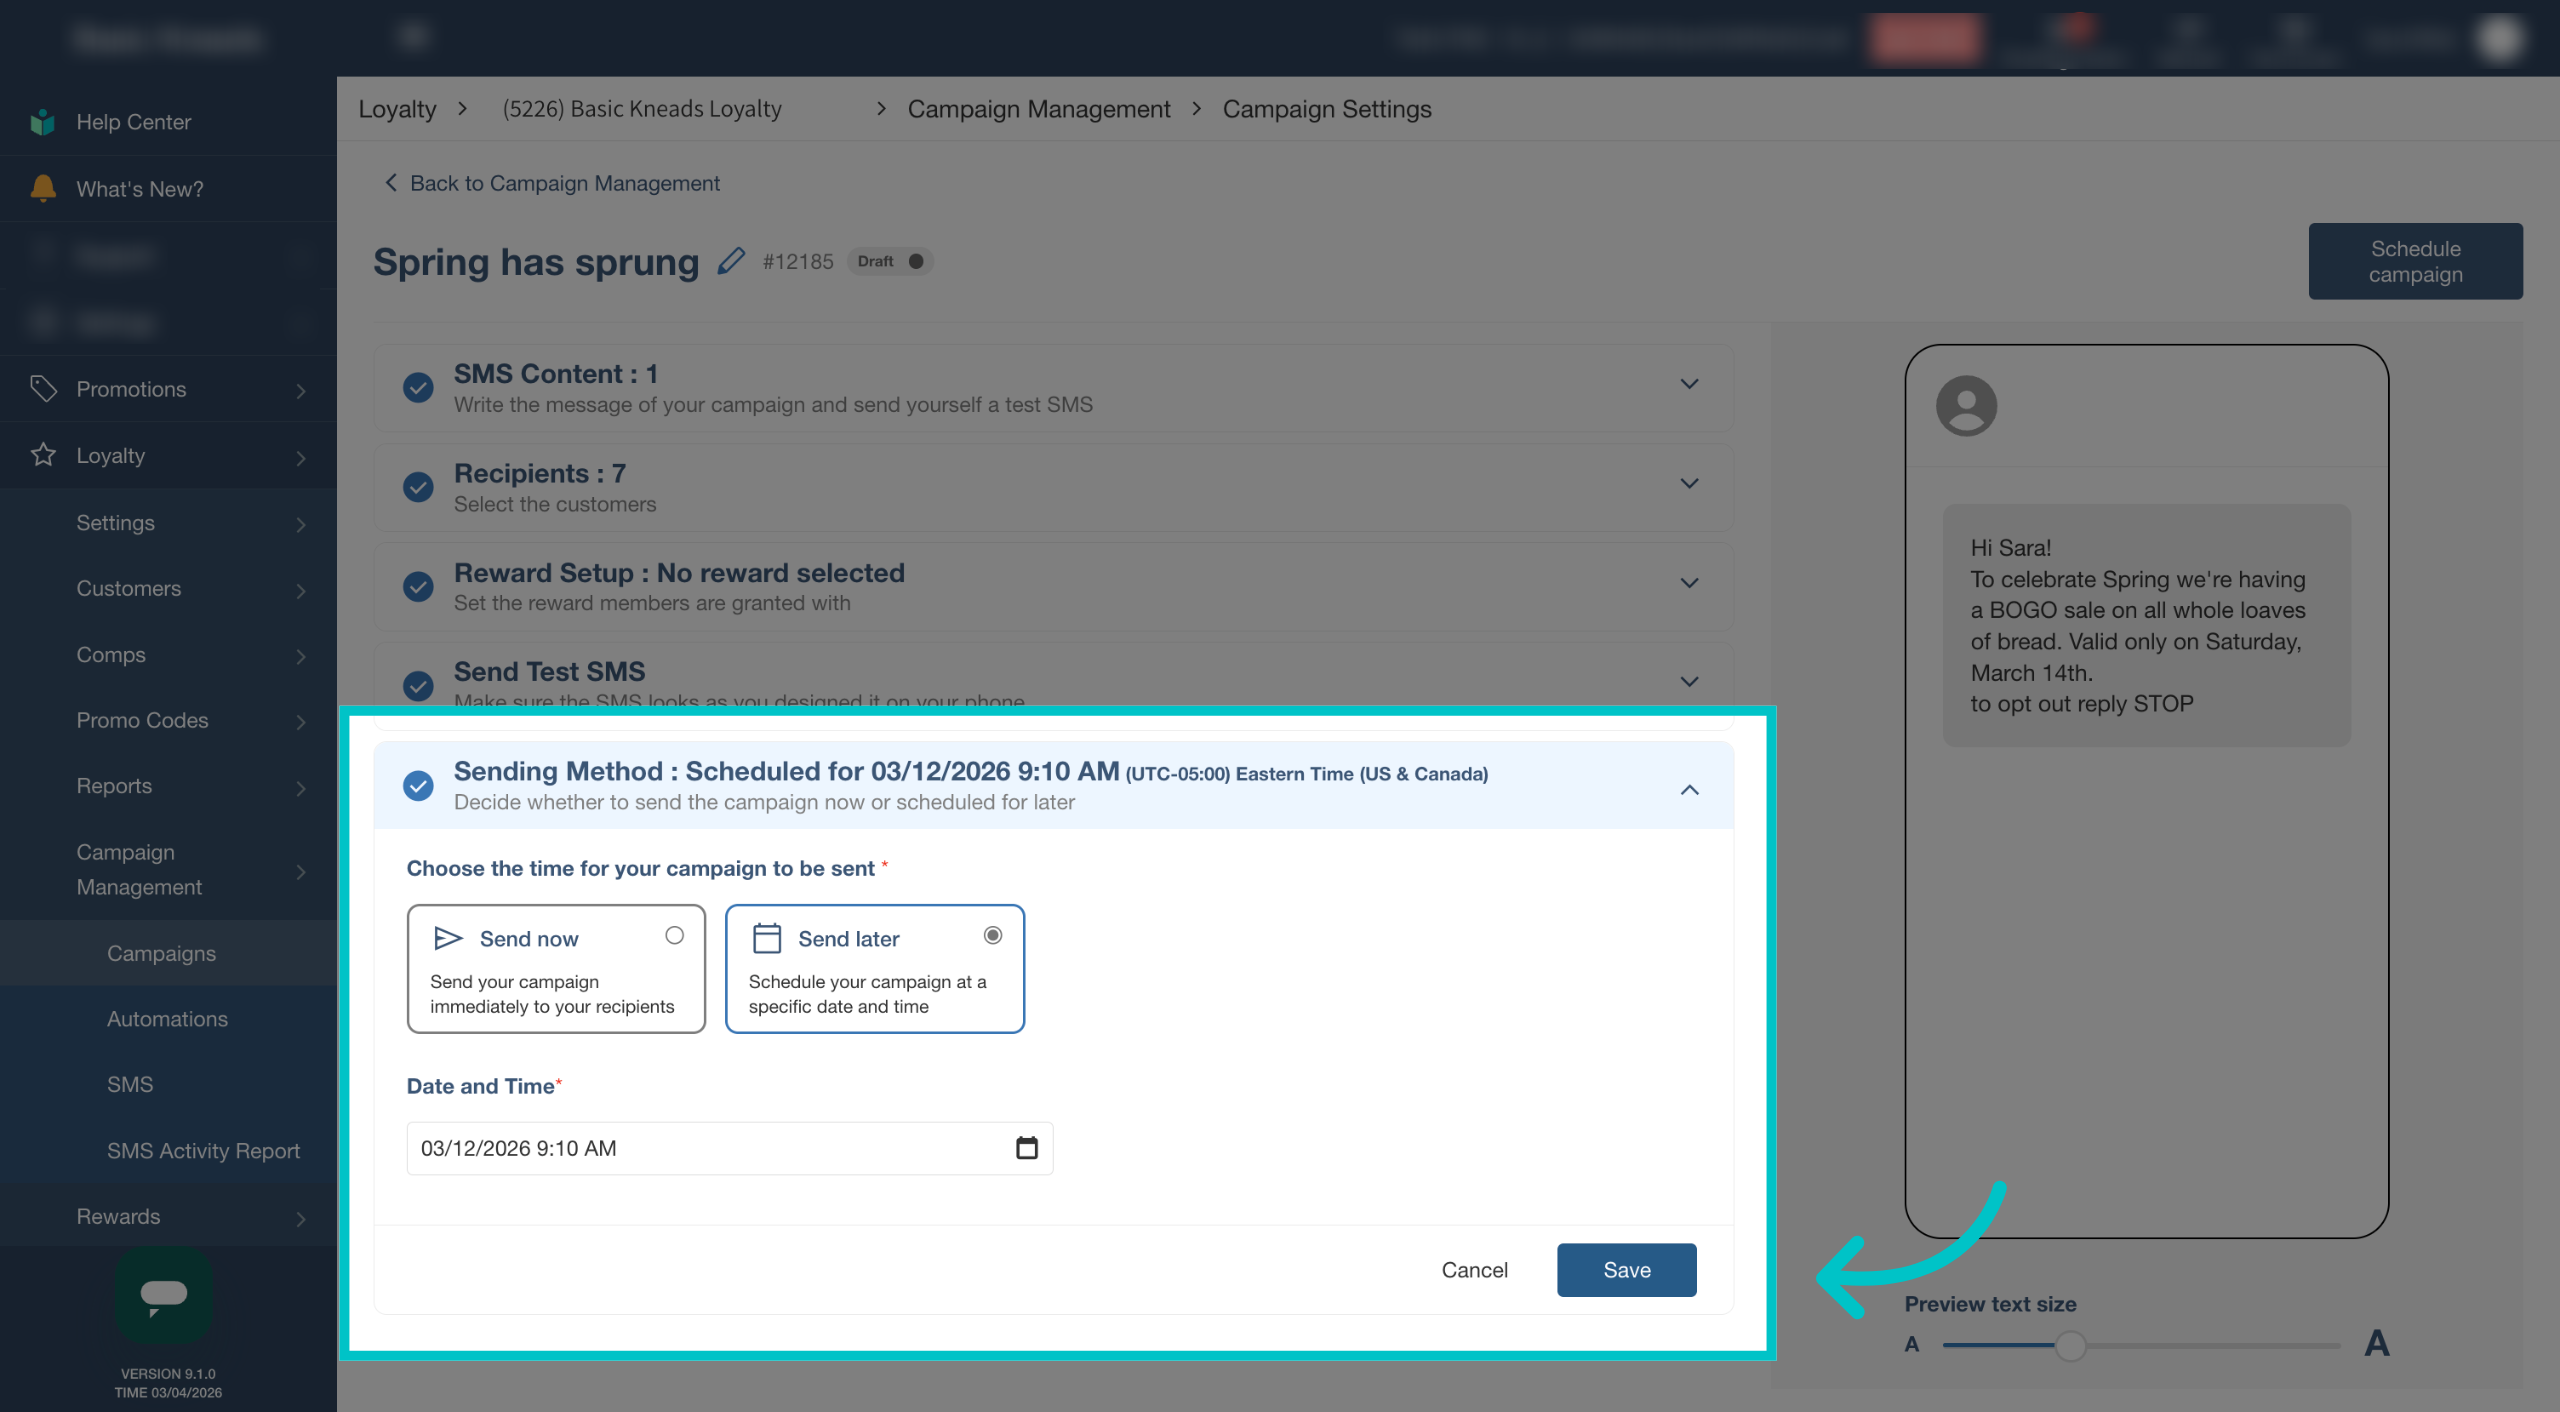
Choose whether to send the campaign immediately or schedule it for later and select Save
-
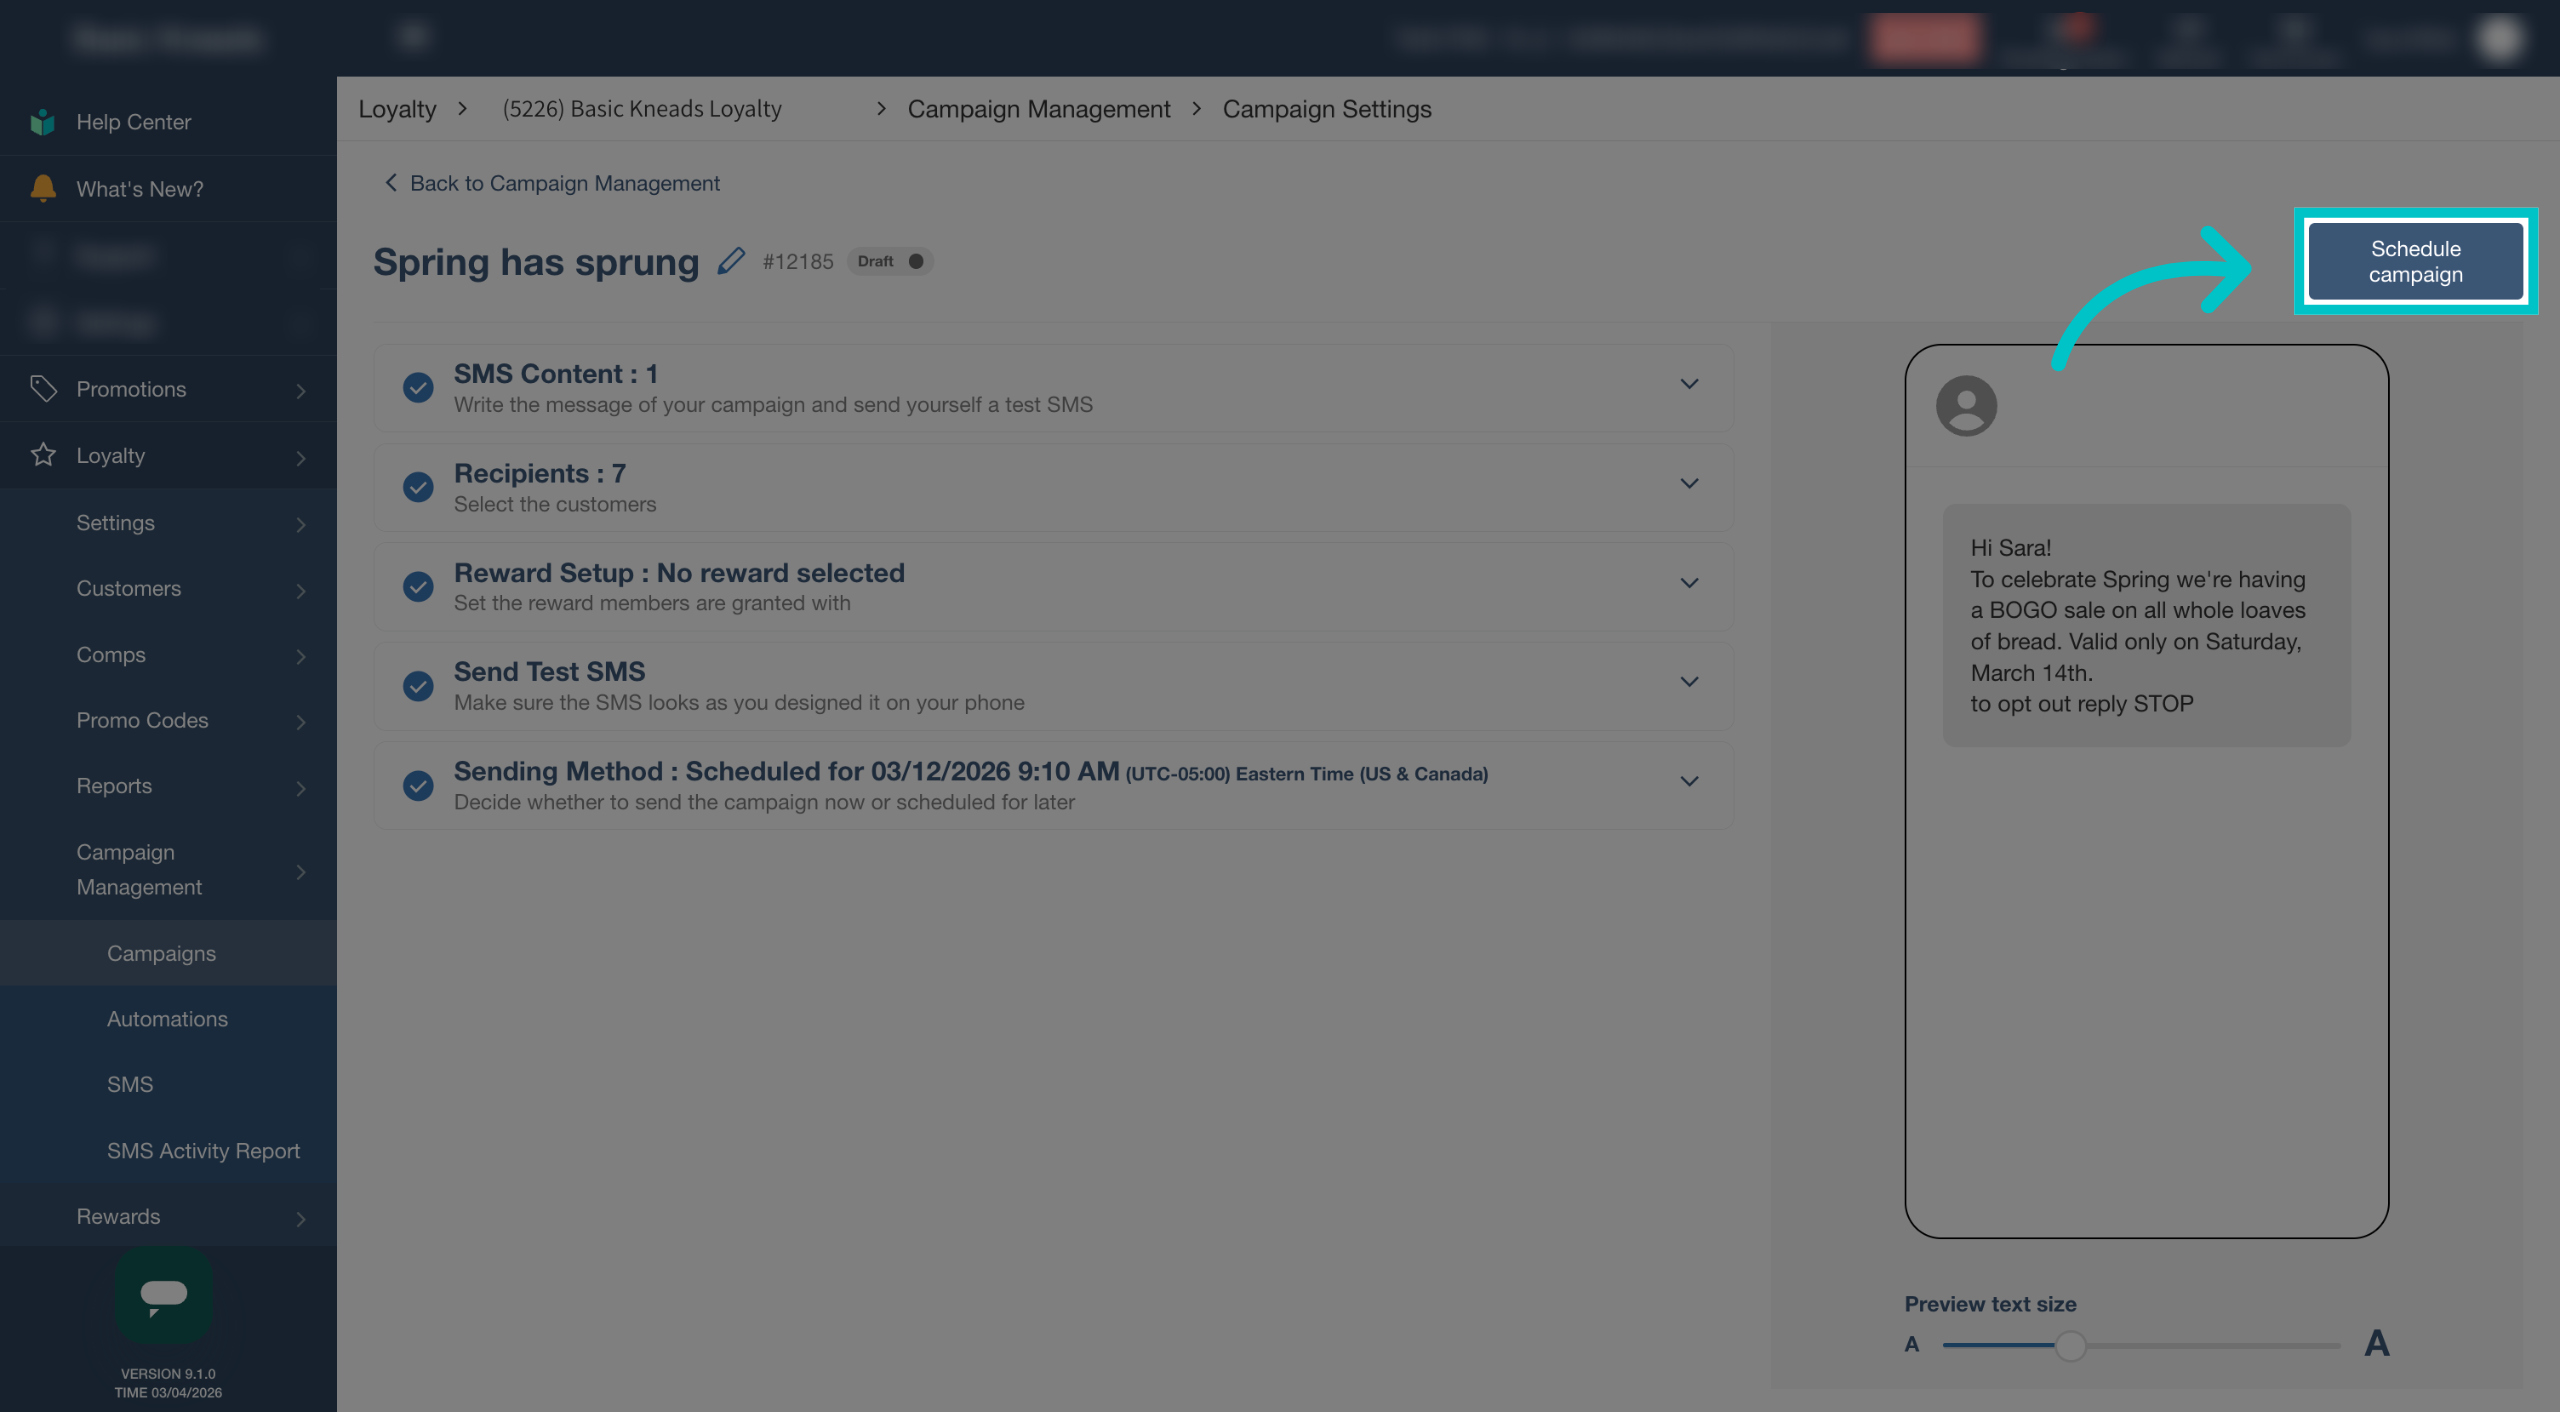
Select Send campaign or Schedule campaign to finalize the campaign
-
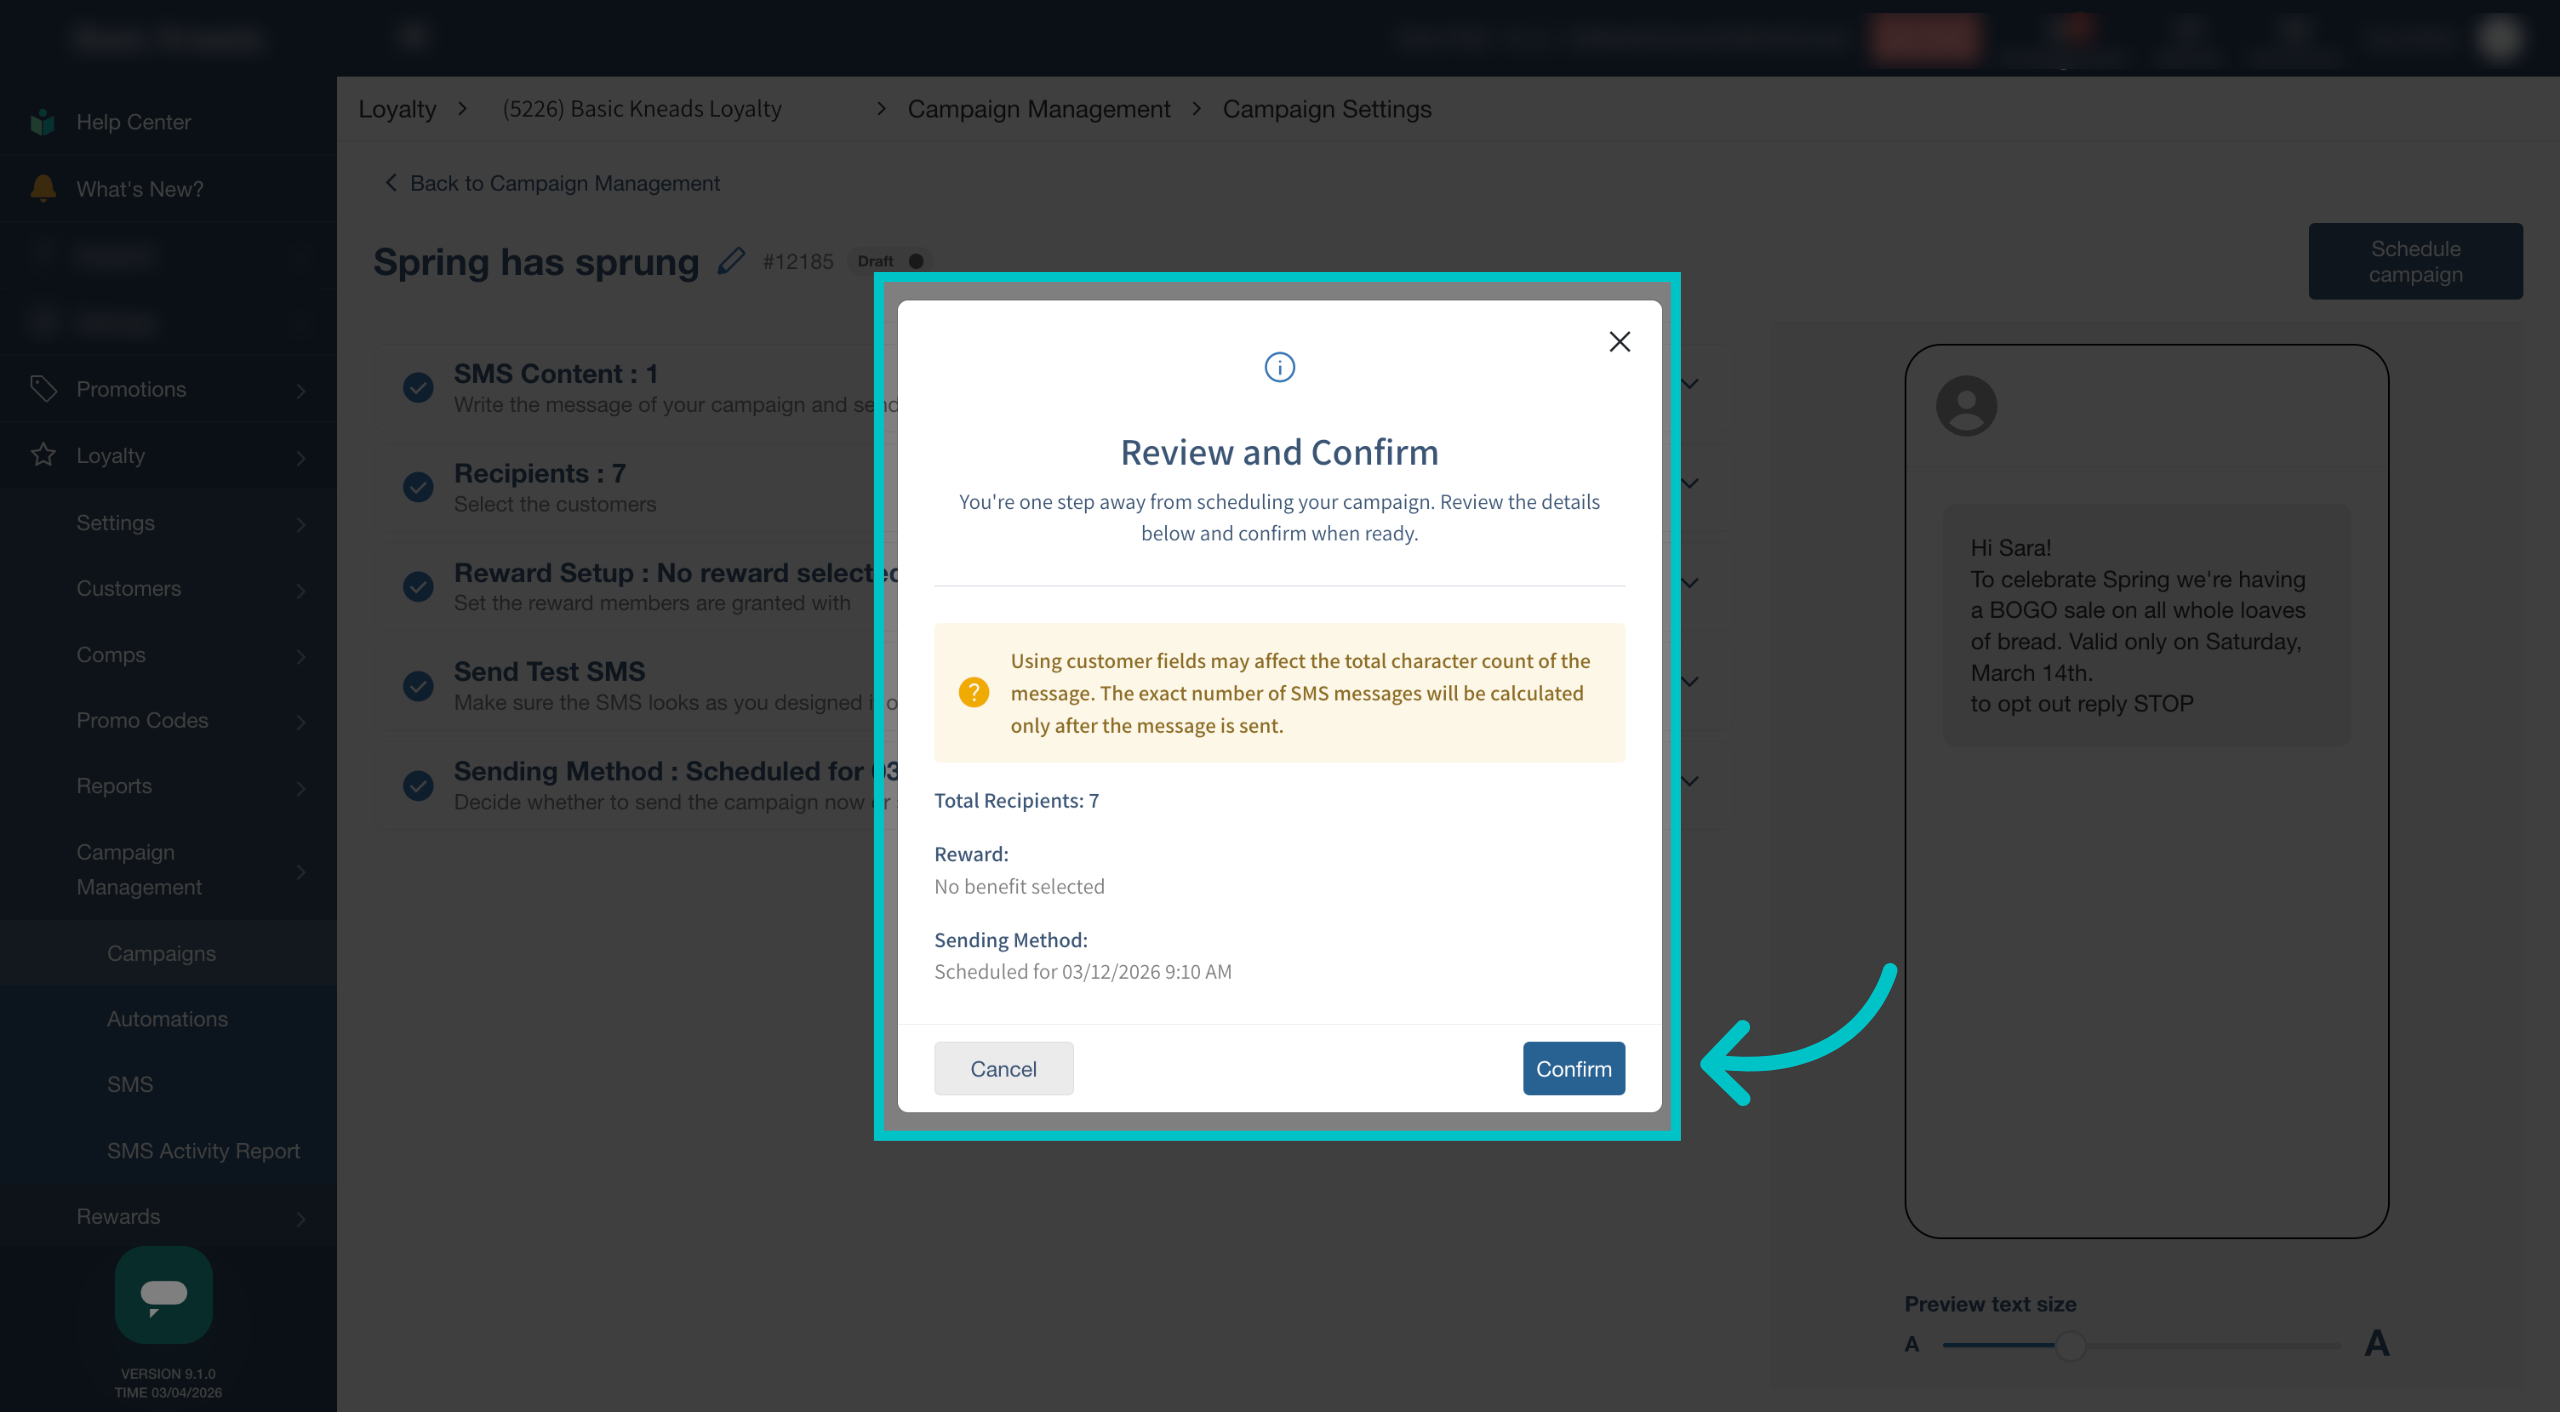
Review the campaign details and select Confirm
-
The campaign will now appear on the Campaign Management page
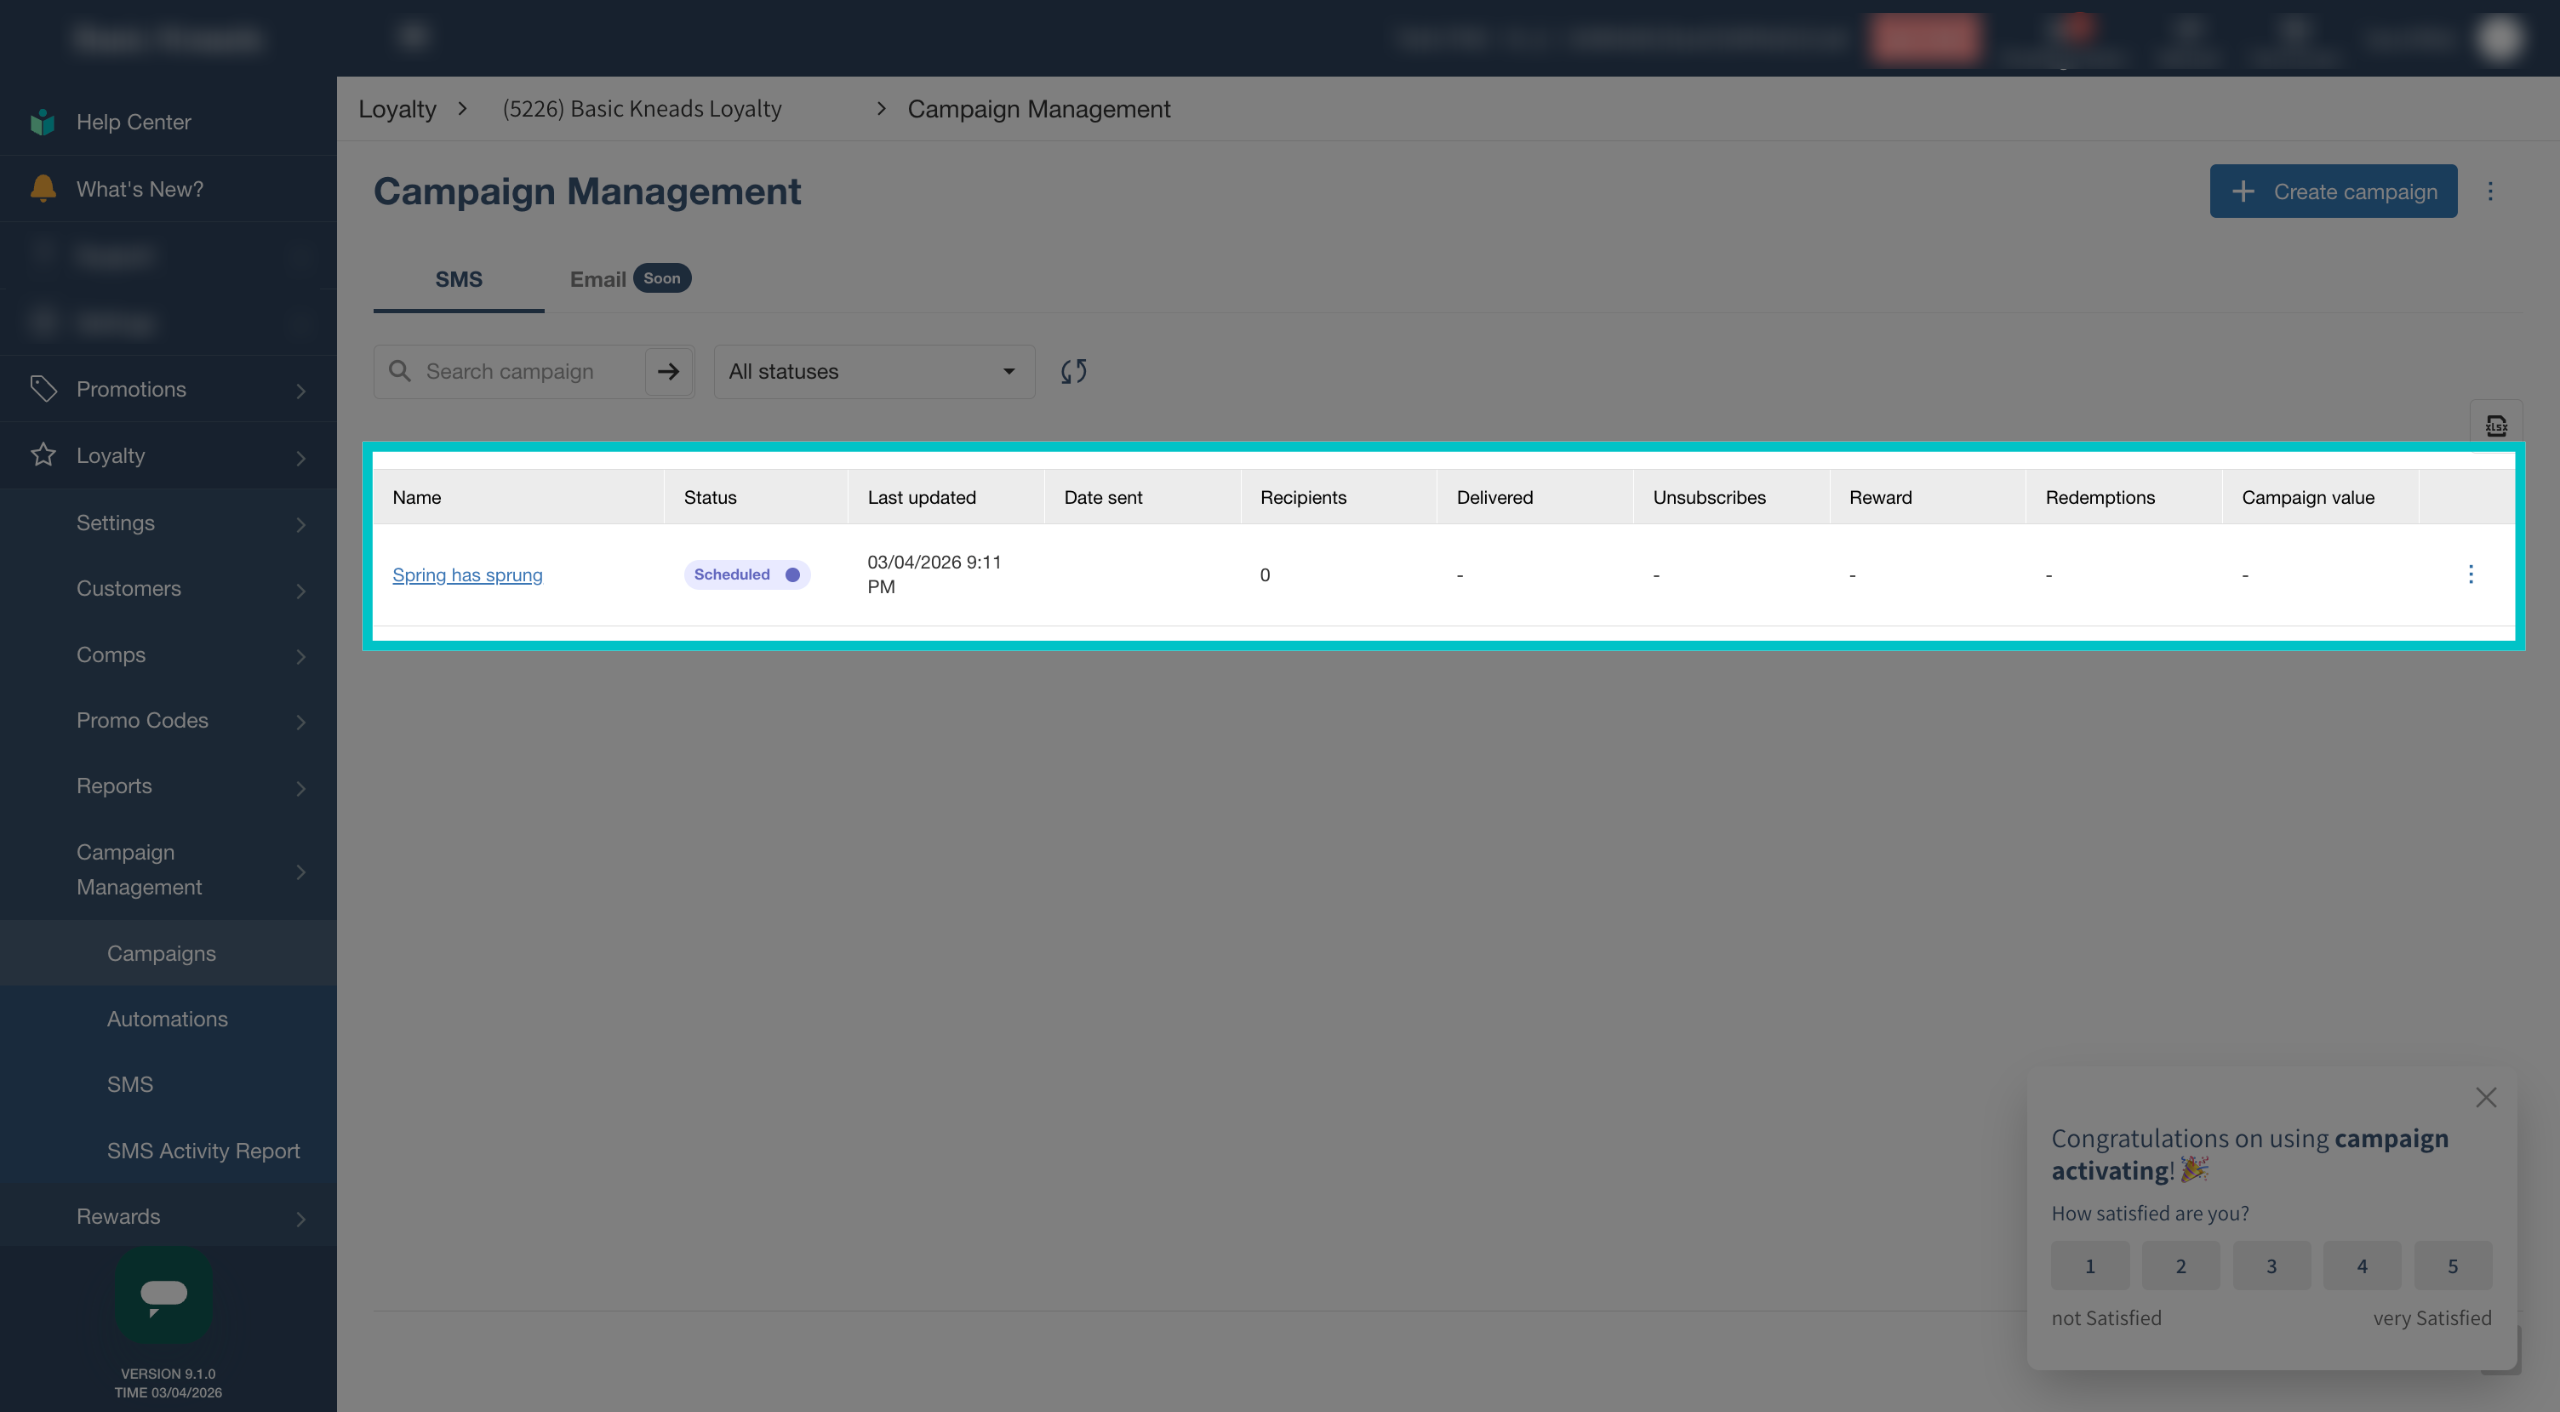
Creating a one-time SMS Loyalty campaign
One-time SMS campaigns allow you to send a targeted message to your customers instantly or at a scheduled time. These campaigns are commonly used to promote limited-time offers, announce special events, highlight seasonal items, or encourage guests to return to your restaurant.
In Tabit Office, SMS campaigns can be personalized using customer data such as first names, making messages feel more direct and engaging. You can also choose who should receive the campaign, attach a reward or promotion, test the message before sending, and decide whether to send it immediately or schedule it for later.
Follow the steps below to create and send a one-time SMS campaign: