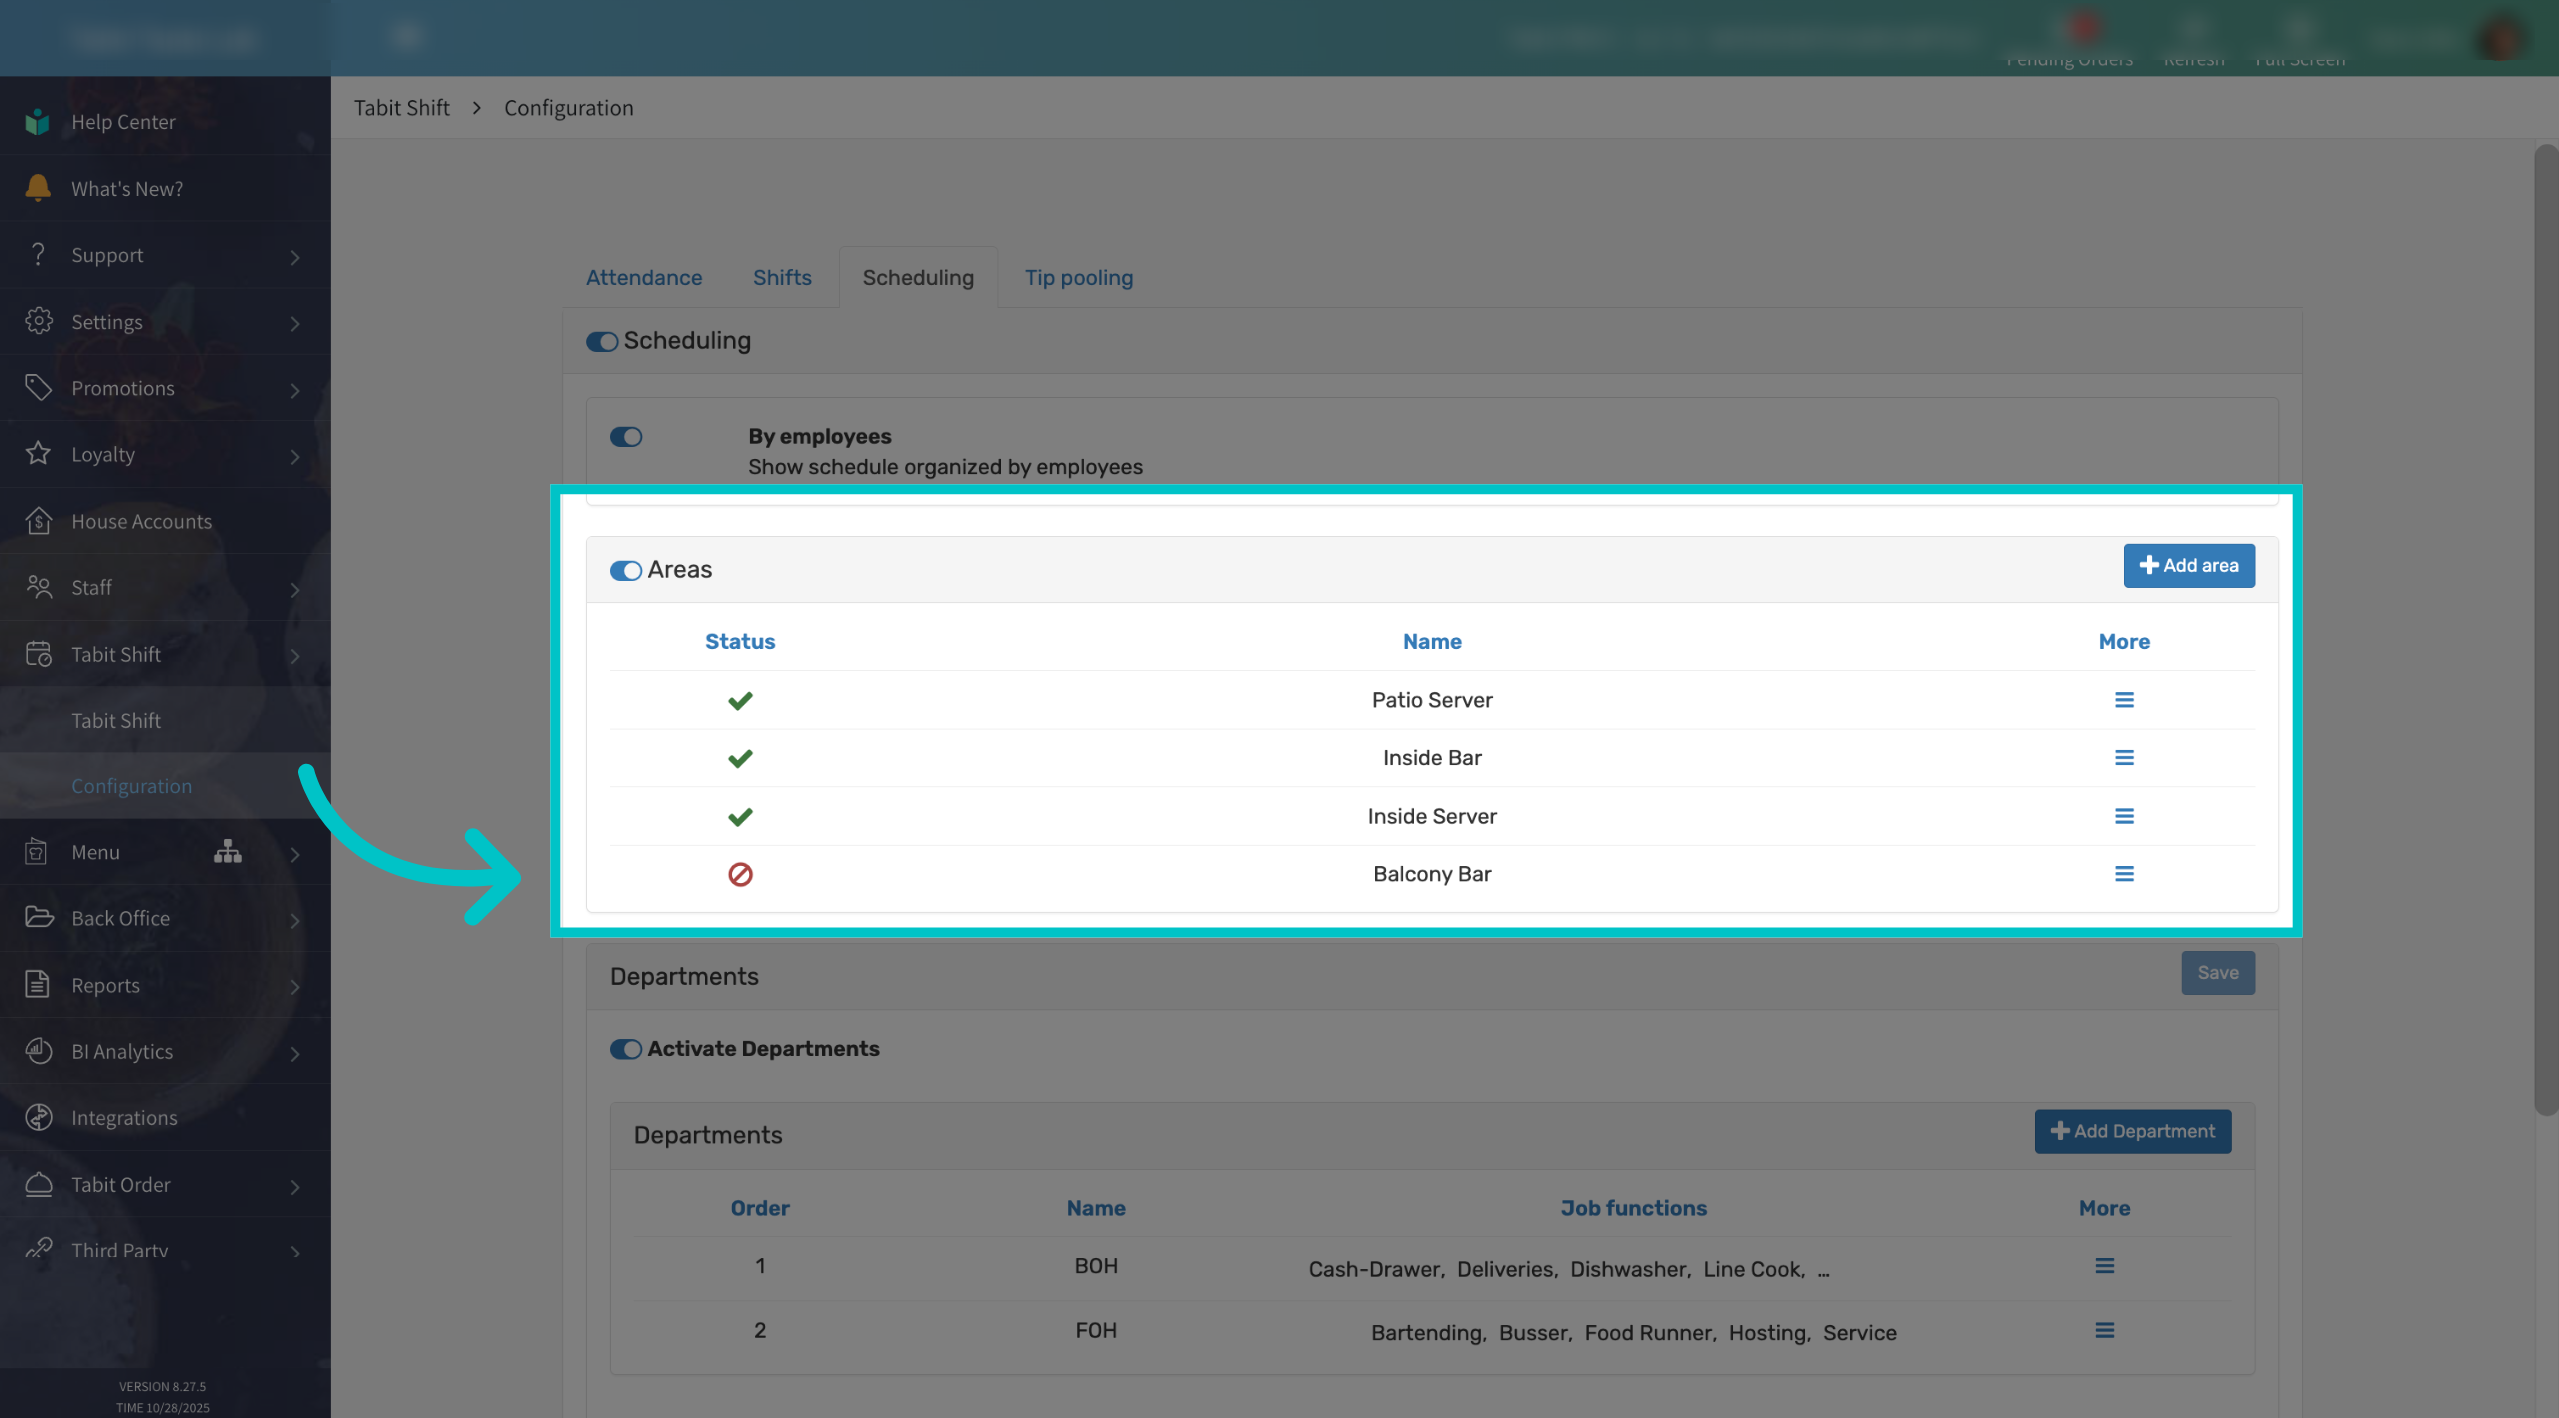
Areas in Tabit Shift allow you to add additional details to an employee’s shift, such as which part of the restaurant they’re assigned to. This helps managers organize schedules more efficiently and track where staff are working during their shifts. Follow the steps below to learn how to configure and manage areas.
Before you can use Areas, they must be configured in Tabit Office. Follow the steps below to learn how to set up Areas for Tabit Shift:
Adding a new Area
-
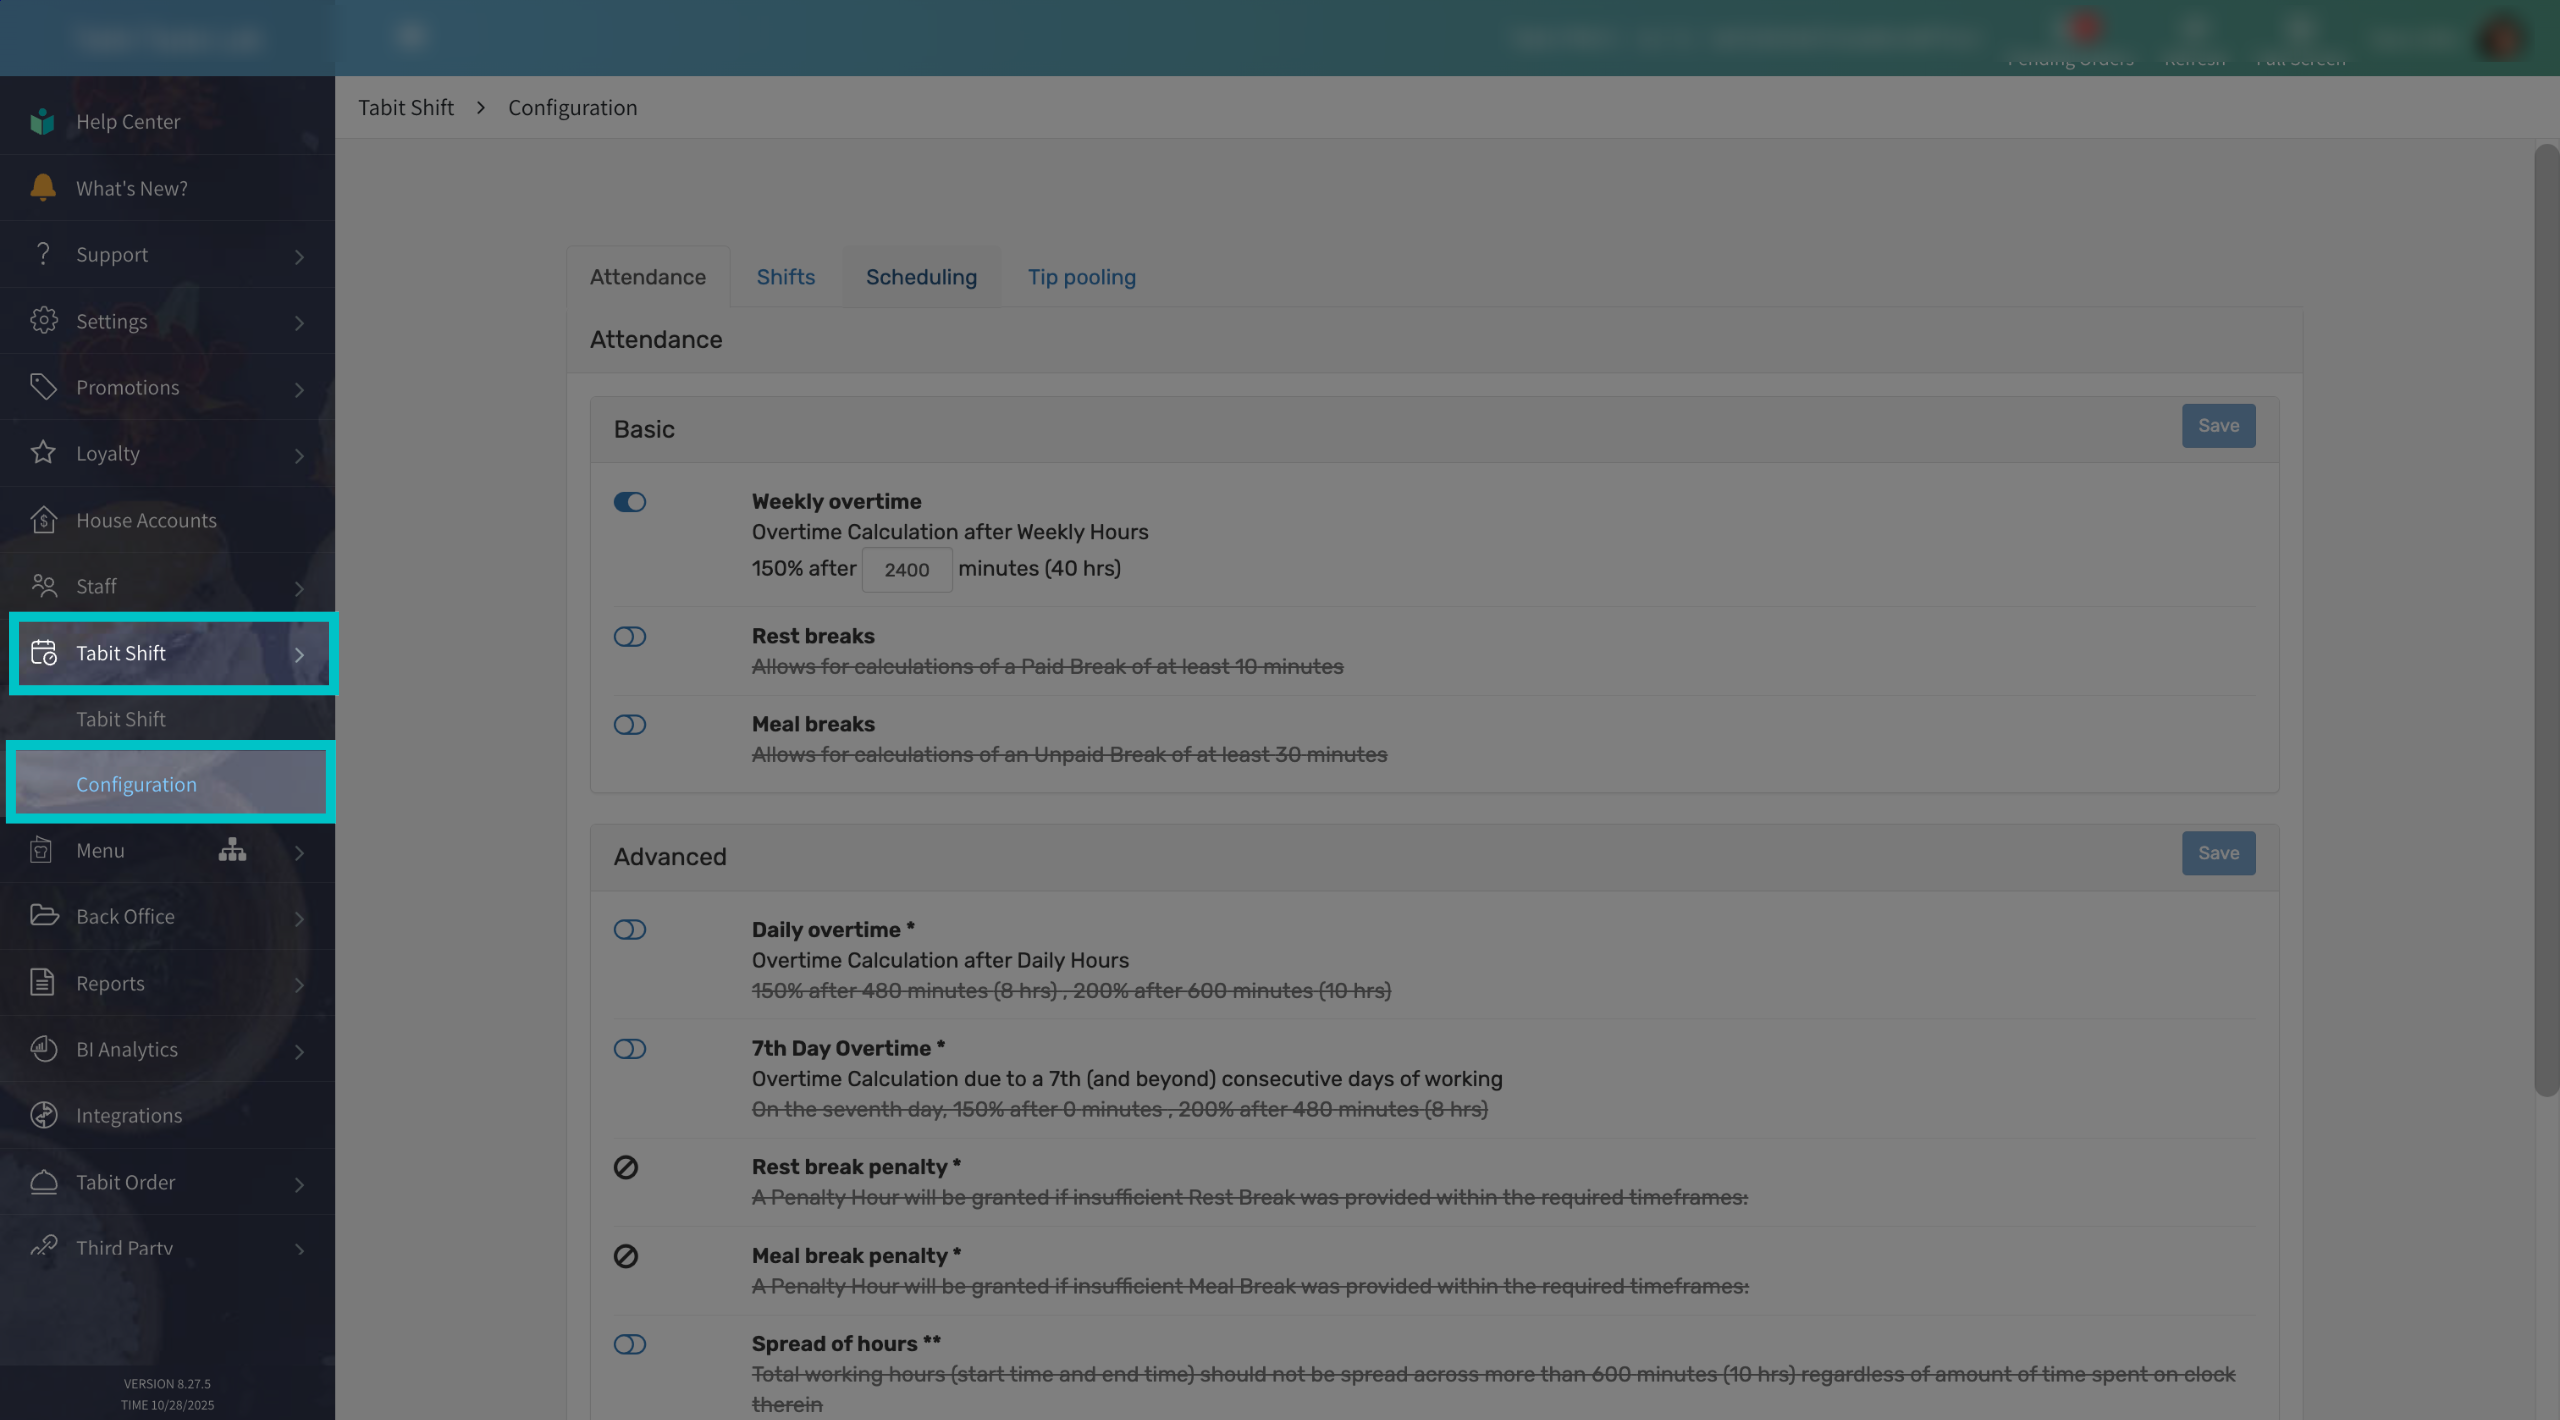
In Tabit Office, go to Tabit Shift > Configuration
-
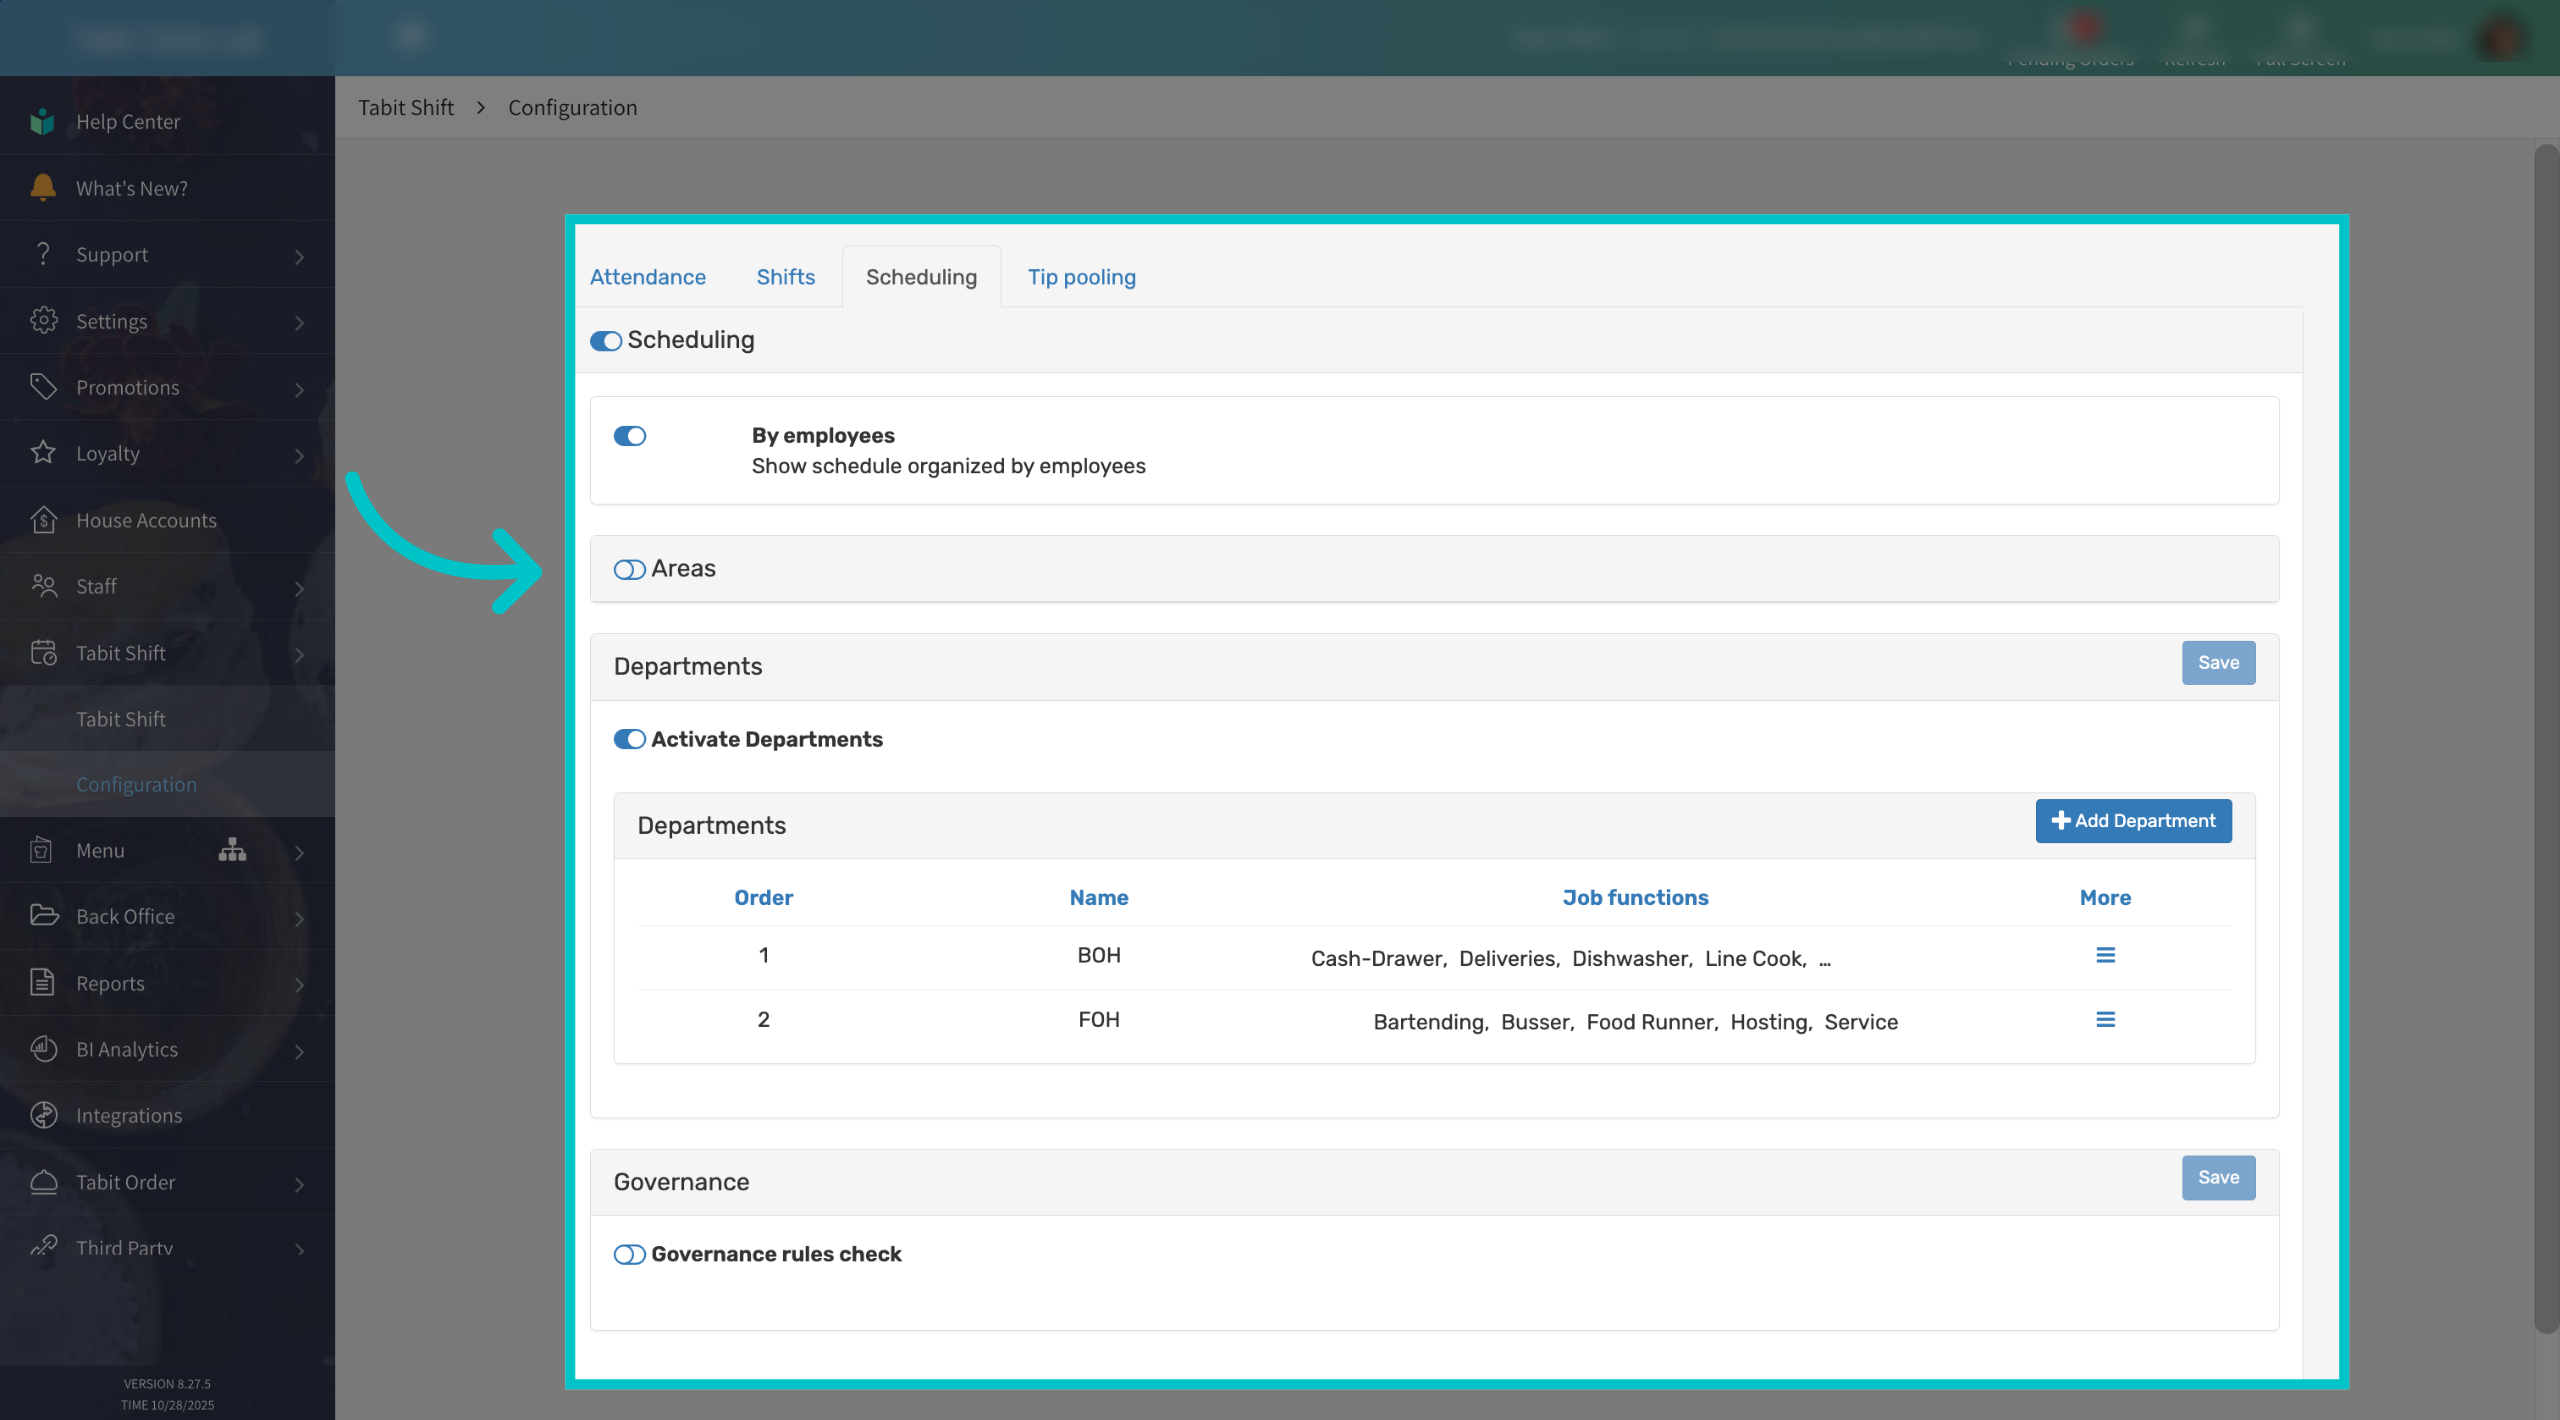
Select the Scheduling tab. Here you will find the Areas section
-
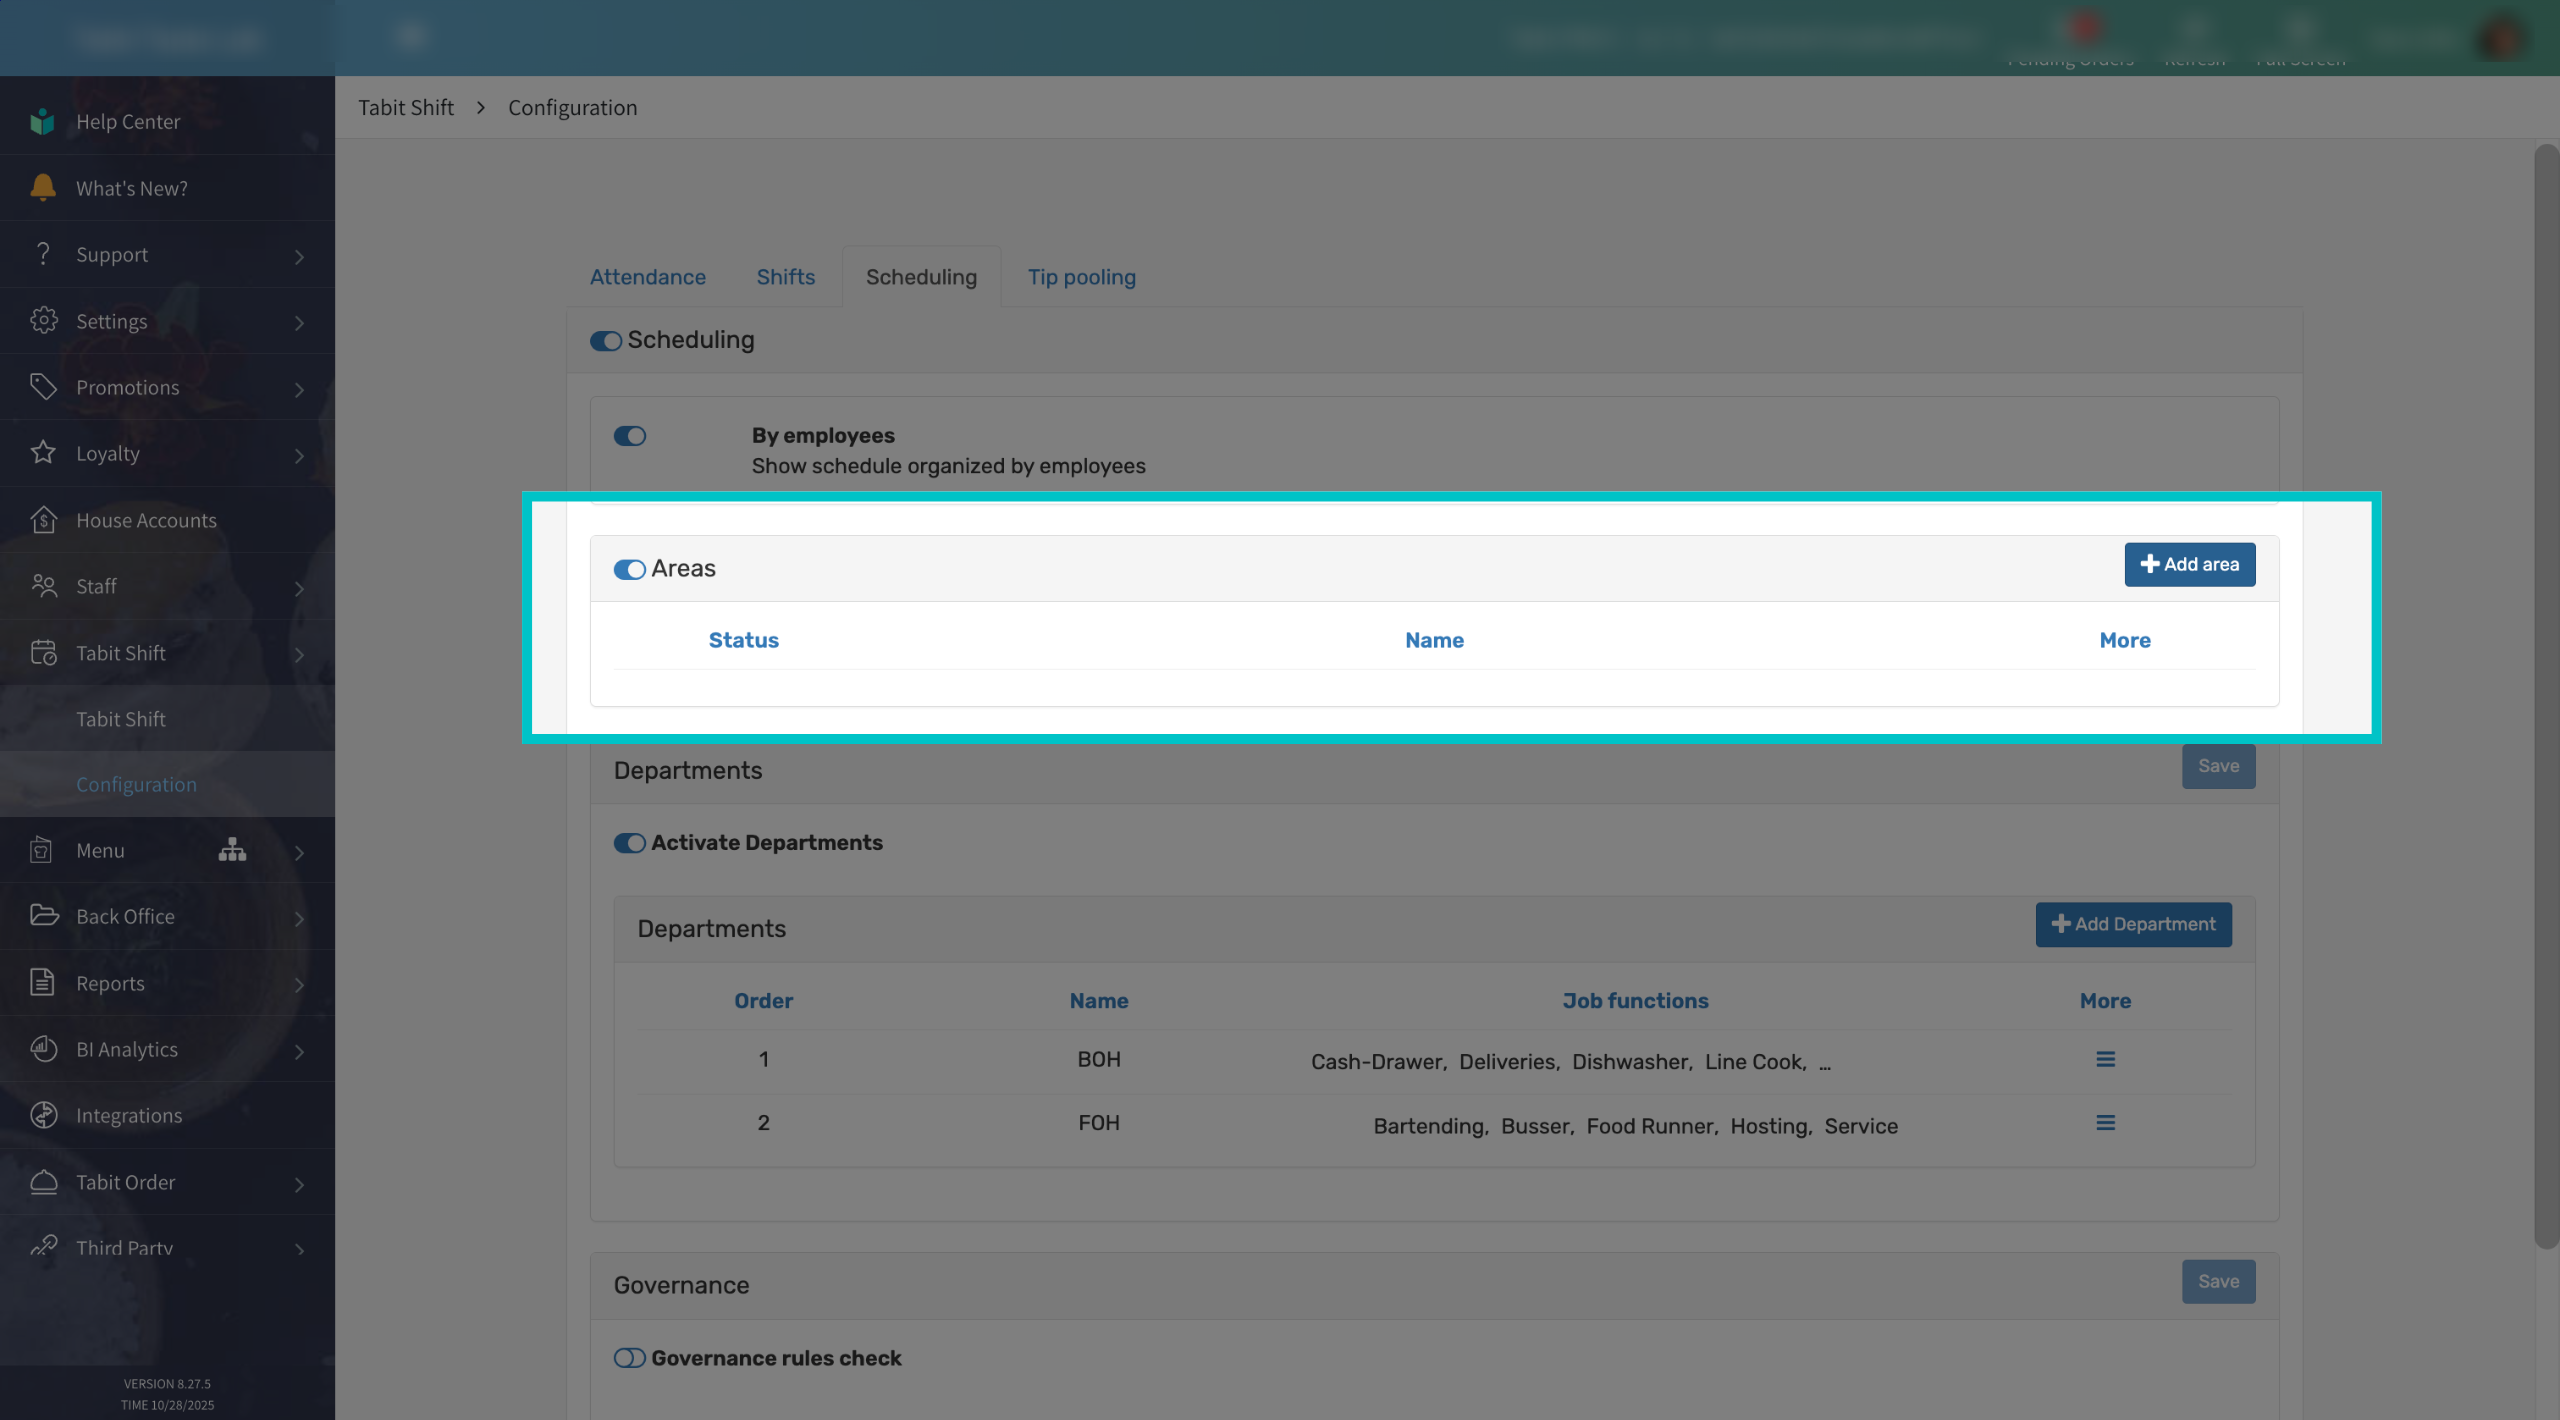
Toggle Areas ON and select Add Area to create a new Area
-
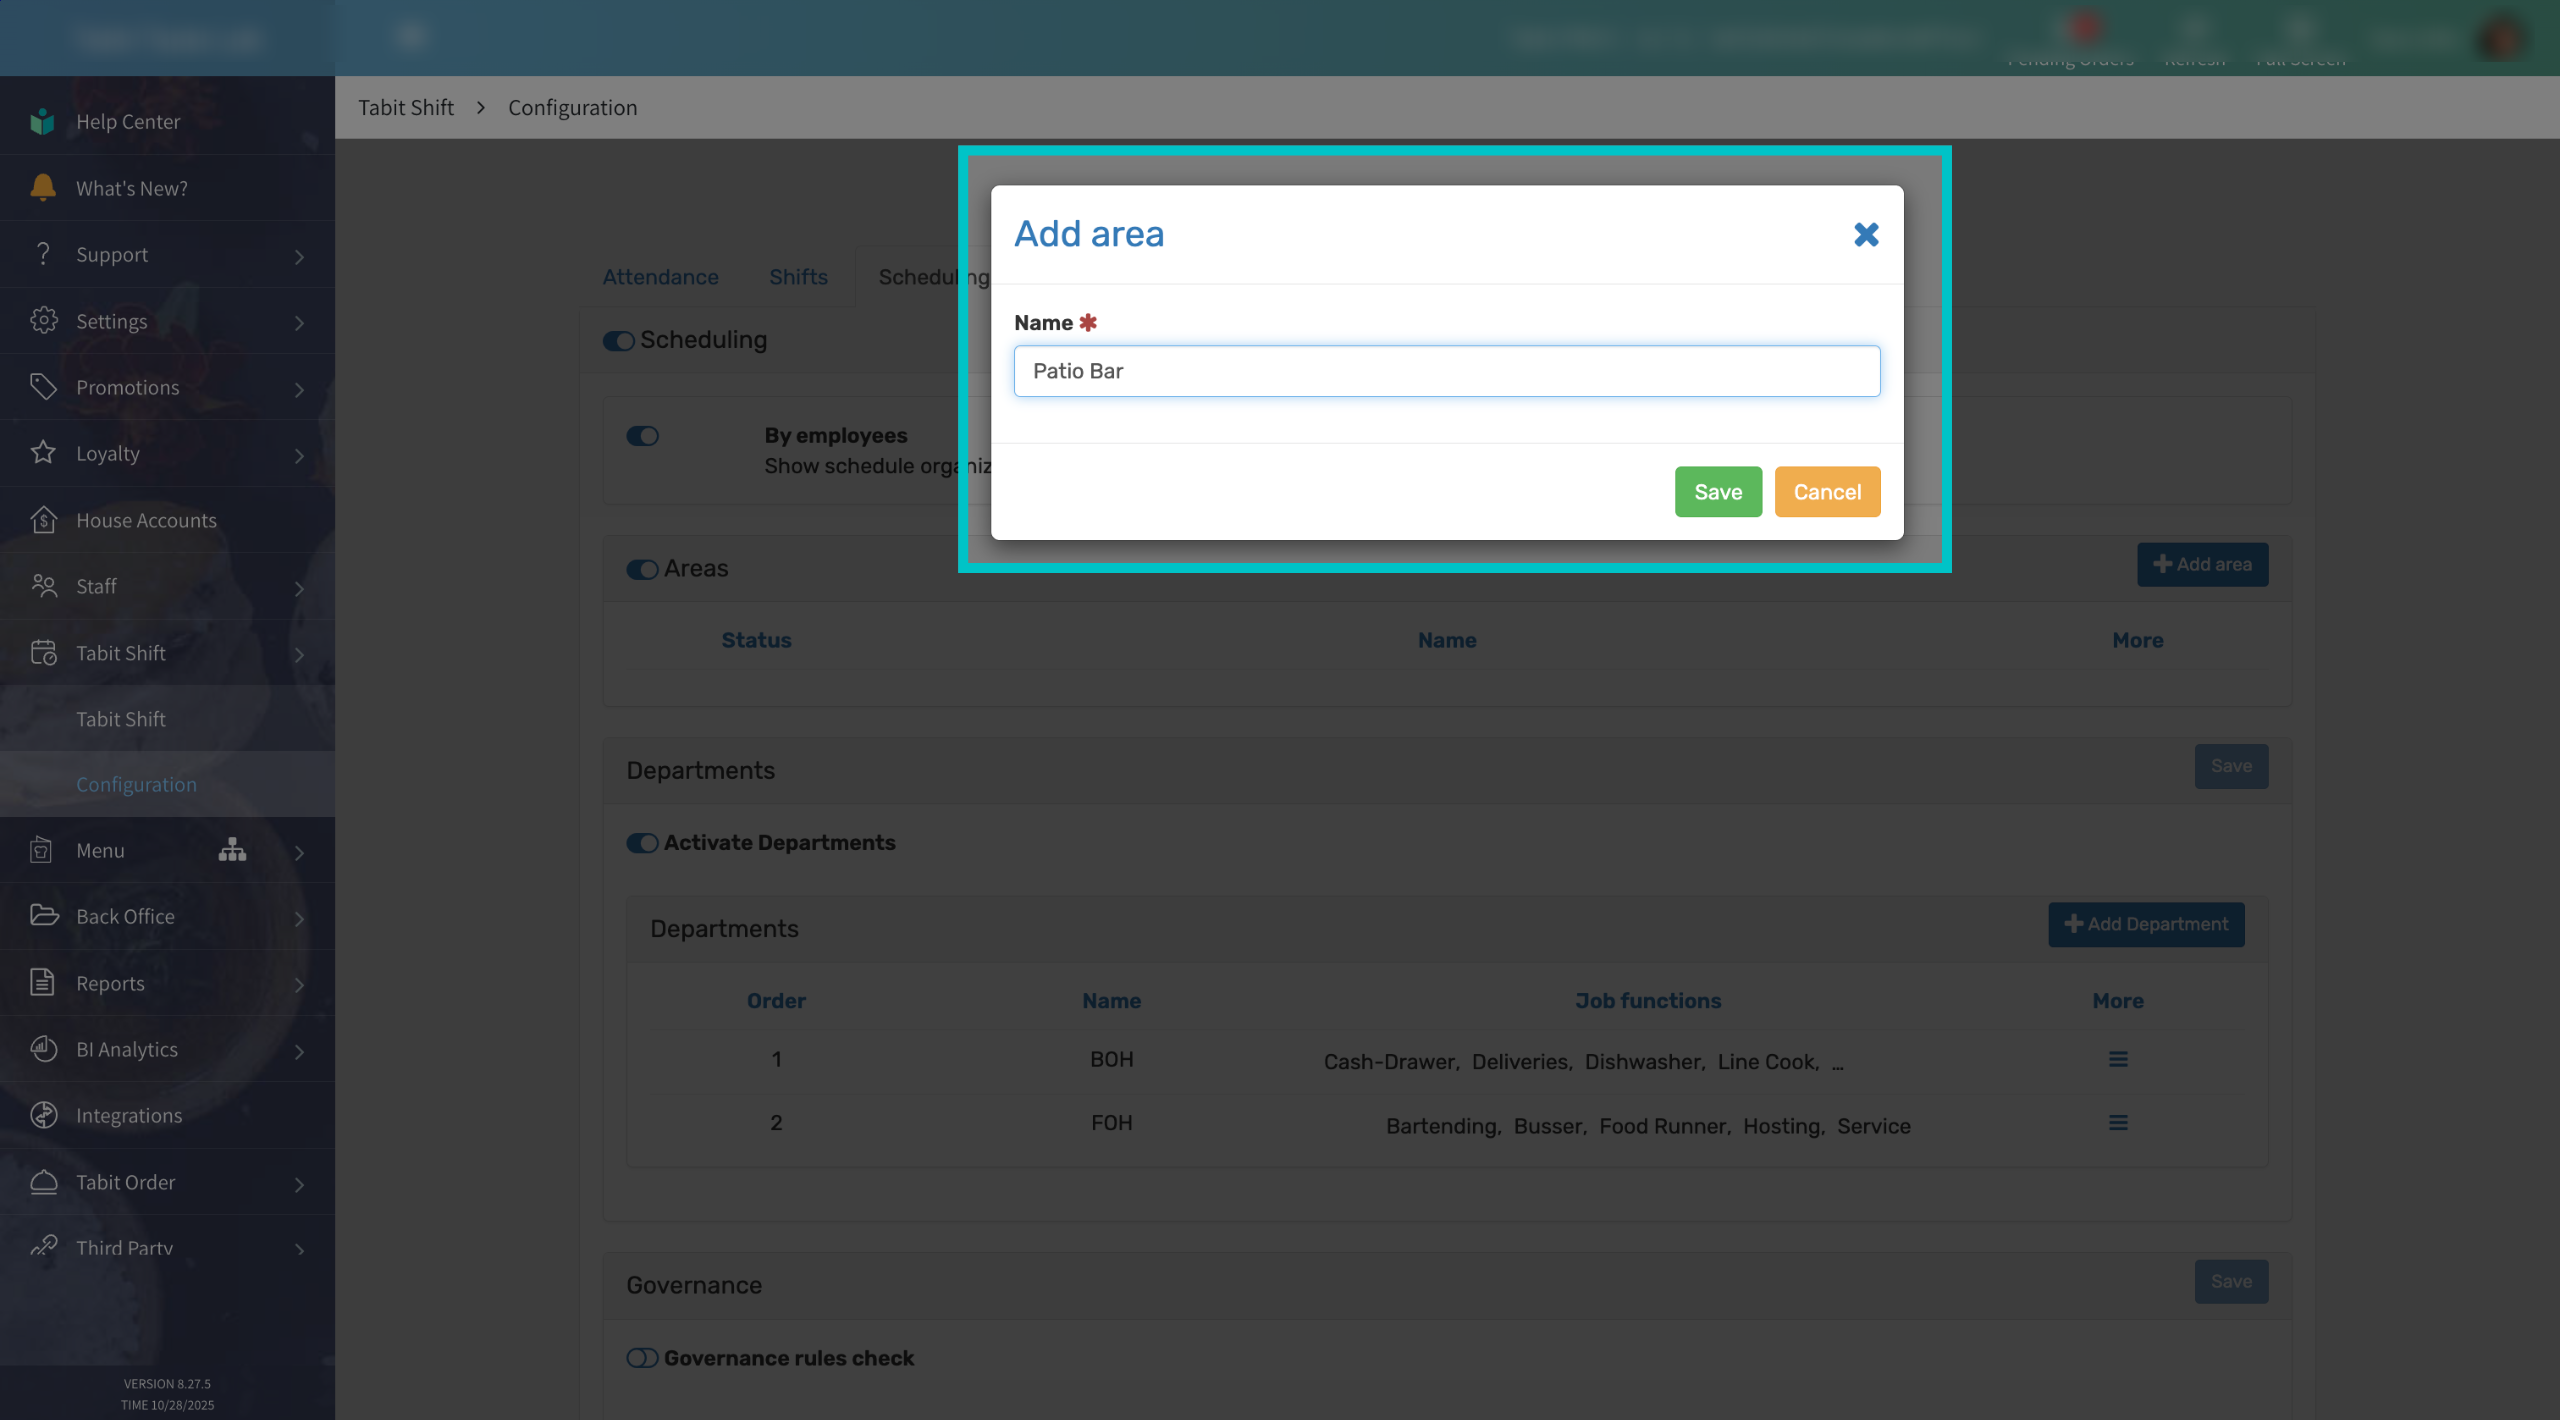
Enter a name for the Area and select Save
-
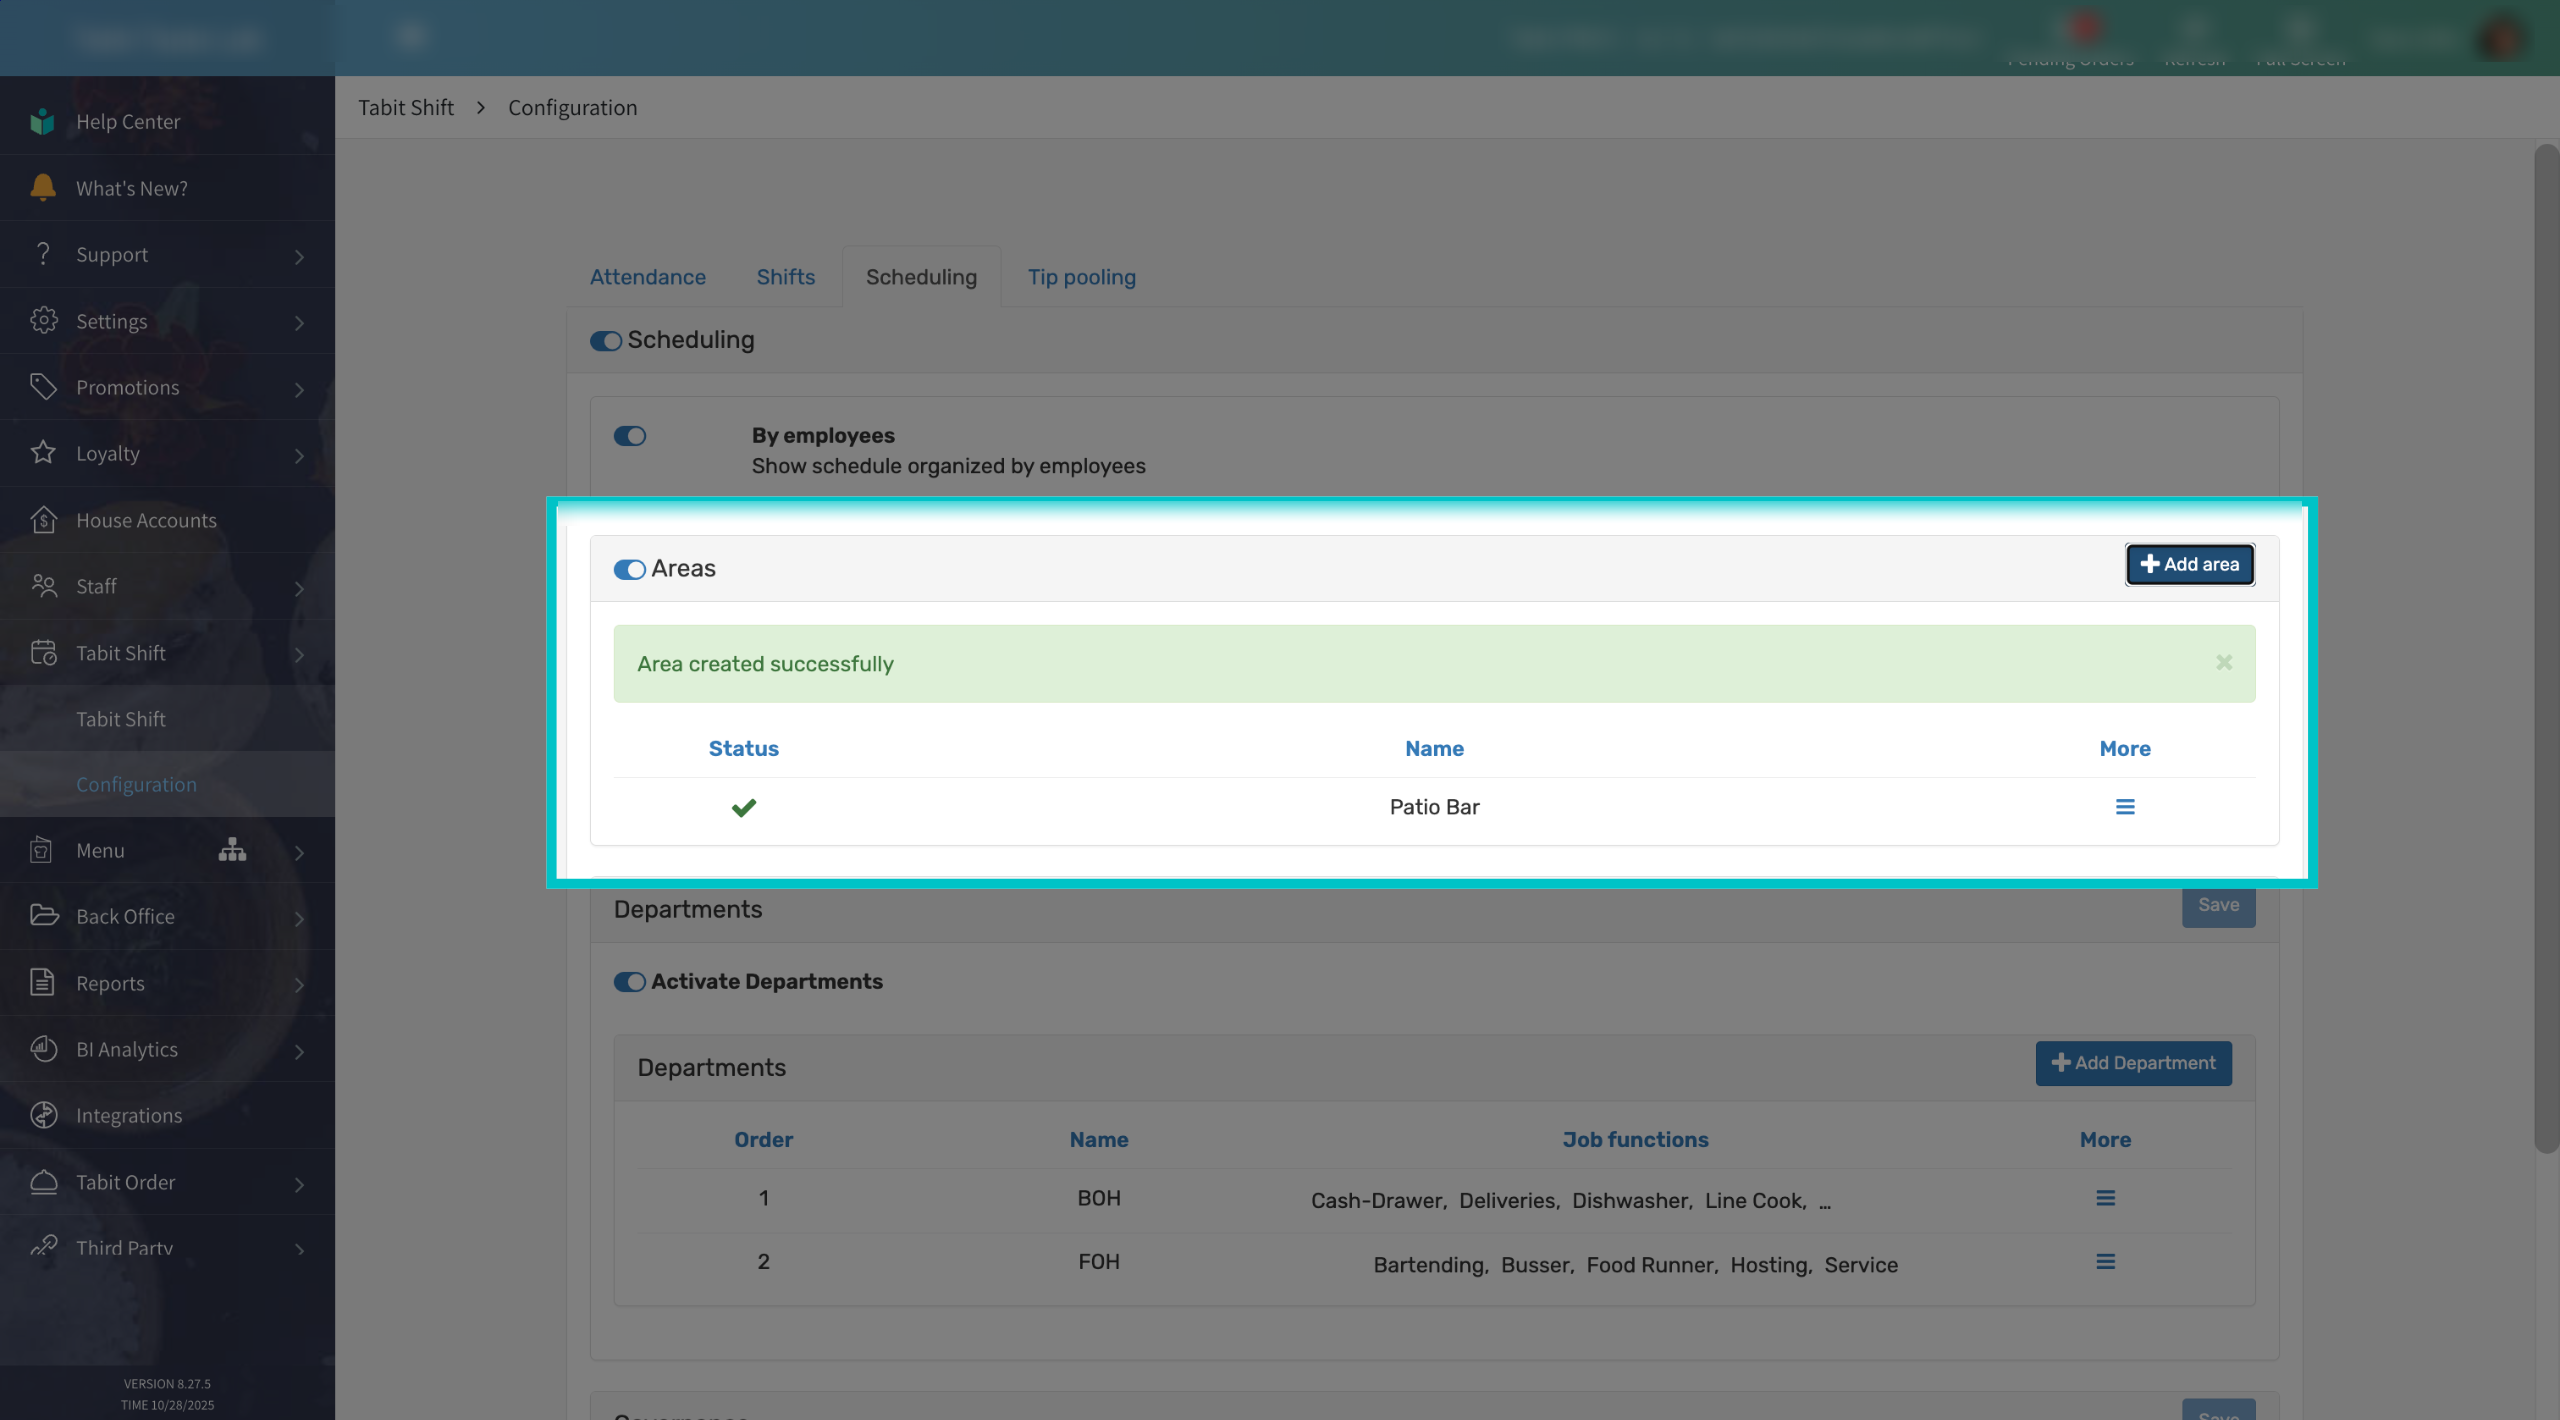
Once saved, the Area will appear in the list of active Areas
-
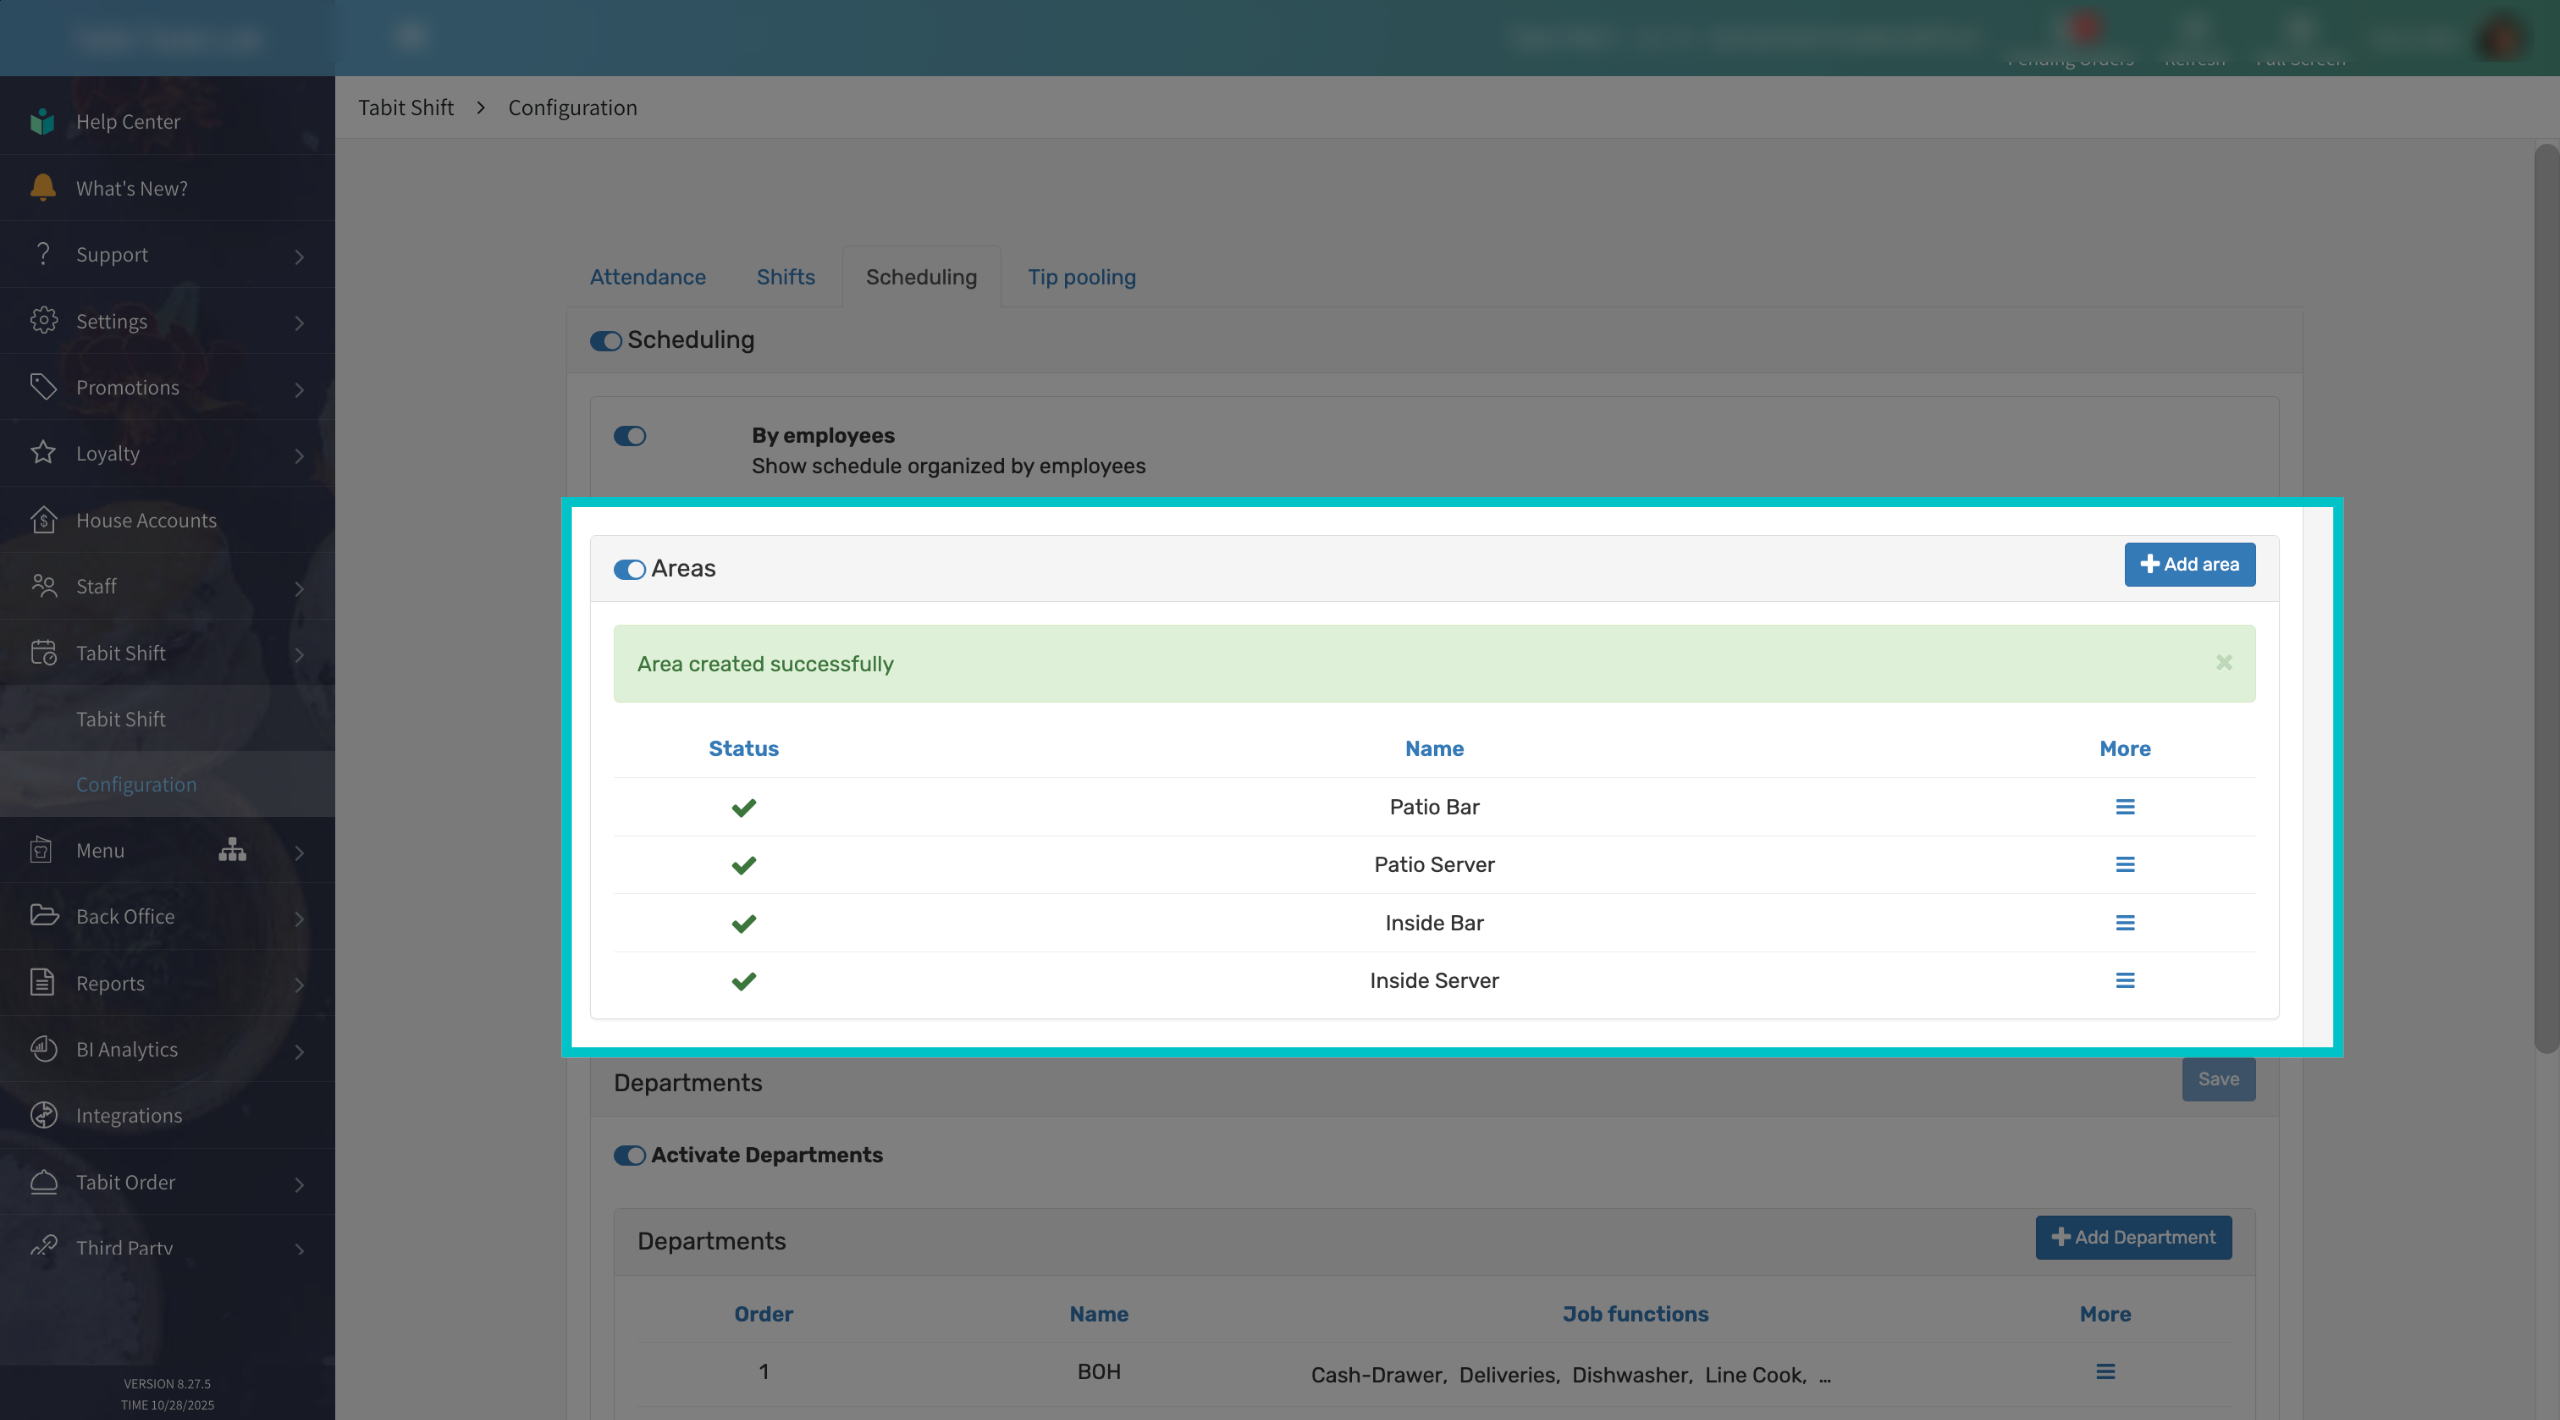
Continue adding Areas until you have configured all necessary ones
Editing an Area
-
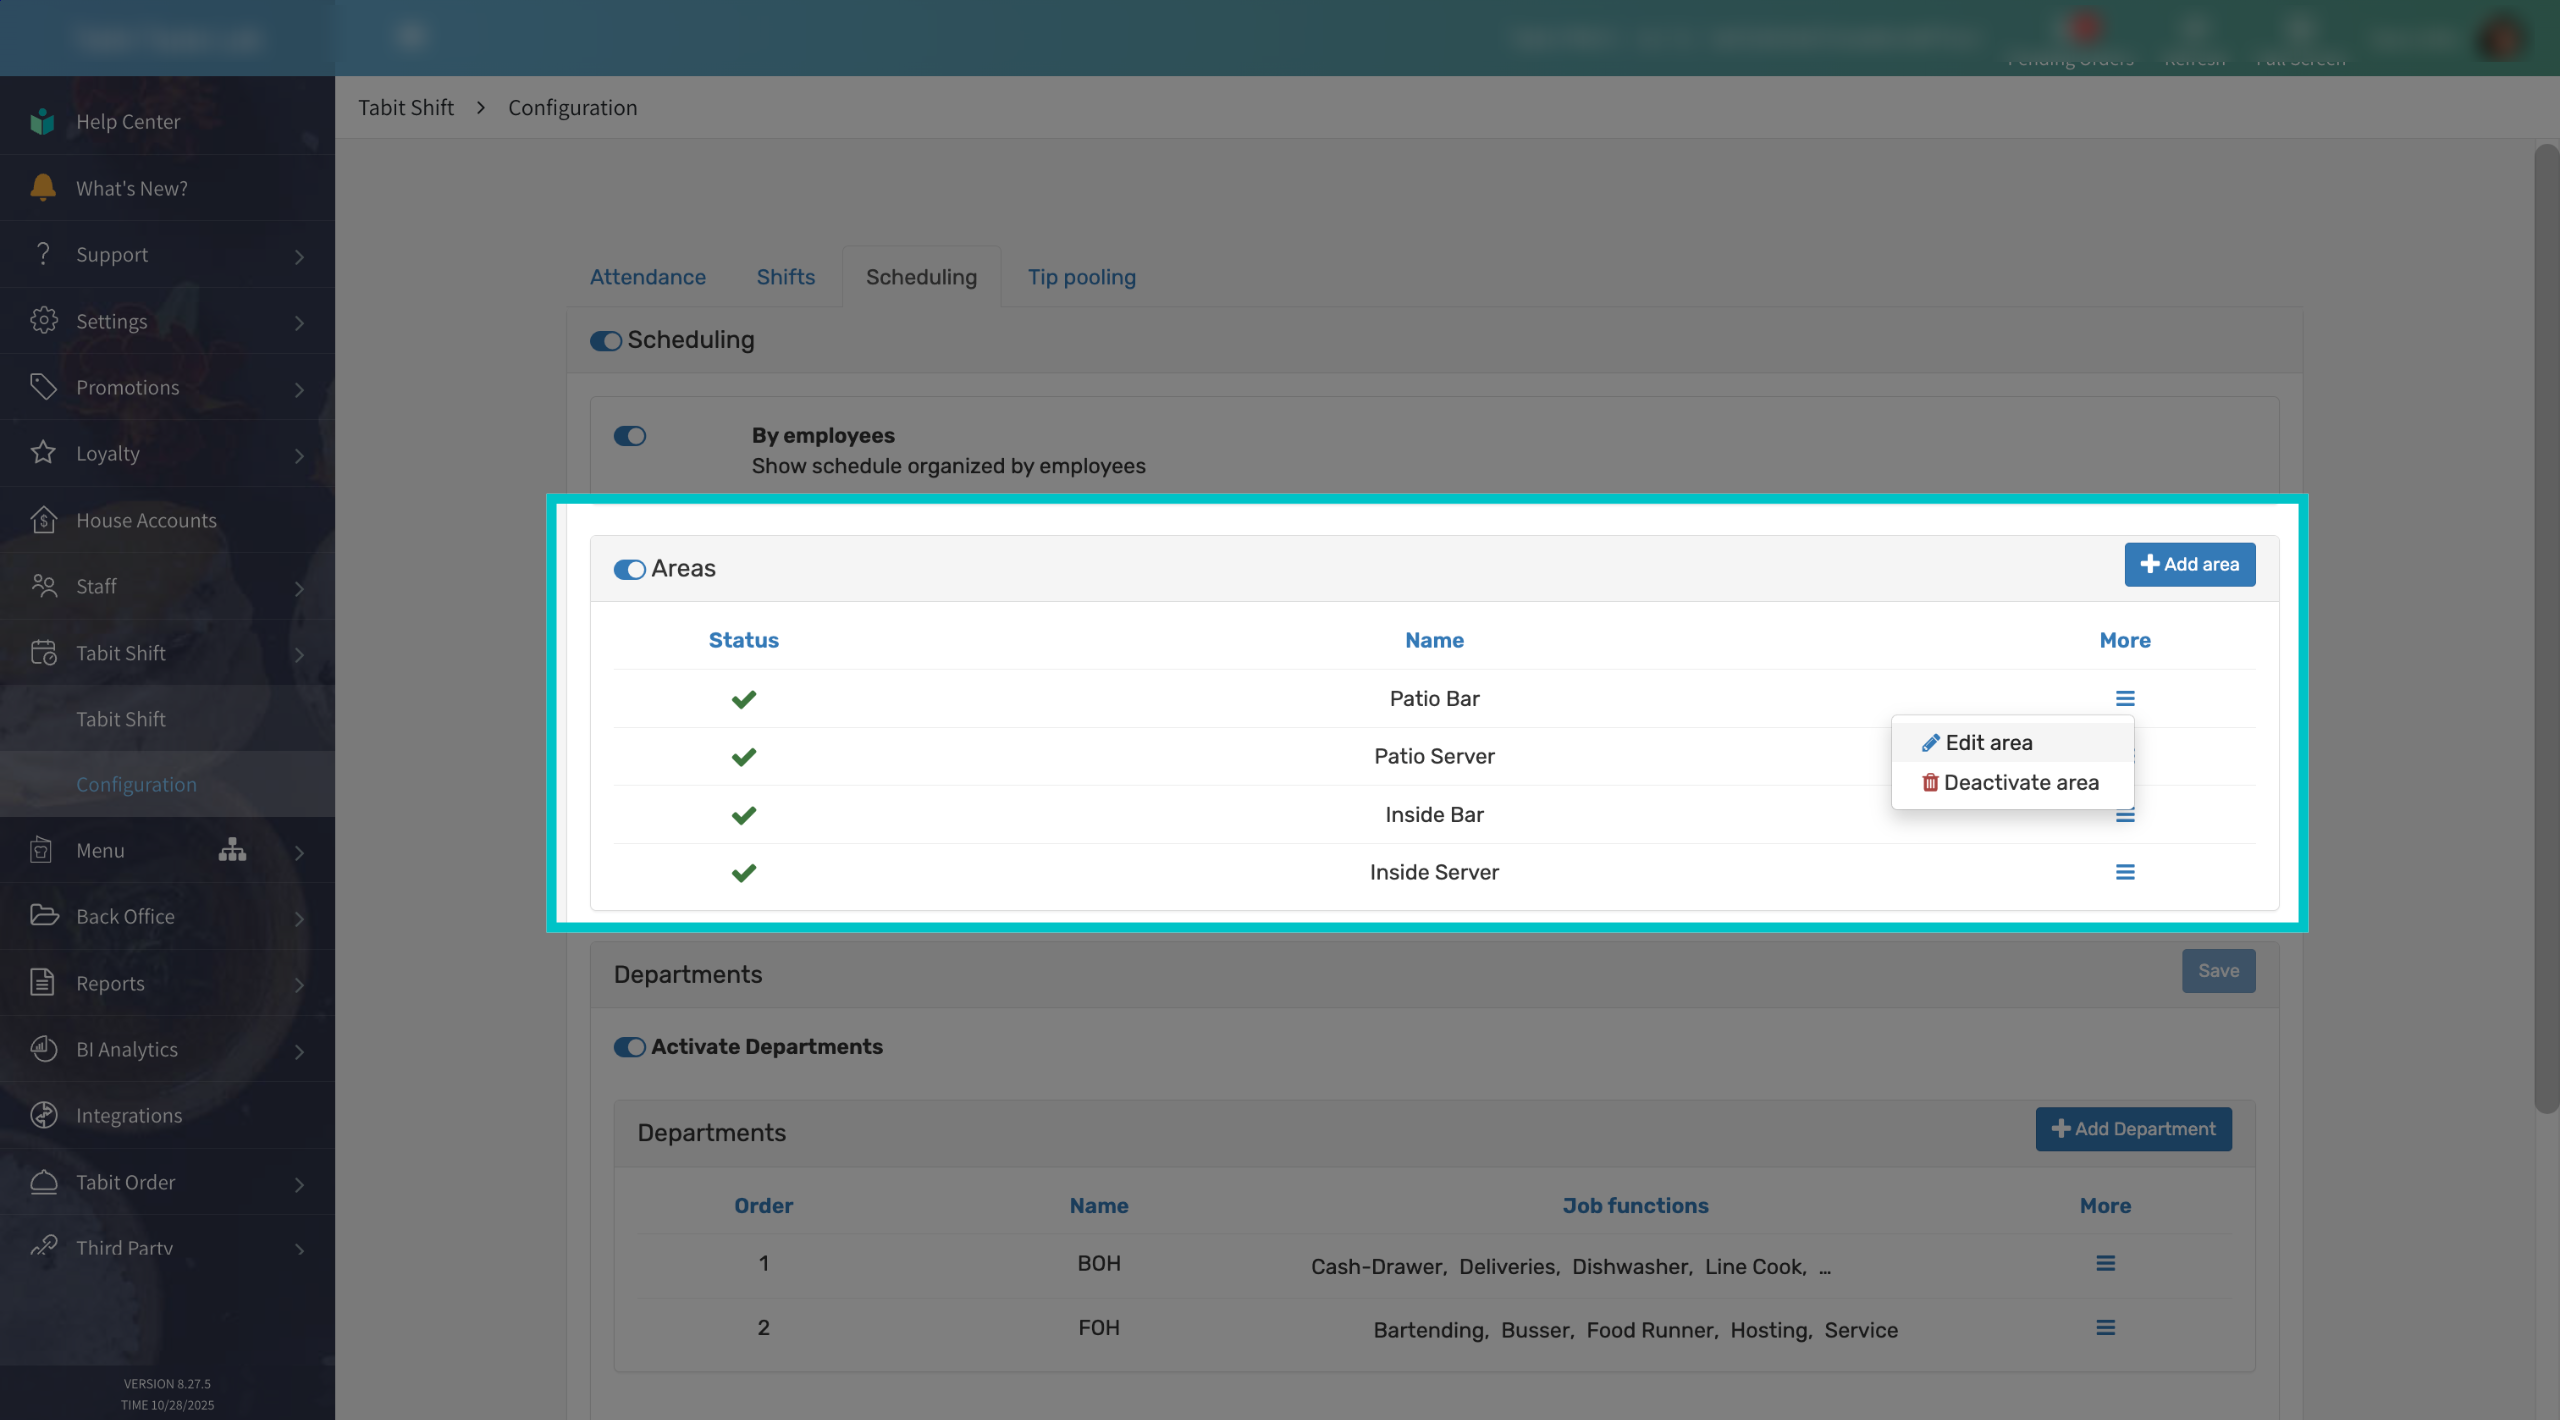
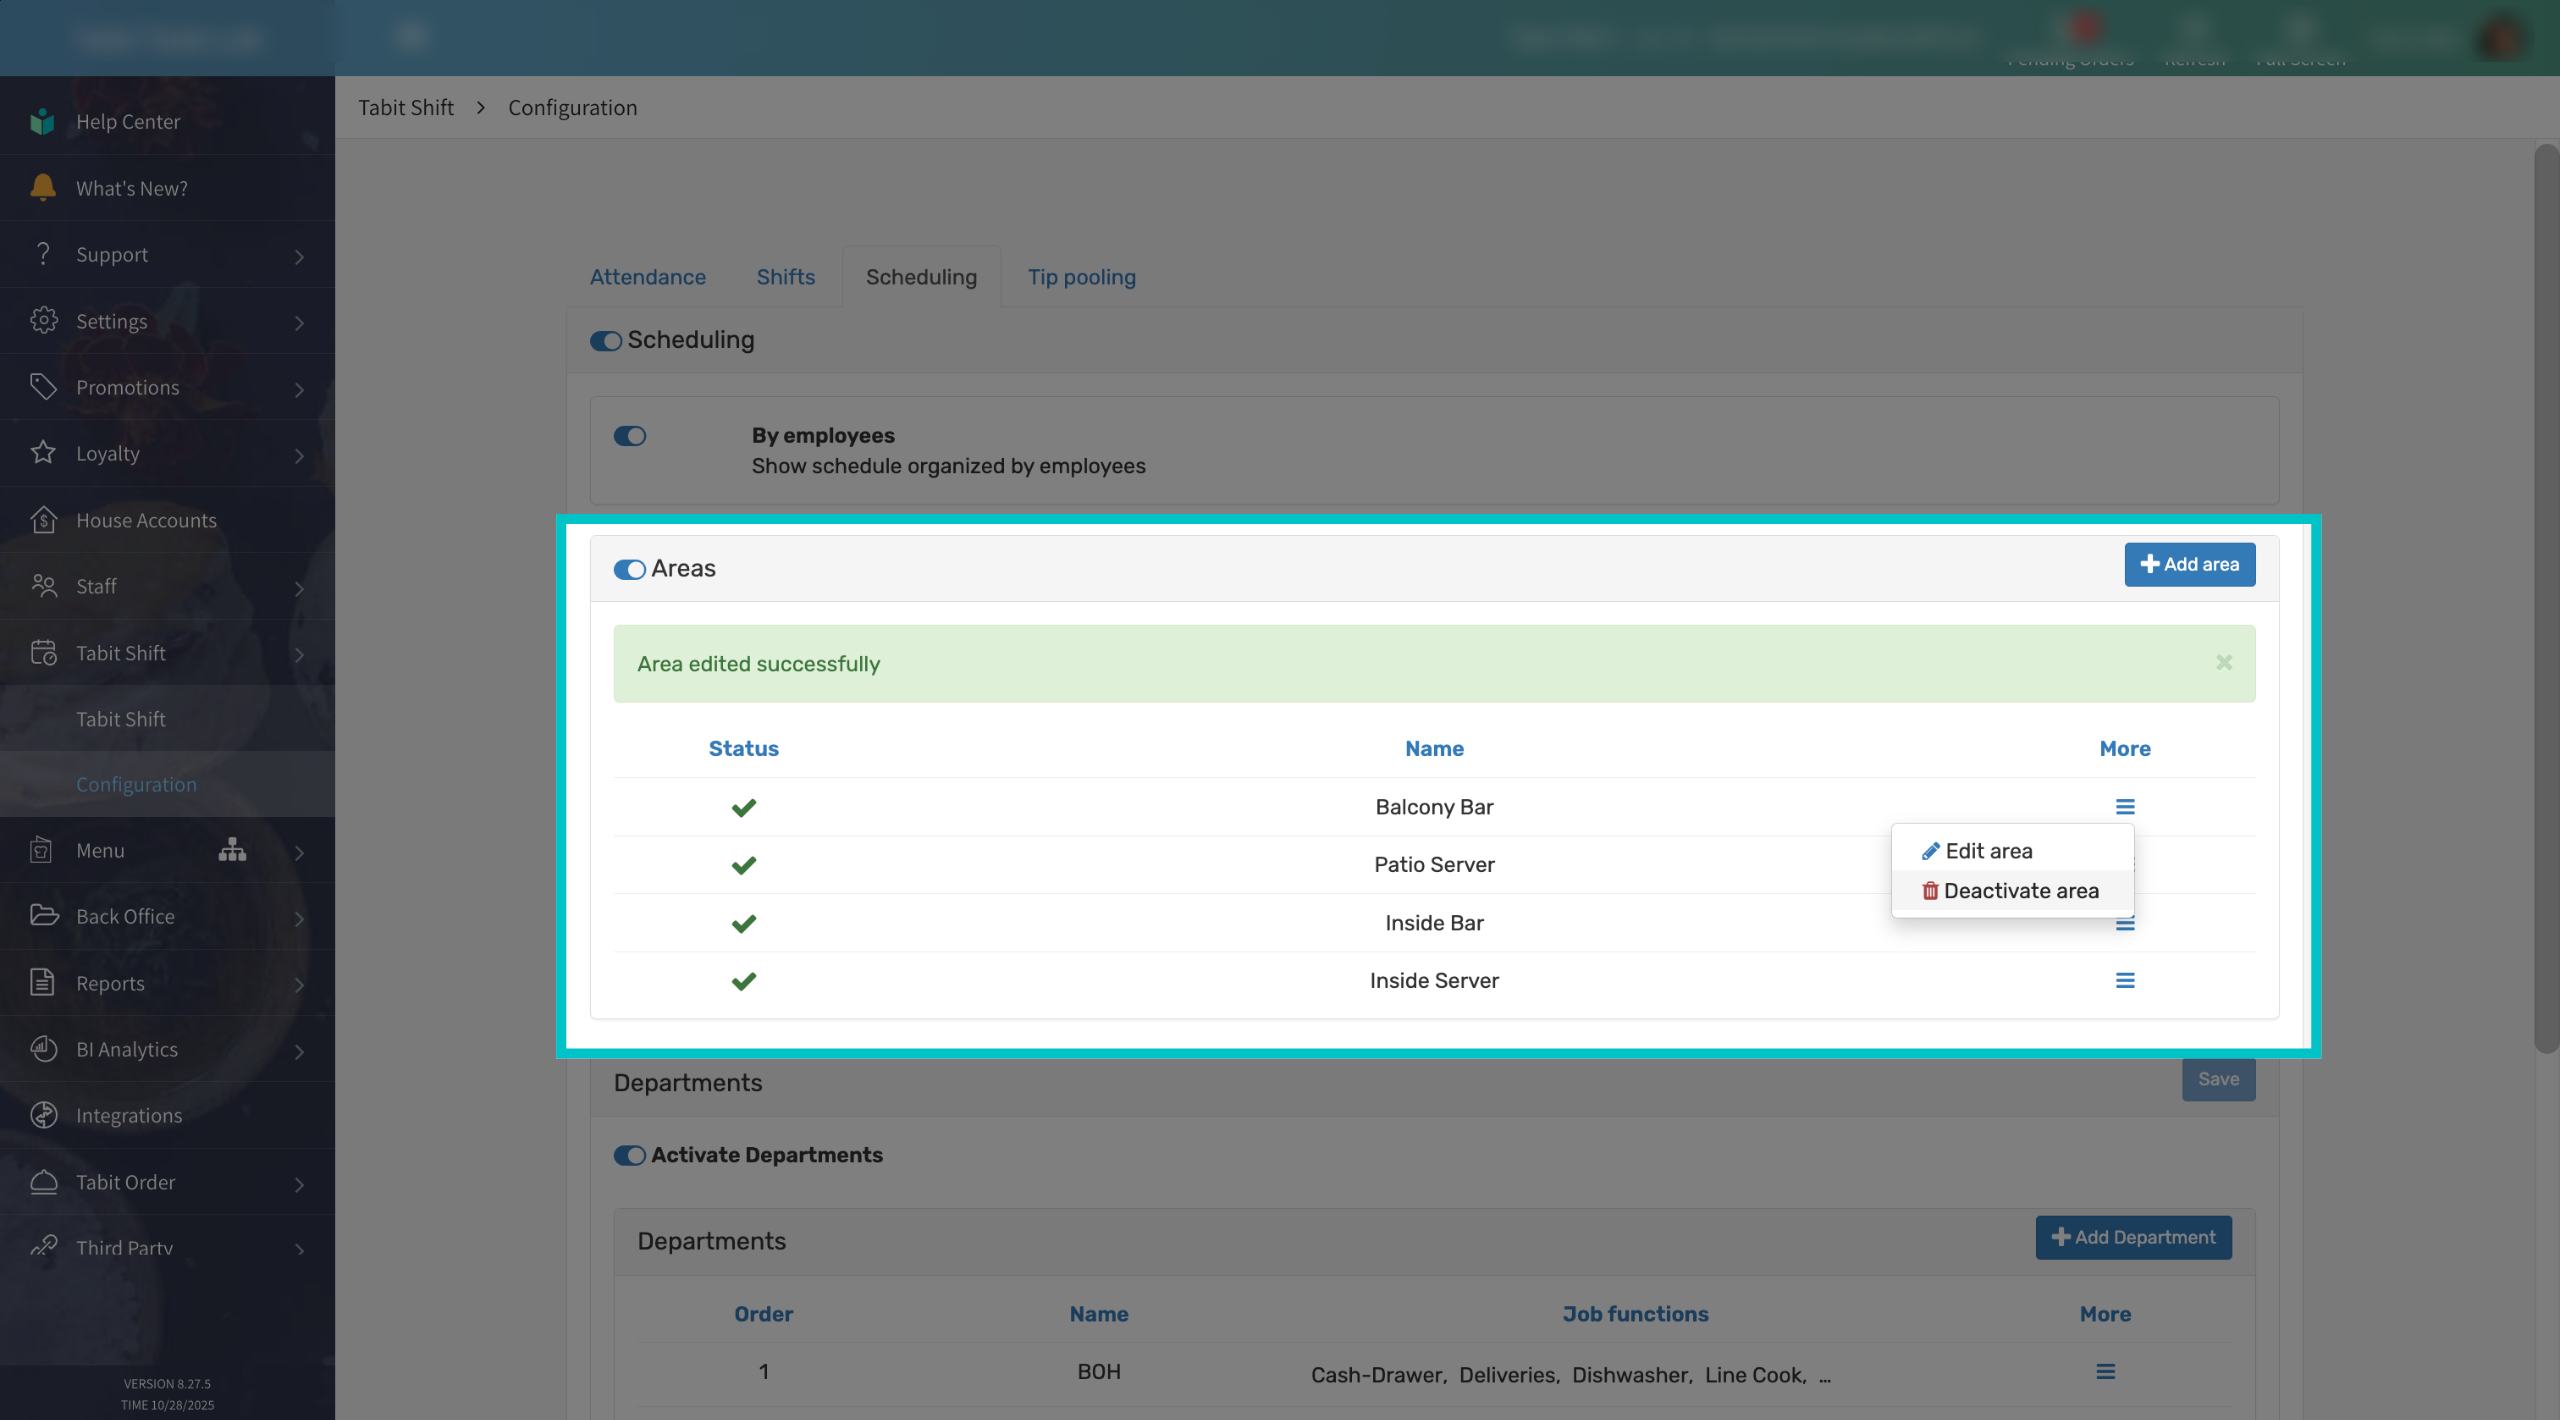
To edit an area, select the three lines next to the area name and select Edit Area
-
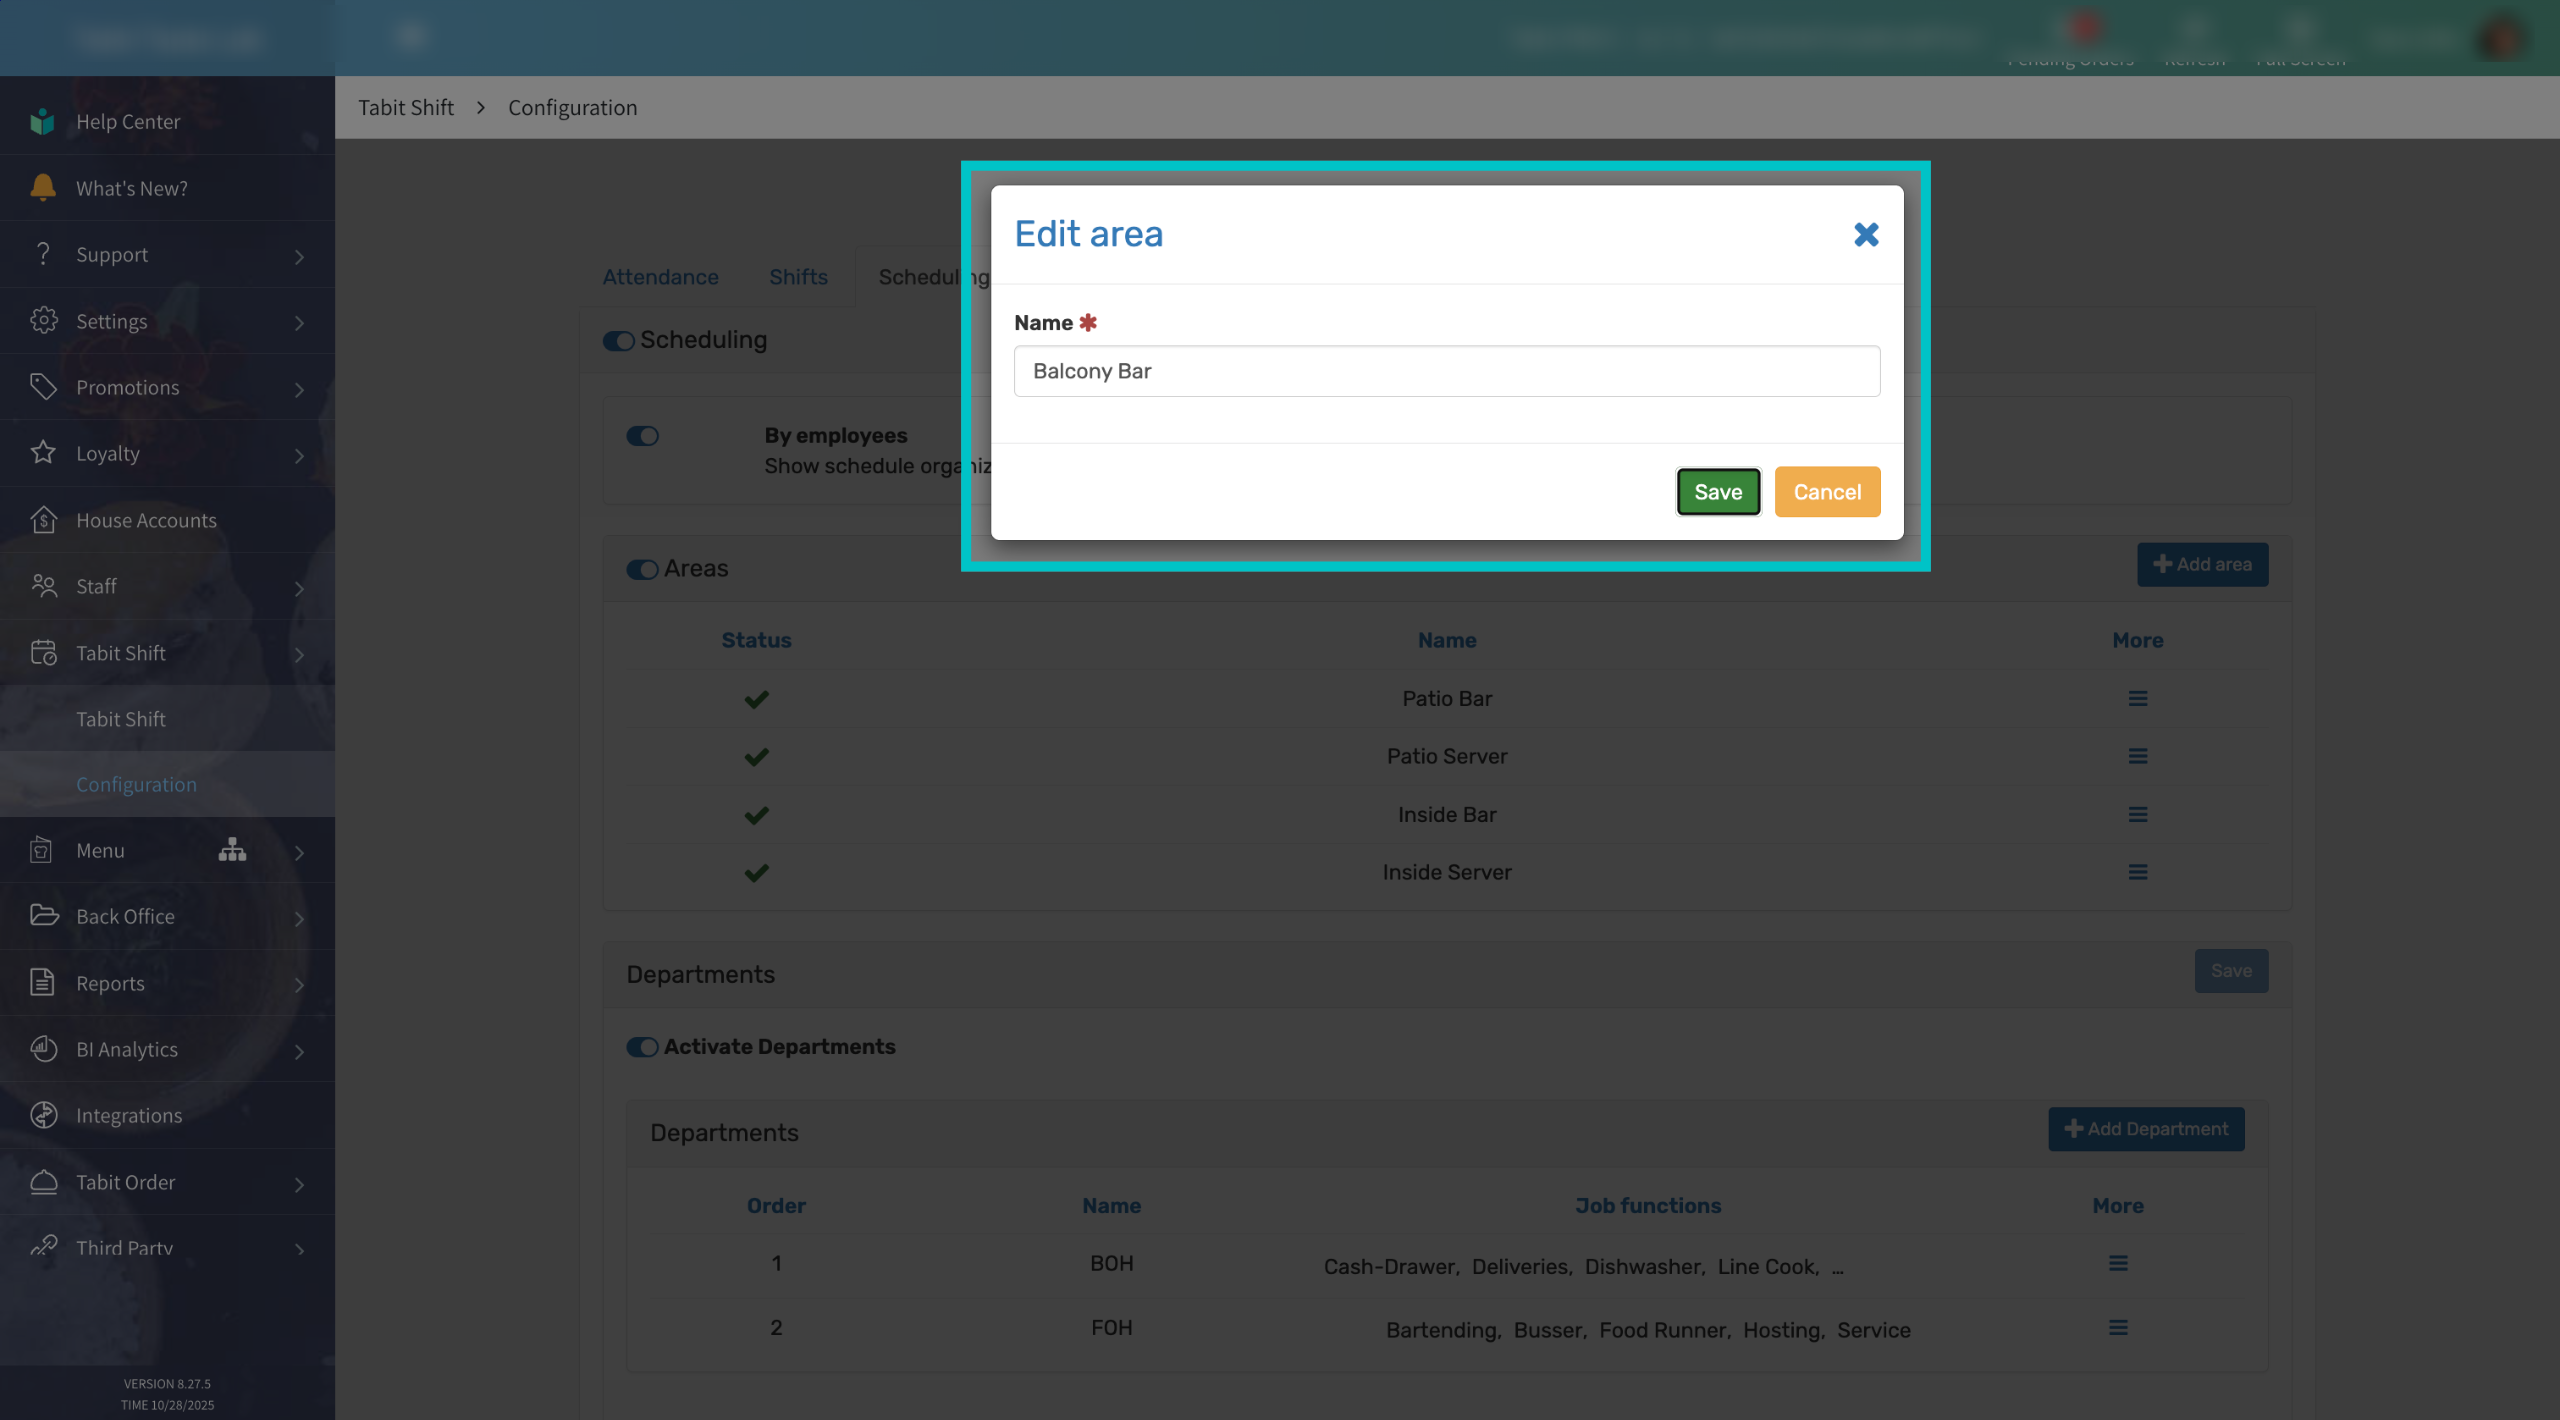
Update the area name as needed and select Save
-
To deactivate an Area, select the three lines next to the Area and select Deactivate Area
-
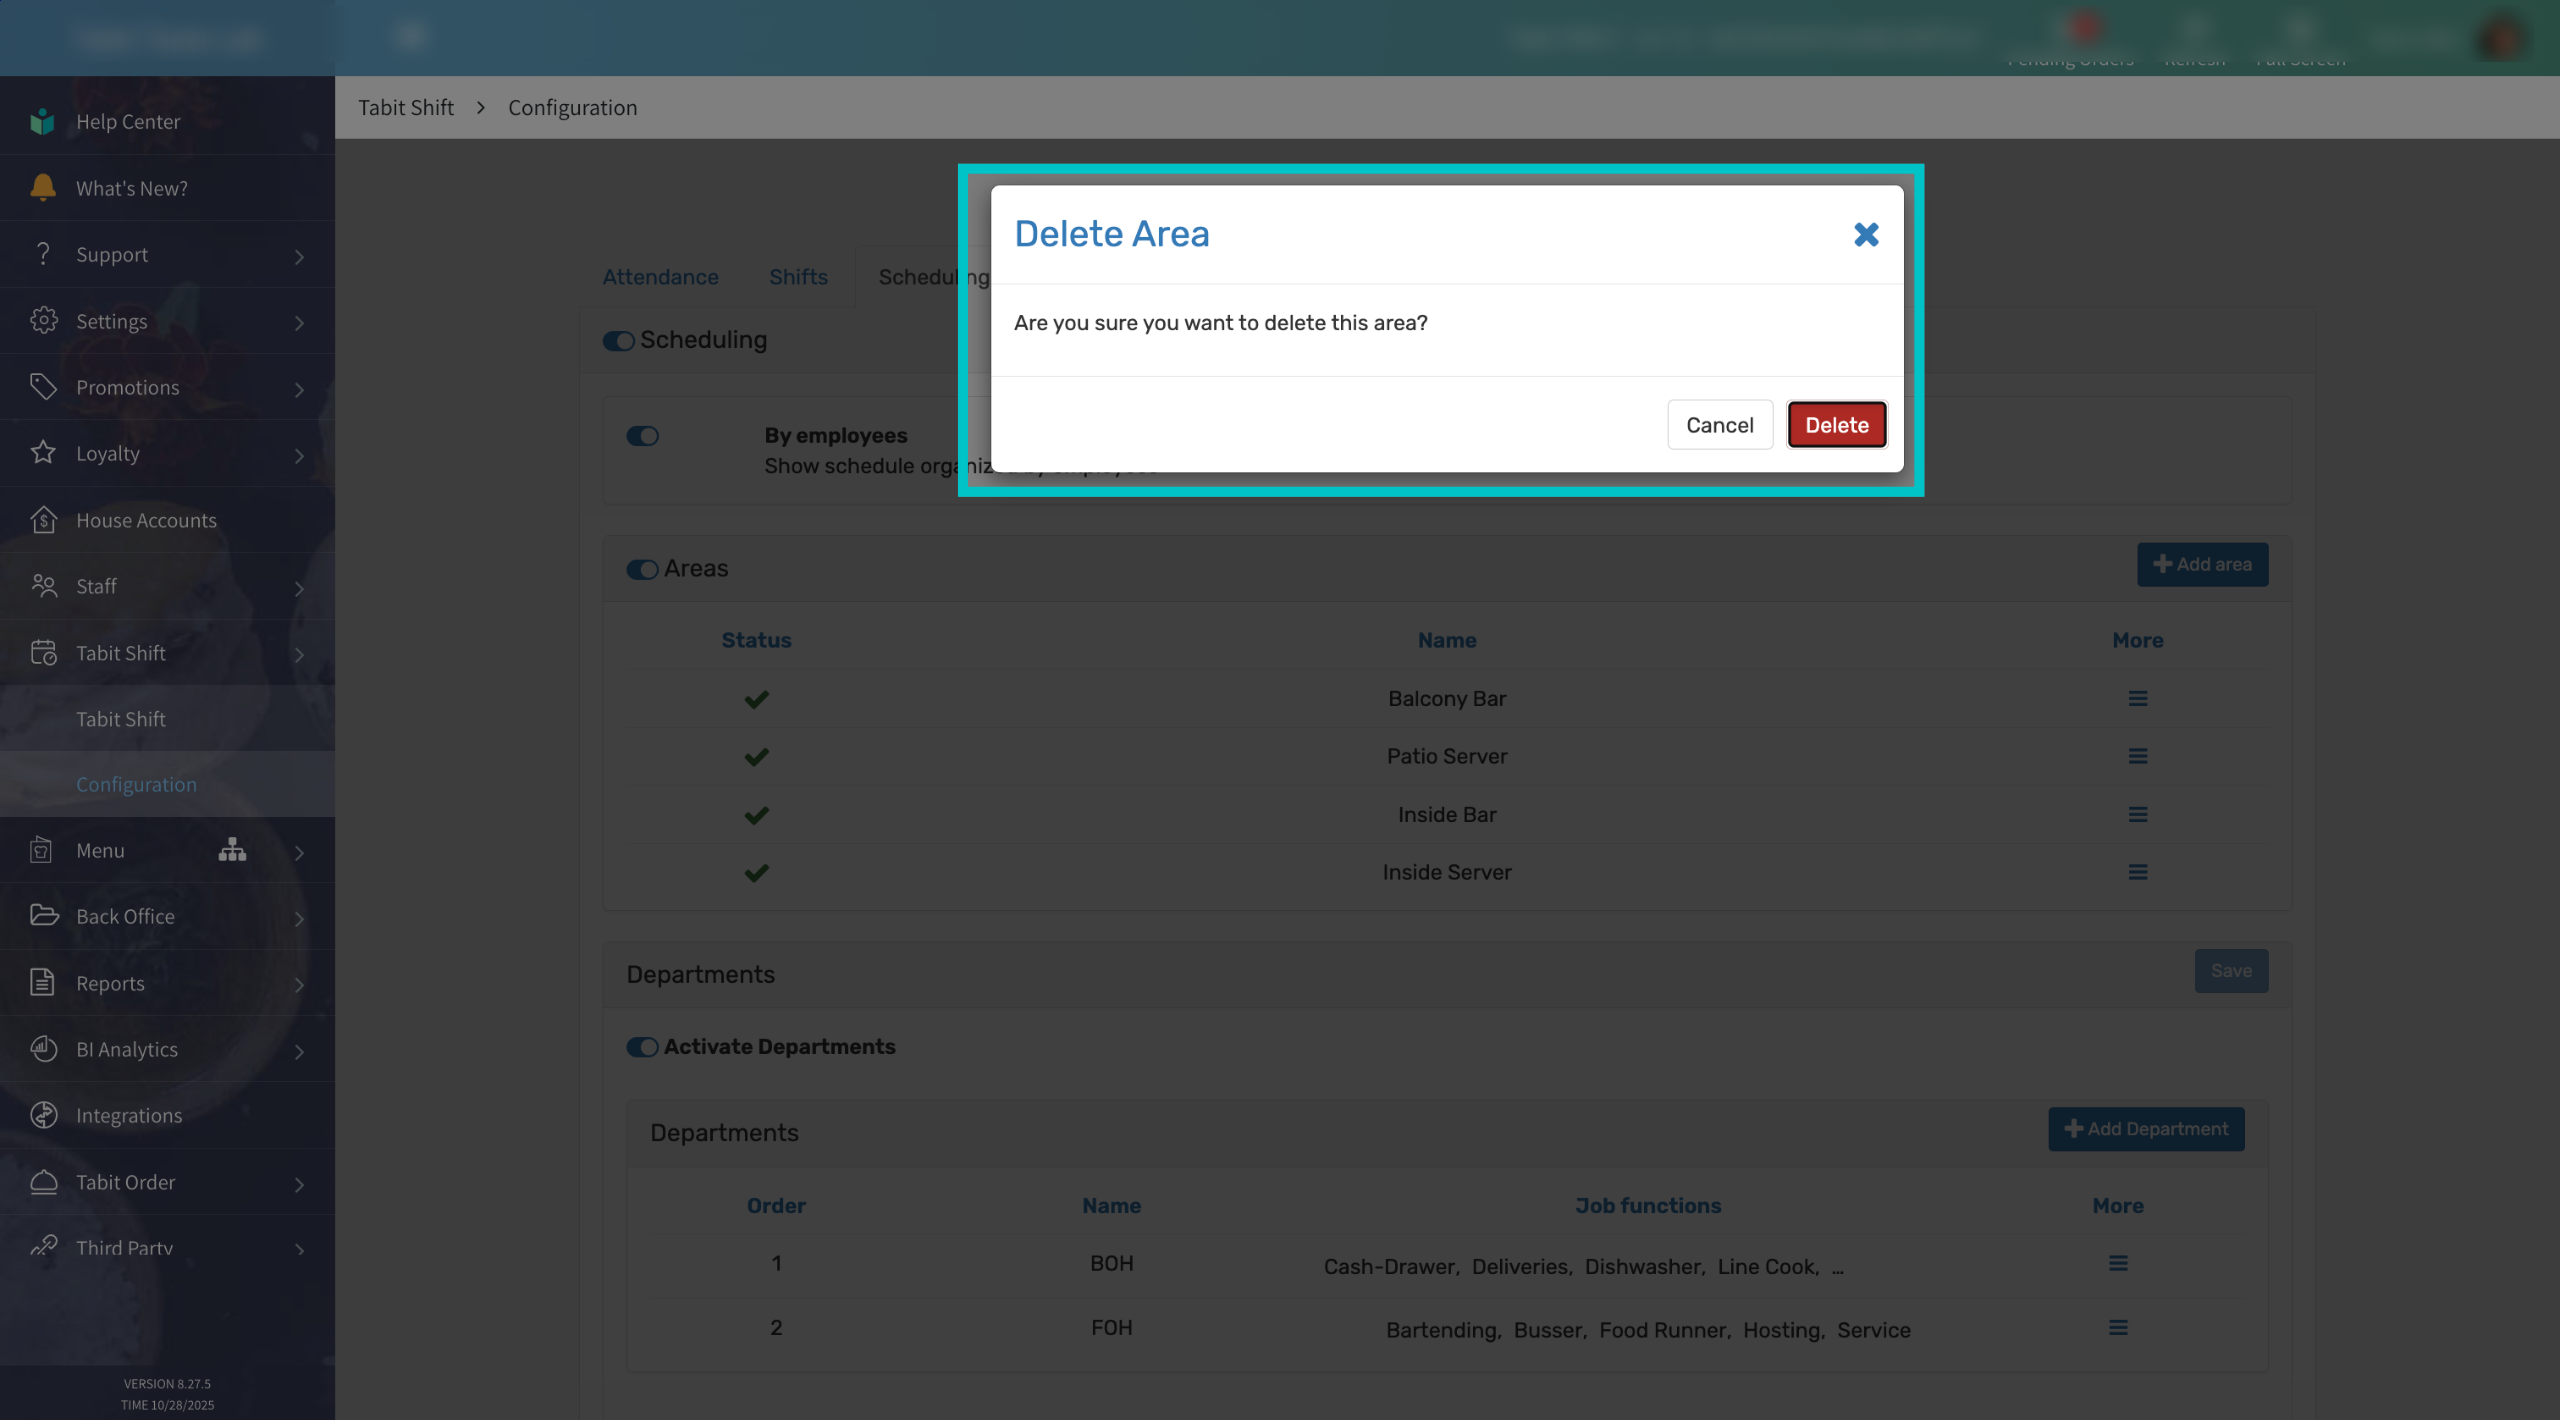
Confirm that you’d like to deactivate the Area by selecting Delete.
-
Once deactivated, the Area will remain listed under Areas but will no longer appear in Tabit Shift