Adding icons to your menu elements improves visual navigation and user experience on the PAD.
Follow the steps below to add icons to menu items:
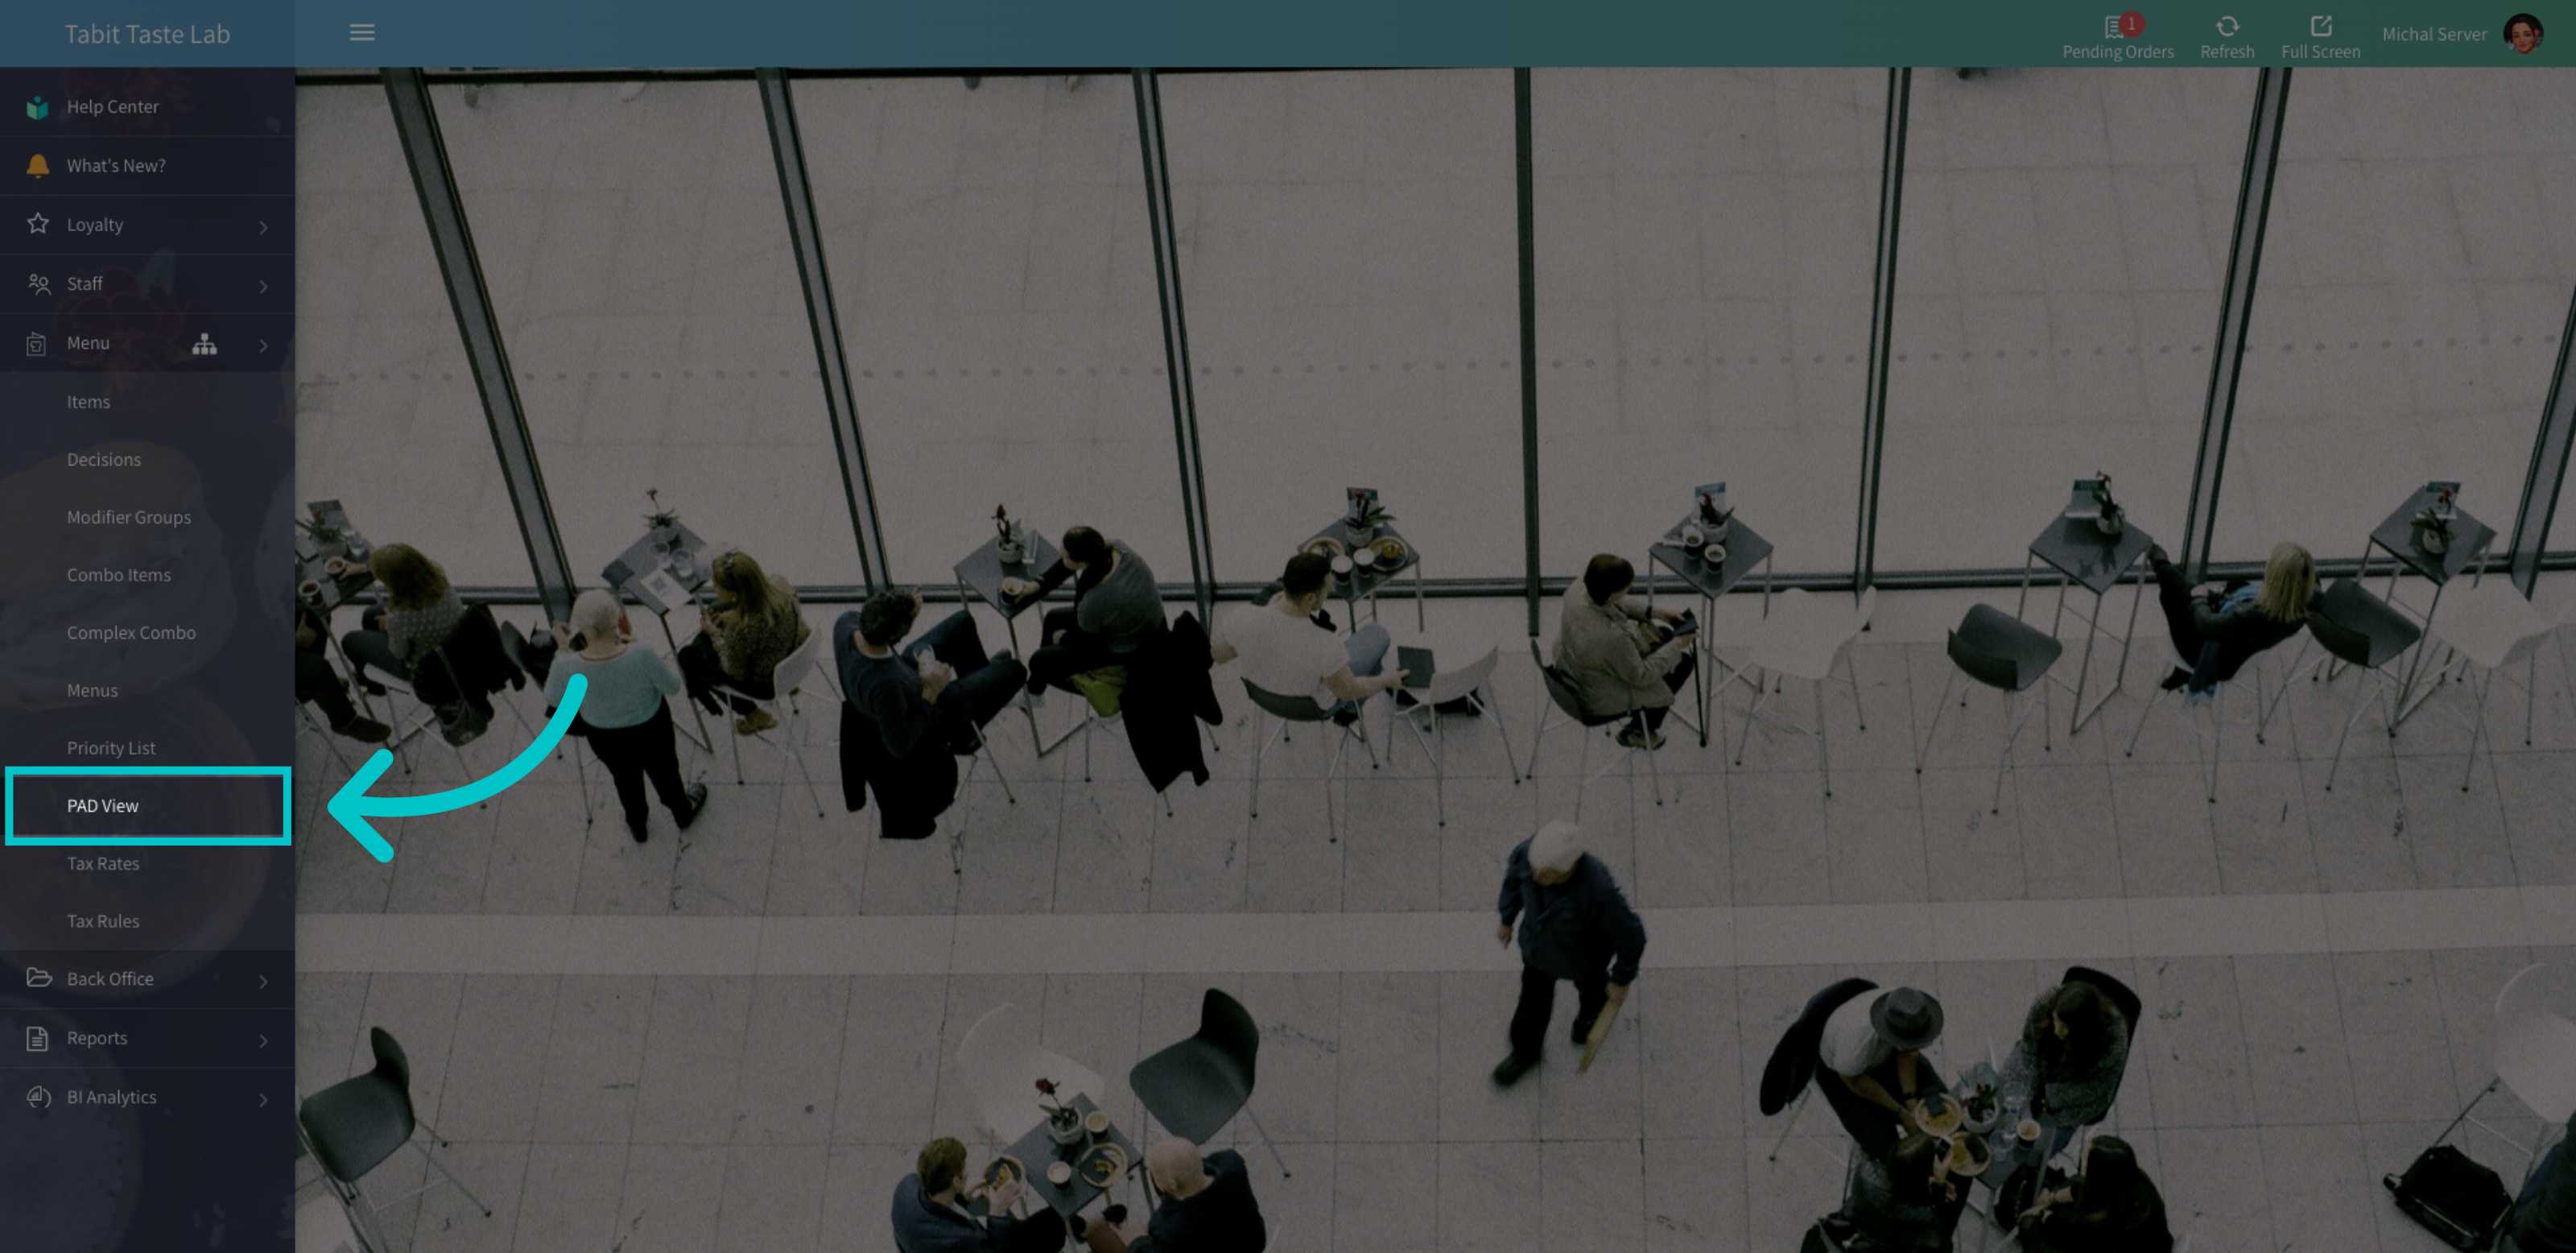
- In Tabit Office, go to Menu > PAD View
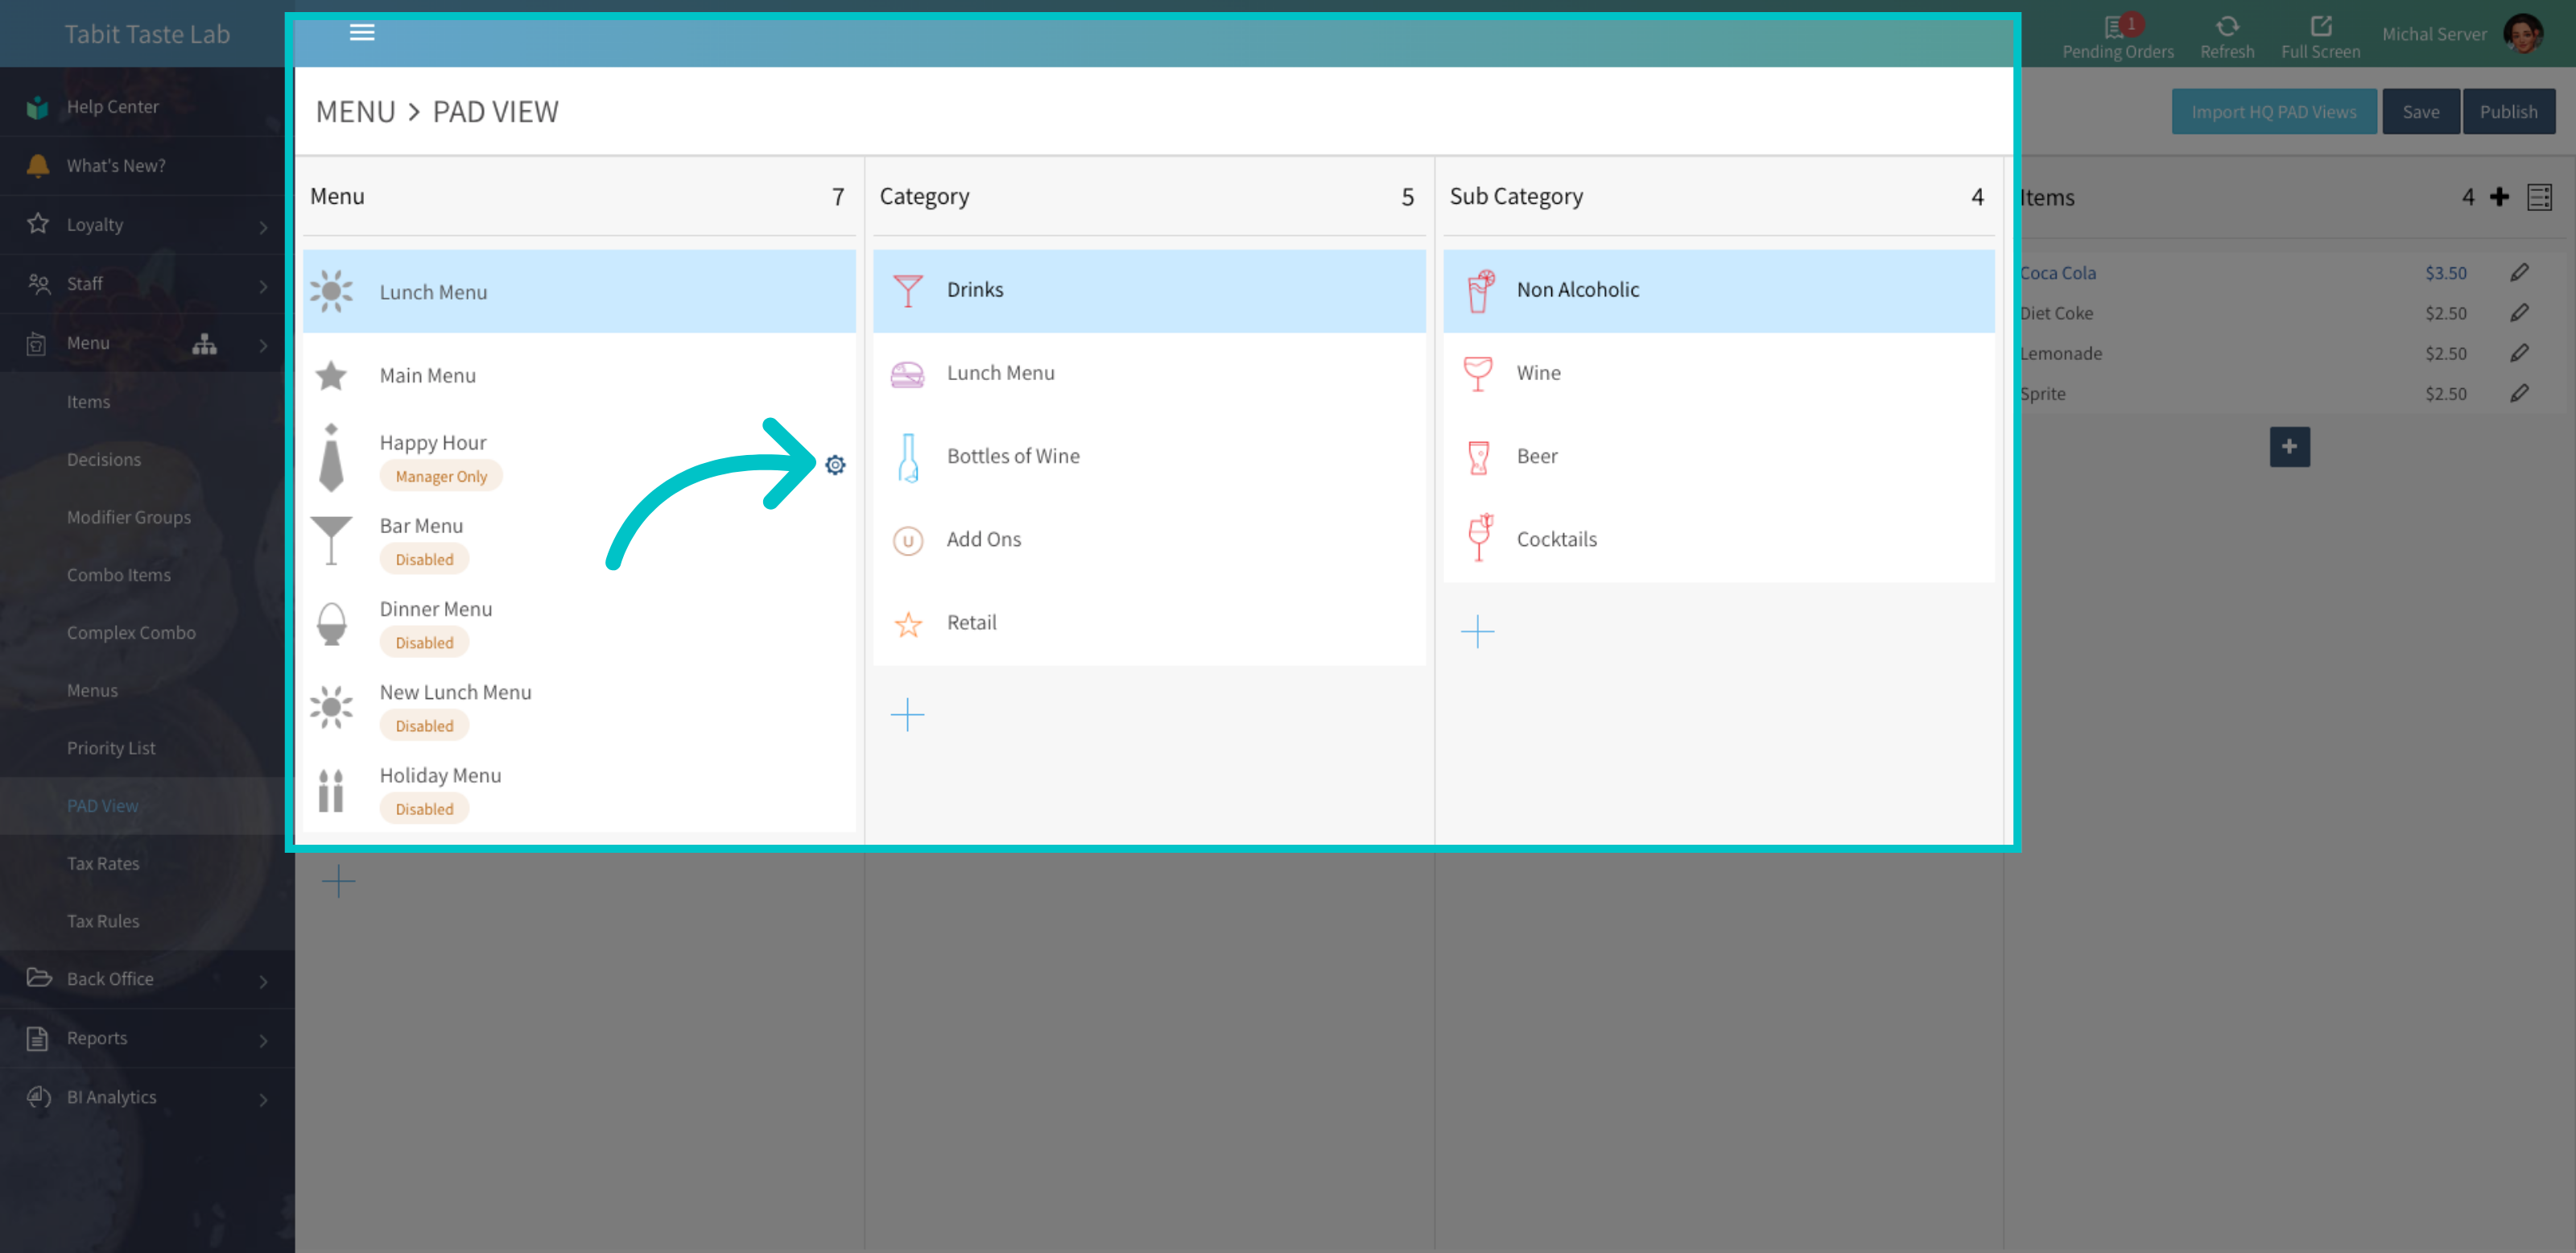
- Hover over the menu, category or sub-category you want to edit. When the gear icon appears, click it.
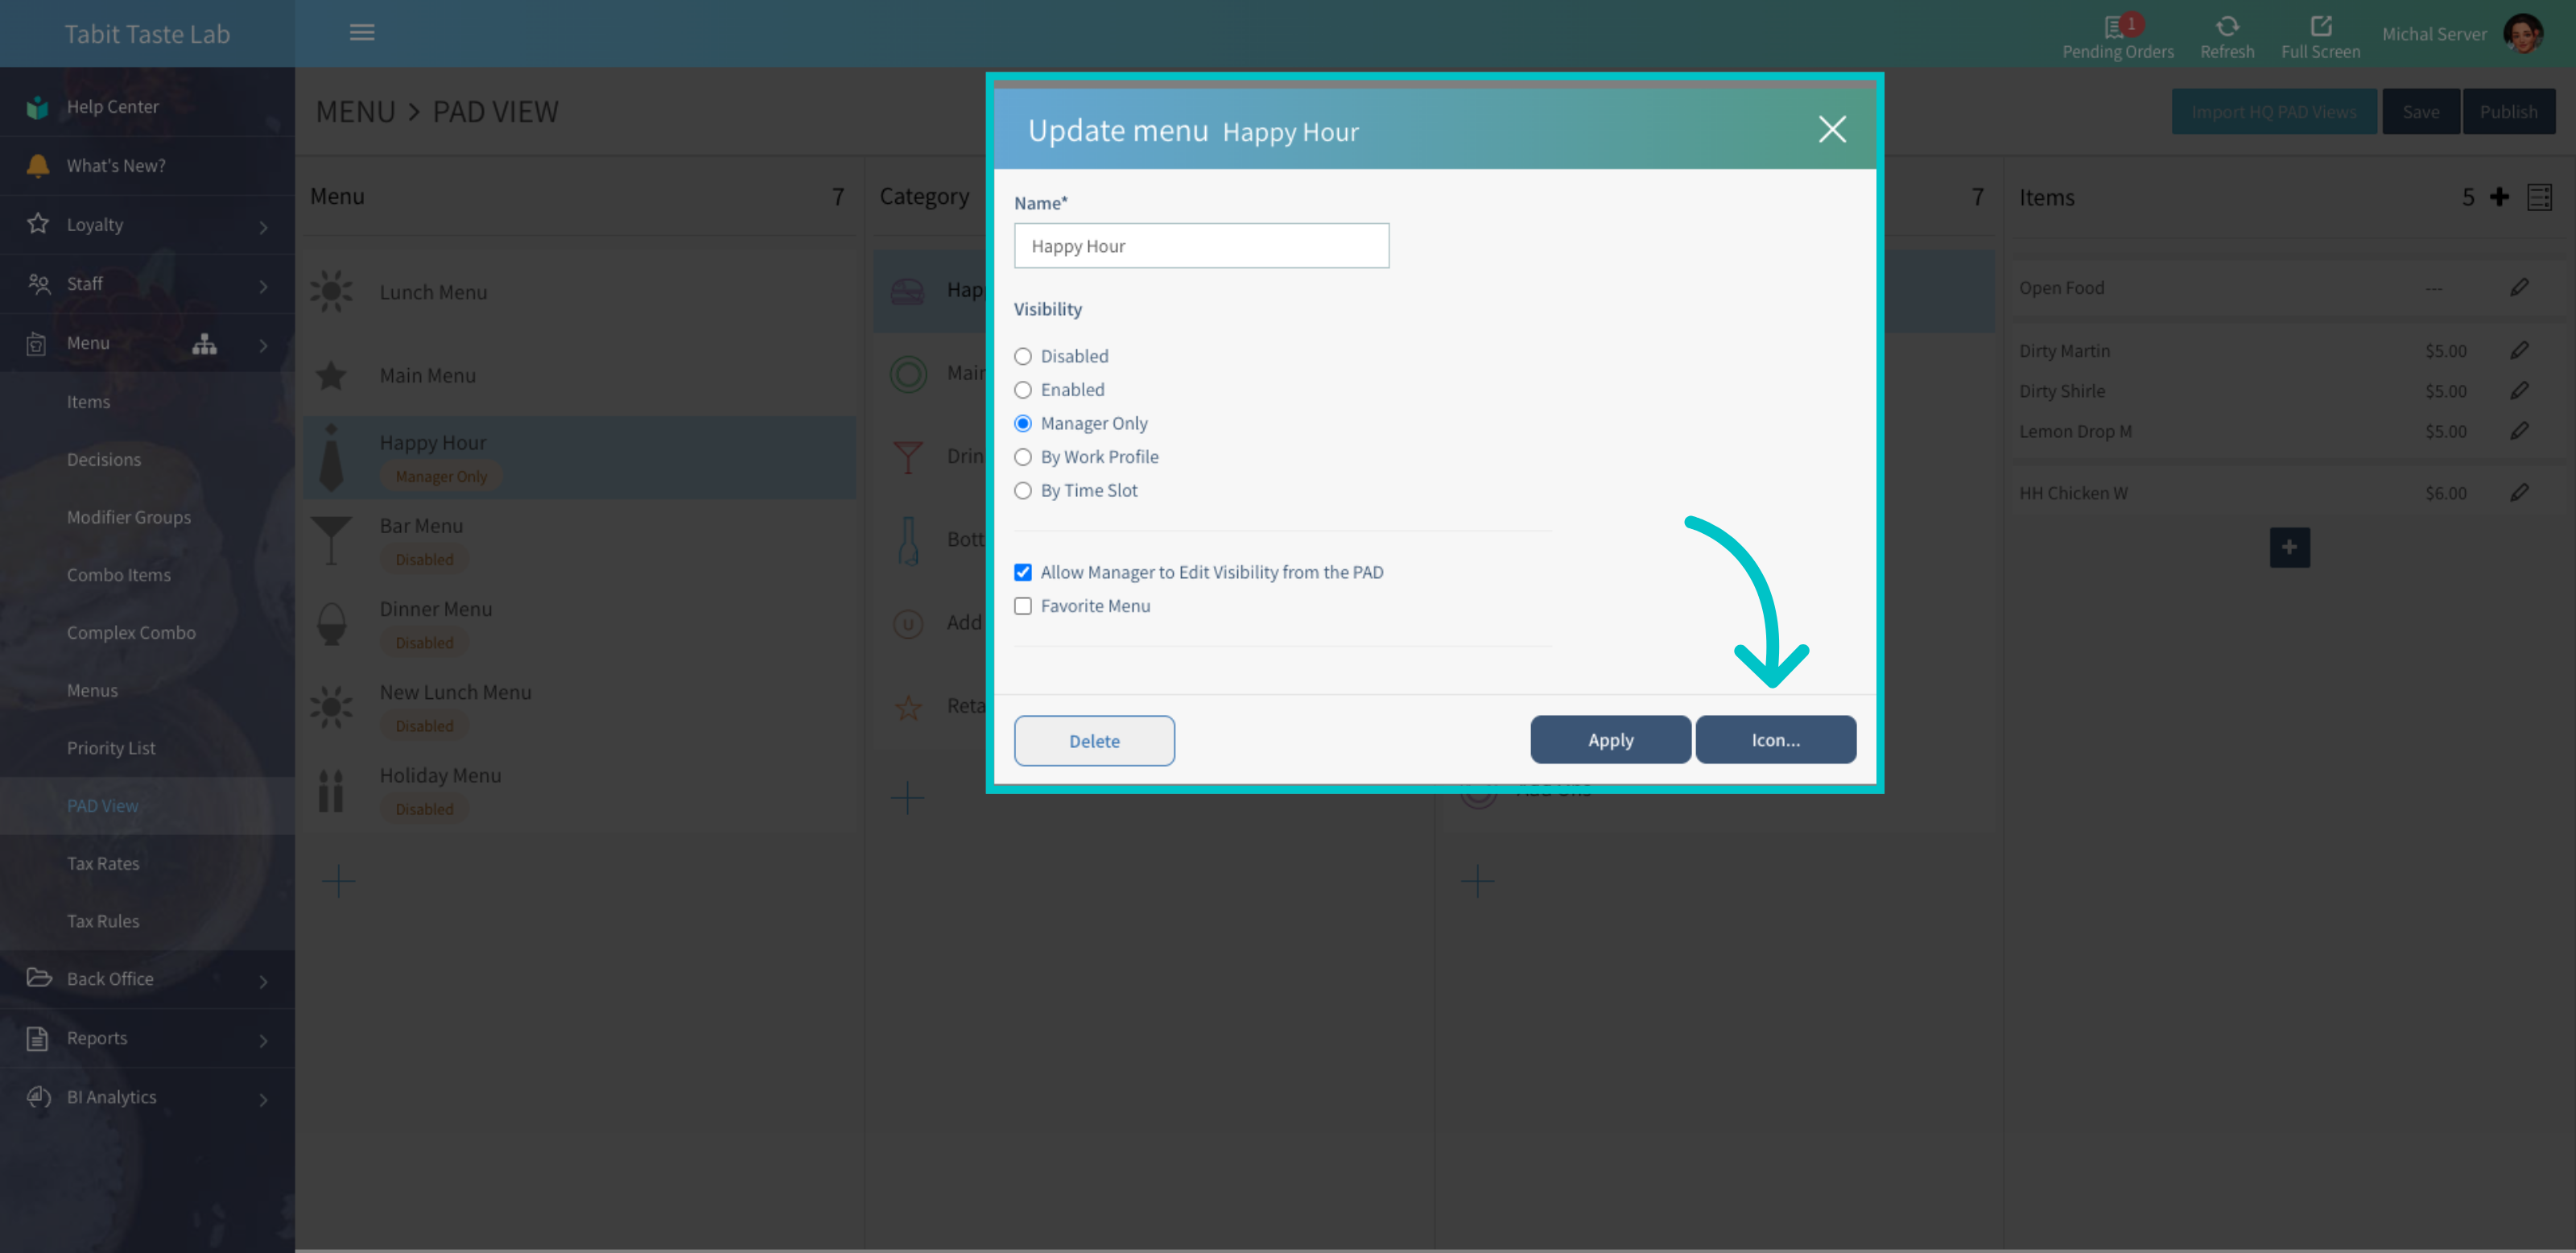
- Select Icon in the bottom-right corner
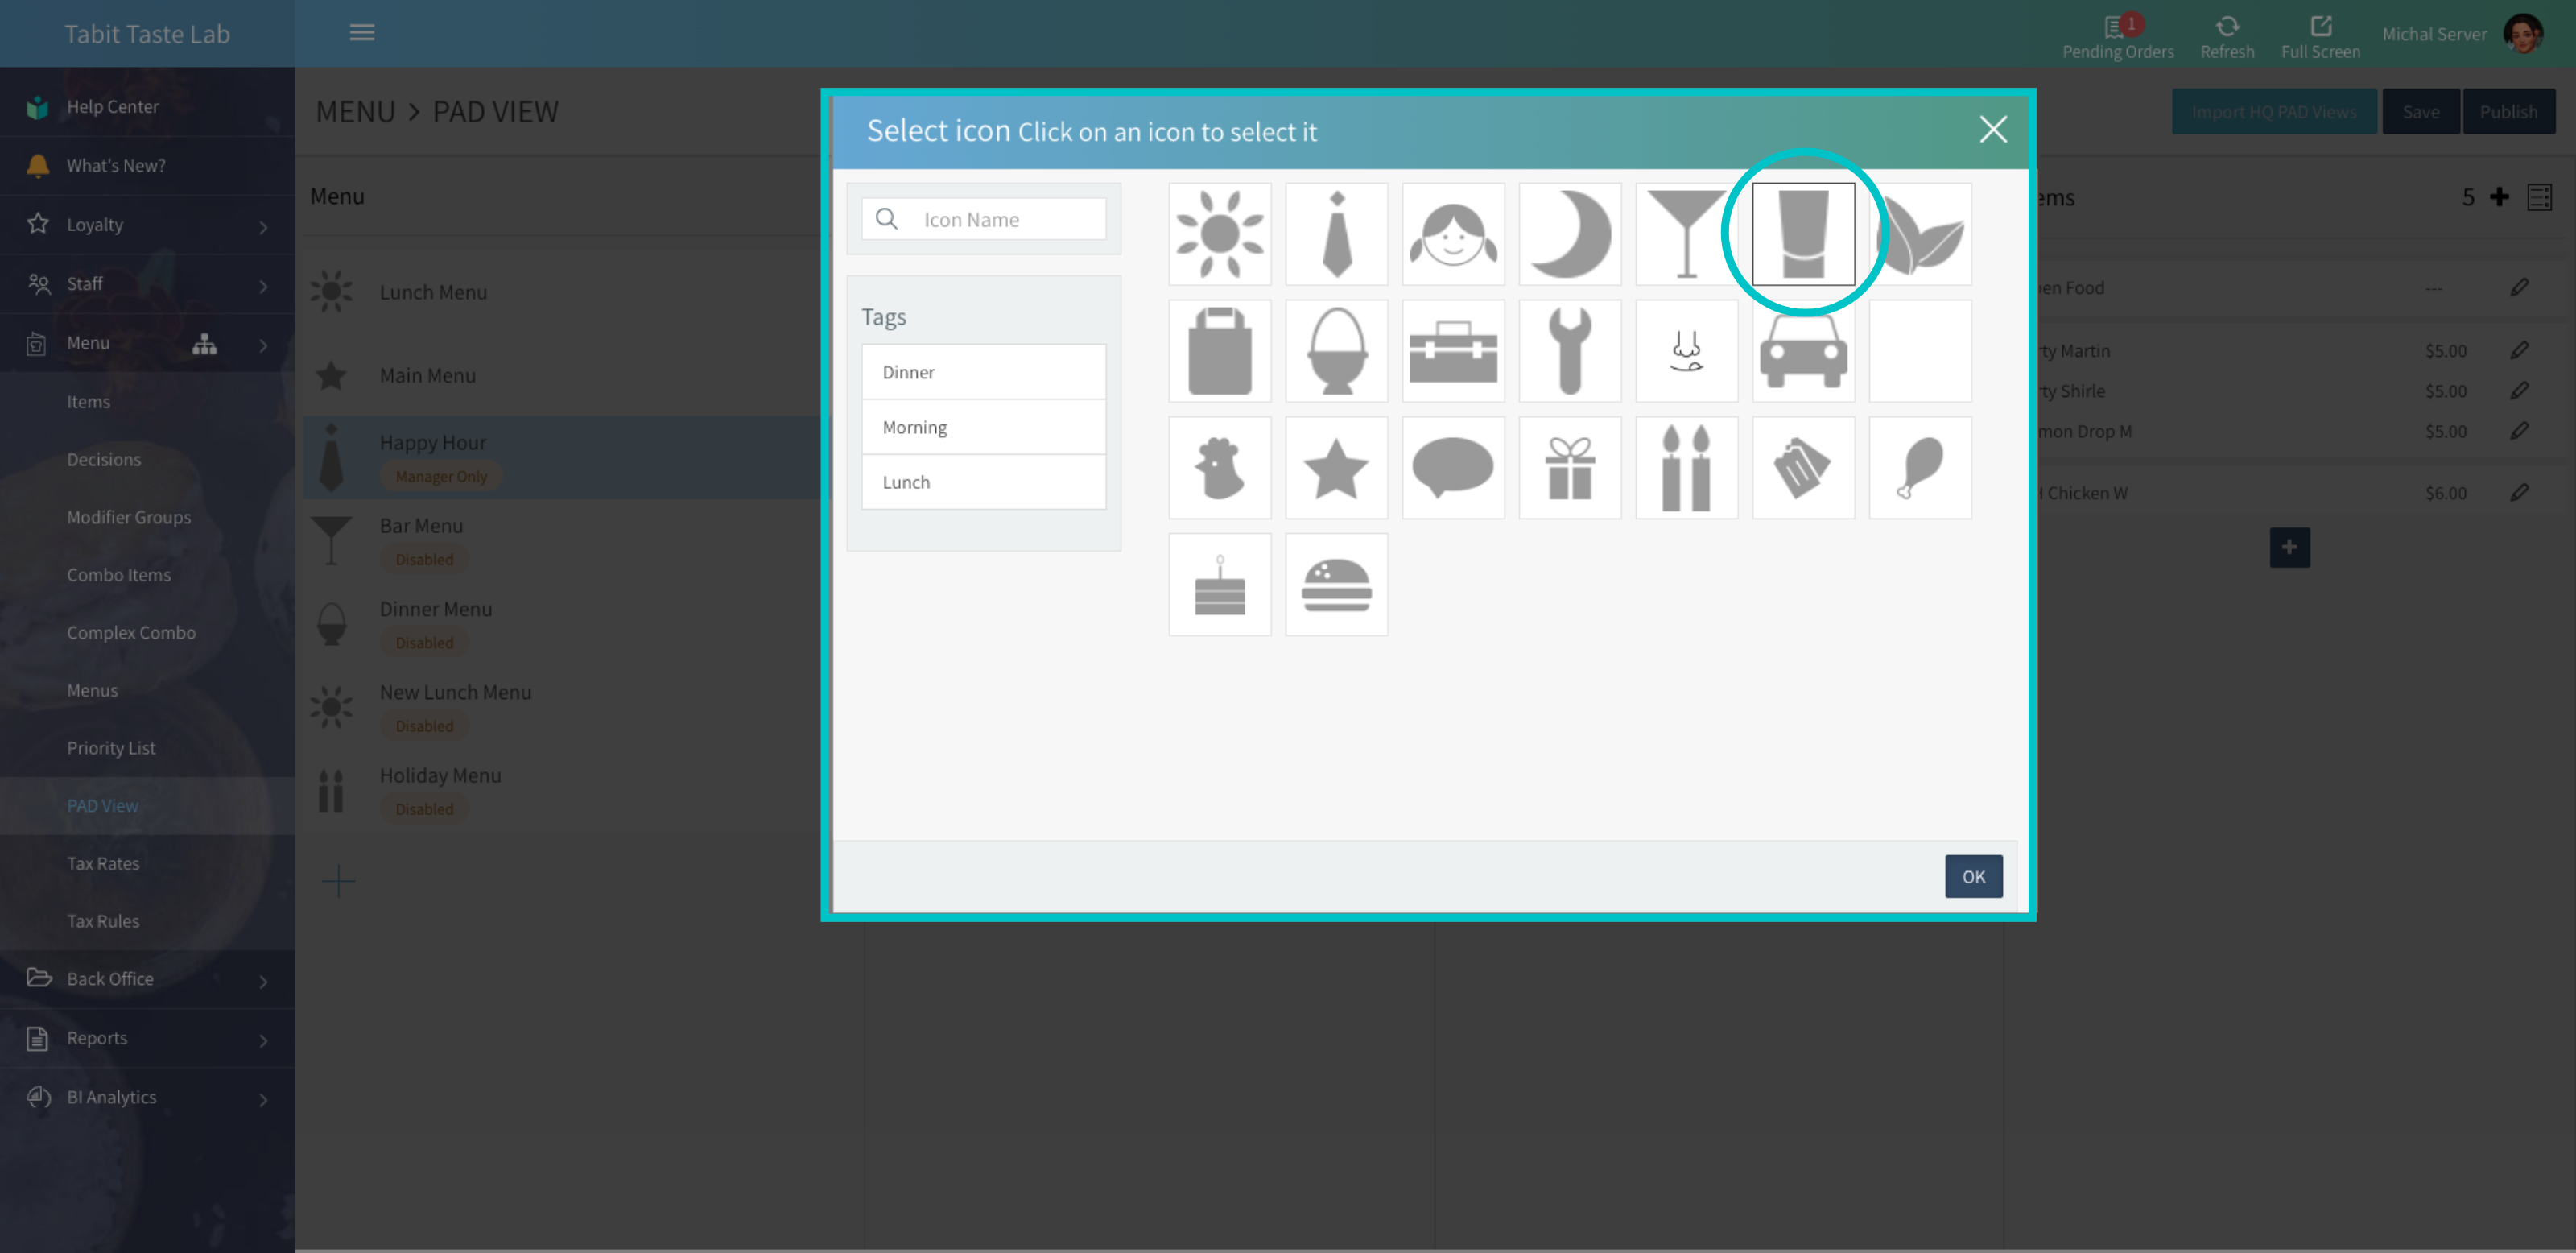
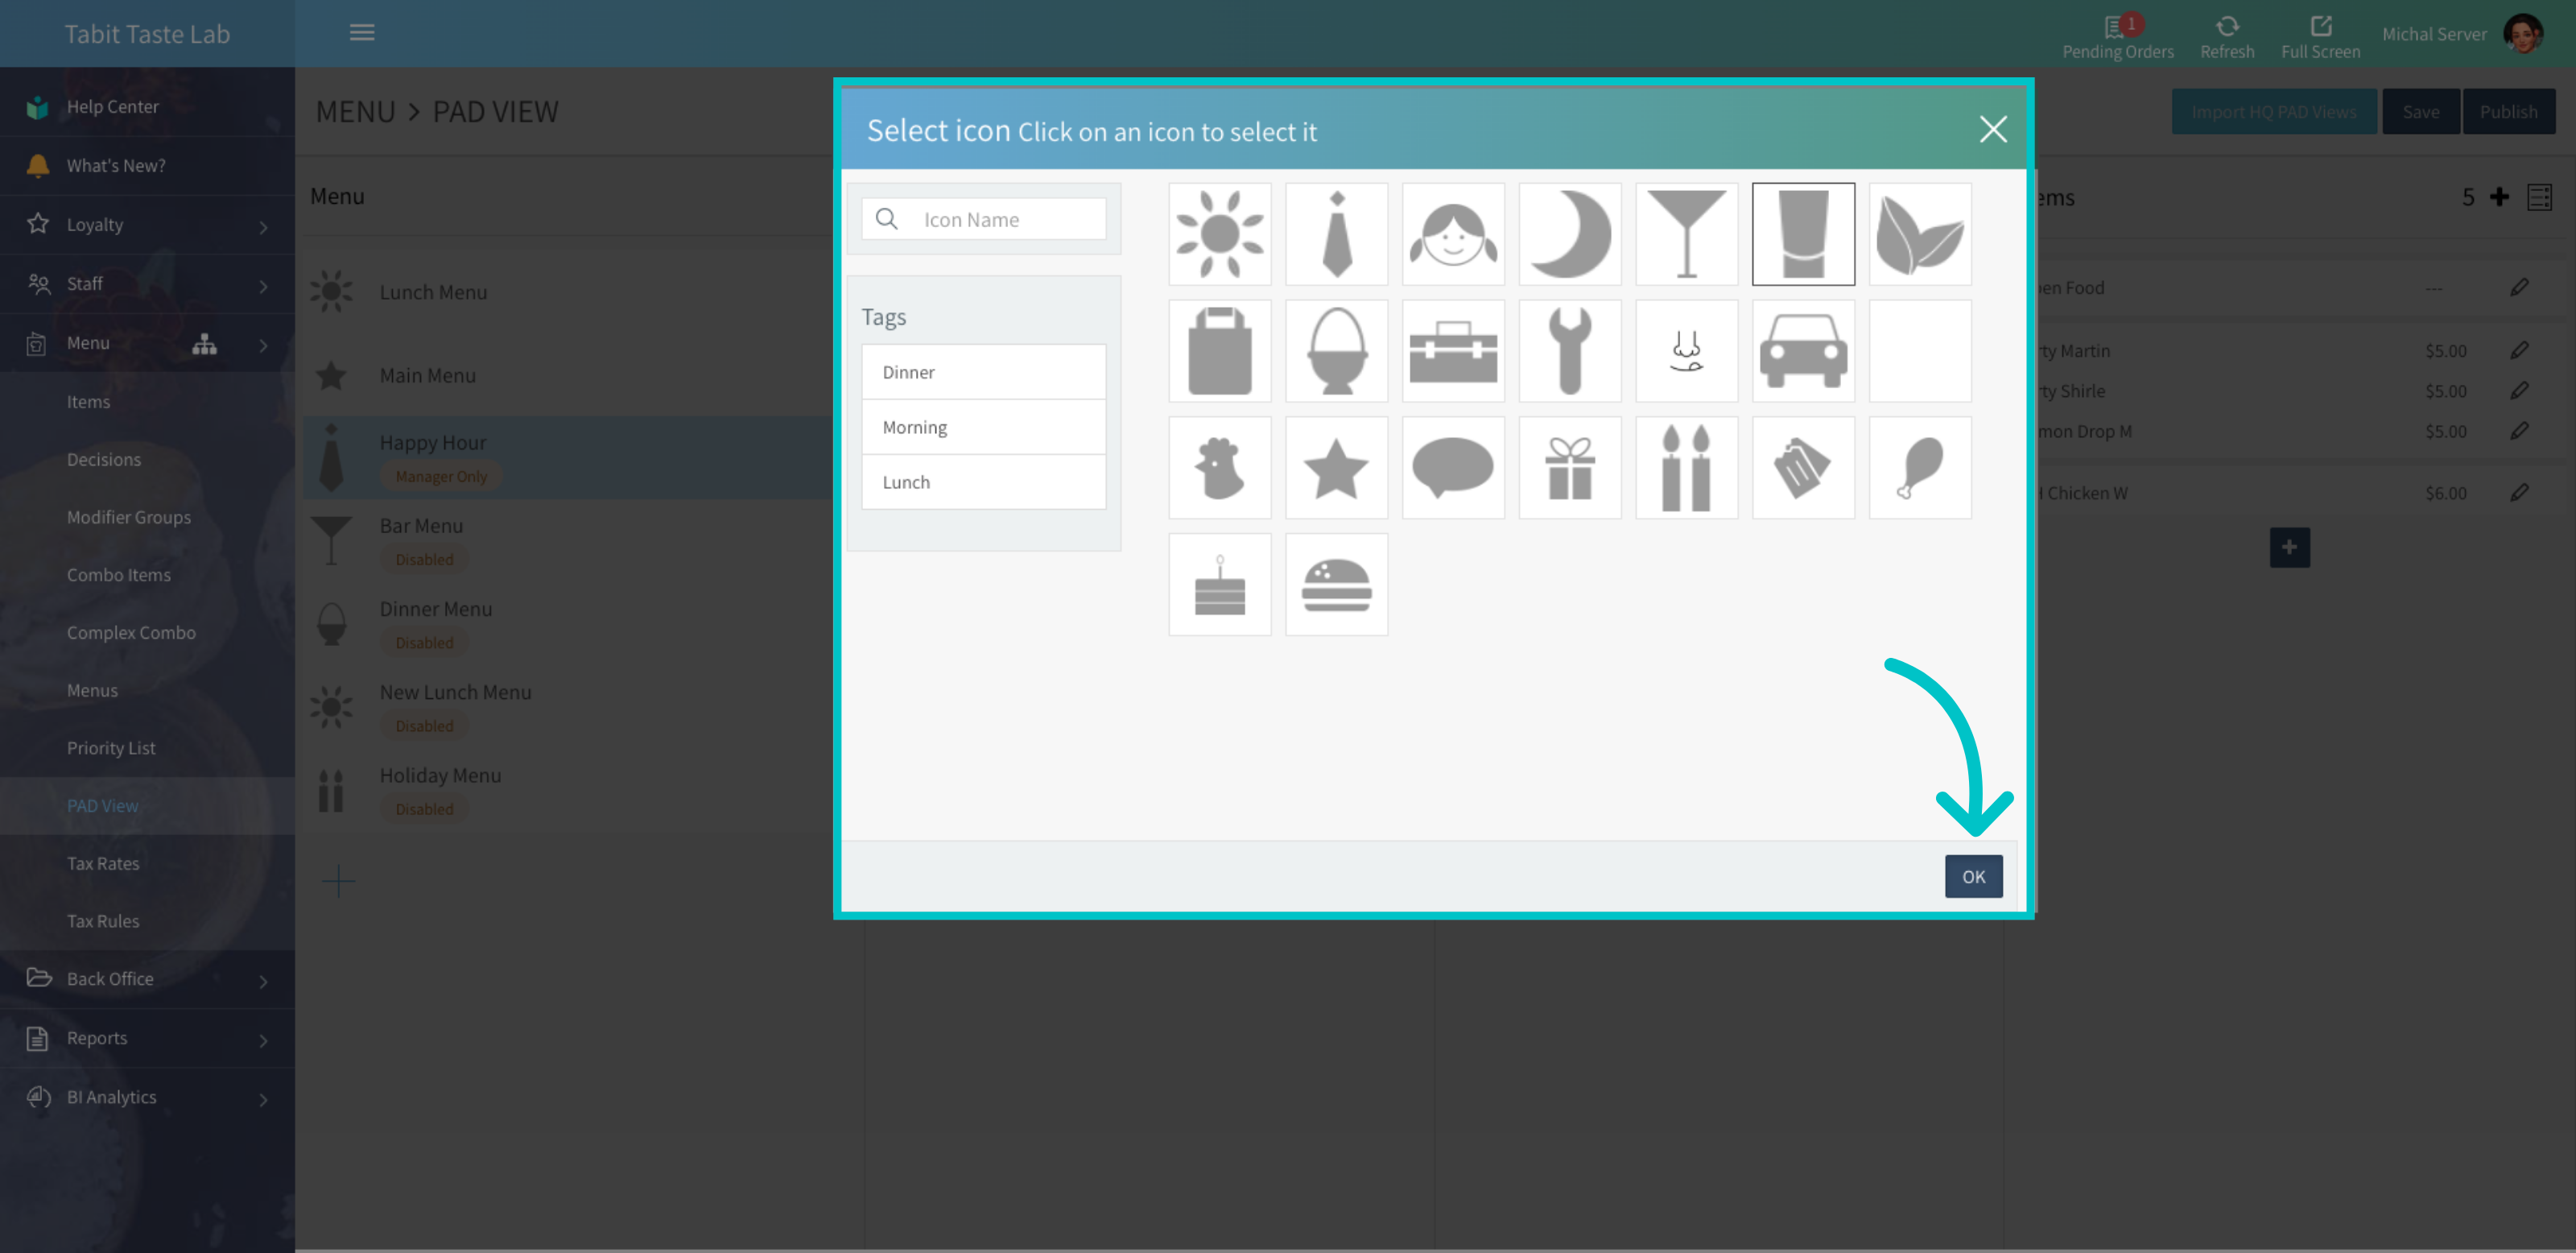
- Select the icon you'd like to use
- Confirm your selection
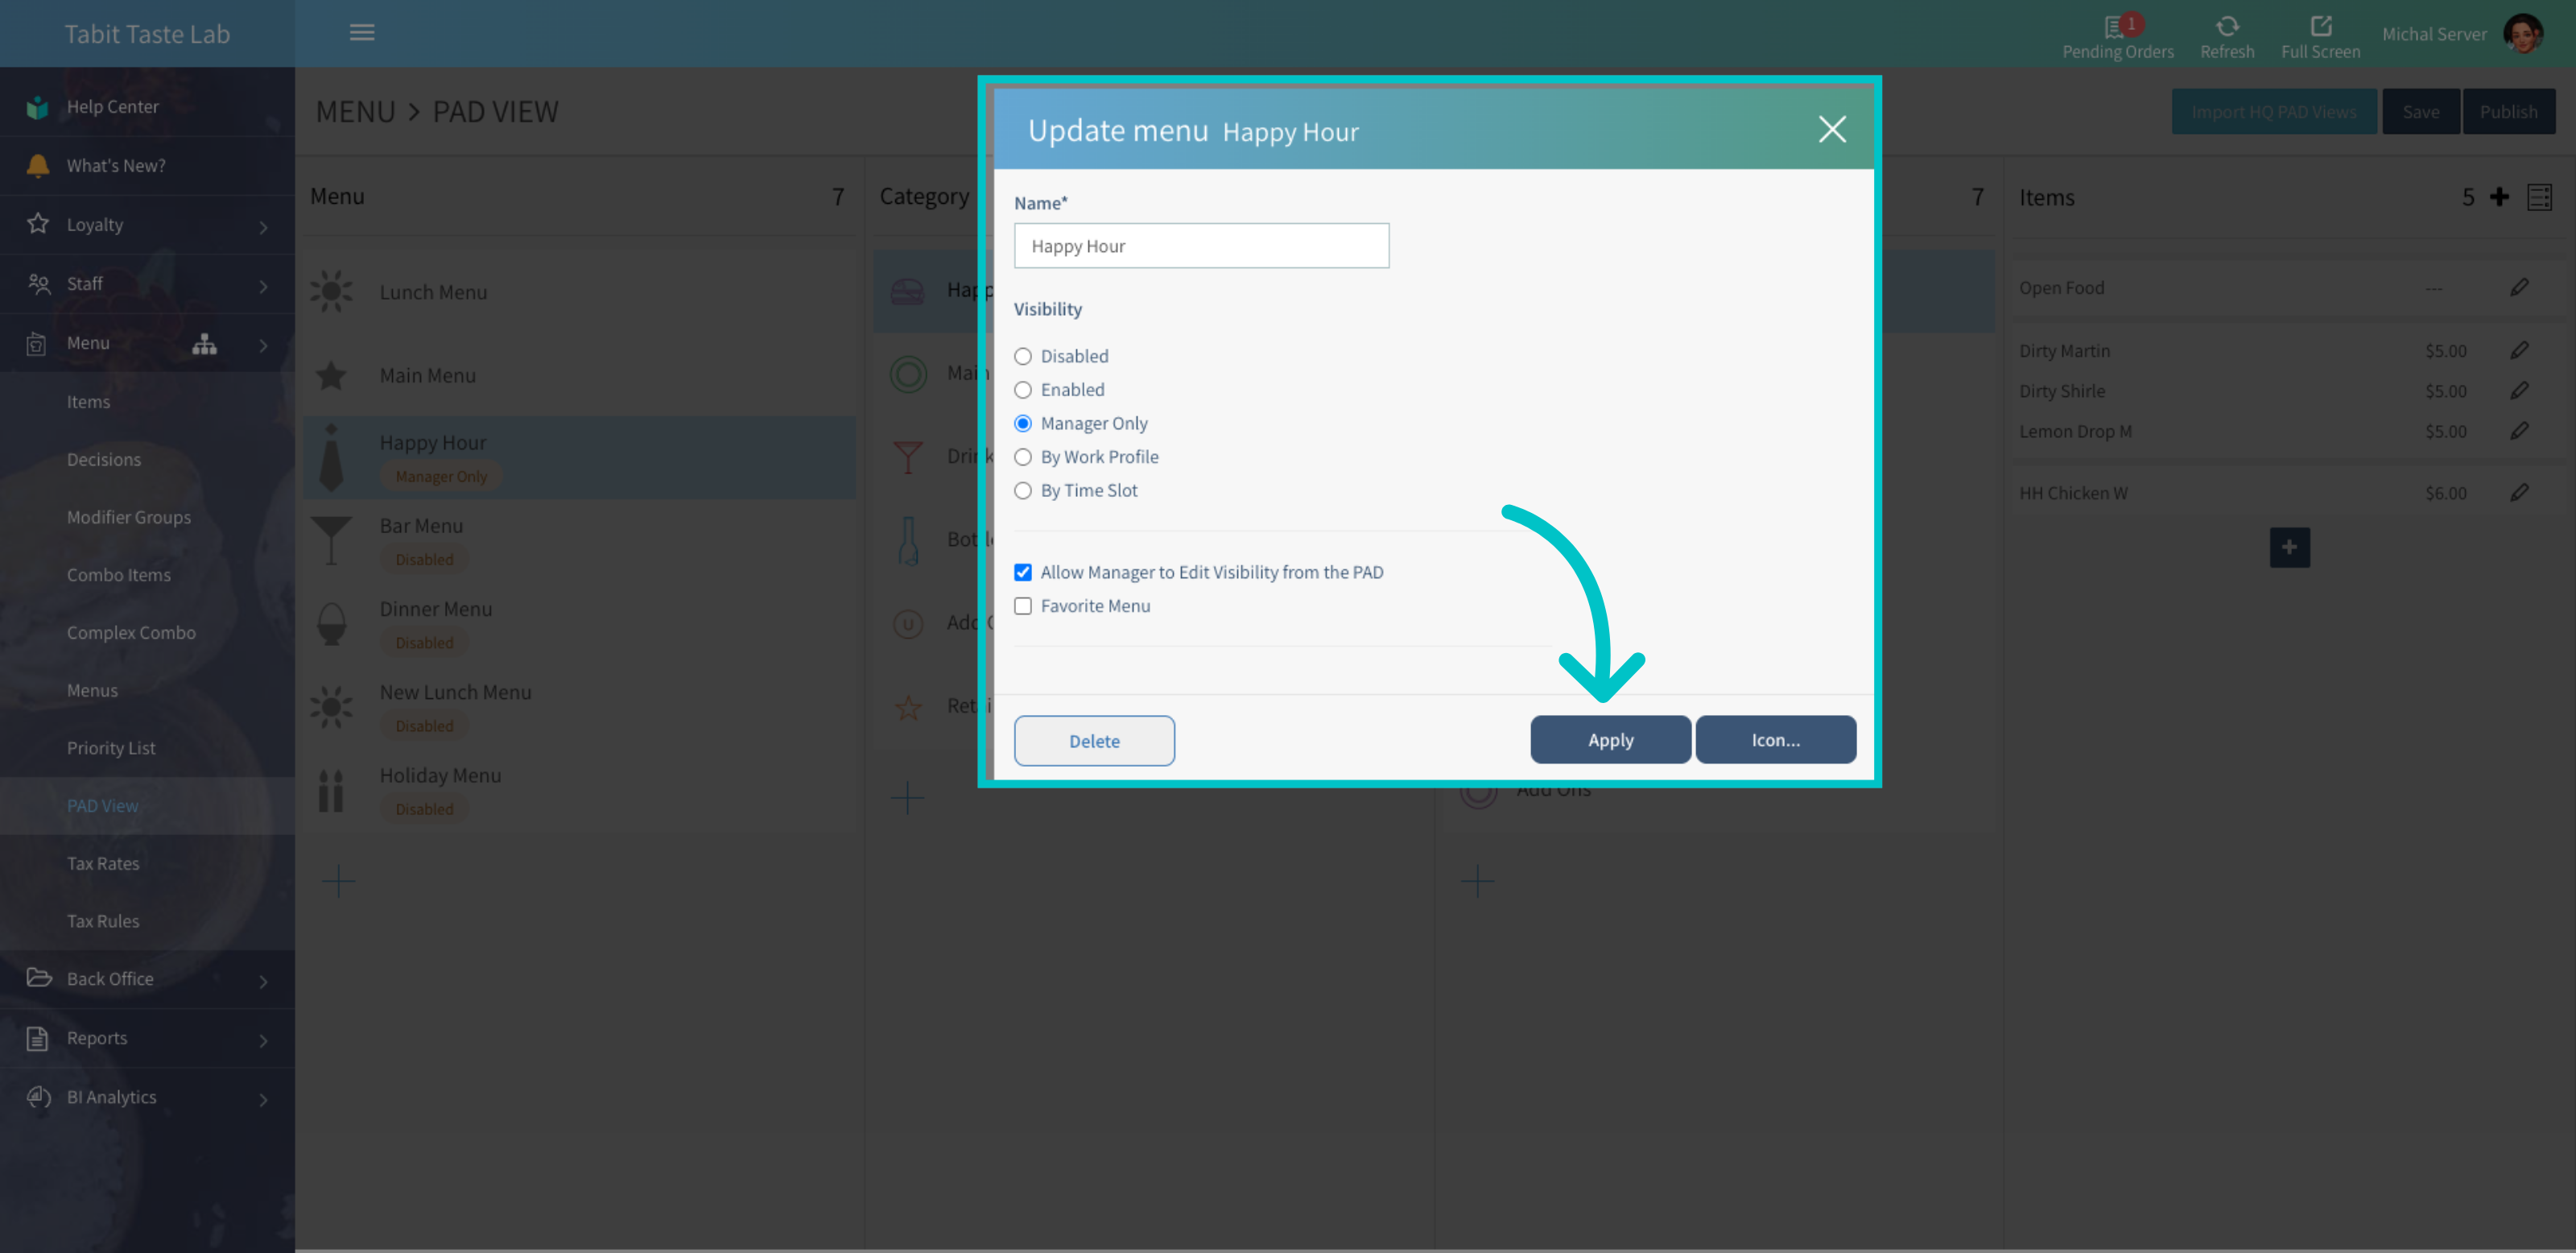
- Click Apply to confirm
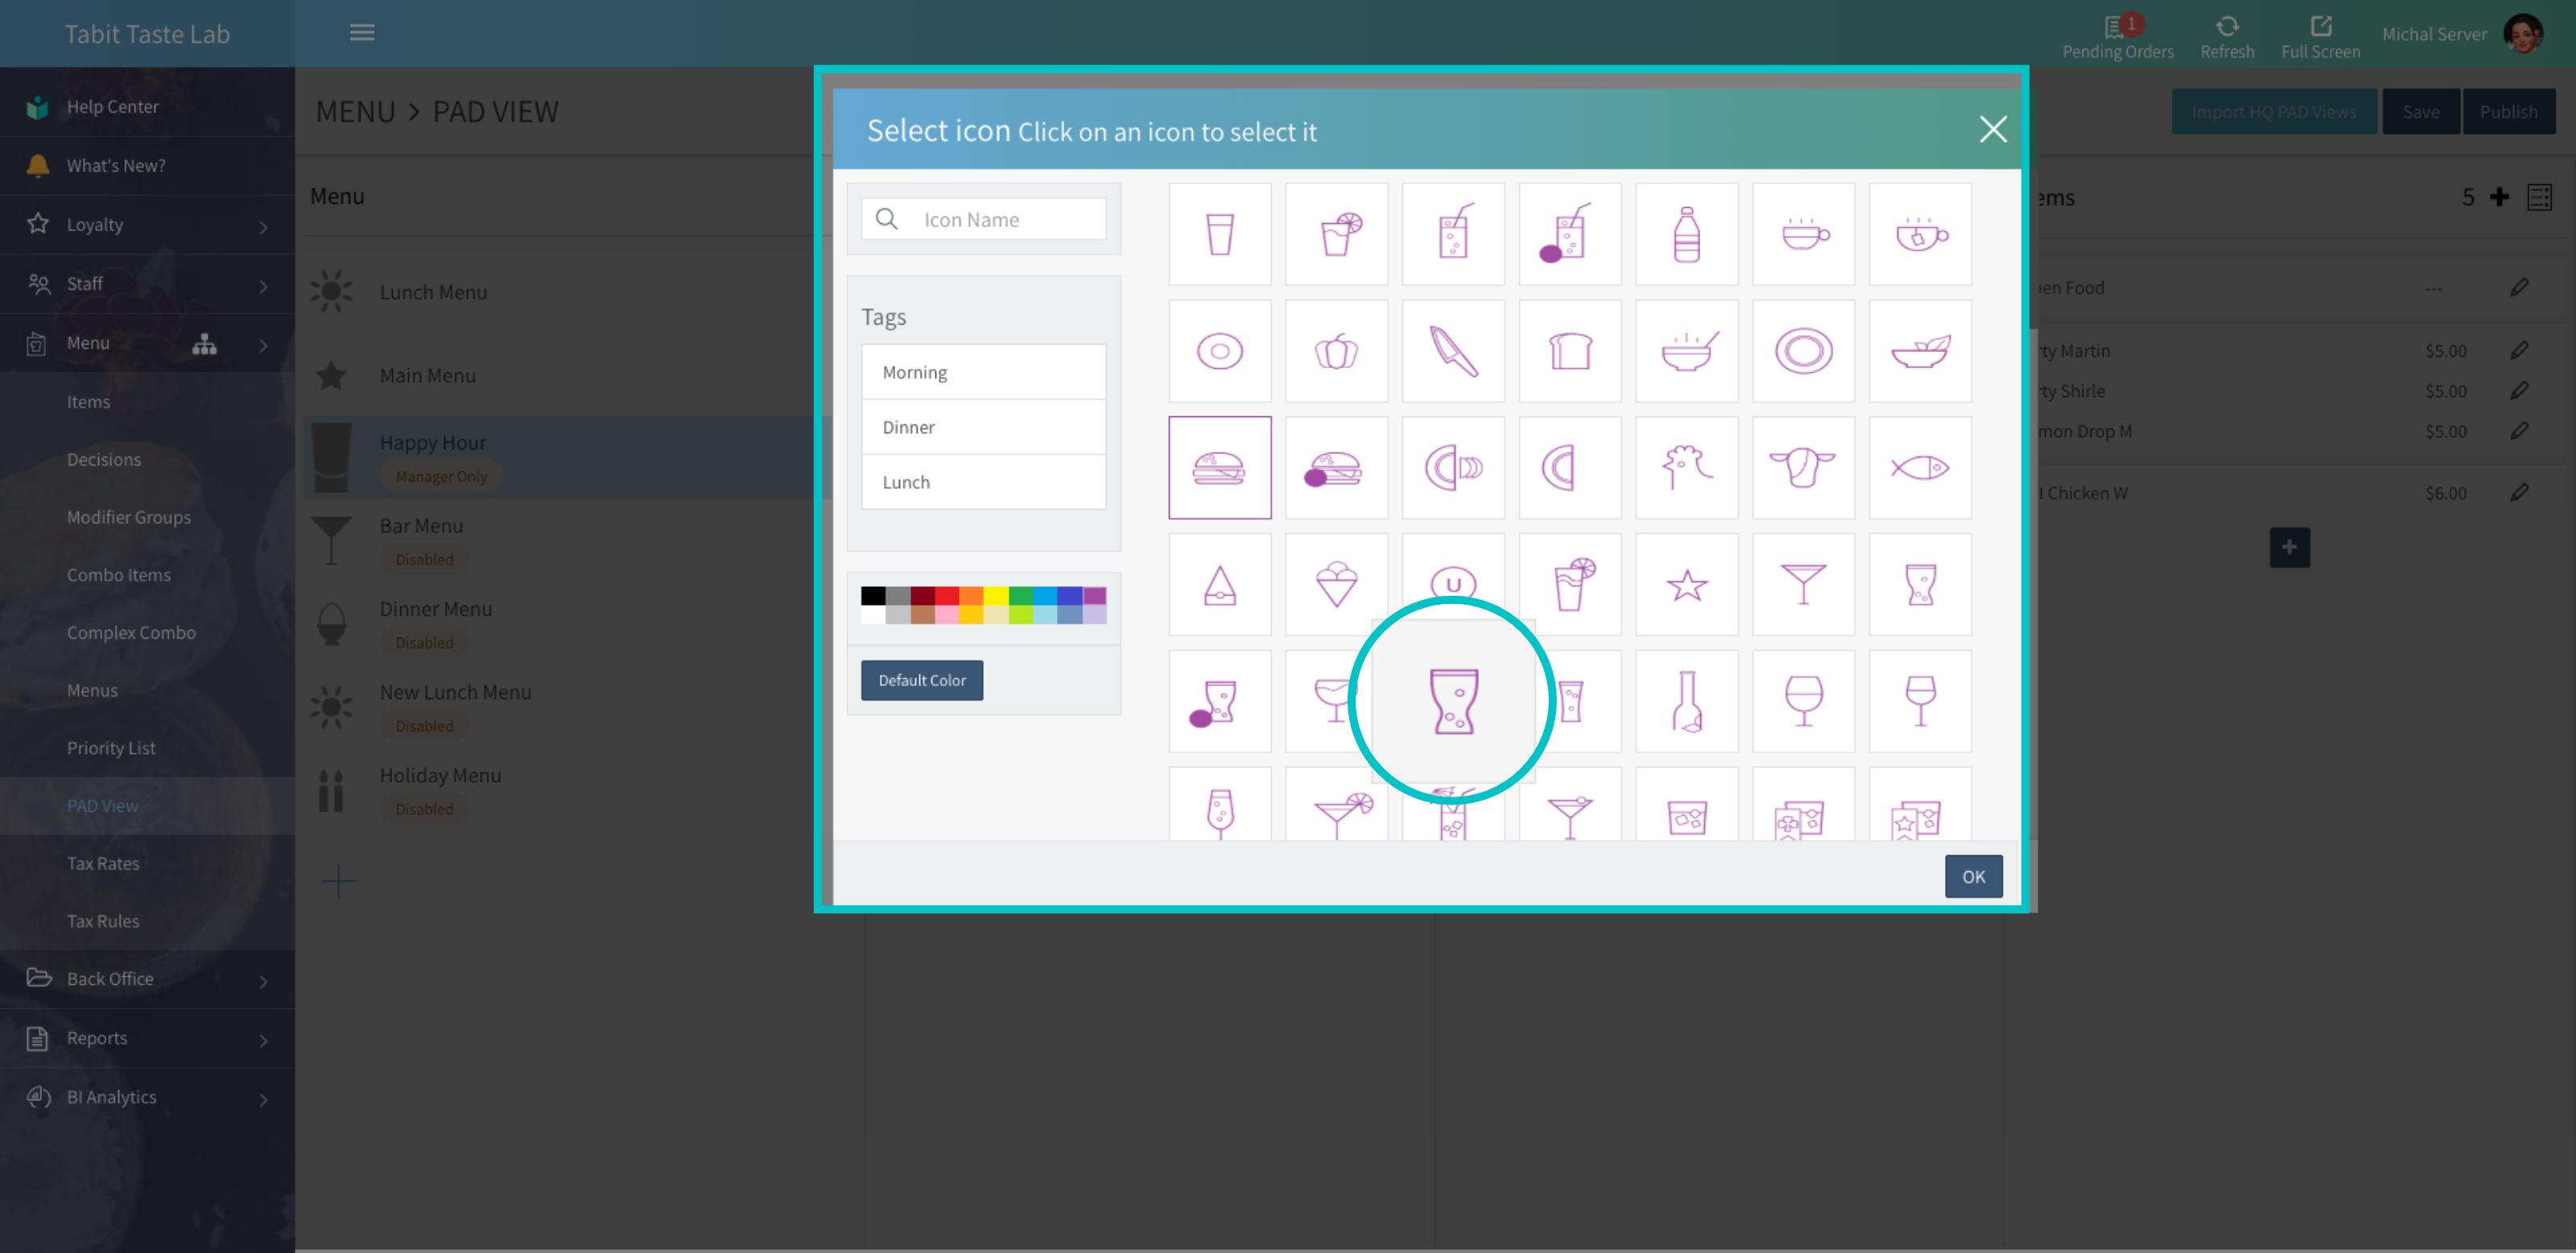
- For categories and sub-categories, you can also select an icon color
- Select Save to lock in your changes
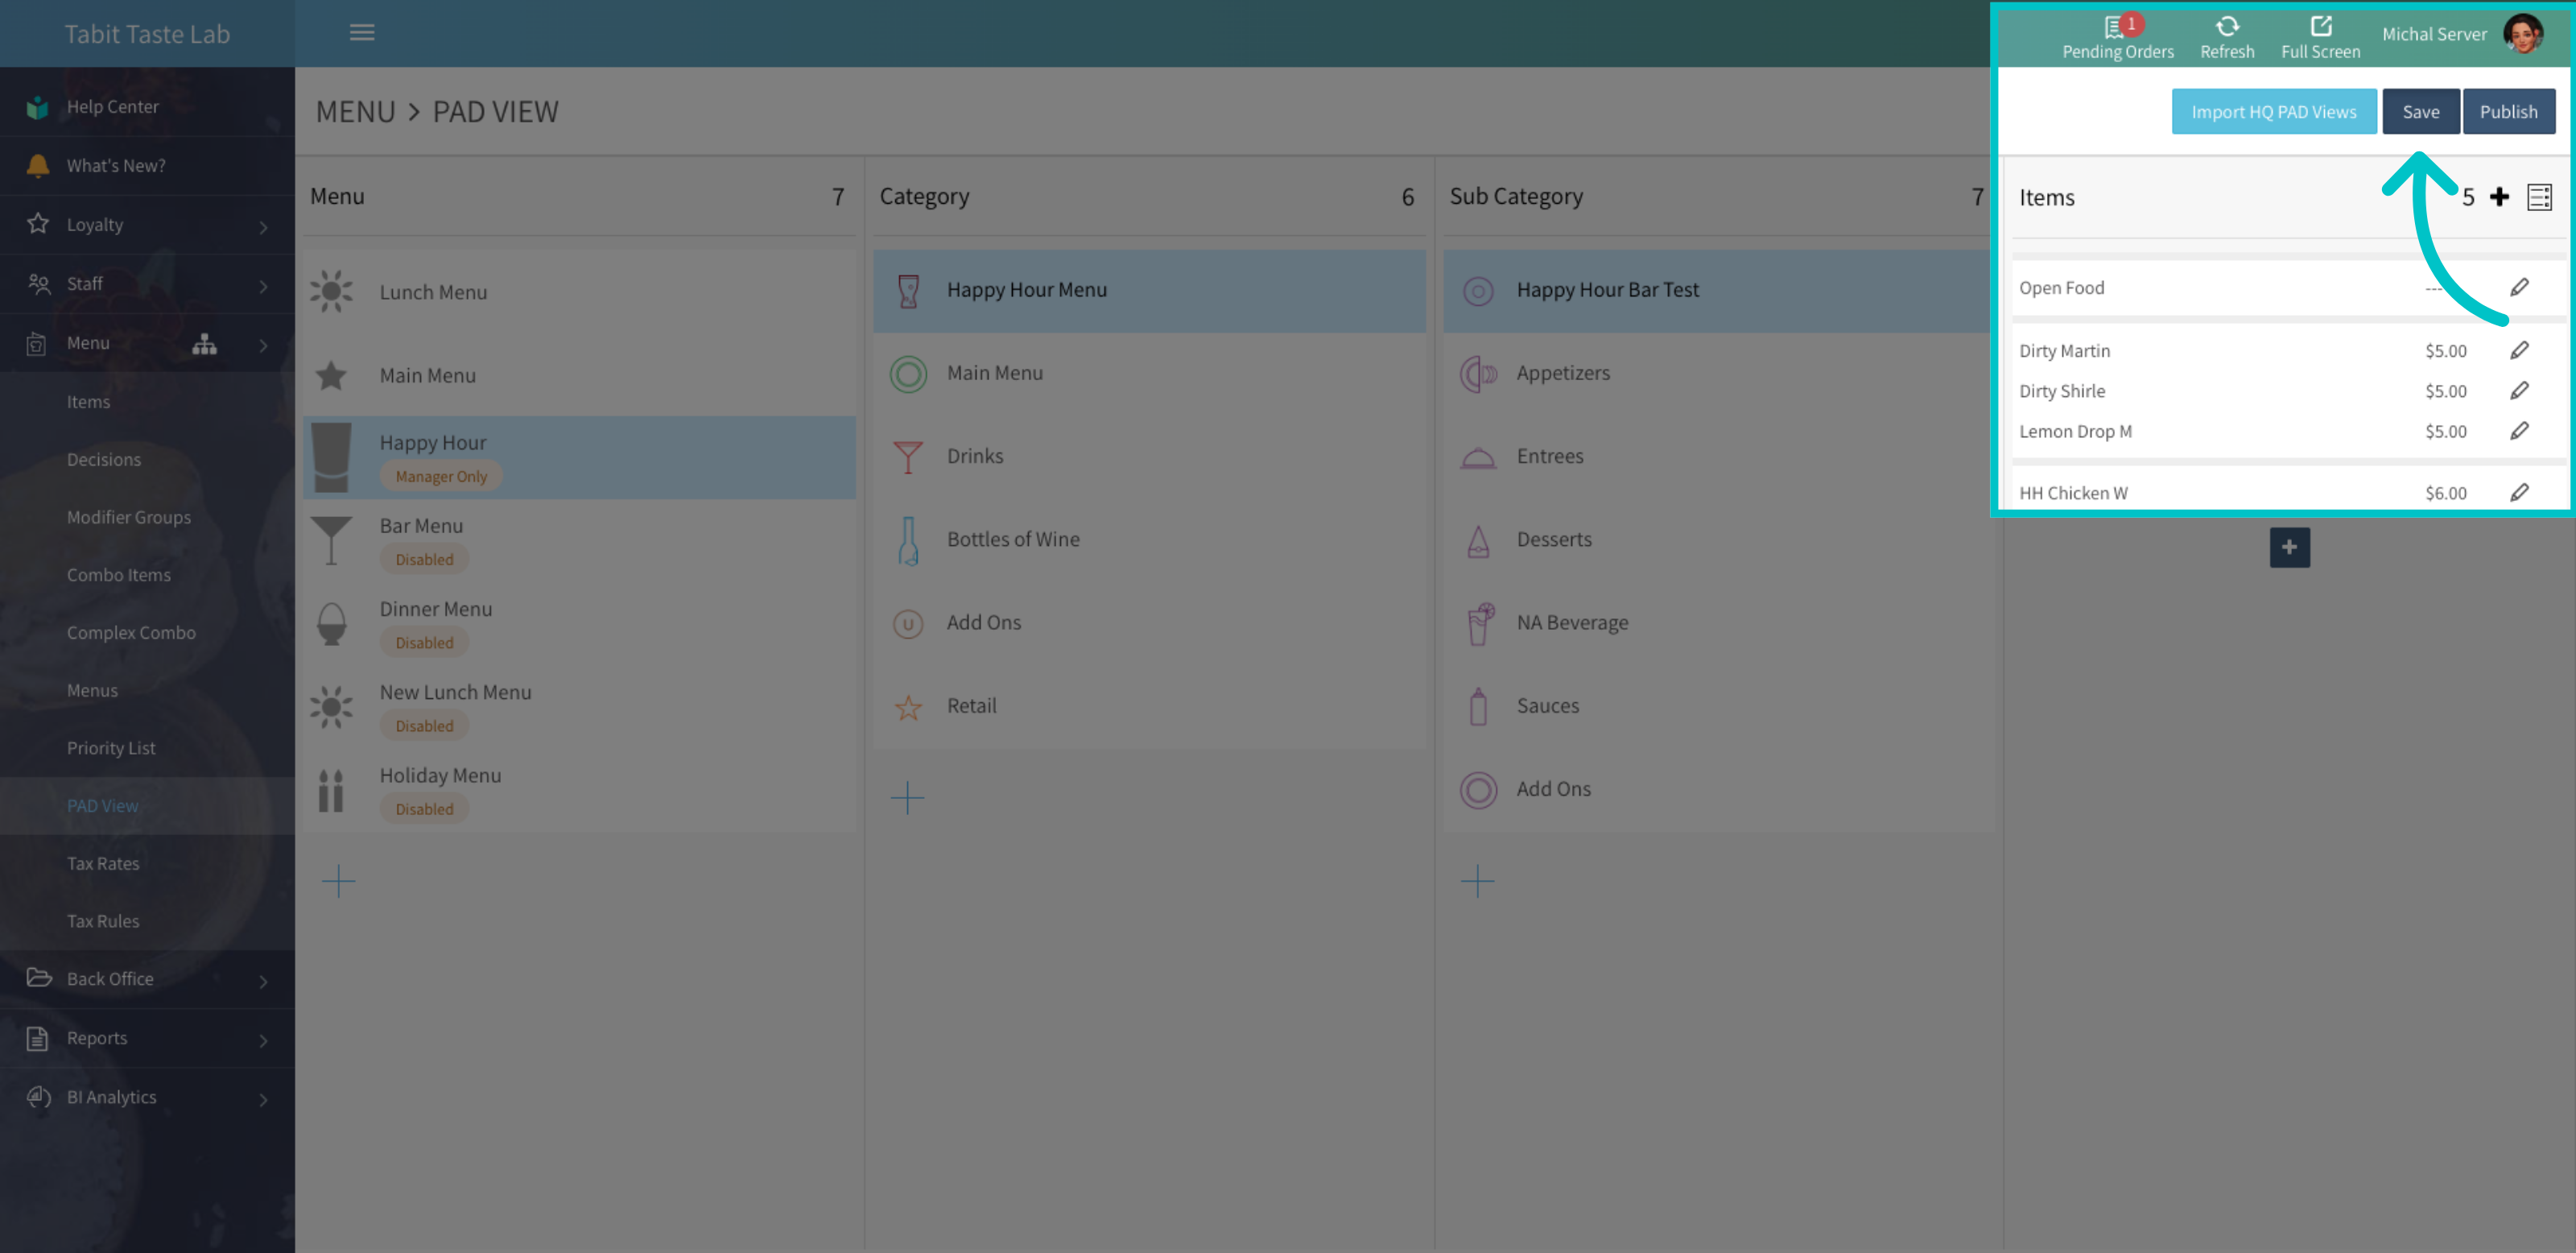
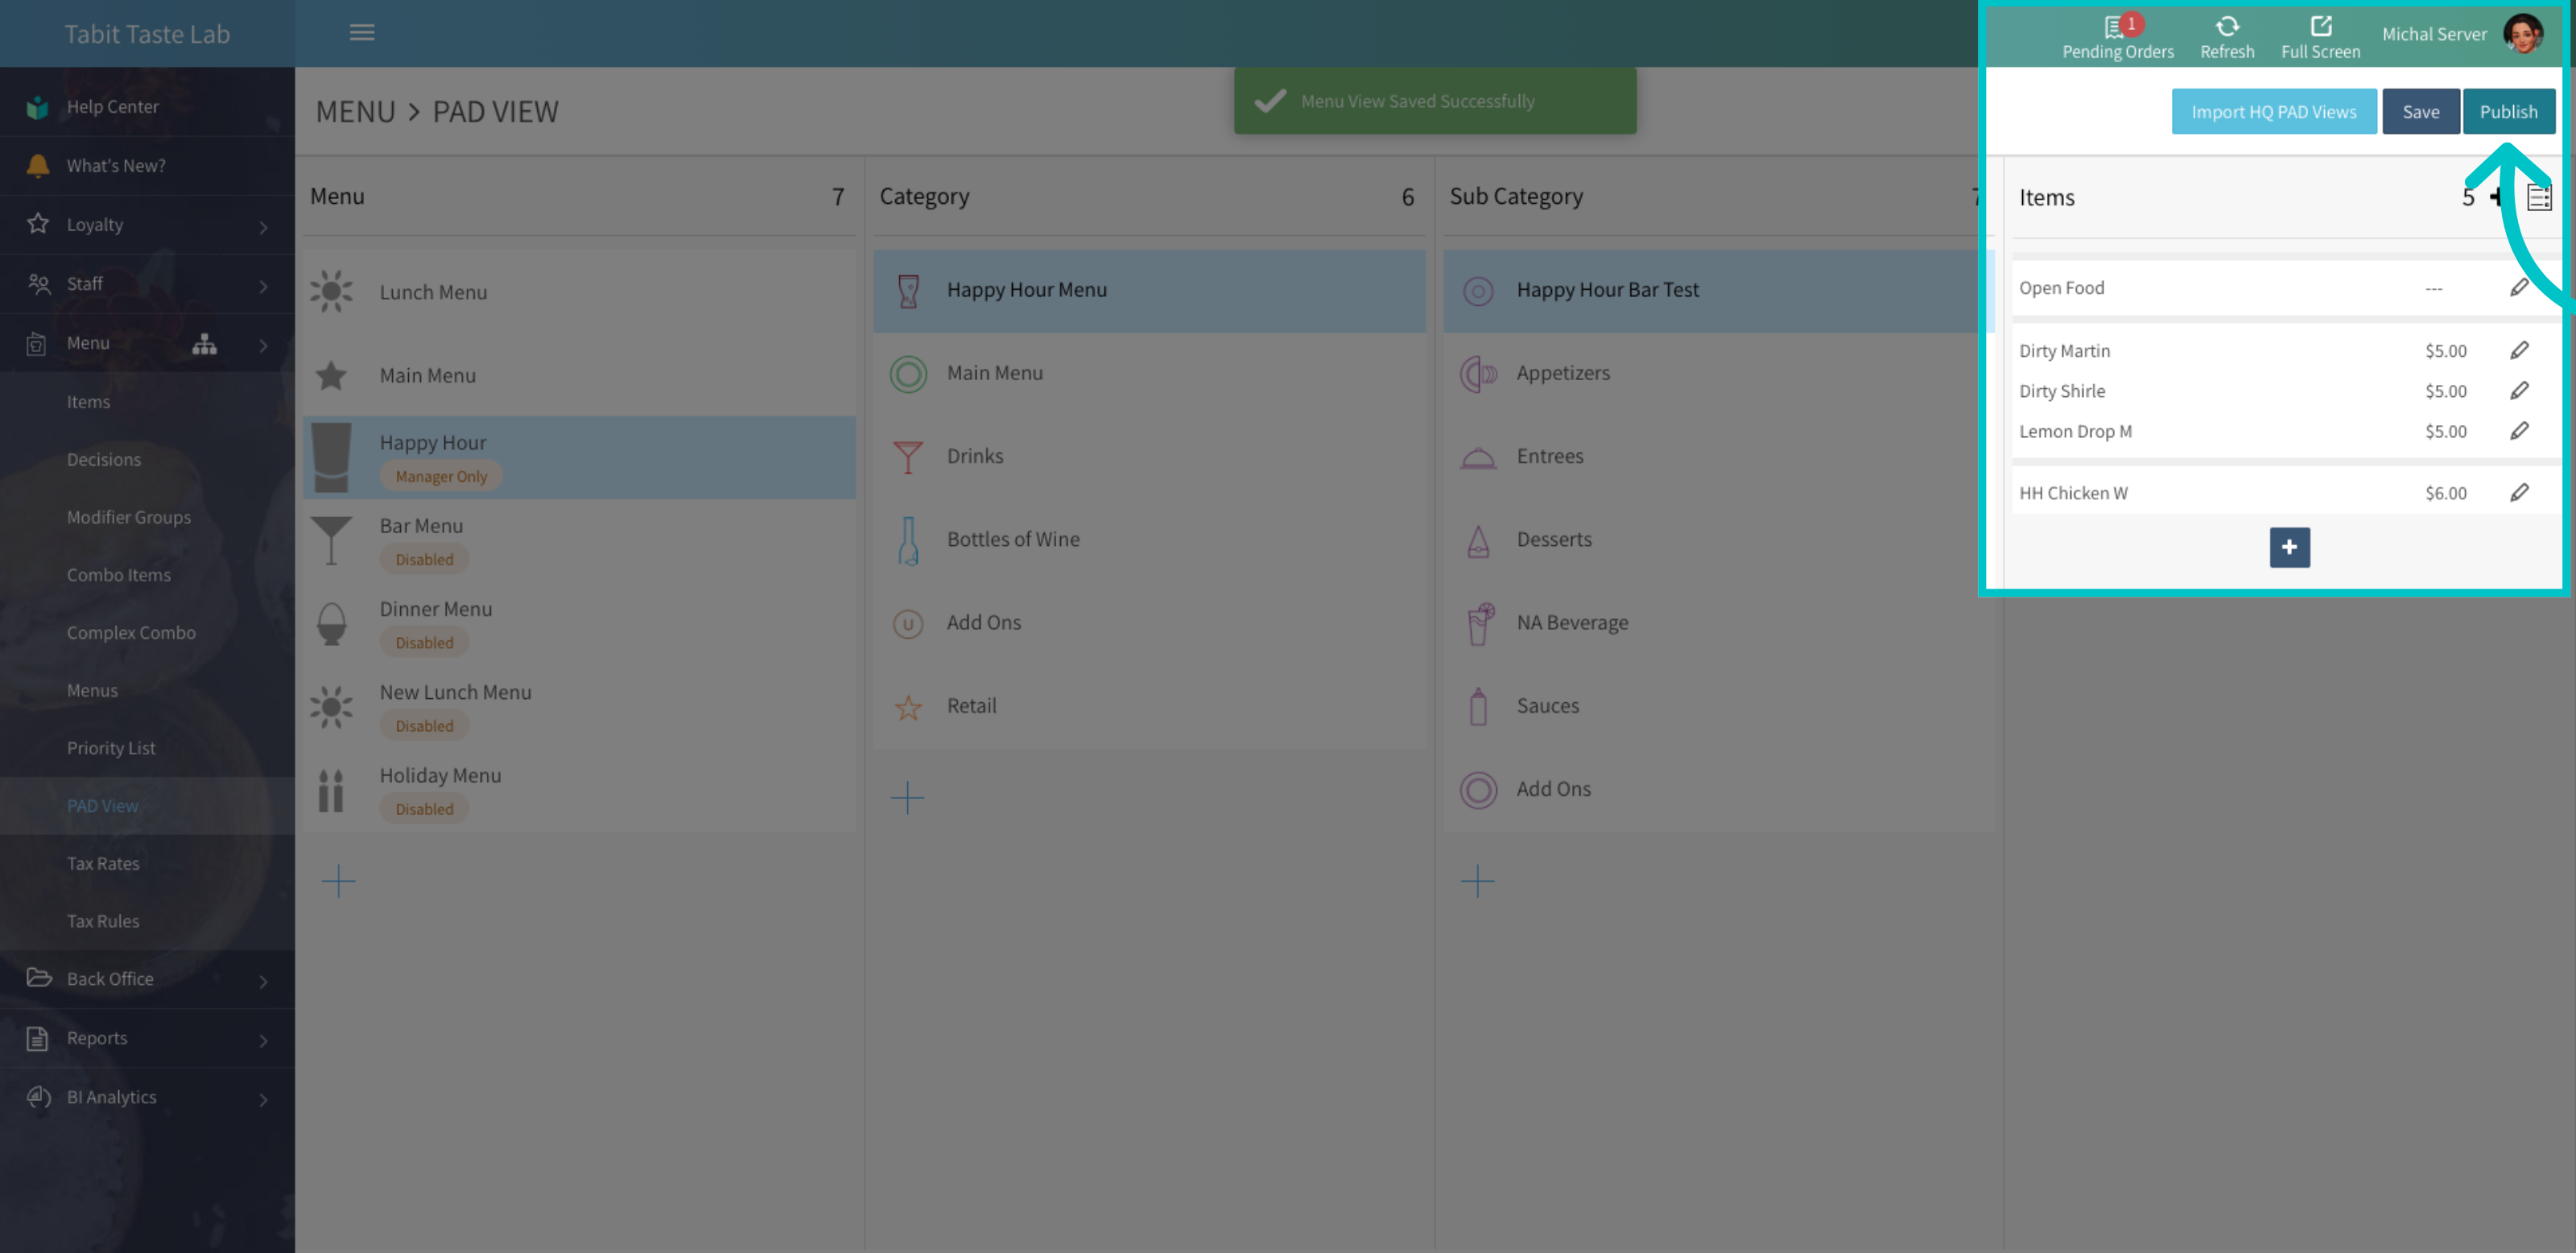
- Select Publish to make the changes live
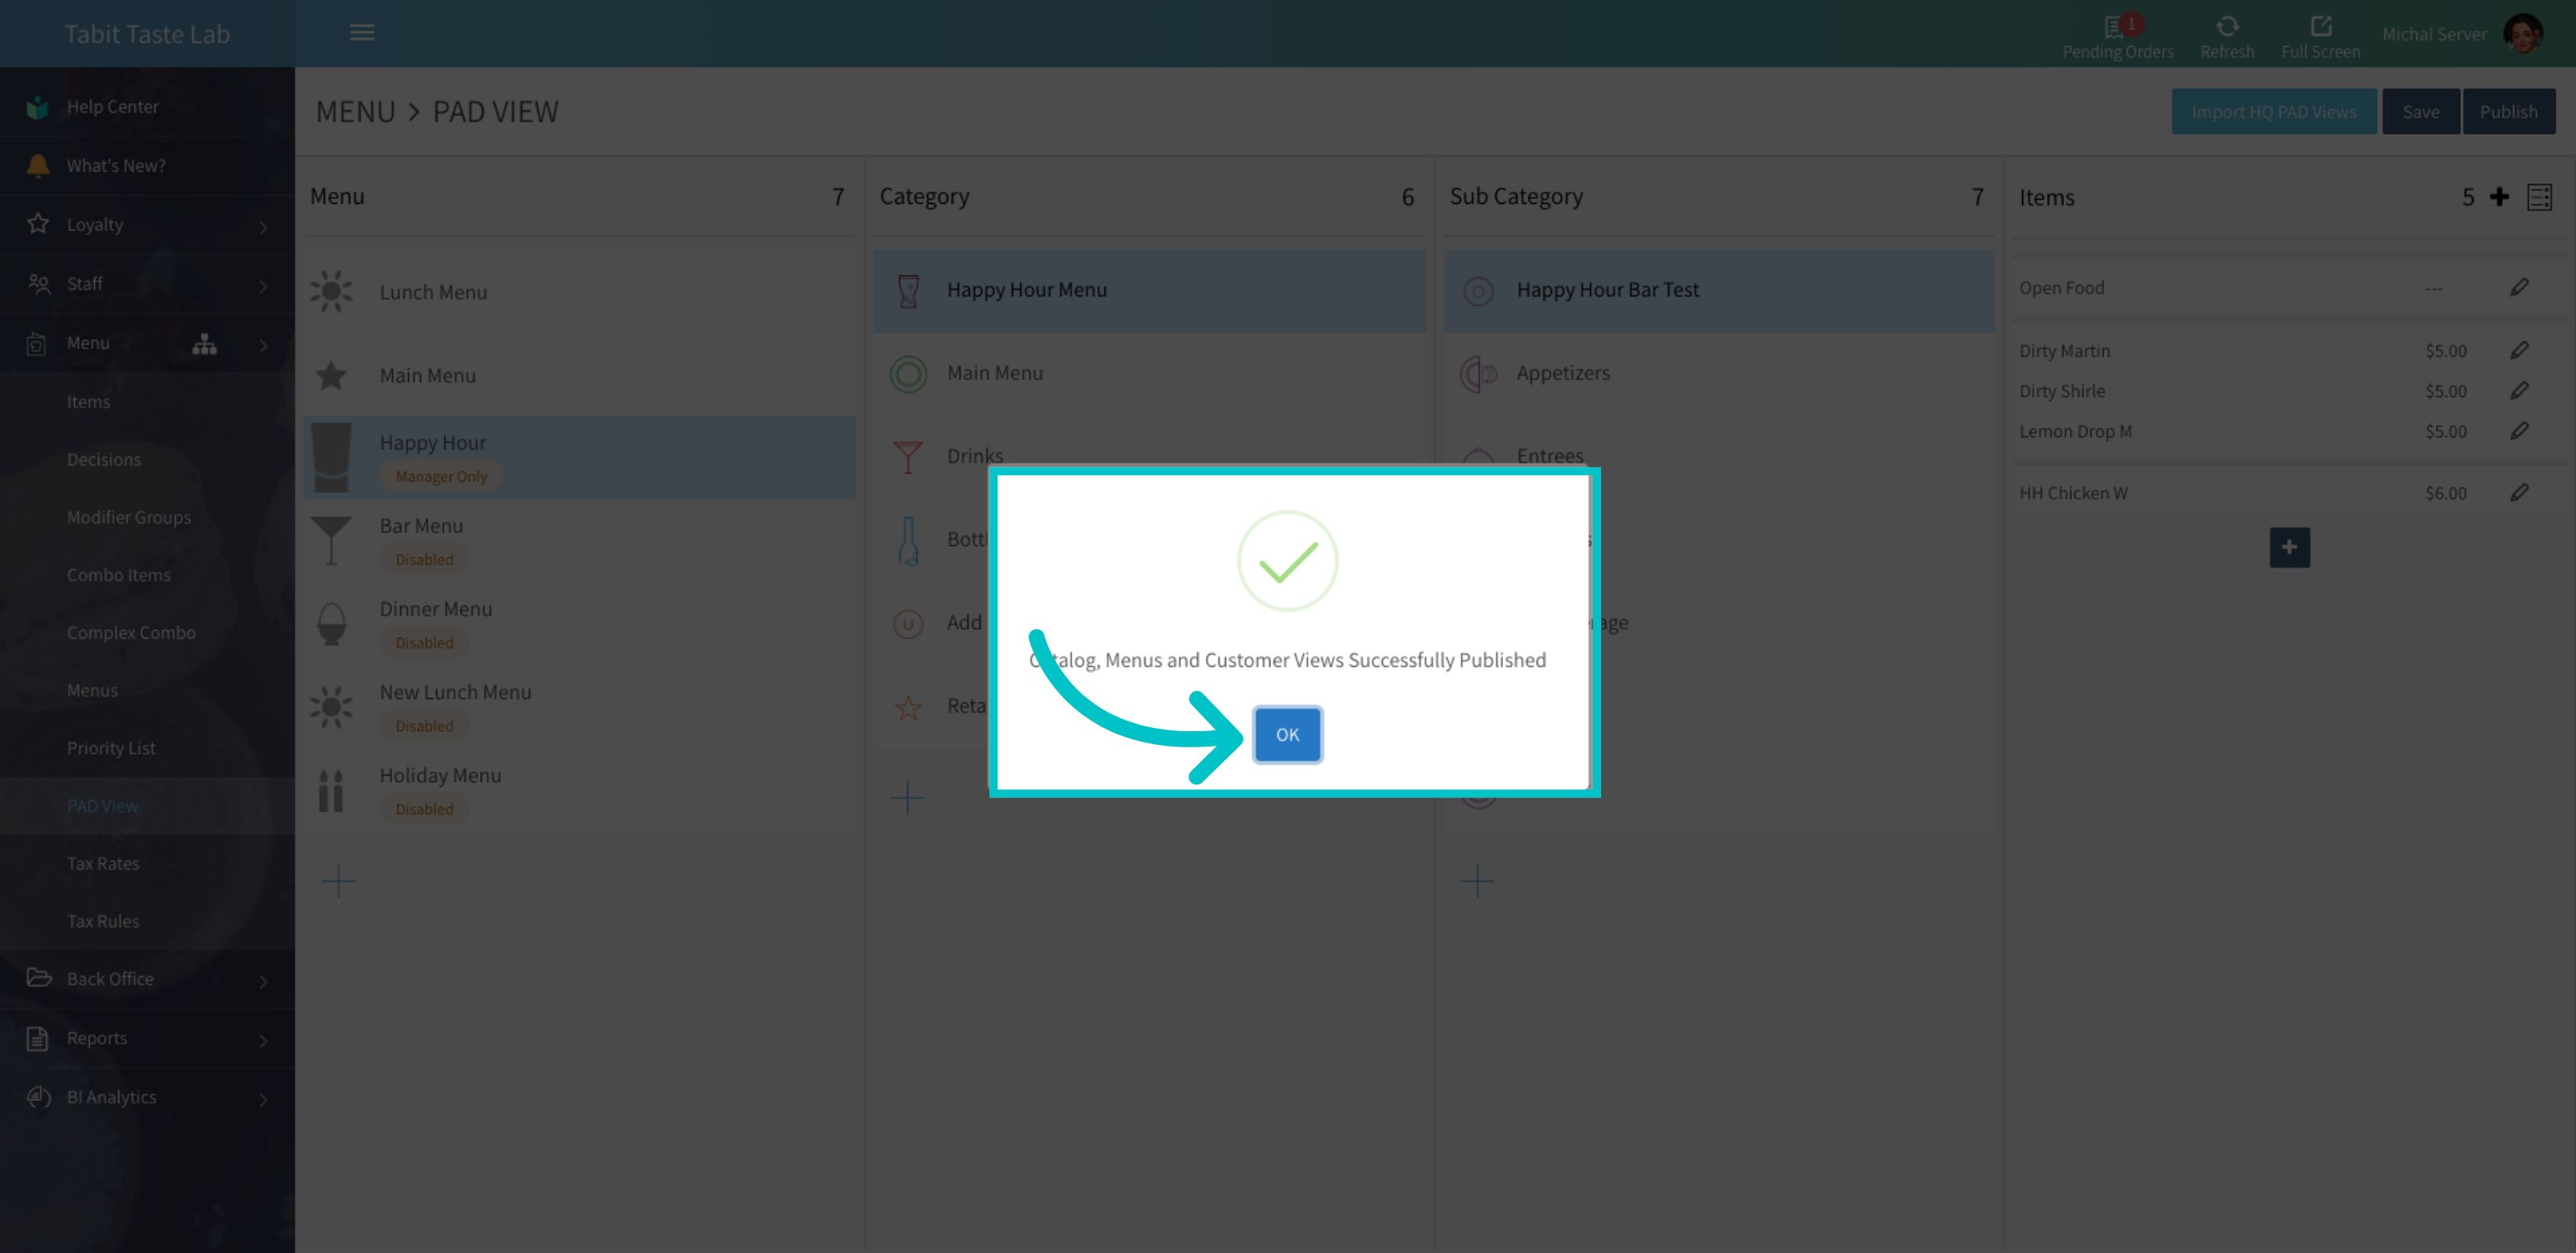
- Confirm the publication
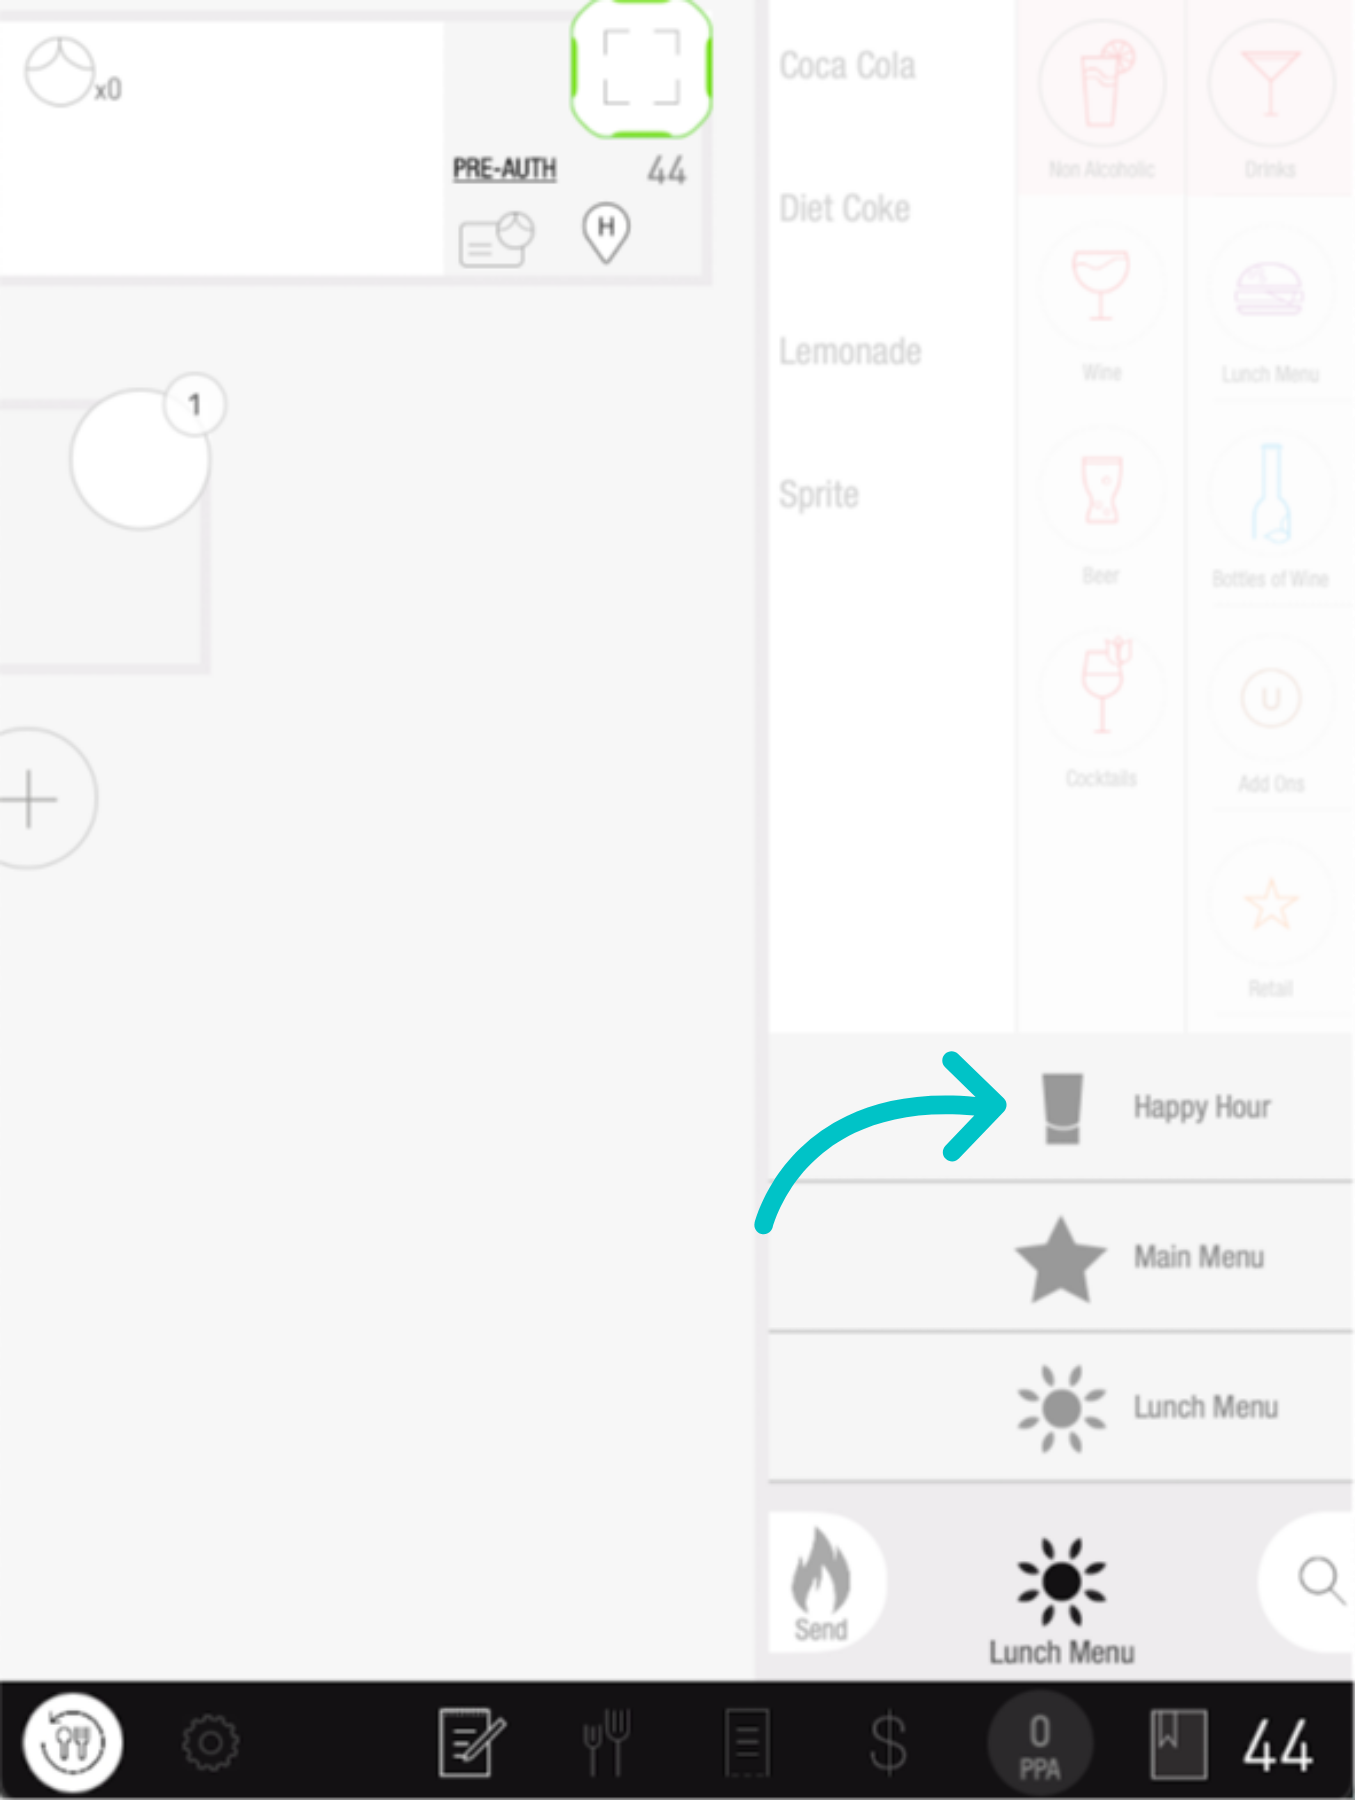
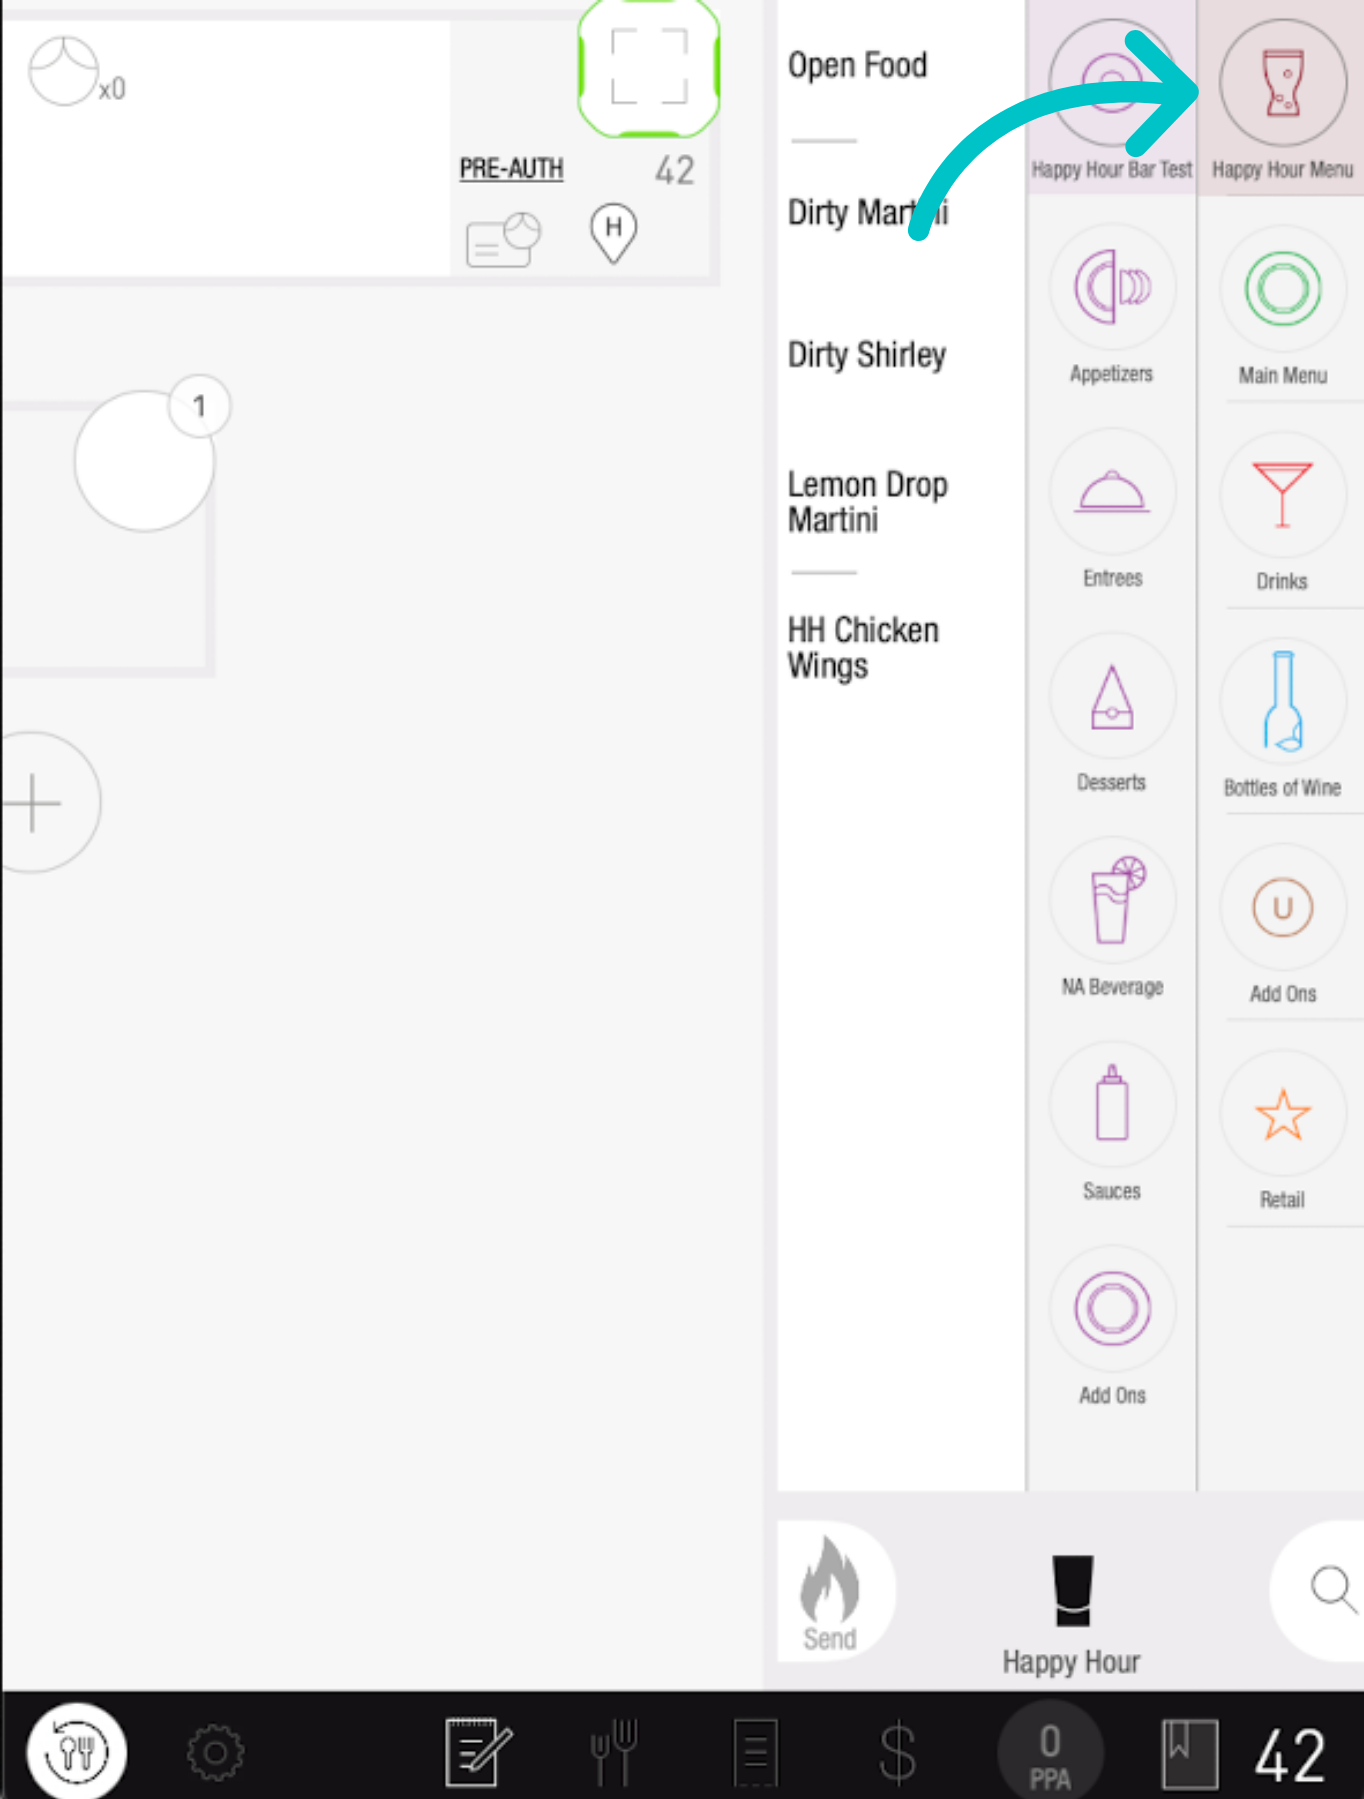
Preview of icons in PAD view
 |
 |